
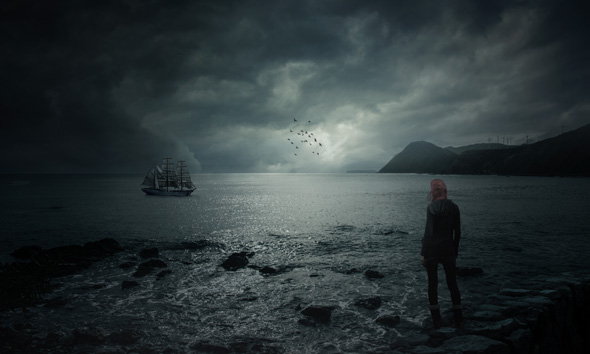

In this Photoshop tutorial I’ll show you how to create a dark photo manipulation of lost ship 2. You’ll learn how basic knowledge of Photoshop and photo manipulation can lead to an amazing result. This Photoshop tutorial is suitable for beginner and for an intermediate level of Photoshop user.
Tutorial Resources
Preparing Background
Step 1
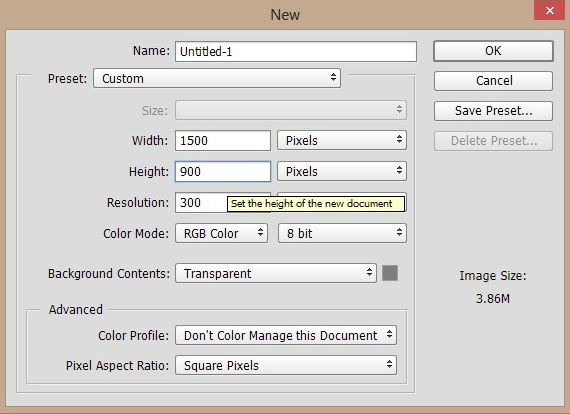
Start by creating a new document in Photoshop by selecting File > New and use the following settings or feel free to use your own.
Adding Seascape
Step 2
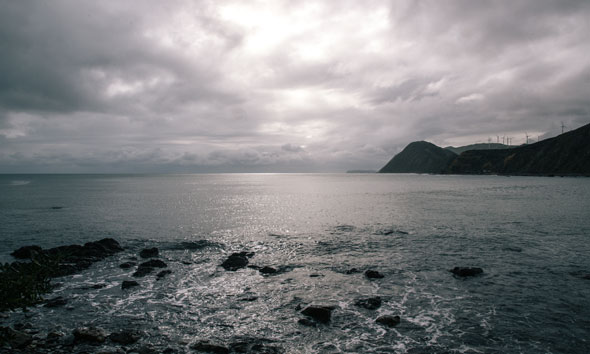
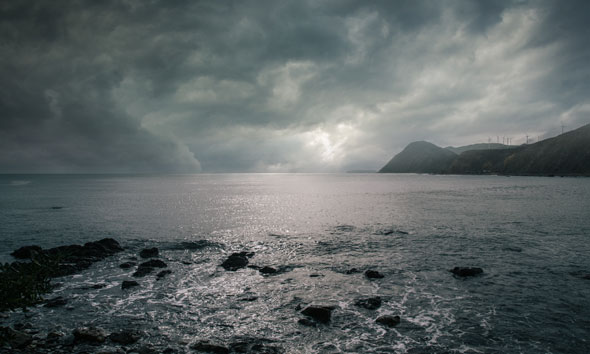
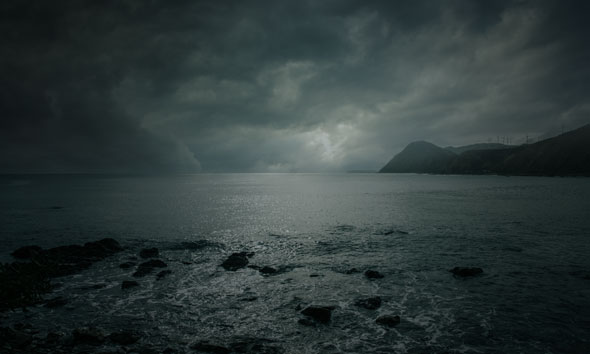
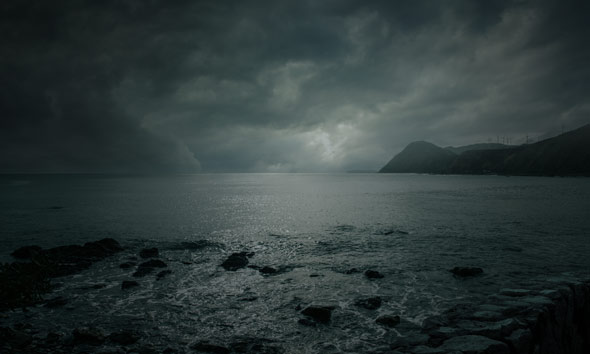
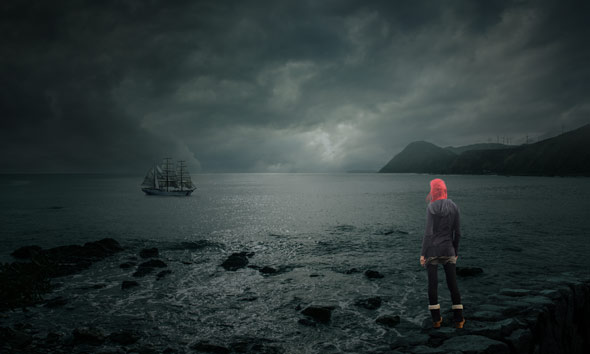
Open the seascape image in Photoshop and then drag it into our main document using Move Tool (V) or you can place it by selecting File > Place Embedded. So place it as shown below.
Adding Sky
Step 3
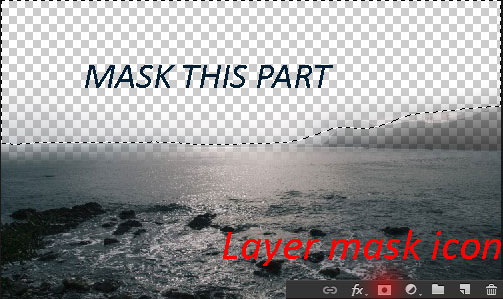
To add the sky we need to hide the upper parts of existing landscape. To do this, add a Layer Mask to seascape layer (click the second button at bottom of layer panel or go to Layer > Layer Mask > Reveal All). Activate the Brush Tool (B). Set its opacity and flow about 30%. Now mask the upper parts of seascape using a soft round black brush.
Always remember use brush with lower opacity during masking process for better blending of multiple images. You can notice using lower opacity we got very soft edges for seascape and that will gonna help us to blend the sky.
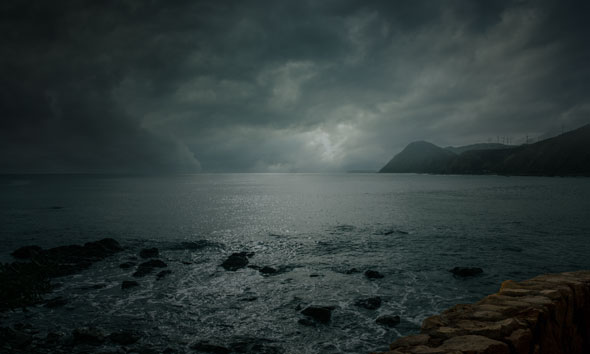
Now place the sky image to the main document and drag it under the seascape layer.
Step 4
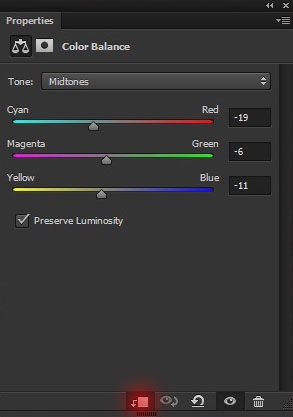
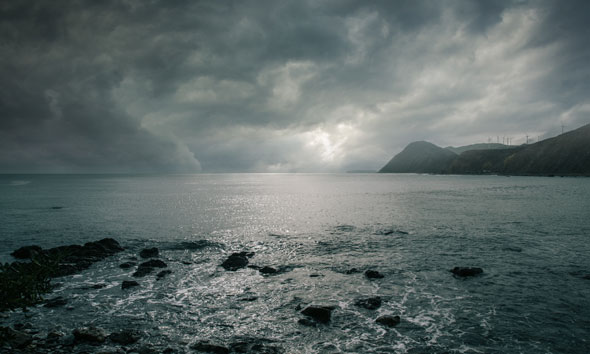
Now get back to seascape layer and add a Color Balance (click the third button at bottom of layer panel or go to Layer > New Adjustment Layer > Color Balance ) adjustment layer to match its colors with sky. Only change the value of Midtones. Don’t forget to set it as clipping mask (press the red icon to clip it to seascape layer).
Results:
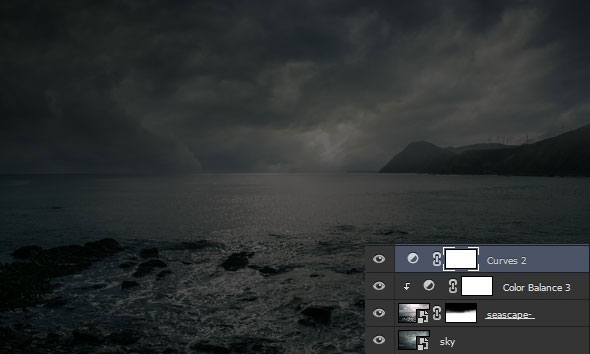
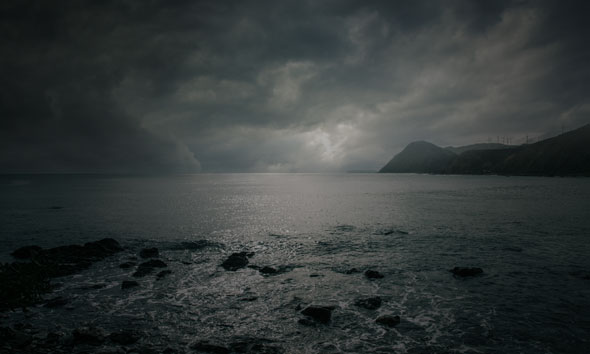
Step 5
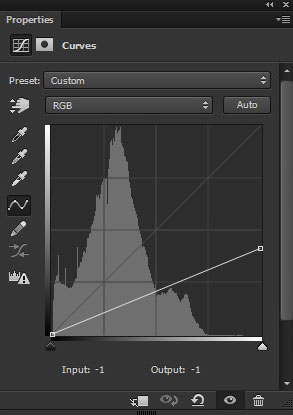
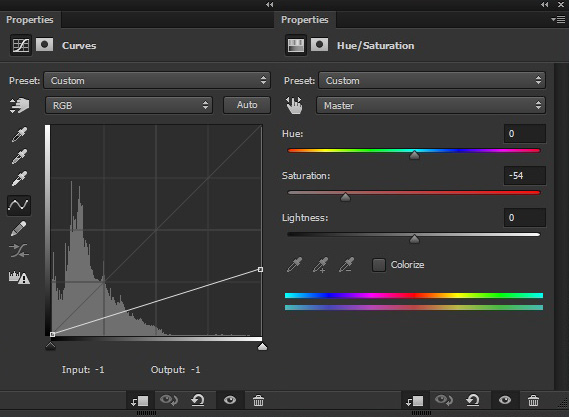
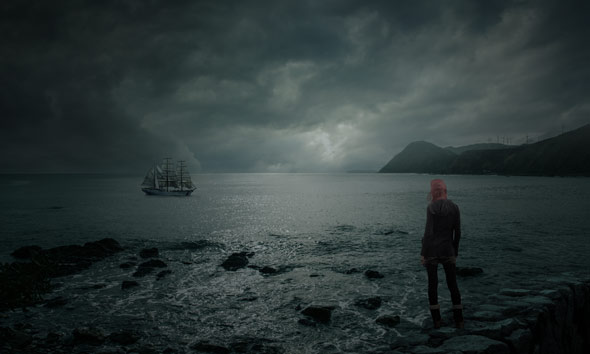
Add a Curves adjustment layer to above all layer so far. And reduce the brightness of whole scene.
Results:
Step 6
On the layer mask of Curves, mask the highlighted effect using a soft round black brush. The aim is to maintain some light on the middle of background and also, I am aiming to create a vignette effect.
You can also use Density of layer mask in order to mask the effect and I also explained it in Soft Vintage Photo Effects Tutorial.
Results:
Always remember that maintaining lights on scene depends on you as how much light want to.
Step 7
Add a Curves adjustment layer again and this time use it for adding Cyan color tones for entire scene.
Results:
Adding Rocks
Step 8
Place the landscape to main document and only extract the rocks parts from it using Selections Tool.
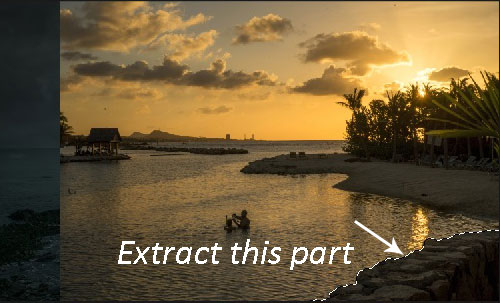
Results after extractions:
Step 9
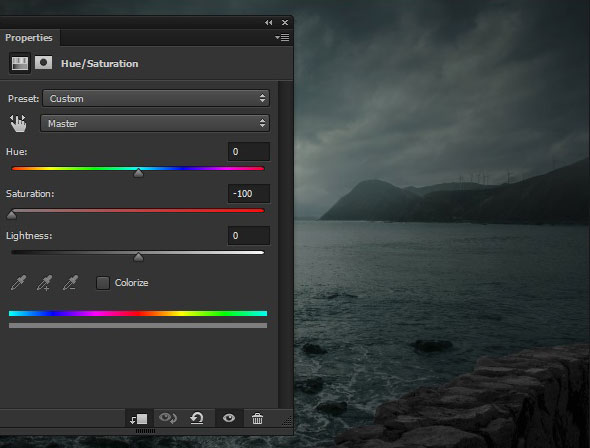
Now you can notice the color on rocks and it is not matching with our scene at all. Now make a Hue/Saturation adjustment layer to rocks and reduce its saturation.
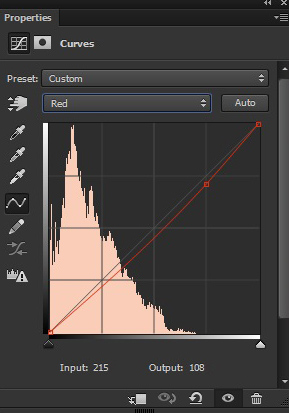
Step 10
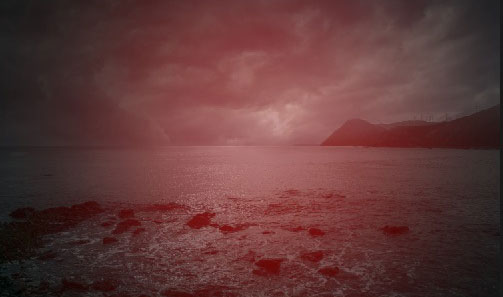
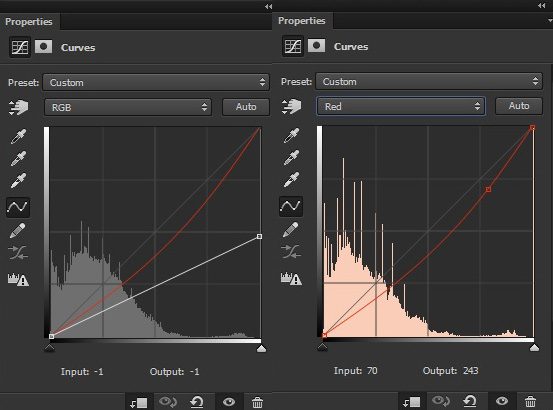
Add a Curves adjustment layer to rocks. Use the Red channel to add some colors to rock.
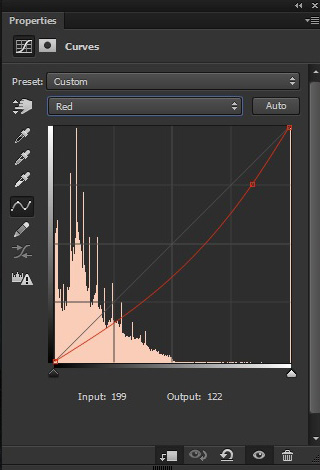
Results:
Adding Ship
Step 11
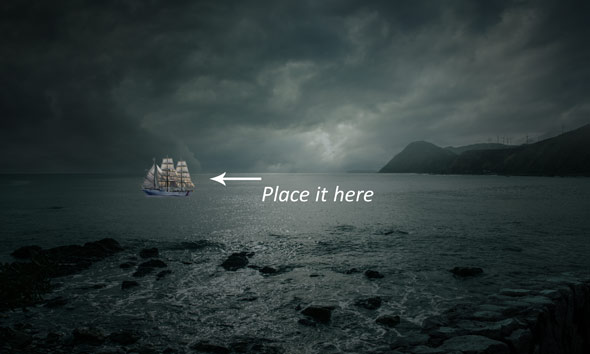
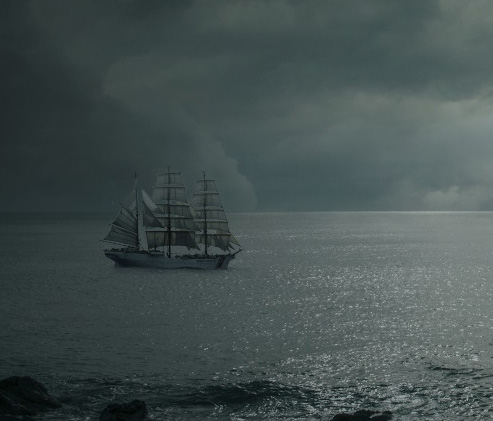
Extract the ship from its background using Selection Techniques and place it as shown below.
Step 12
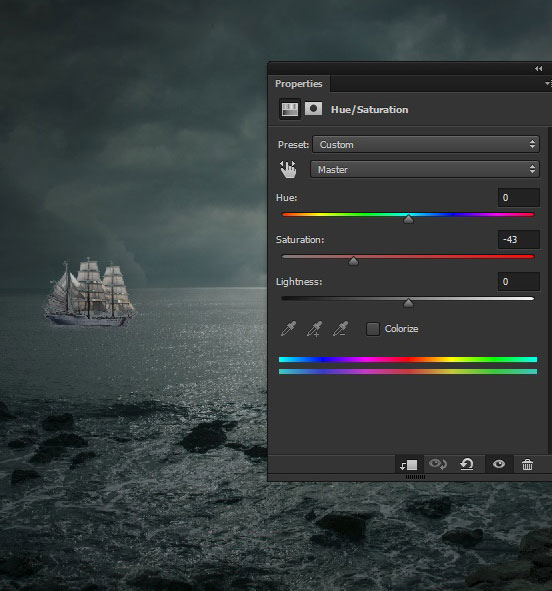
Add a Hue/Saturation adjustment layer to reduce the saturation of ship little bit.
Step 13
Now add Curves to reduce the brightness of ship and to add cyan color tones.
Results with 200% zoom:
Results so far:

Adding Model
Step 14
Isolate the model from its background using your favorite selection tool. Place it above the rocks. Refer to this tutorial to learn how to paint hair in Photoshop using Smudge Tool.

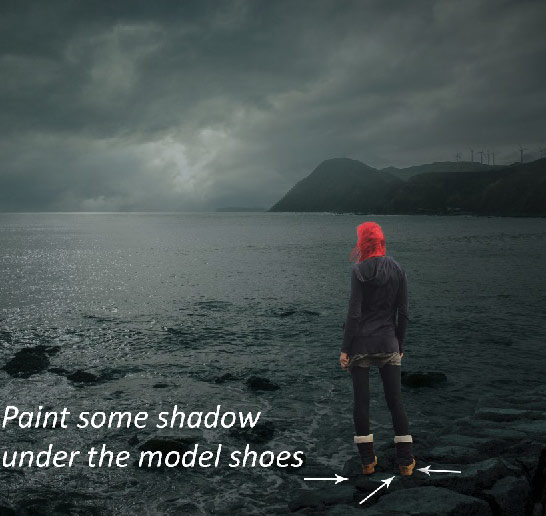
Step 15
Create a new layer and name it ‘contact shadow’. Use a soft round black brush to create the shadows under the model shoes.
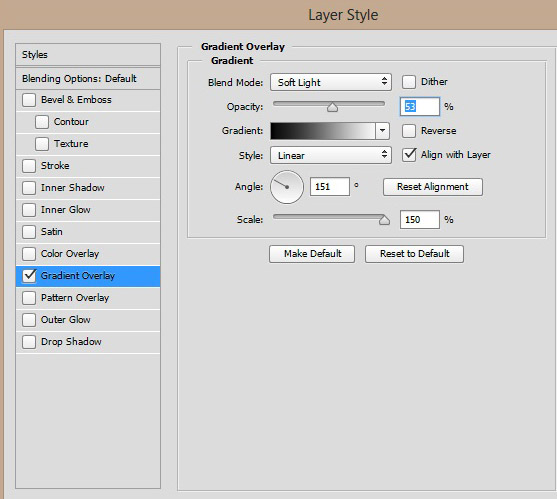
Step 16
Since lights appears to be coming from the middle of scene. Then we should darken model right side parts and brighten the left side parts. To accomplish this, right click on model layer and choose ‘Blending Options’. Now use Gradient Overlay effect with following settings :
Results:
Step 17
You can notice model looks to bright at the moment. Add a Curves adjustment layer to reduce its brightness and use a Hue/Saturation adjustment layer to reduce the saturation as well.
Results:
Step 18
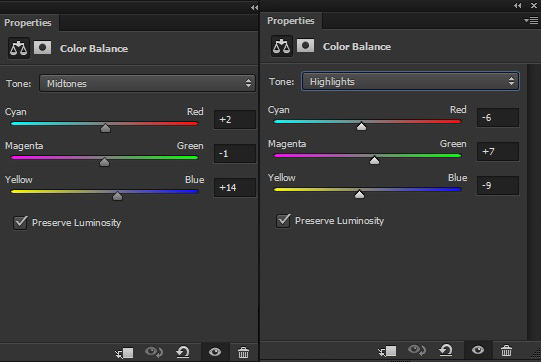
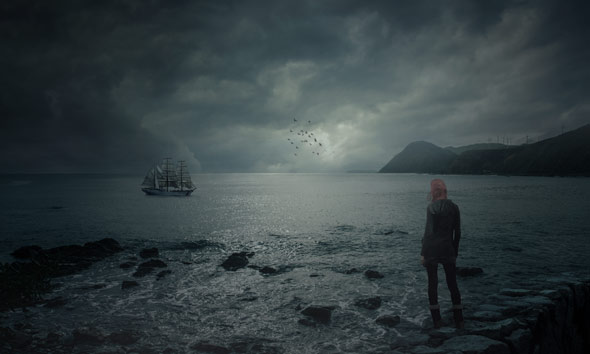
Make a Color Balance adjustment layer to add some colors to model. Only change the settings of Midtones and Highlights.
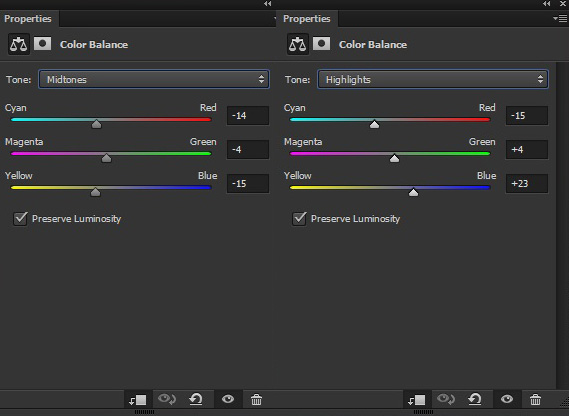
Results:

Step 19
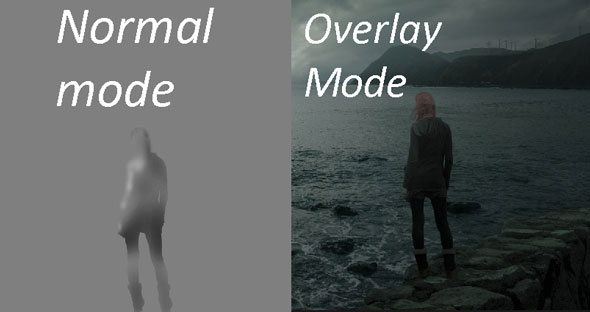
Create a new layer and name it ‘Dodge & Burn’. Fill it with 50% gray color by selecting Edit > Fill then choose 50% Gray on use drop down options. Change the blend mode of this layer to Overlay. Activate the Dodge Tool & Burn Tool by pressing (O) on the keyboard. Set the Range to Midtones and Exposure to 9% on the option bar. Now start refining the shade and lights of model. You can see the below image that how I did it and you can also see the result on both Normal and Overlay mode.
Adding Mist
Step 20
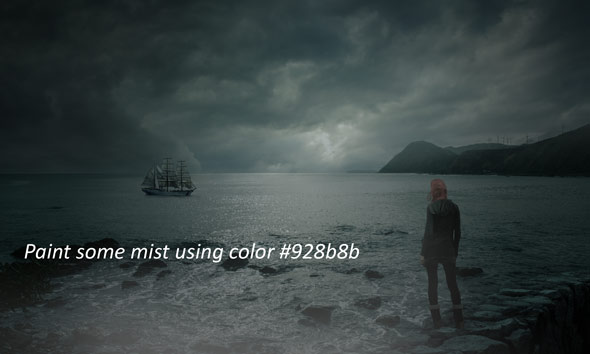
Create a new layer and name it ‘mist’. Set your foreground color to #928b8b. Now paint some mist using soft round brush.
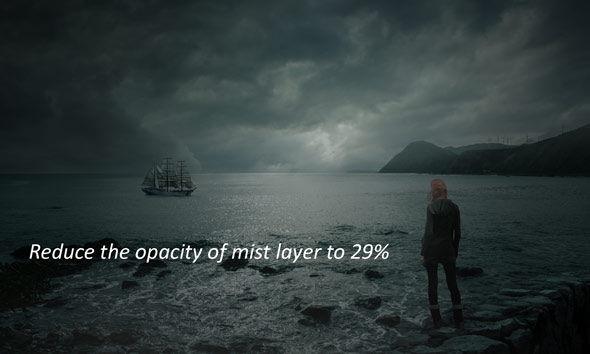
Reduce the opacity of mist layer to 29% and subtle its effect.
Step 21
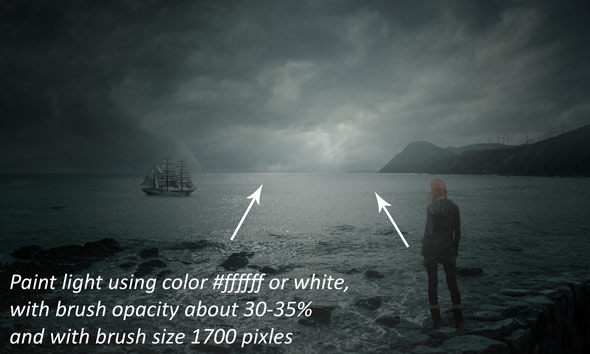
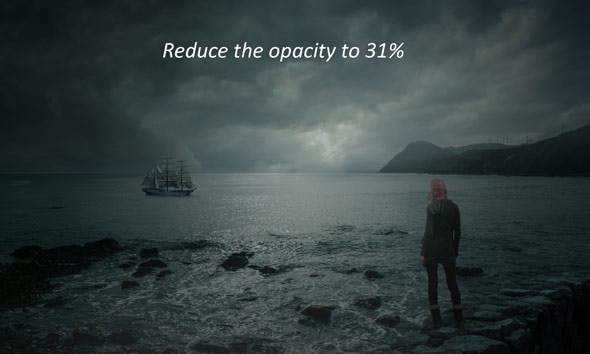
Create a new layer and name it ‘light’. Activate the Brush Tool (B). Set your foreground color to white or #ffffff. Now paint some lights using a soft round brush tool with opacity and flow about 30%-35%.
Reduce its opacity to 31% as I don’t want too much light.
Step 22
Create a new layer and name it ‘birds’. Use the birds brush to paint some birds as shown below.
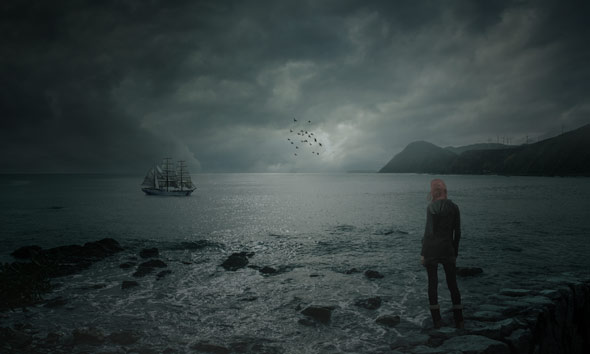
Reduce the opacity of bird layer to 70% and fade them away into the lights of the scene.

Final Adjustments
Step 23
It’s time to finalize the whole scene using final adjustments. Make a Color Balance (above all layers) and colorize the entire scene.
Results:
Step 24
Make a Gradient Map adjustment layer. Use it with following settings:
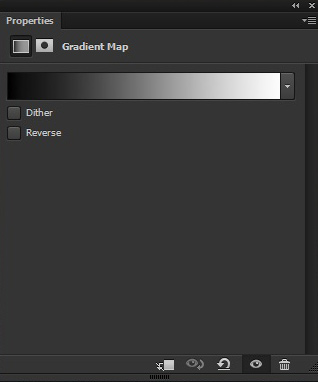
Change the blend mode of Gradient Map to Soft Light. Also, reduce its opacity to 51%.
Step 25
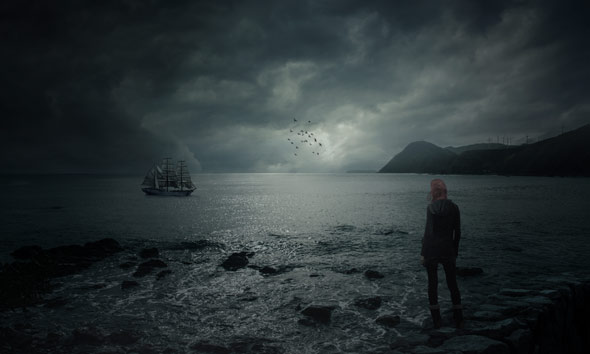
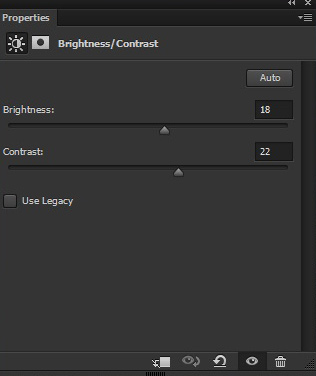
Finally, add a Brightness/Contrast adjustment layer to increase the brightness and contrast.
Results:

Conclusion
Thanks for following the tutorial. I hope you enjoyed it and learned something new today. Feel free to let me know if need any help. Have a great day!
Need Help With Photoshop or Looking for Professional Support?
Whether you're just getting started with Photoshop or need expert-level assistance, we're here to help! Contact us for personalized Photoshop tutorials, project support, or creative services.
Get in touch today to take your skills or projects to the next level.
CONTACT US NOW📘 Want to Master Photoshop Faster?
🎁 Get Your FREE PDF E-Book "Top 10 Photoshop Tricks Every Designer Must Know" Now – Packed with expert tips, shortcuts, and techniques to boost your creativity & workflow.
👉 Download Your FREE PDF E-Book NOW!

