

In this Photoshop tutorial I’ll show you how to add soft vintage photo effects to your photos. This tutorial is perfect for those who want to turn their ordinary photos into the vintage one. We’ll learn how to work with adjustment layers, layer opacity, blend modes and layer mask. At the end, we’ll use filters to finish it up with nice vintage photo effects.
Tutorial Resources
Open the Photo
Step 1
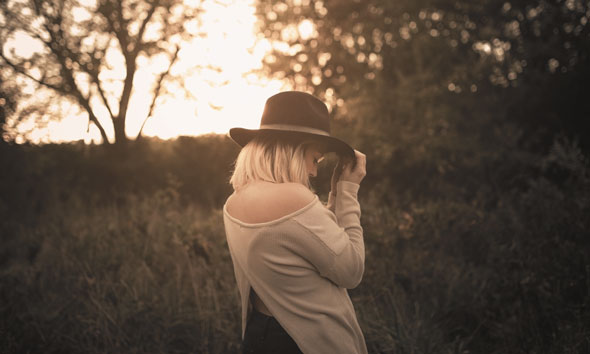
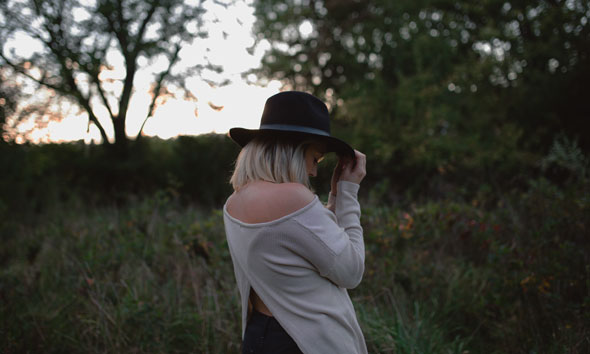
Open up your photos in Photoshop by selecting File > Open and open it up. Here is the image which I am using for this tutorial.
Step 2
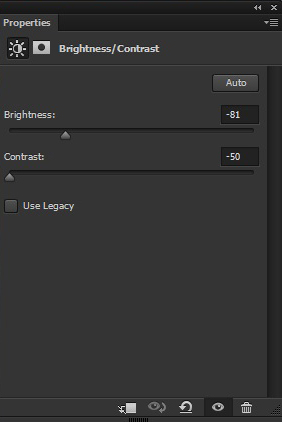
You can notice that there is overexposed contrast and brightness on photo below. To fix this, make a Brightness/Contrast (Layer > New Adjustment Layer > Brightness/Contrast ) adjustment layer to reduce the contrast and brightness of photo. Set the Brightness slider to -80 and Contrast to -50.
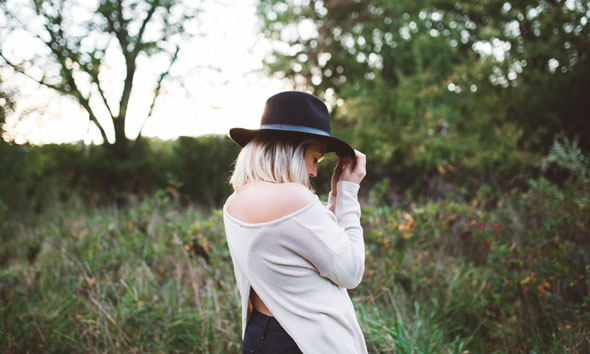
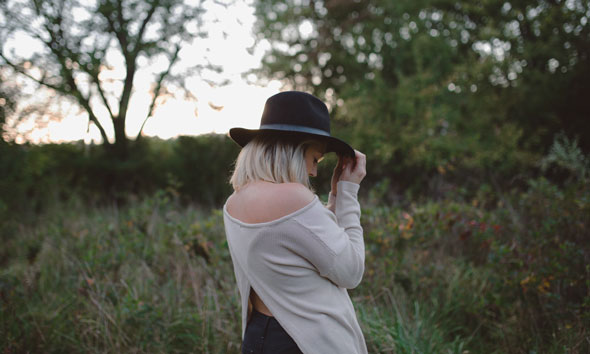
Results:
Step 3
Make a Curves adjustment layer to reduce the brightness on the highlights of model image. You can refer to our basic tutorial to learn how Curves adjustment works in Photoshop.

Results:
Step 4
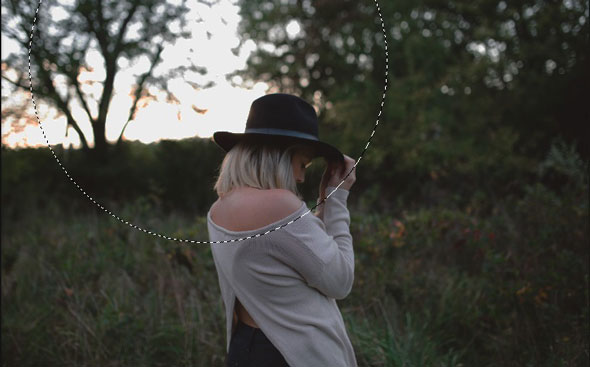
On the Layer Mask of Curves, hide the selected effect using a soft round black brush as I am aiming to create light source on the middle of photo. See the below image for reference.
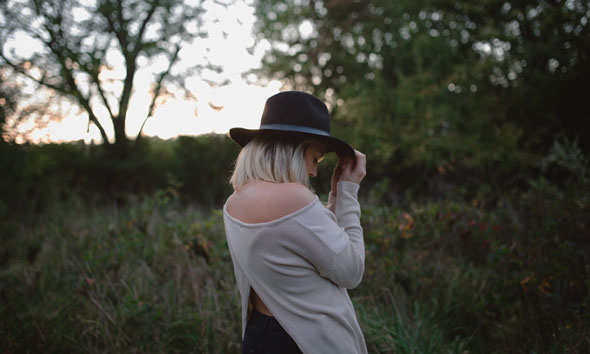
Results:

Did you notice that we’ve created vignette effect as well?
Step 5
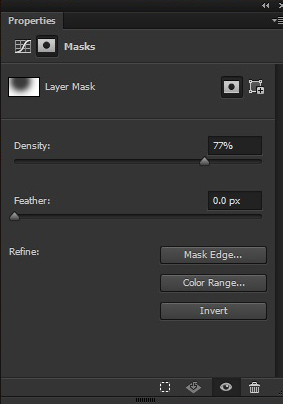
Now double click on the layer mask of Curves and reduce its density to 77%. This will reveal the effect of Curves little bit. Using layer mask density is very useful in Photoshop. If this feature is not available in Photoshop, then I have to vary the brush opacity to hide the effect of Curves rather than simply dragging the slider. That’s why first, I erased the effect completely and then I used the density of layer mask to reveal the effect according to my needs.
Results:
Step 6
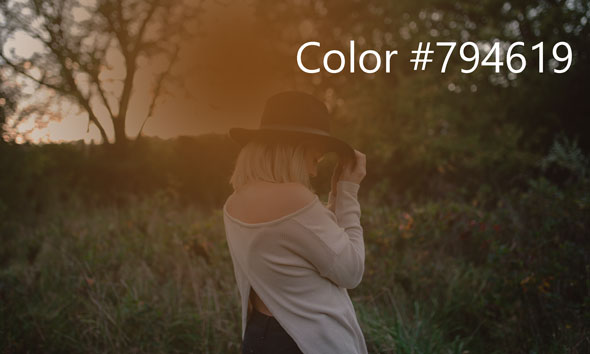
Create a new layer and name it ‘light source’. Set your foreground color #794619. Activate the Brush Tool (B). Use a soft round brush to paint a brush stroke to create a light source as shown below.
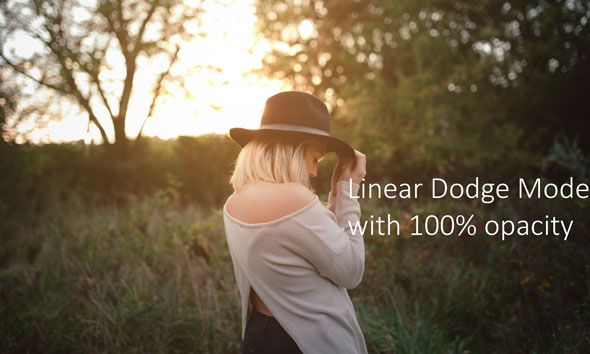
Change the blend mode of ‘light source’ layer to Linear Dodge. Results with glowing light source and lights on model as well:
Step 7
Make a Gradient Map adjustment layer. Choose the color #794619 for shadows and for highlights choose #5c311a.
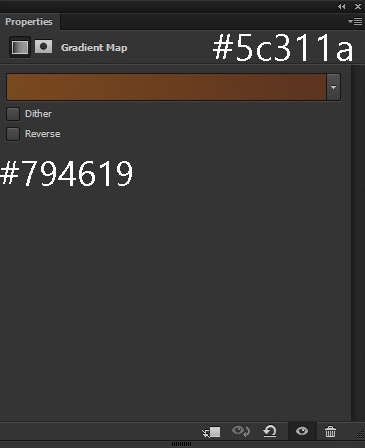
Set the blend mode of Gradient Map to Color and reduce the opacity to 34%.
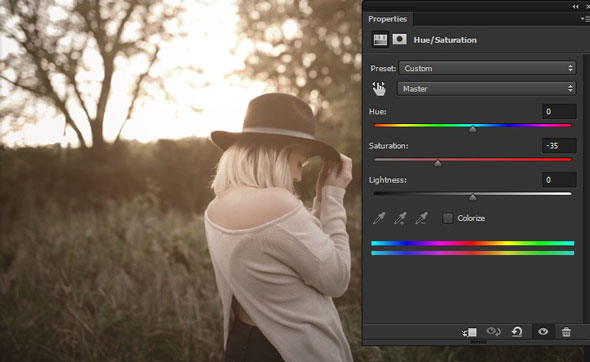
Step 8
Reduce the saturation of entire image, little bit, using a Hue/Saturation adjustment layer.
Step 9
Add a Color Lookup adjustment layer and choose Candlelight filter.
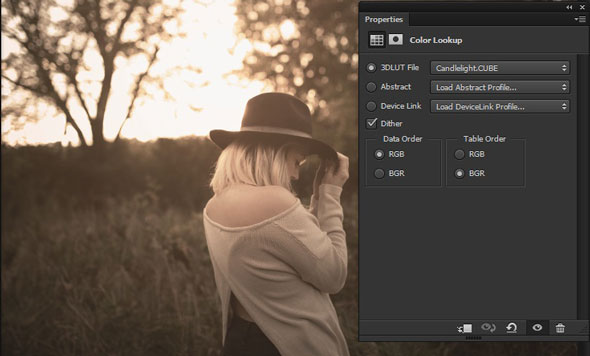
Reduce the opacity to 73% to subtle the effect of Color Lookup.
Step 10
Final step, merge all layers into single layer by pressing CTRL + ALT + SHIFT + E. Select Filter > Filter Gallery and under the Sketch folder, choose Water paper. Use it with following settings :
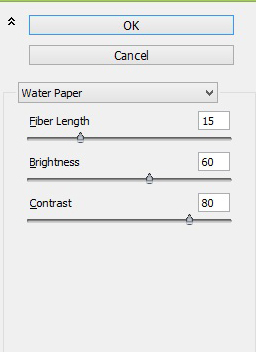
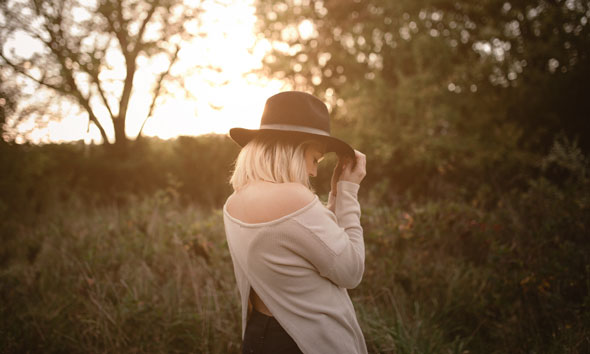
Change the blend mode of stamp layer to Color and reduce its opacity to 71%. Here are the final results:

Conclusion
Thanks for following the tutorial. These are the simple steps for creating vintage effects for your photos. Feel free to let me know if you baffled at any step. Have a great day!
Need Help With Photoshop or Looking for Professional Support?
Whether you're just getting started with Photoshop or need expert-level assistance, we're here to help! Contact us for personalized Photoshop tutorials, project support, or creative services.
Get in touch today to take your skills or projects to the next level.
CONTACT US NOW📘 Want to Master Photoshop Faster?
🎁 Get Your FREE PDF E-Book "Top 10 Photoshop Tricks Every Designer Must Know" Now – Packed with expert tips, shortcuts, and techniques to boost your creativity & workflow.
👉 Download Your FREE PDF E-Book NOW!

