


Learn how to create an emotional photo manipulation of an old man in a beautiful sunset. In this tutorial, you’ll be brushing up your basics photo manipulation skills. This tutorial is recommended for those who are eager to get started with their first photo manipulation and for those who are keen to level up their skills in Photoshop.
Getting Started with Photo Manipulation
Getting started with your first photo manipulation can be a fun and a little bit difficult as well. Whenever every beginner wants to create his first photo manipulation, he has a lot of question in mind such what will be the idea, choosing stock images, about colors and much more.
From my opinion all these thing doesn’t matter when you are beginner in Photoshop. So, how we can begin in Photoshop ? Answer is that just simply pick any image in which you think that I can create something on this image. There are lot of stock images website such as Pixabay, DeviantArt , MorgueFile, Freeimages and many more. All you have to do just simply visit on these website and pick any image you want to get start.
Let’s take a look at my first photo manipulation and believe me on that time I really don’t know about choosing stock images, colors, blendings and many things. I just picked an image start manipulating the stocks and I ended up with these results.
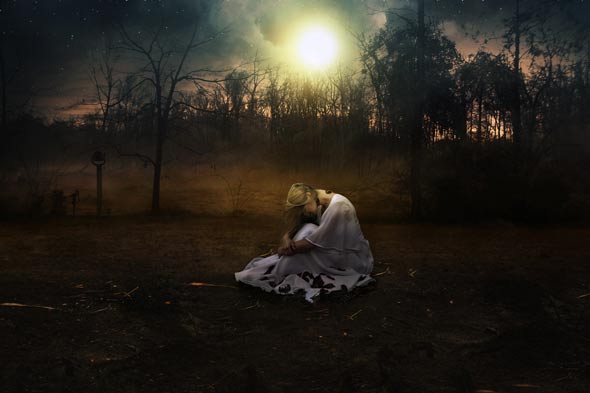
Now it’s time to implement all the basic of Photoshop by creating your first manipulation by creating an emotional scene of the old man.
Tutorial Resources
Step 1
Setting up the Background
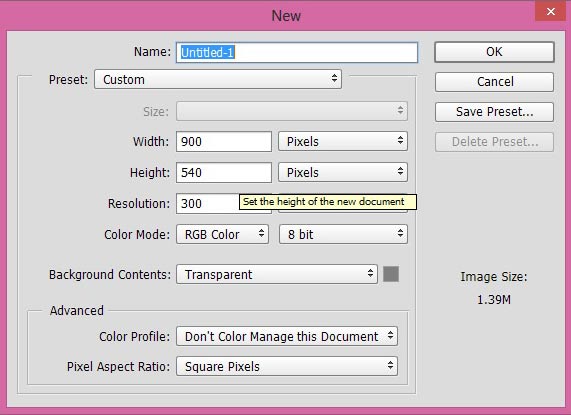
To work in Photoshop you need to create a new document by selecting File > New and set the setting as shown in the image below or feel free to choose your own settings.
Step 2
Download the sky image and place it onto the main document by selecting File > Place then place it to the main document.
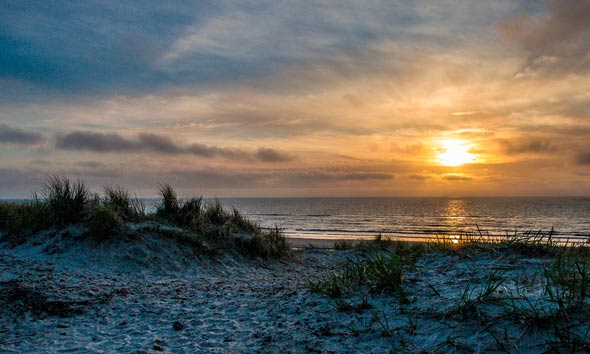
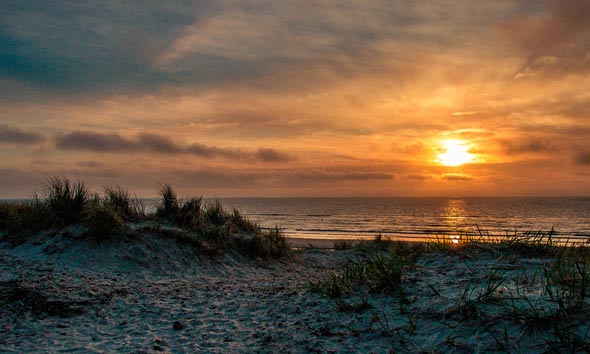
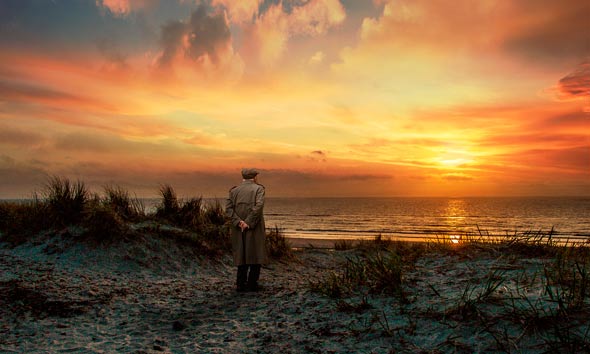
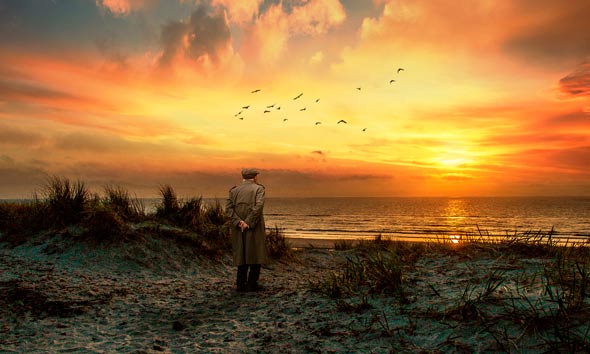
So basically I picked up this beach image and it has a beautiful sky with sunset. So the idea is that I’ll create a sunset effect on this image.
Step 3
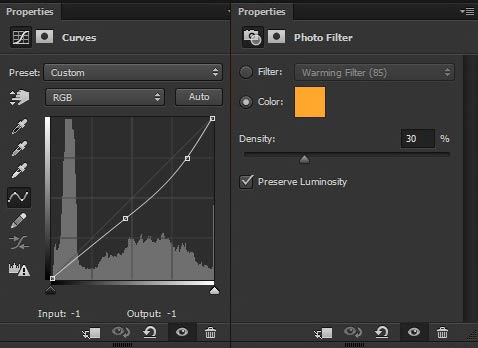
Make a Curves Adjustment layer to Sky as clipping mask by clicking on the New Adjustment Layer icon at layer panel to add yellow tones to the Sky. Set the setting as shown in the image below.
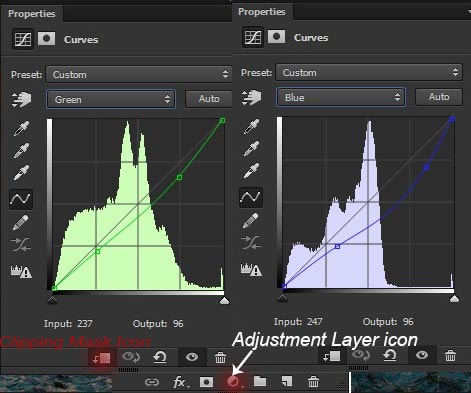
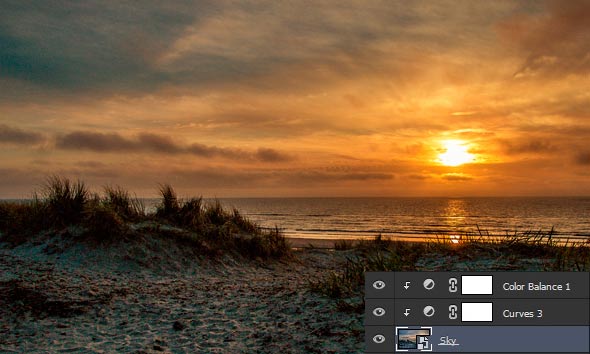
Here are the results and we’ve added yellow tones to the sky.
Step 4
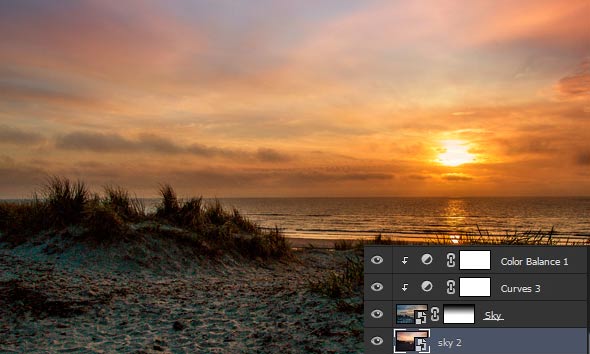
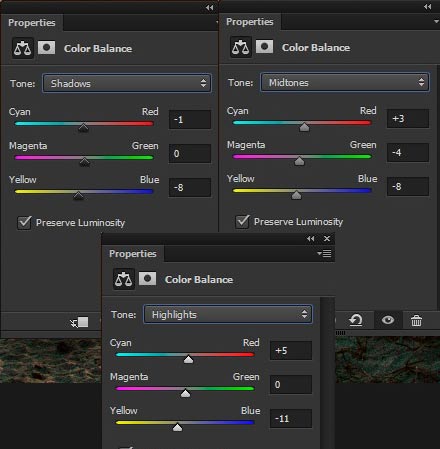
To add some more yellow tones to the sky I added a Color Balance Adjustment layer to the sky.
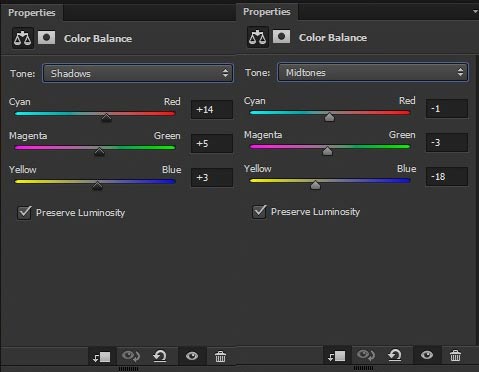
As you can see I only added yellow tones to shadow and midtones because the highlights are minimum.
Here are the results.
Step 5
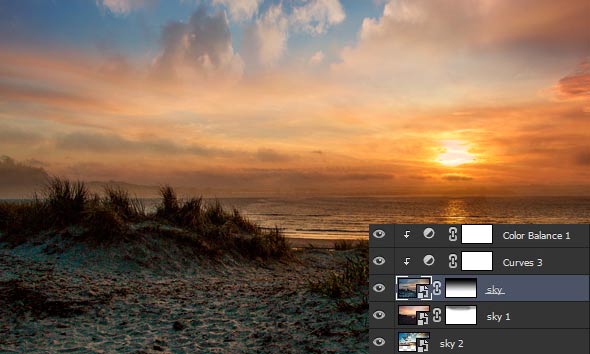
Let’s add another sky image to the main document. Since the another sky image will appear on the top of the scene then first I need to hide
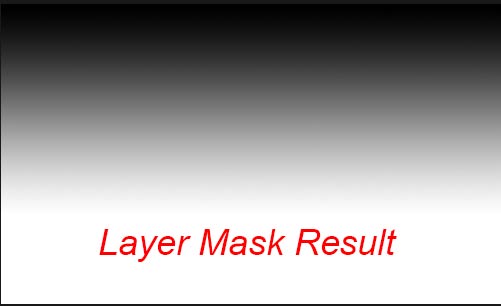
sky image part using a layer mask. Add Layer Mask to the sky image and activate the Gradient tool by pressing (G) on keyboard, choose the Linear Black/White gradient then apply it vertically ( hold shift to apply it vertically ) from top to bottom on the layer mask of sky.
Here are the results.
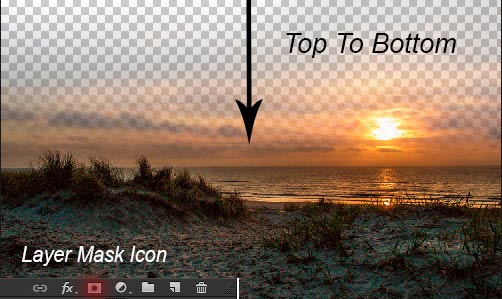
You can also see the results on the layer mask.
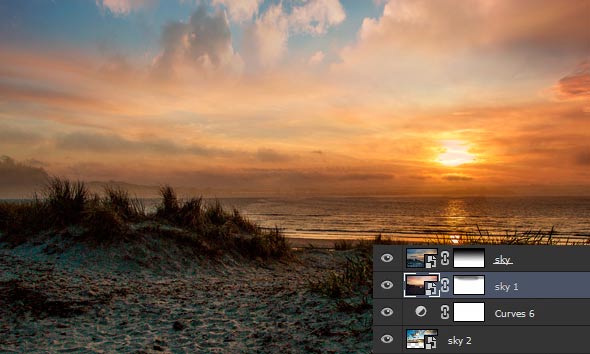
Now place the sky 2 image below the sky layer. Make sure to transform it (Activate the Transform tool by selecting Edit > Transform > Free Transform or pressing CTRL + T) so it can cover the entire canvas.
Here are the results.
Step 6
Hide the selected part of sky 2 image using soft round black brush with opacity & flow to 30% and you can also see the layer mask results.

Now add the sky 3 image below the sky 2 layer to add some clouds to the scene.
As you can see we’ve some clouds added to the scene.
Step 7
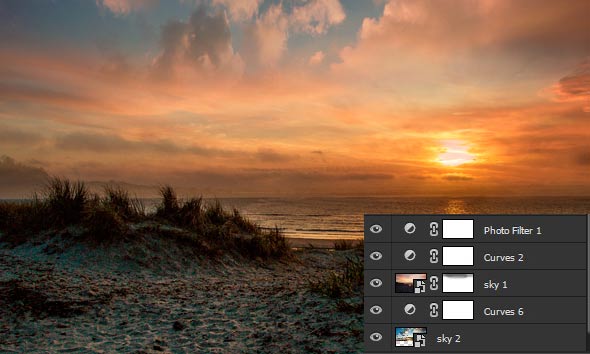
Now we have our basic ambient ready and it’s time for coloring. So add the Curves Adjustment layer to sky 2 to match it with the rest of scene.
Here are the values. Note that I am adding golden yellow tones to the entire scene because we are creating a sunset effect. So choosing colors depend on you that what kind of photo manipulation you are creating.

Here are the results.
Step 8
Time to adjust the sky 2 image with the scene. Add the following adjustment layer to the sky 2 but don’t use it as clipping mask because I want this adjustment layer to affect the below layer (sky 2).
Here are the results.
Step 9
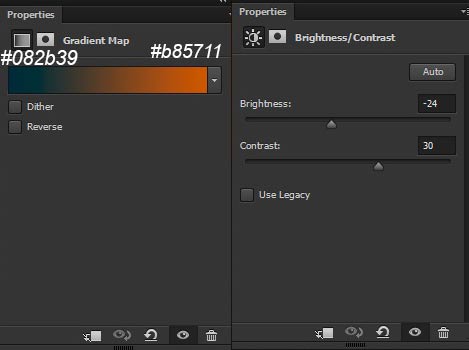
Light up the sky by applying Gradient Map adjustment layer ( Use color #082b39 for shadow and use #b85711 for highlights). Change the blend mode of Gradient Map to Color Dodge and reduce the opacity to 59%. Also, make the Brightness/Contrast adjustment layer to reduce the brightness of the sky.
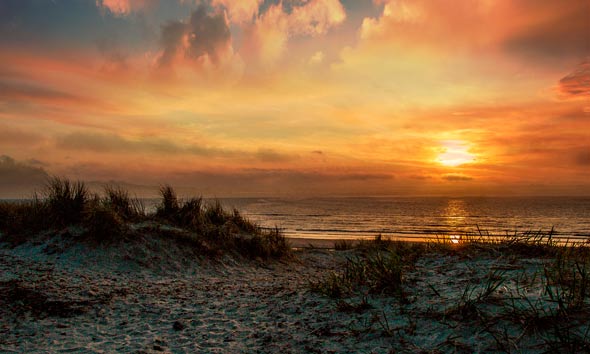
Here are the results.
Step 10
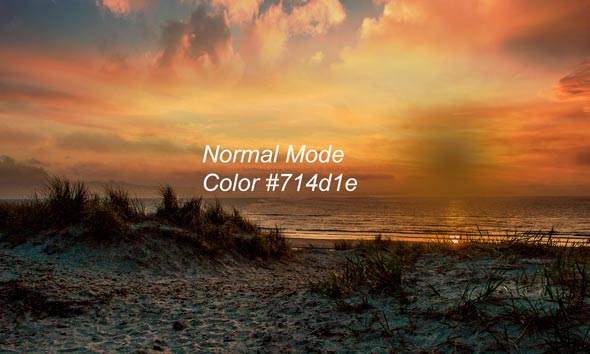
Add some glow to the sun, to do this create a new layer then activate the Brush tool (B). Change your foreground color to #714d1e and size around 700 to 800 pixels. Make a stroke at the sun as shown in the image below.
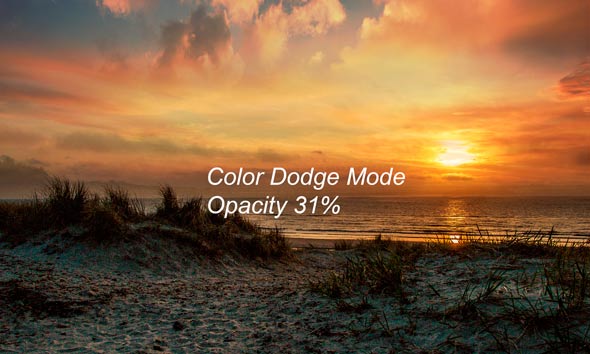
Change the blend mode to Color Dodge and reduce the opacity to 31% (reducing the opacity depends on you as how much glow you want to add).
Step 11
Adding the Old Man
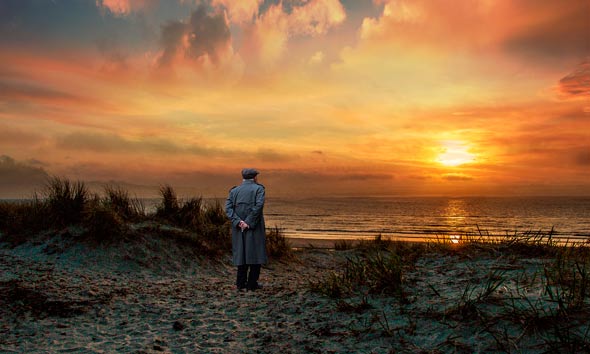
Isolate the model from its background using your favourite selection tool and place it on the main document.
Step 12
You can see that model doesn’t seem to be fit for the scene. This is because it doesn’t have any color adjustments and the most simple reason is that it don’t have any shadows. Creating shadows for any model help us to fit any model to our desired scene and shadows play a vital role to blend any model to the scene. Let’s create some shadows !!
Create a new layer below the model layer by pressing (CTRL + ALT + SHIFT + N) and activate the Brush tool then set the opacity and flow to 30% (Recommended setting for creating shadow). Use the black color to create some shadows where the foot of model contacts the beach.
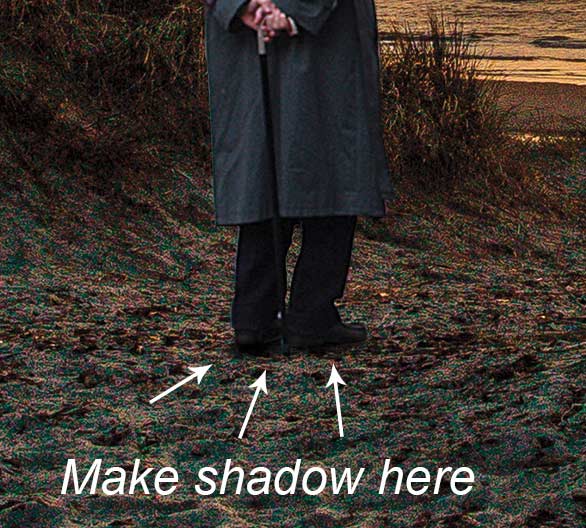
As you can see that we’ve contact shadow on the model and that looks good. To enhance it more preciously we need to create some more shadow for the model. Create another new layer (below it) and make some more shadow as indicated by the arrows.
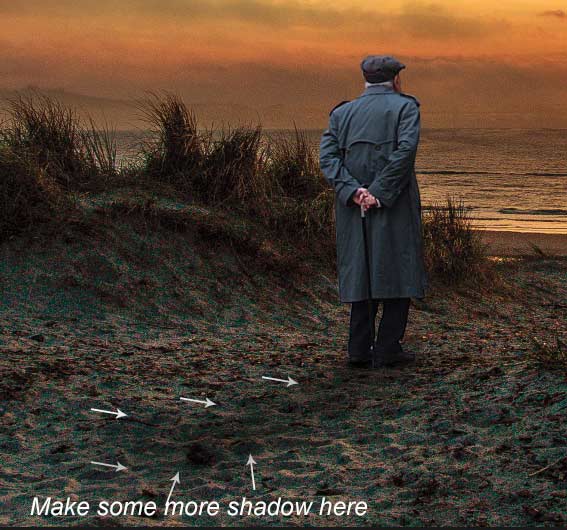
As you can see that by creating shadows the model looks actually standing on the beach.
Step 13
It’s time to blend the model properly to the scene using adjustment layers.
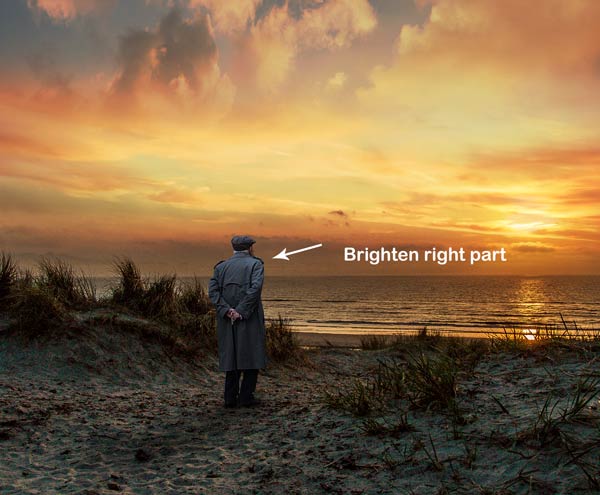
Whenever we blend model to the scene we need to take care of the light source. It is the light sources which determine that how we can refine shadow and highlights for our model. In our scene the light source is Sun and it’s at right side then the right part of the model should be brighter and the left part (below part) of the model should be darker as there is less light compared to the right part of the model.
Let’s blend mode to the scene by keeping all these things in mind.
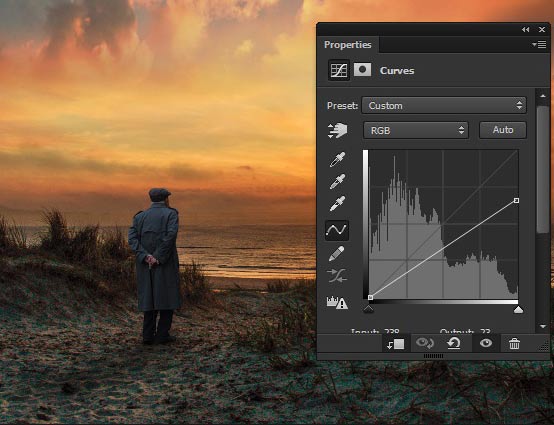
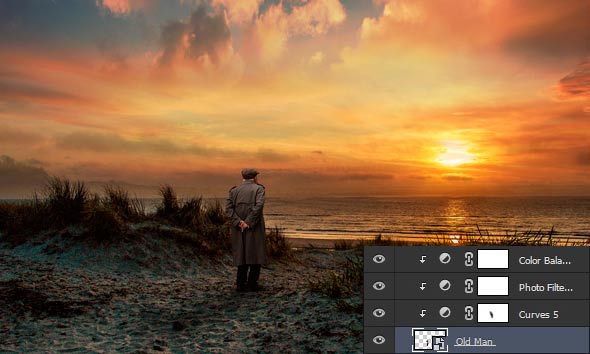
Make a Curves Adjustment layer to Model as clipping mask to darken it.
To brighten the right part of model hide the selected effect of Curves Adjustment layer as shown in the image below.
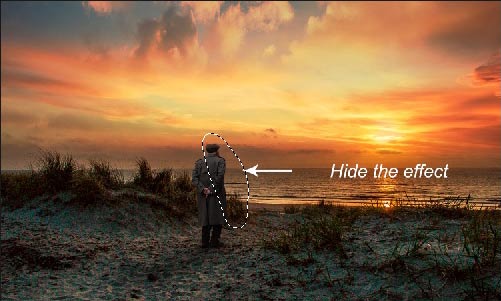
Here are the results and we have the brighten right part of the model.
Step 14
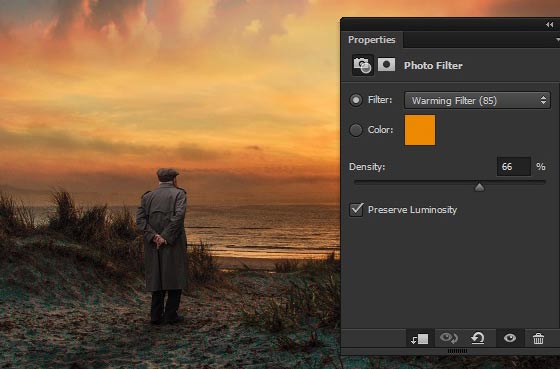
Add a Photo Filter adjustment layer to model and here are the results.
Step 15
Continue coloring it using Color Balance adjustment layer. Here are the settings.
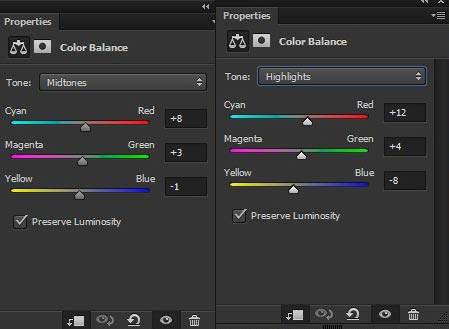
Here are the results.
Step 16
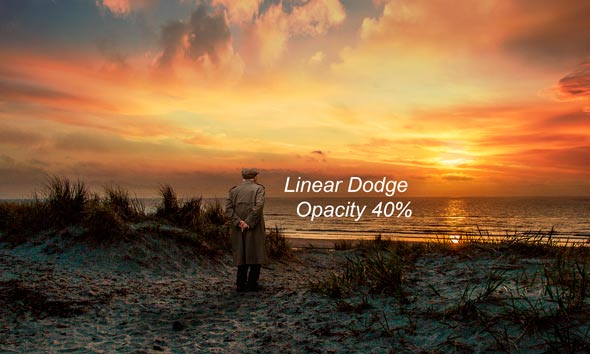
Paint some more light on the shoulder of the model. To do this create a new layer and change your color to #805824. Using soft round brush with opacity and flow about 30% paint some lights as shown in the image below.

Change the blend mode to Linear Dodge and reduce the opacity to 31%. As a result, we’ve nice glowing yellow tone added to the model.
Step 17
I created some more glow on the sun using same techniques in Step 10. However, this step is not compulsory but I explaining it as it included in this photo manipulation and you free to skip the step.
Step 18
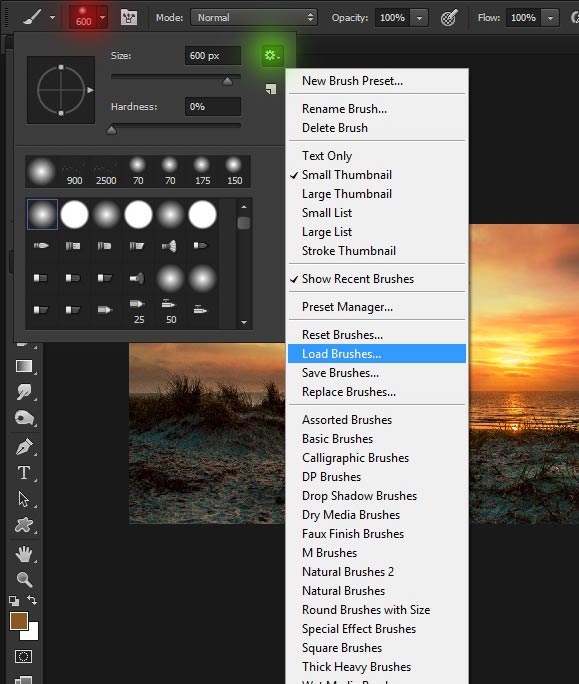
Load the birds in the Photoshop. To load brush activate the Brush Tool then click on the Brush Preset picker (the red one) and then click on new brush preset icon (green one) and finally choose load brushes. Locate the bird’s brushes and load it in Photoshop.
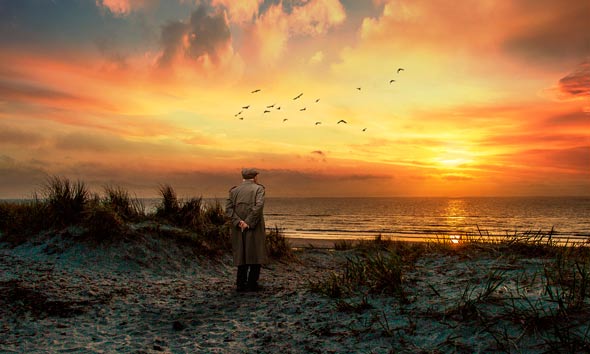
Create a new layer and paint some birds on the scene. I’ve used the 2500 pixels brush to paint the birds as shown in the image below (feel free to choose any birds brush).

Final Adjustments
Step 19
We are almost done but still short of Final Adjustments. I always make the final adjustment at the last of the scene to finalize the overall scene.
To light up the entire scene add the Gradient Map adjustment layer to the scene.
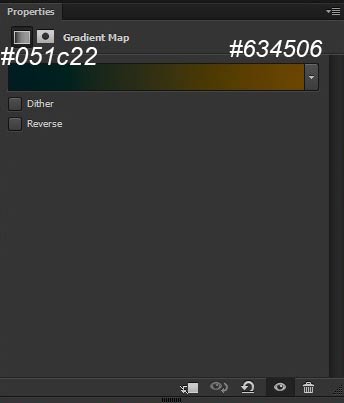
Set the blend mode to Color Dodge and reduce the opacity to 21%. Here are the results.
Step 20
Make the Color Balance adjustment layer and set the setting as shown in the image below.
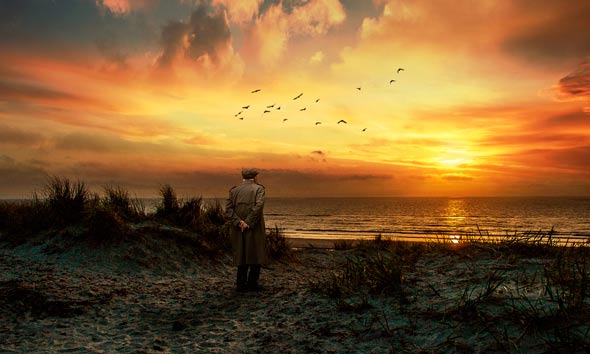
Here are the results:
Step 21
Finally, add the Gradient Map adjustment layer to it. Choose the black/white in gradient editor presets.
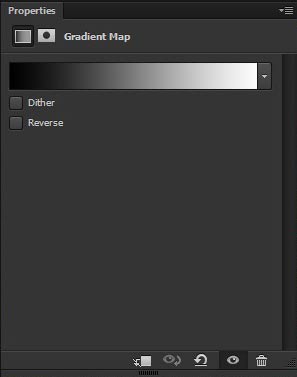
Change the blend mode to Multiply and reduce the opacity to 30%.
Conclusion
Thanks for following the tutorial and in this tutorial we’ve implemented all the basics of Photoshop. I hope that it will help you to manipulate photo just in a way you can think of. If you have any question regarding the tutorial feel free to let me know through the comments and I’ll be happy to help you !!
Need Help With Photoshop or Looking for Professional Support?
Whether you're just getting started with Photoshop or need expert-level assistance, we're here to help! Contact us for personalized Photoshop tutorials, project support, or creative services.
Get in touch today to take your skills or projects to the next level.
CONTACT US NOW📘 Want to Master Photoshop Faster?
🎁 Get Your FREE PDF E-Book "Top 10 Photoshop Tricks Every Designer Must Know" Now – Packed with expert tips, shortcuts, and techniques to boost your creativity & workflow.
👉 Download Your FREE PDF E-Book NOW!

