
Ever felt like you wanted to create a preset but don’t know where to start? What should be the ideal settings that you should use before creating a preset? Creating a versatile preset is not an easy task, it requires a lot of testing and extensive knowledge of Lightroom to get the job done.
But don’t worry, if you are willing to create a preset for your photographs, I have the ideal checklist that you can use to get started with creating presets.
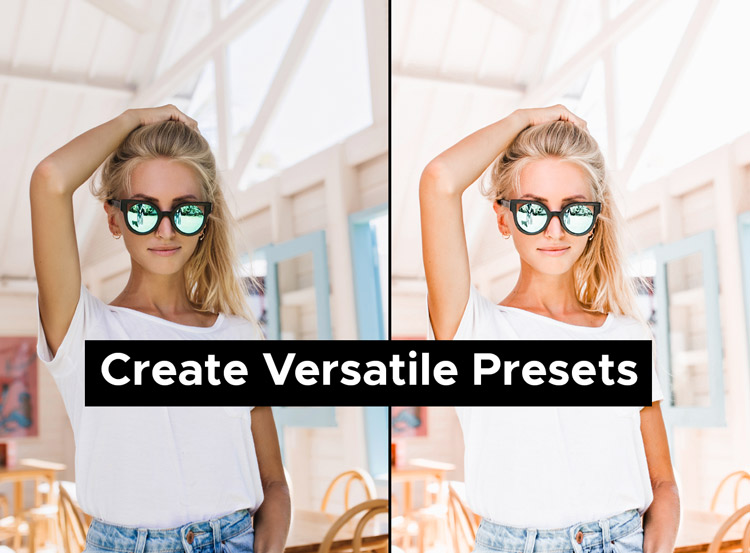
In this tutorial, I’ll share my top 5 best practices for creating presets that are as versatile as possible. These tips will give you a blueprint and serve you as a base to make your presets powerful, versatile, and well-organized. Let’s get into the tutorial.
#Tip 1 – The Ideal Basic Settings
No matter your skill level, every photographer and casual editor has to go through the Basic Tab. This tab is responsible for adding the amount of light in your images. It can help you correct exposure, recover details, and much more.
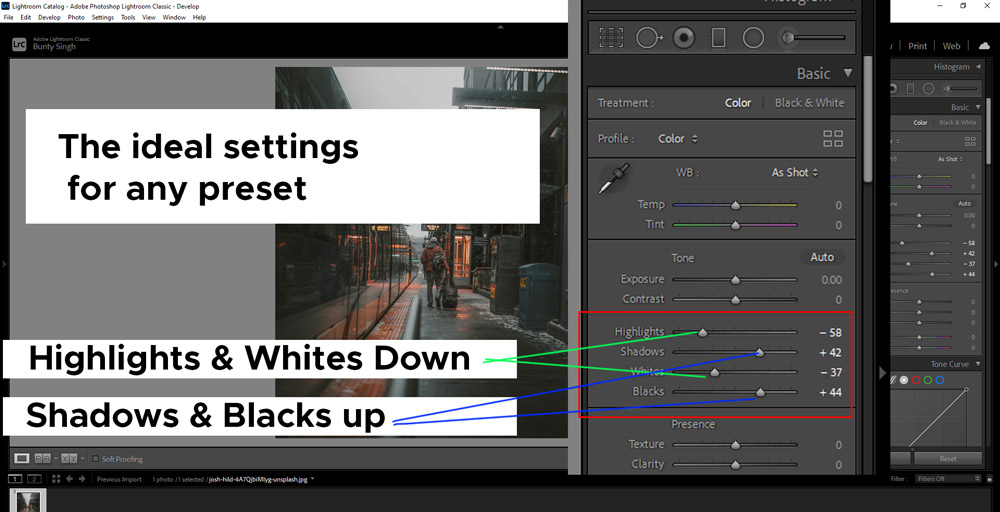
The Basic Tab is really important and an ideal setting that will work with any image is Highlights & Whites should be down and Shadows & Blacks should be up.
Most of the time when you capture images, they come out slightly overexposed or underexposed. Bringing the Highlights & Whites down is an ideal way to recover details from these areas. Similarly, if the photo is underexposed, dialing the Shadows and Blacks slider up helps recover information from shadows.
So close your eyes, set the Highlights & Whites down and up the Shadows & Blacks slider values.
#Tip 2 – Protect Skin Tones
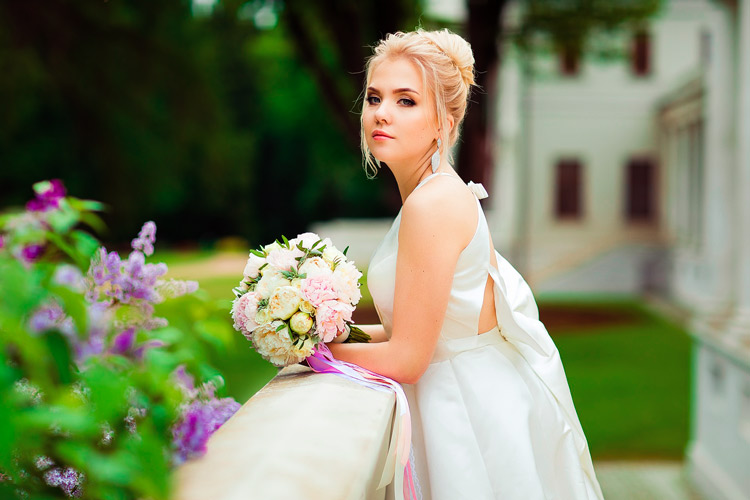
Skin tone protection is a must-do thing for any preset. You don’t want to ruin people’s skin tones with your presets. To better understand, we need to understand what affects skin tones, there is only one slider that directly affects skin tones The Orange Slider in the HSL Panel.
When you use this slider, always avoid using the negative values that will surely gonna darken and mute skin tones. That’s not what you want.
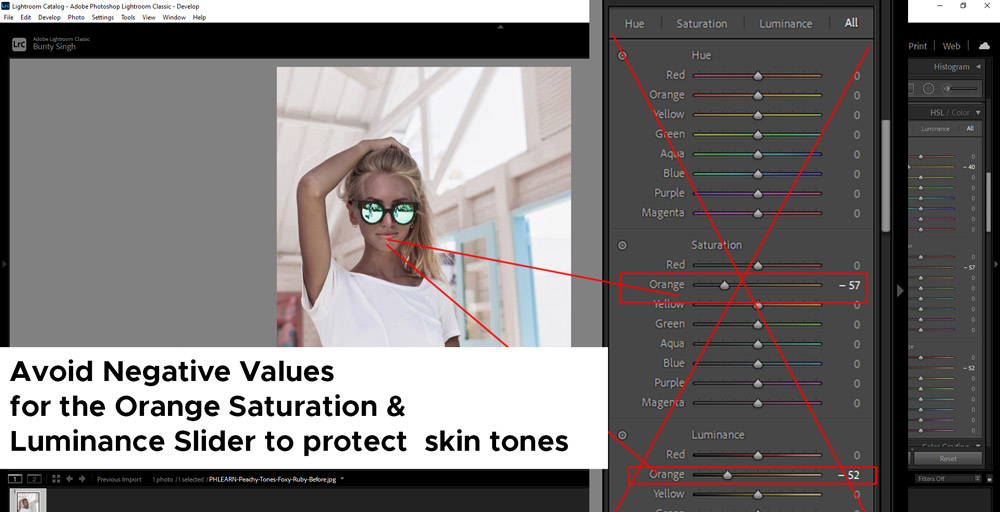
Instead of negative values, always go for positive values for better and natural-looking skin tones. Either you can put the slider on the positive side or leave it to keep the skin tones intact.

#Tip 3 – Use of Vibrance & Saturation
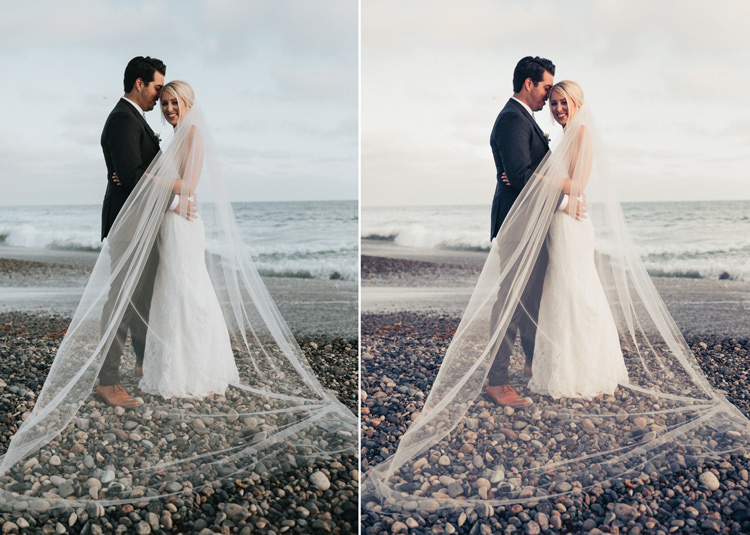
The use of the Vibrance & Saturation slider is important and can help you get close to your desired look. A positive value for both sliders makes colors vibrant and on the other hand, a negative value gives a dark or moody feel to a photo & even desaturate it.
If you are working on a moody effect, a negative value might help you as in moody looks colors are always muted. You can reduce the saturation and vibrance values if you are going after a dramatic moody look.

On the other hand, if you are working on a light/bright and airy look, you can increase the values of Vibrance and Saturation sliders that will give a clean, bright, and vibrant look to any image.

To understand the difference between Vibrance & Saturation, take a look at the image below.
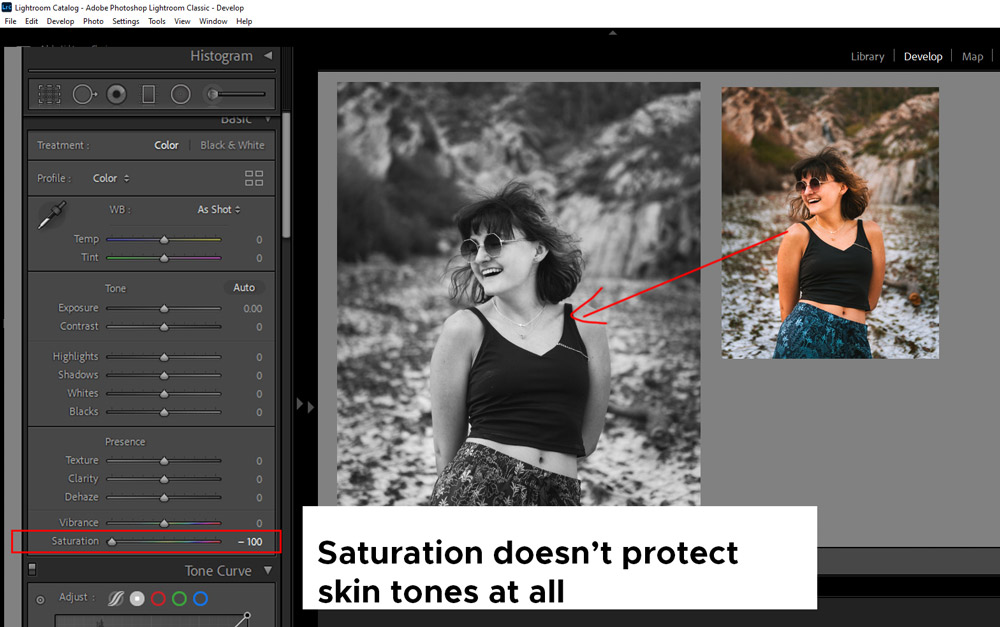
I reduced the Vibrance all the way to the left, as you can see it has muted all the colors except skin tones. That means the Vibrance slider protects skin tones when removing all the colors in your image. You can use this slider if you want to give a slight boost to colors in your images.

Whereas the Saturation slider doesn’t protect skin tones at all. It will mute all the colors in any image when used. You can use this slider to give a strong boost to colors to your photographs.
#Tip 4 – Pop Details
Number 4 on the checklist is sharpening the details of a photo to make them pop. Ideally, you want some sort of sharpening in any preset to make the details pop a bit and avoid any flat detail.
To do this, you can go to the Detail Tab and from there you can increase the sharpening that affects the whole image.
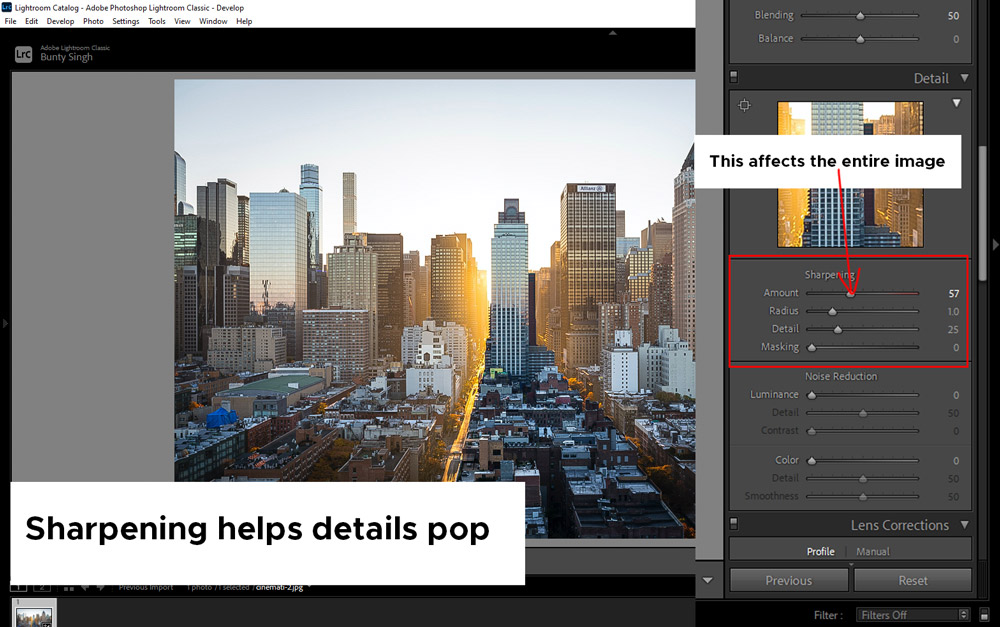
For more precise sharpening, you can use the Masking slider that will help you selectively add sharpening to areas of a photo. In the image below, you can see by increasing the Masking Slider value, it is only affecting the edges of the building not the rest of the image.

#Tip 5 – Naming Convention
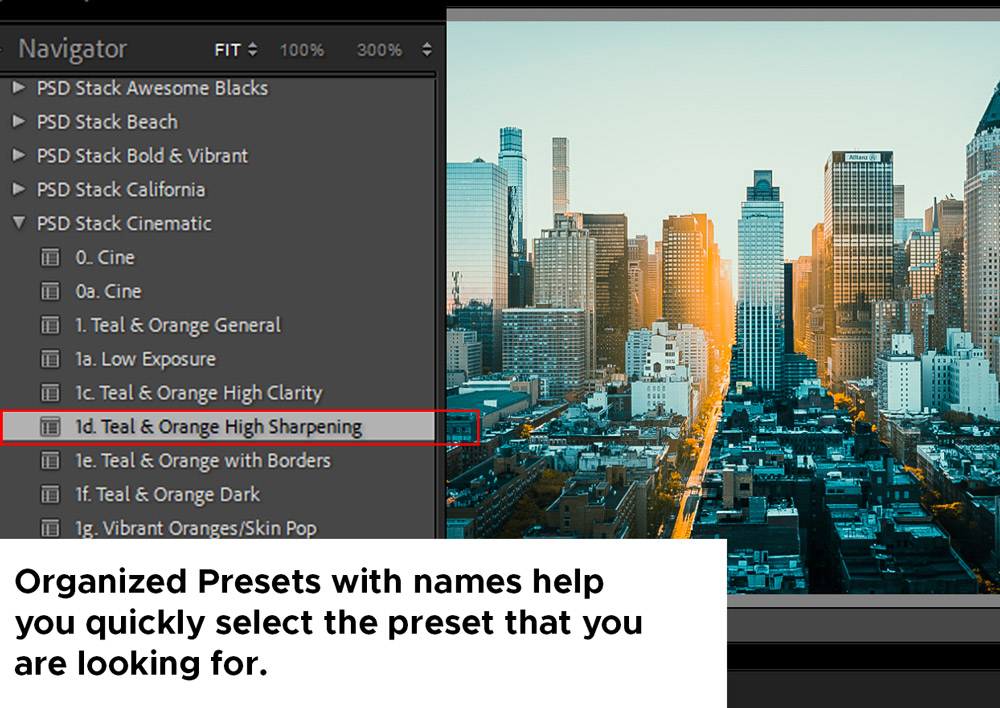
The preset that you are going to create should be easy to use. They should be well organized so it is easy to find the preset that you are looking for. Breaking down the presets into a theme or using a good naming convention can help you just do that especially when you have hundreds of presets in your arsenal.
Make sure you name them after what they do. In the image below, you can see how I named my cinematic presets, the presets exactly do what the preset name says.
I hope you enjoyed the tutorial. I hope these tips will help you get a head start when creating a preset.
Need Help With Photoshop or Looking for Professional Support?
Whether you're just getting started with Photoshop or need expert-level assistance, we're here to help! Contact us for personalized Photoshop tutorials, project support, or creative services.
Get in touch today to take your skills or projects to the next level.
CONTACT US NOW📘 Want to Master Photoshop Faster?
🎁 Get Your FREE PDF E-Book "Top 10 Photoshop Tricks Every Designer Must Know" Now – Packed with expert tips, shortcuts, and techniques to boost your creativity & workflow.
👉 Download Your FREE PDF E-Book NOW!