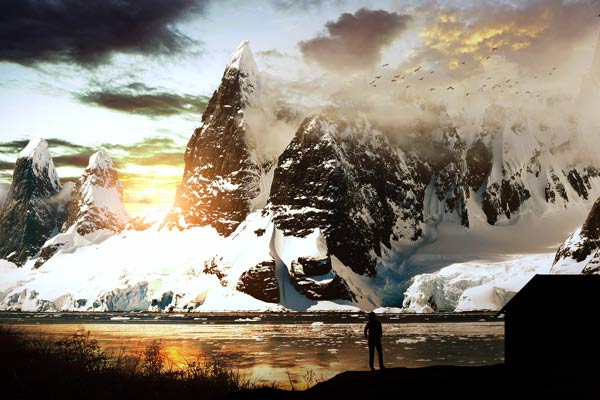
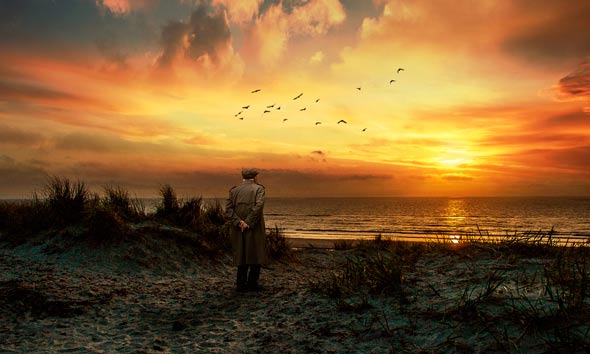
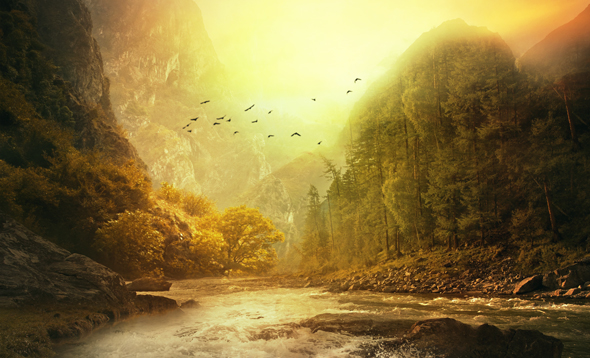
In this tutorial, we’ll be creating a landscape using a range of photo manipulation techniques. You’ll learn how to extract the image from the background then blend it to make it parts of the scene. You’ll also learn how to fix blending issues, use basic drawing techniques to draw silhouette and you’ll be brushing up your digital painting skills as well.
Tutorial Resources
Step 1
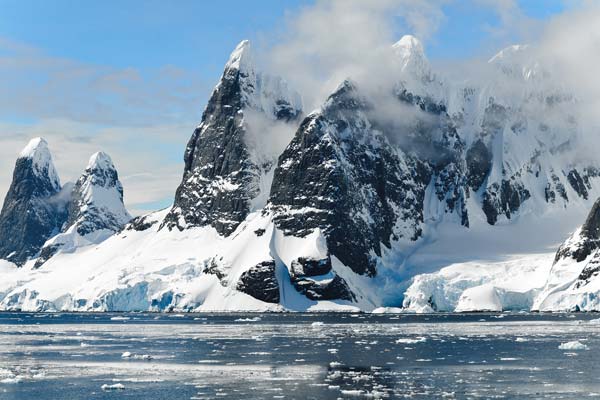
Open the landscape in Photoshop as shown below. I didn’t create a new document instead of that I am directly working on the image. But if you want you can create a new document in Photoshop.
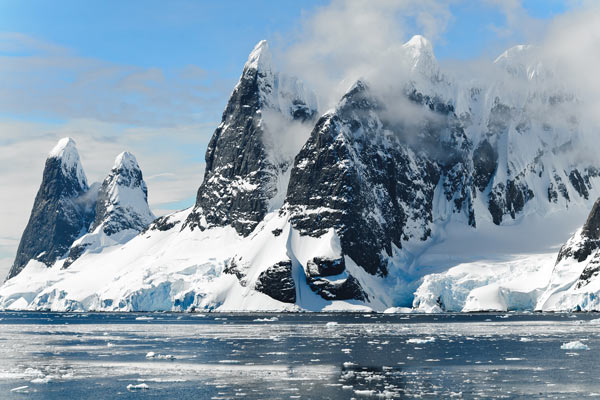
Activate the Free Transform Tool (CTRL + T) and then scale the landscape image to left side (just a bit). You can compare the image in the below screenshot.
Step 2
Now we’ll extract the landscape from its background. Use your favorite selection tool and make the selection of the background like shown below. Don’t worry about the mist over the mountains we’ll take care of it in next couple steps. For now, just make the selection.
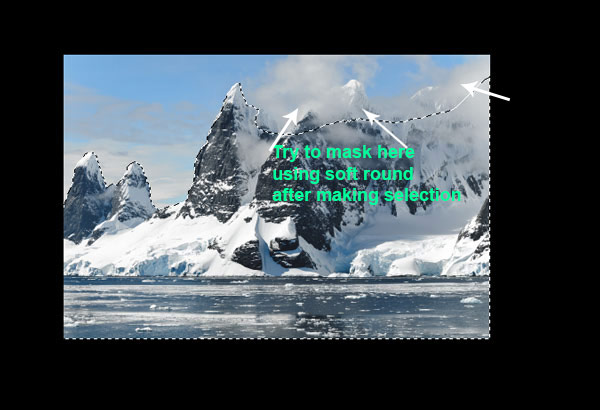
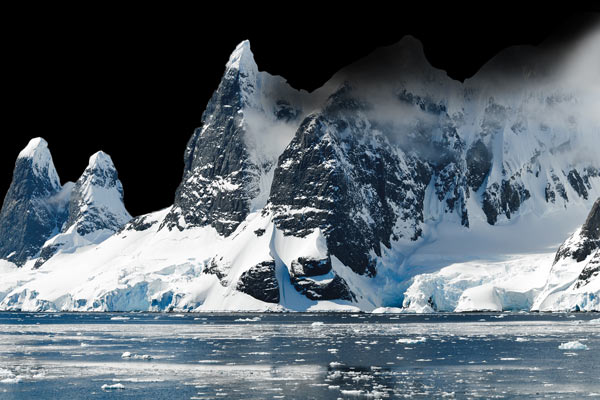
While the selection is active, go to Layer > Layer Mask > Reveal All and add a mask to landscape image to extract it from the background. Now you’ll have hard edges over the misty area and to get rid of them. Use a soft round brush with white color to reveal some parts of the mist and then re-mask using black color in order to make them soft.
You can see in the below image that I didn’t completely erase those parts and we’ll paint the mist later there so don’t worry about it.
Add the Sky
Step 3
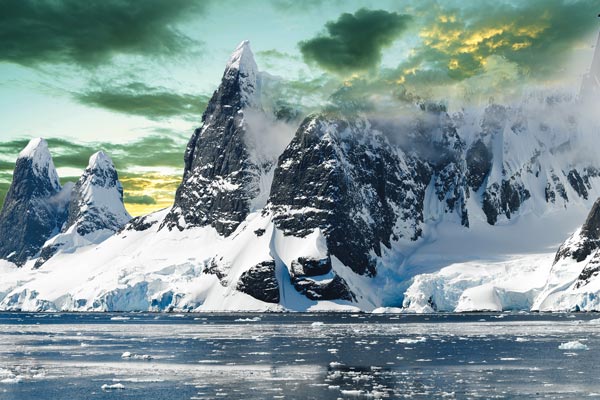
The image which I’m using here is the final outcome of edit landscape shot tutorial and you can follow it here. You can either use the image or follow the tutorial to create it. I’m putting the sky image under the landscape layer. Here you can see how I enlarged it:
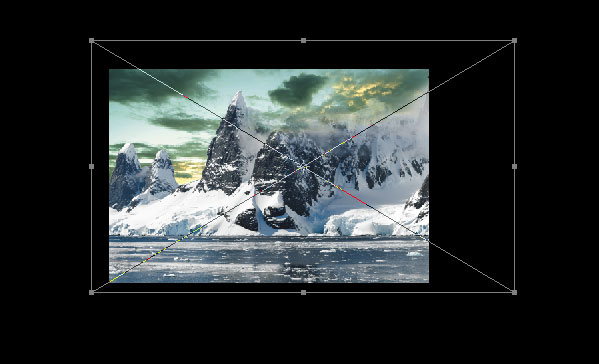
Here you can see the results so far:
Step 4
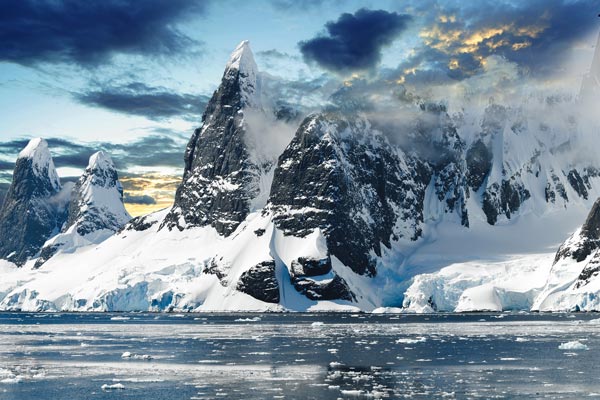
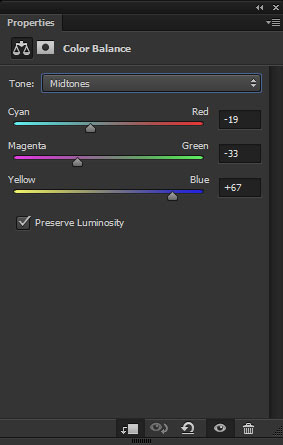
As you can notice the sky color is not matching and you know that matched color on the entire composition leads to compelling artworks. What we do now is that make a Color Balance (Layer > New Adjustment Layer > Color Balance) adjustment layer and use the Midtones settings to match the color with the existing scene.
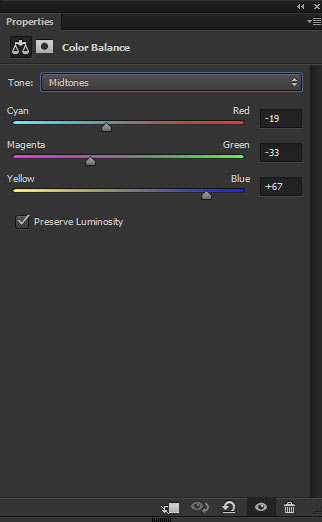
After changing the color of the sky:
Step 5
Now we’ll light up the sky by creating the light effect. Create a new layer by pressing CTRL + SHIFT + N. Choose a dark orange color (I chose #55592d) and paint over the sky using a soft brush as shown below.
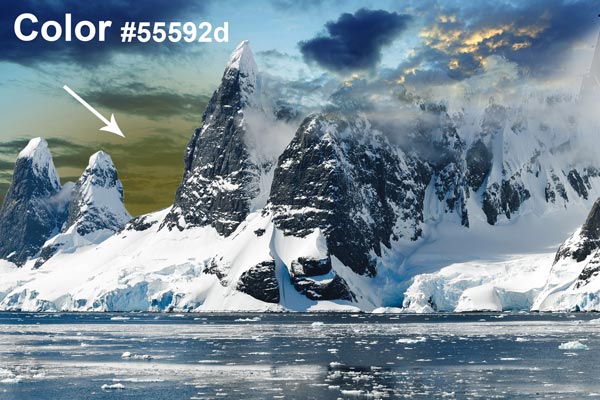
Now change the blending mode to Color Dodge and lower the opacity to 66%.
Step 6
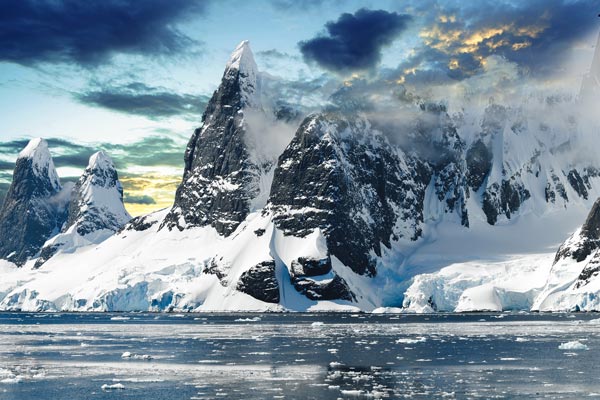
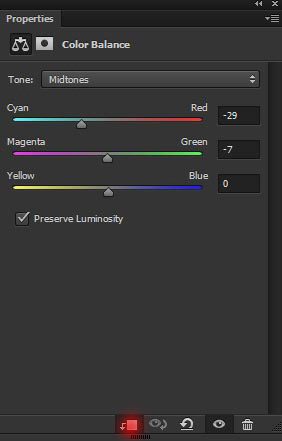
Get back to landscape image and make a Color Balance adjustment layer for it. Use the settings below to alter the color a bit and don’t forget to use this layer as Clipping Mask (press the red icon).
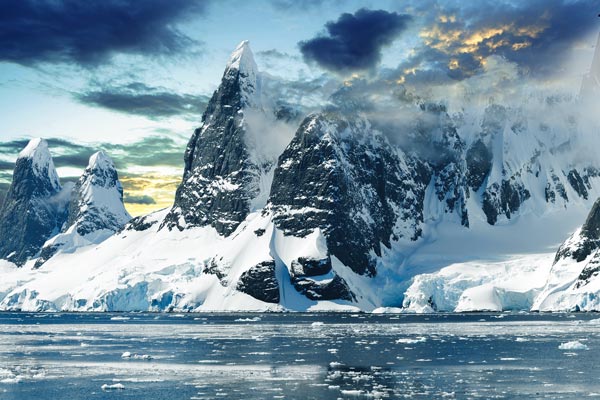
Results:
Painting the Mist
Step 7
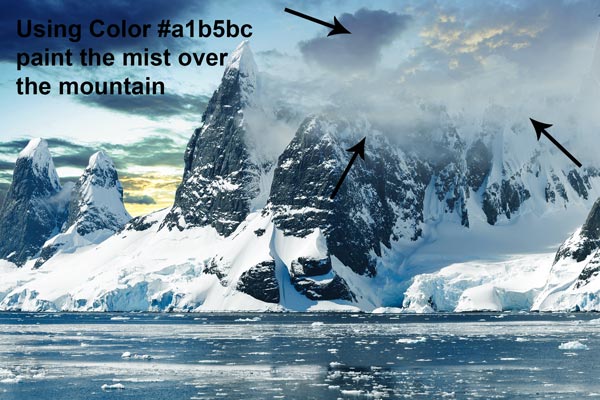
As I said we’ll paint the mist over the mountain later and it’s time to do it. Create a new layer above all layers. Using the color #a1b5bc paint the mist over them. You can also sample the color from the image which we created so far and don’t forget to use a soft brush with lower opacity and flow in order to paint the mist.
Making Light Reflection
Step 8
We need a light reflection on the water of the landscape and making reflection is not an easy task. To make our task easier we’ll be using the sky image again for creating the light reflection.
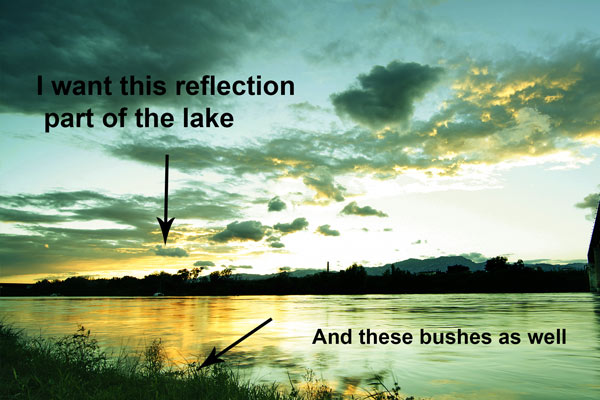
First, place the sky photo over all layers and you can see how I did it. The below image also shows which parts we need like the reflection and the bushes as well.
Add a mask to sky image and mask the parts highlighted in red color.
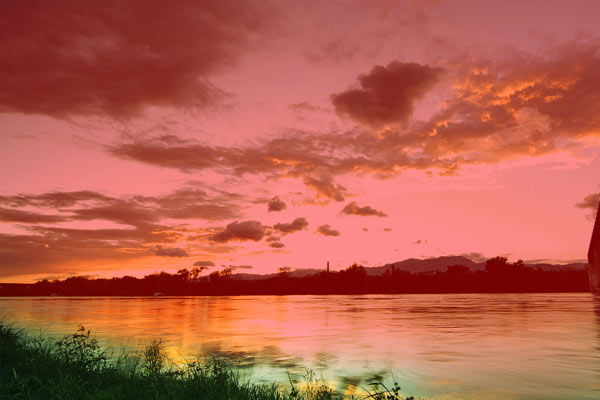
Now we’ve got the reflection on the water and some bushes which likely to be there around the lake.
Step 9
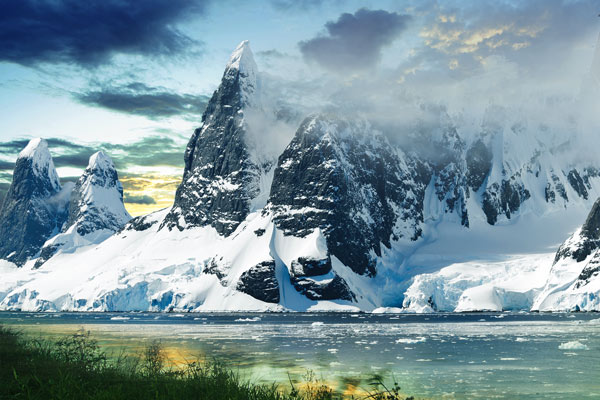
Match the color of the added parts of the sky using a Color Balance adjustment layer.
The results so far:
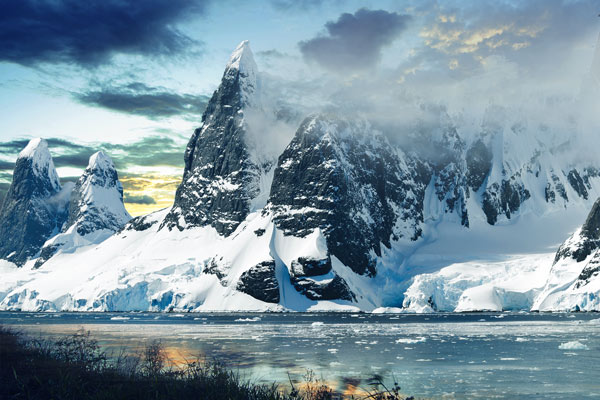
Step 10
As you can see the composition is started to build up and now we need to tell a story to finish the composition. But before that, I changed the color of the entire image using a Curves adjustment layer.
Using RGB channel I increased the contrast and using Red and Blue I changed the color.
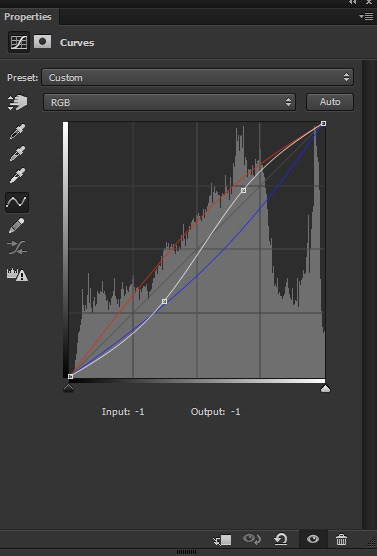
Results with changed colors and contrast:
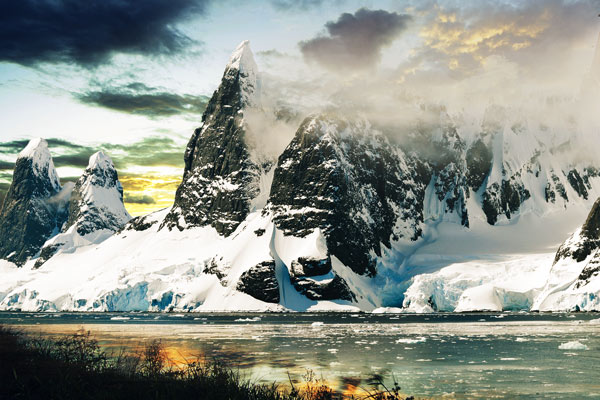
Using Lens Flare for Creating Lights
Step 11
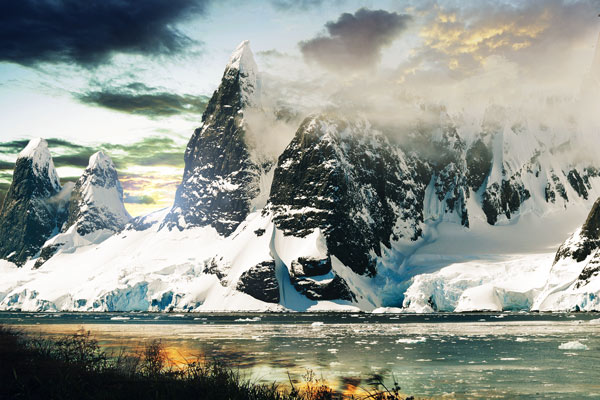
Now we’ll use a lens flare in order to create the light. I never used a lens flare before instead of that I paint light with myself but I notice that using flare is a great option as well.
In the lens flare pack, choose the Flare 28 image and add it to the composition.
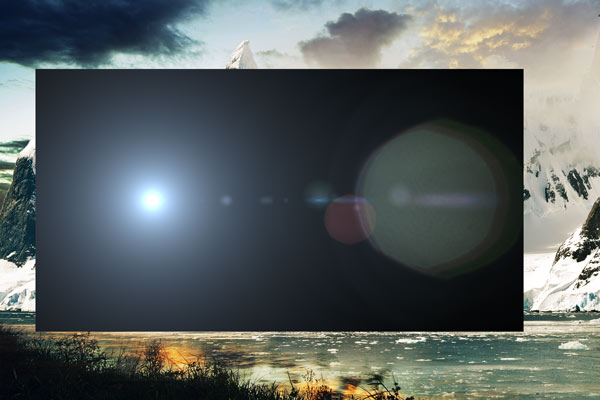
Now change its blend mode to Lighten. You can also choose Screen mode to get rid of the black background of the flare. I also used the layer mask to remove the hard edges of the flare after changing the blend mode.
Step 12
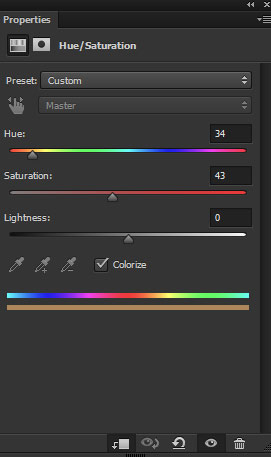
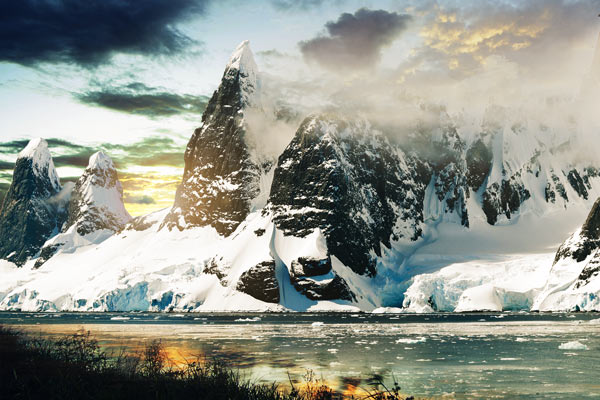
Use the Hue/Saturation adjustment layer to change the color of the flare.
After changing colors:
Step 13
In this step, we’ll paint the light over the flare and over the sky parts. Create two layers one for flare and one for reflection in the water. Using the color #542718 paint the light over them.
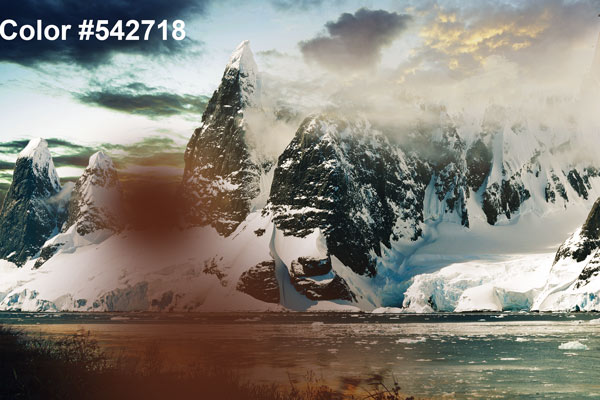
The layer in which you painted lights over the lens flare, change its blend mode to Linear Dodge. For lake reflection layer, change its blend mode to Color Dodge.
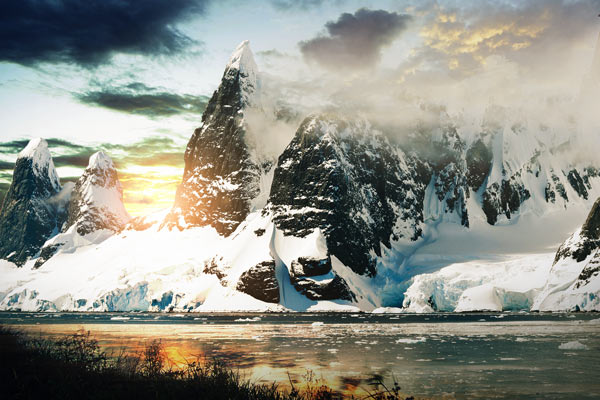
Step 14
Create a Curves adjustment layer and darken the whole composition.
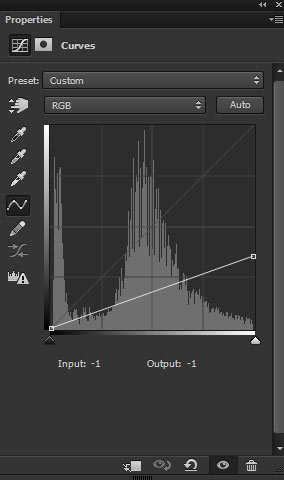
On the layer mask of this Curves, erase the effect on the highlighted red parts to keep this area brighter. The aim here is as simple as it that keep those parts brighter which is near the light source like the highlighted red parts and keep those parts darken having fewer lights like except the red parts.
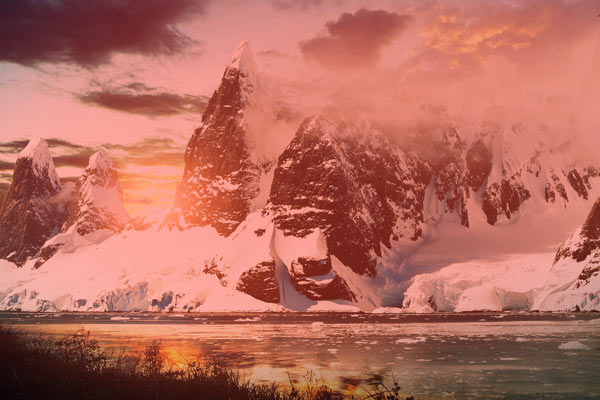
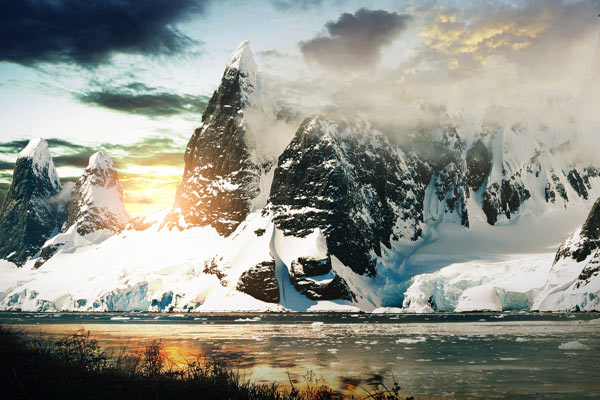
Results:
Painting Silhouette
Step 15
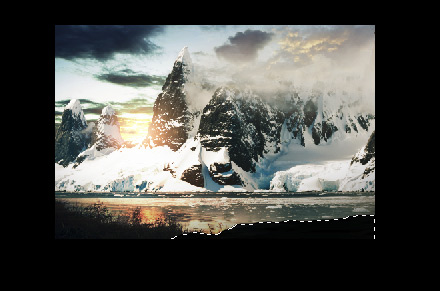
Time to paint some silhouettes using selection tool. Using the Lasso Tool (L) paint the cliff like shown below. First, you need to make selection by using Lass Tool then fill this part with black color. Also, I painted some shades over it using color #010303 using oil pastel brush (63 size default Photoshop brush).
If you don’t want to paint, you can use any cliff image then make its selection and then fill it with black color.
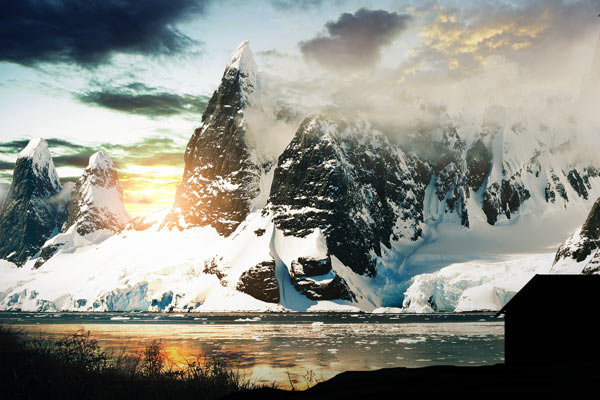
Now again, on a new layer, using Polygon Lasso Tool I painted the house silhouette.
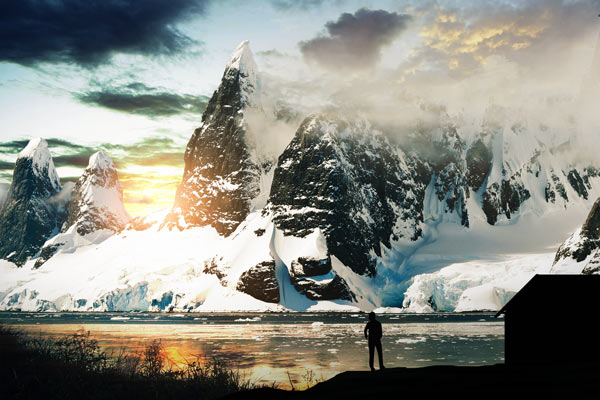
For the man, I used an image of the man and then I selected him and then I filled the selection with black color.
Final Adjustments
Step 16
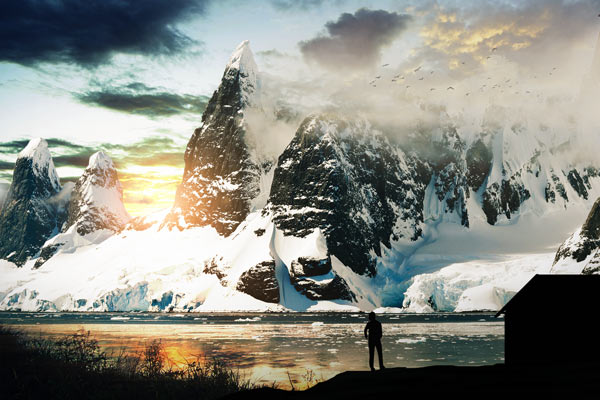
Using the birds’ brushes paint some birds over the mountains and I also reduced the opacity of the bird’s layer to 72%.
Step 17
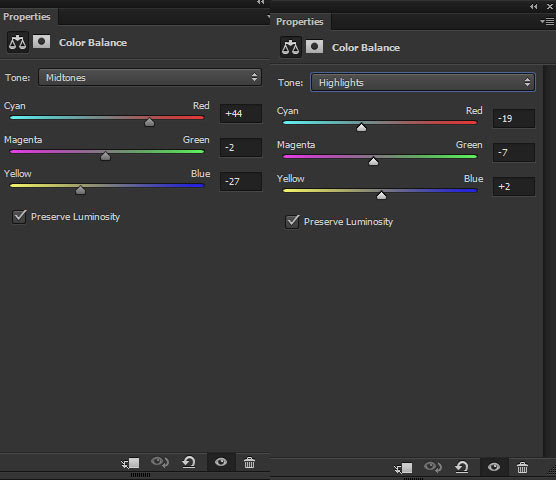
Use the Color Balance adjustment layer to enhance the color of the entire scene.
Results:
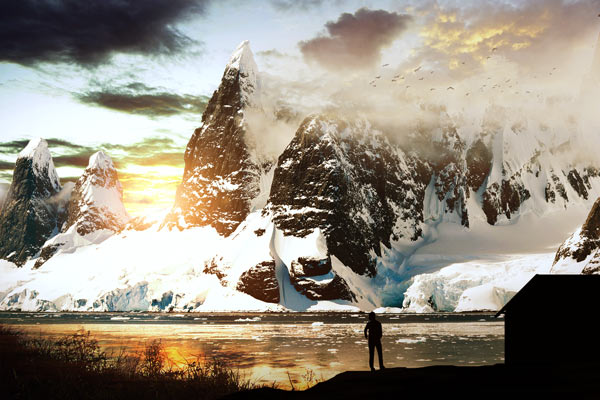
Step 18
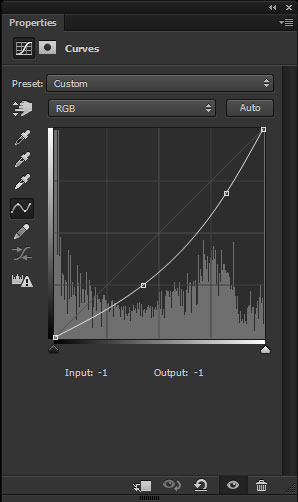
Finally, I used the Curves adjustment layer in order to darken the parts which I think they should be.
On the layer mask, I erased the effect on the selected parts using a soft, basic black brush.
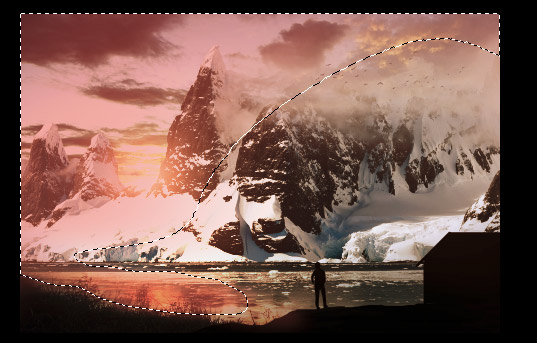
Here is the final outcome of the tutorial:
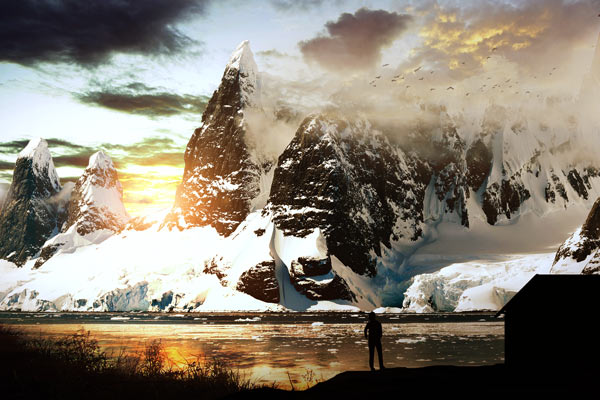
Conclusion
Hope you like this landscape tutorial and enjoyed it. If you have any comments then you are always welcome. See you next time with new tutorial till then keep Photoshopping!!
Need Help With Photoshop or Looking for Professional Support?
Whether you're just getting started with Photoshop or need expert-level assistance, we're here to help! Contact us for personalized Photoshop tutorials, project support, or creative services.
Get in touch today to take your skills or projects to the next level.
CONTACT US NOW📘 Want to Master Photoshop Faster?
🎁 Get Your FREE PDF E-Book "Top 10 Photoshop Tricks Every Designer Must Know" Now – Packed with expert tips, shortcuts, and techniques to boost your creativity & workflow.
👉 Download Your FREE PDF E-Book NOW!
