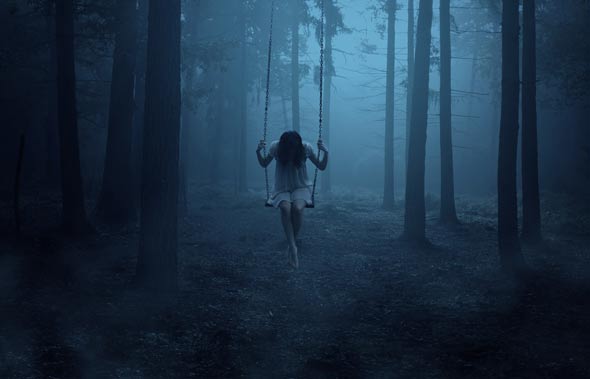
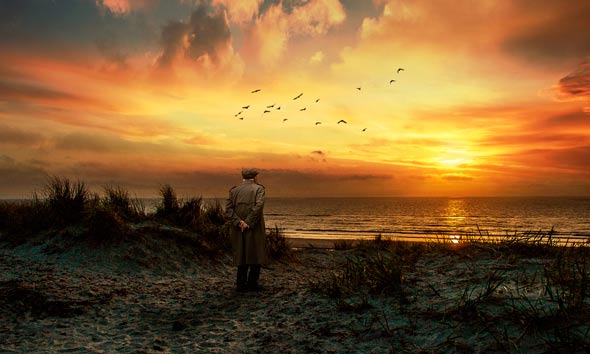
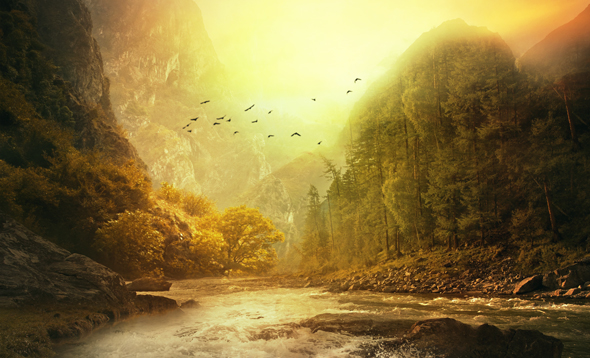
Learn how to create a dark, eerie forest scene in Photoshop. In this tutorial you’ll learn how you can create a dark, eerie and ominous forest. You’ll learn how subtle changes can make big differences in photo manipulation. You’ll also learn how to use adjustments layer, practice dodge & burn, using a layer mask, creating light effects and much more.
Tutorial Resources
Preparing the Background
Step 1
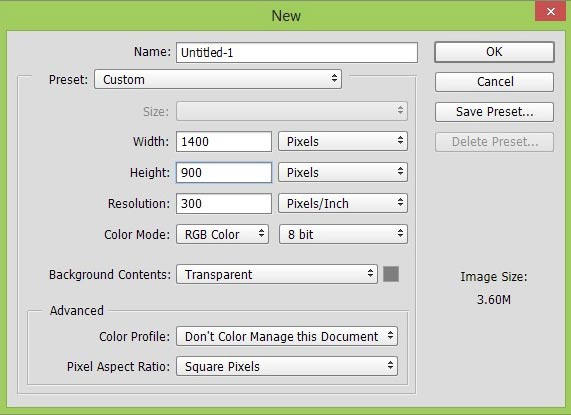
Start by creating a new document by selecting File > New and then set the setting as shown in the image below.
Step 2
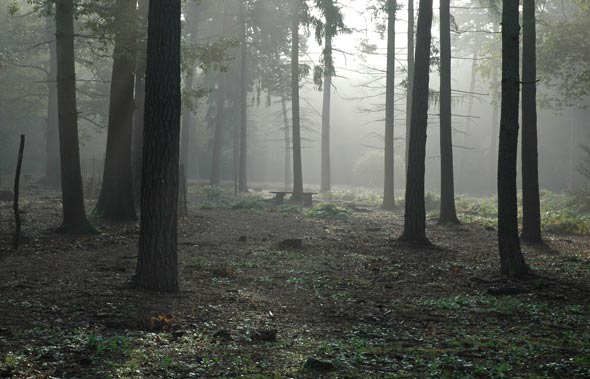
Place the forest image to the main document by selecting File > Place and then place the forest image.
Step 3
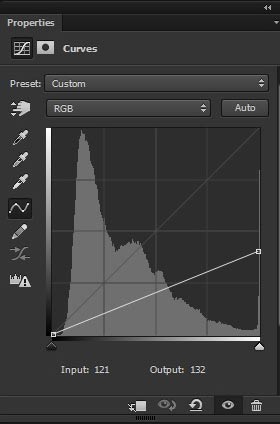
Since we’re working on a dark photo manipulation, so obviously we should decrease the lightness of forest. To achieve this, add a Curves (select Layer > New Adjustment Layer > Curves) and then reduce the lightness of forest. Here are the values.
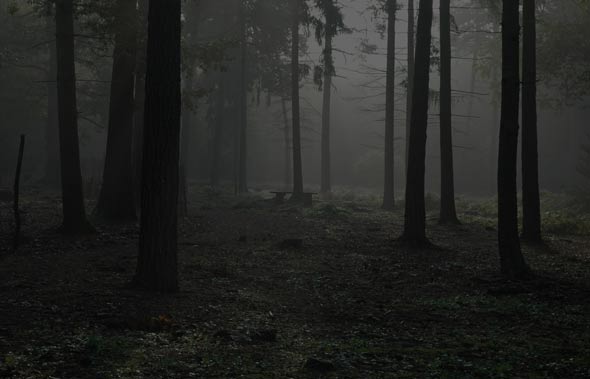
Here are the results with decreased lightness.
Step 4
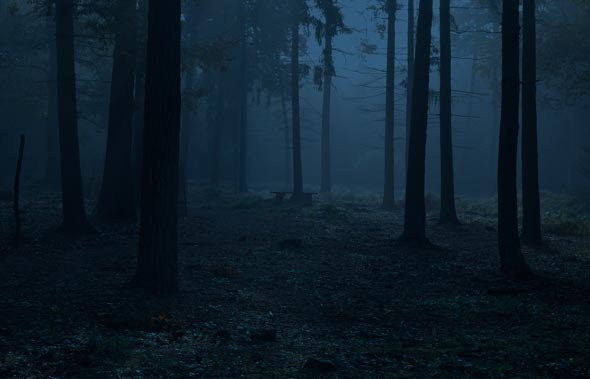
Now we’ll add dark blue tones to the forest using adjustment layers.
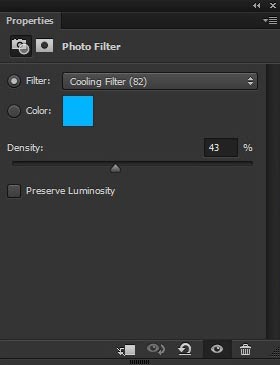
Make a Photo Filter adjustment layer and choose the Cooling Filter (82) to add cool blue tones. You can also increase the density according to your needs but don’t increase it too much.
Here are the results.
Step 5
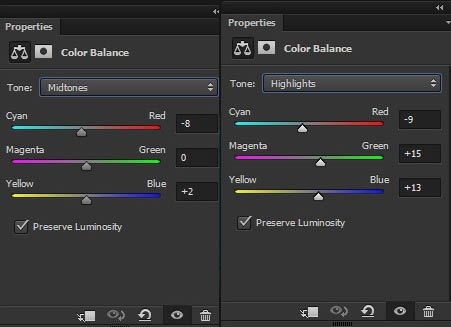
Continue adding colors to forest by using Color Balance adjustment layer. Only change the midtones and highlights value and here the values for Color Balance.
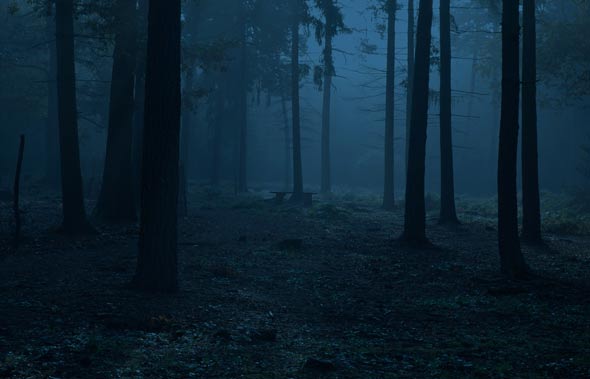
Results :
Creating Light Effects
Step 6
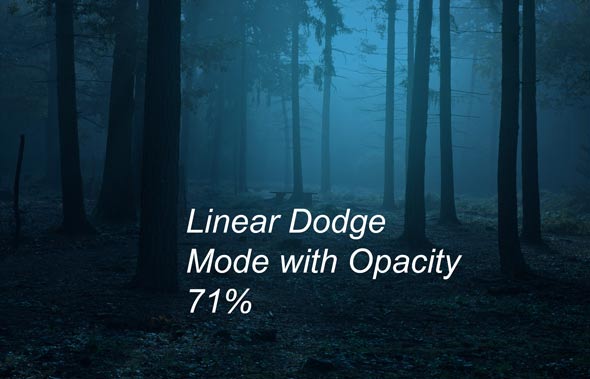
Now we’ll create light effects for the scene to make more focus at the middle of the forest. Create a new layer by pressing (CTRL + ALT + SHIFT + N ) and name it ‘Light 1’. Change your foreground color to #134850 and activate the Brush tool by pressing (B) on the keyboard. Use a soft round brush to make a stroke as shown in the image below.
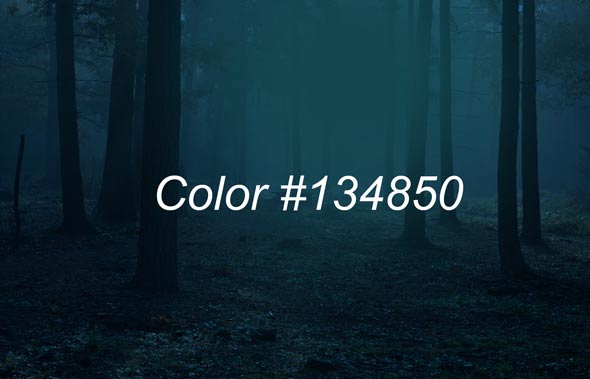
Change the blend mode of ‘Light 1’ layer to Linear Dodge and reduce the opacity to 71% (as always reducing the opacity depends on you as how much light you want to add).
Create more Focus
Step 7
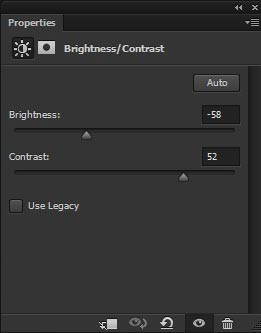
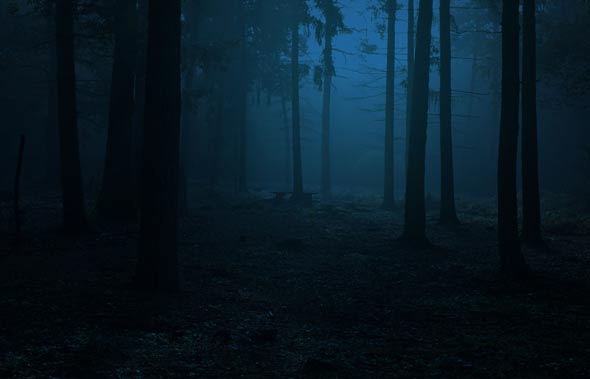
We’ll create more focus at the center of the scene using a Brightness/Contrast adjustment layers. First add a Brightness/Contrast adjustment layer and set the value as shown in the image below.
Here are the results.
Step 8
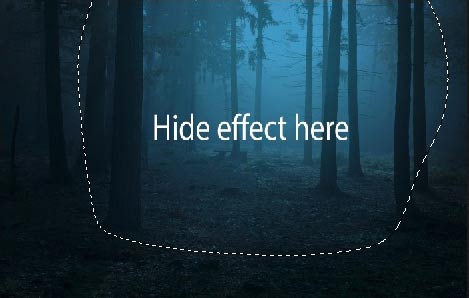
Make the center of the forest more brightner by hiding the Brightness/Contrast effect on the center.
So, on the Layer Mask of Brightness/Contrast hide the selected effect using soft round black brush. Here are the results on layer mask.
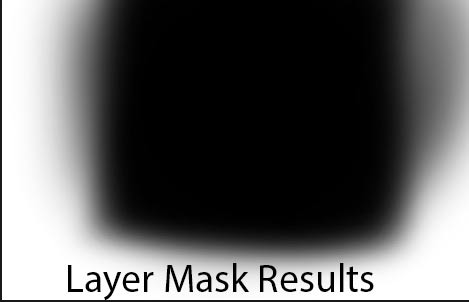
Here is the instruction where you should hide the effect.
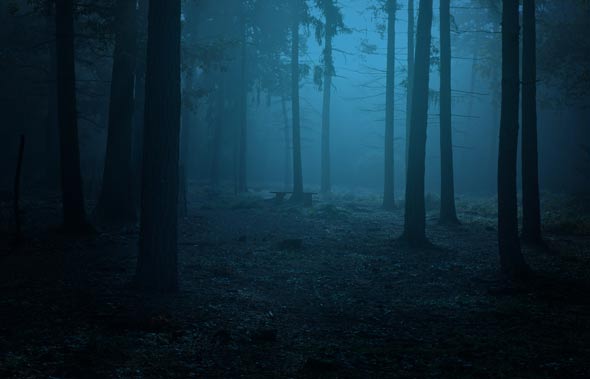
Results:
Adding Model
Step 9
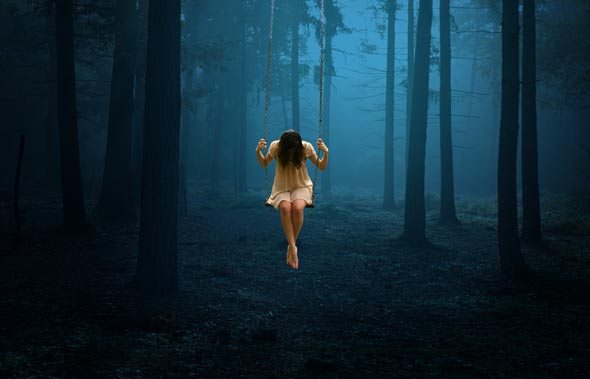
Isolate the model from its background using the selection tool and then place it into the main document. Take your time while making a selection and it took me 30 minutes to extract the model. Most difficult parts are chain parts so take your time and make the selection properly.
Here we have the model placed on the scene.
Step 10
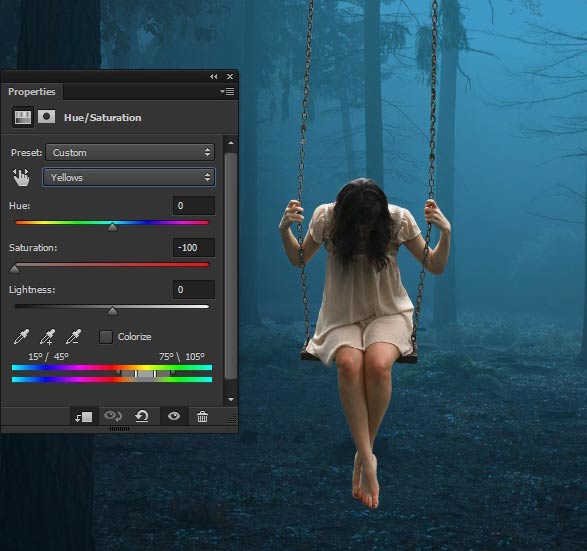
Now we’ll adjust the color of the model with the background. First I reduced the yellow color from the model skin using Hue/Saturation adjustment layer. Here are the setting and choose yellow colors on the Master drop down list then reduce the saturation to -100. Here are the results.
Step 11
Now make a Curves adjustment layer to reduce the lightness on model.
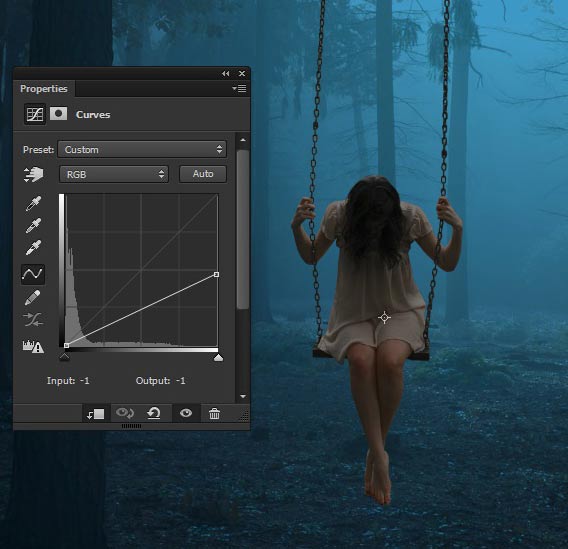
Step 12
Make a Photo Filter adjustment layer to model. Choose the color #01d5f5 . Here the results.
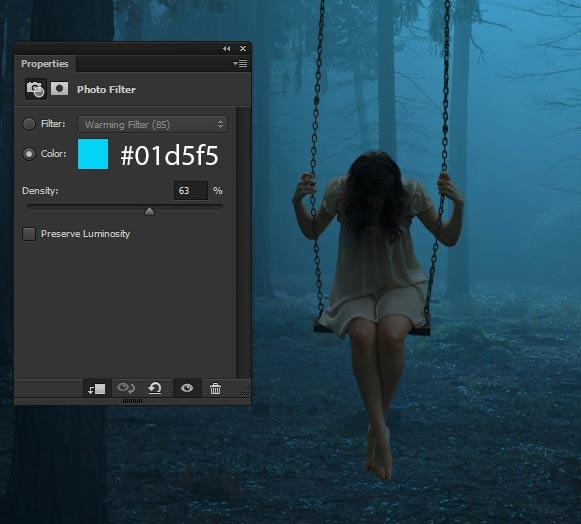
Step 13
At last make a Color Balance adjustment layer to model to add some more dark blue tones to it. Here are the setting only for midtones and highlights.
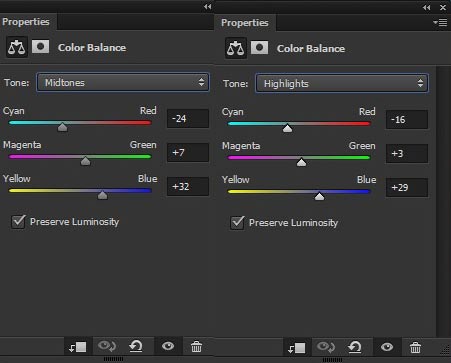
Here are the results on the model.
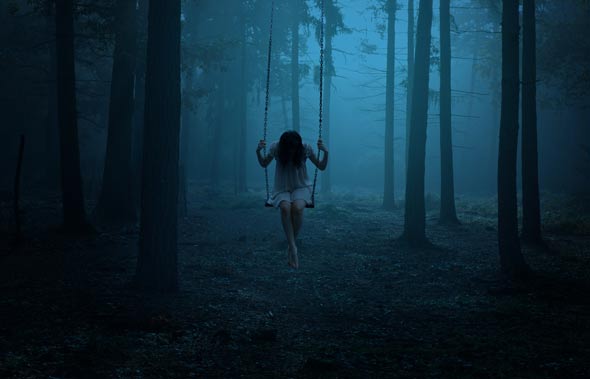
Refining Shades and Lights of Model
Step 14
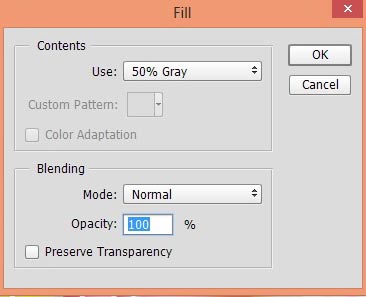
Now we’ll refine the shades and lights on the model using Dodge & Burn Tool (O) . To do this, make a new layer and select Edit > Fill and then fill the layer with 50% gray color.
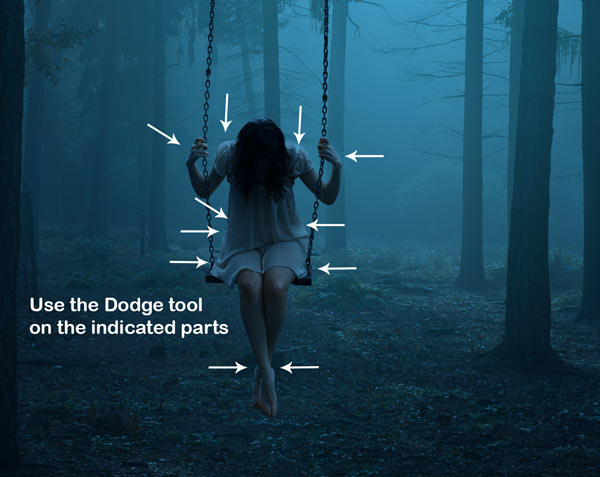
Now activate the Dodge tool by pressing (O) on the keyboard. Set the range of Dodge tool to midtones and exposure to 5%. Now start dodging the parts of the model indicated by the arrows. You can also use the Burn Tool to darken the parts of the model but as there is already enough darkness on model parts, so this is not necessary. Although, if you want to do it then you can refine the shades as well.
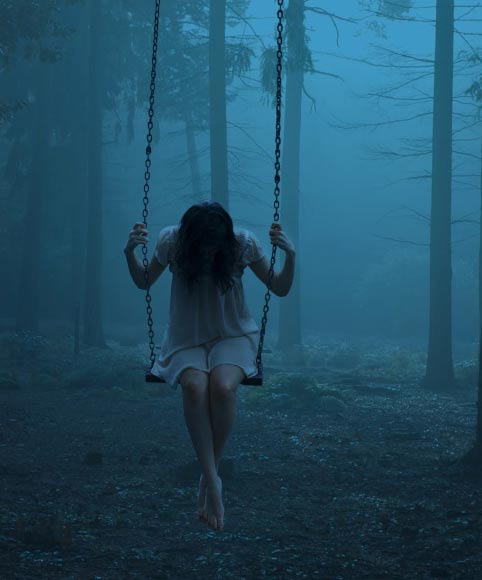
Here are the results after refining the shades and lights.
Creating Fog
Step 15
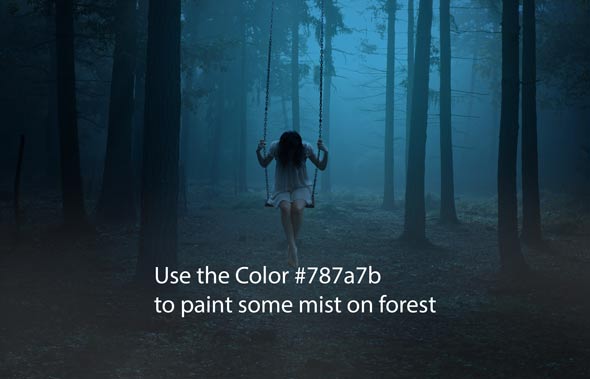
Making fog on the forest can give more eerie look for the scene. We’ll exactly make the fog to make the forest more spooky and eerie. To create fog, create a new layer and name it ‘Fog’. Grab the Brush Tool (B) . Set it’s opacity and flow about 30%. Using the color #781a7b and paint some fog on the forest.
Add a Layer Mask (Layer > Layer Mask > Reveal All) to ‘Fog’ layer. Now apply a Cloud Filter on the layer mask of ‘Fog’ layer by selecting Filter > Render > Clouds. Here are the results.
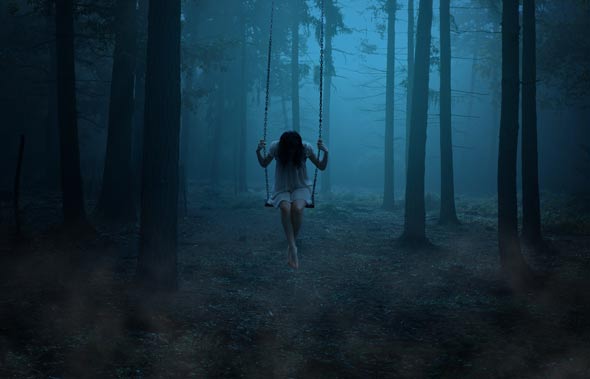
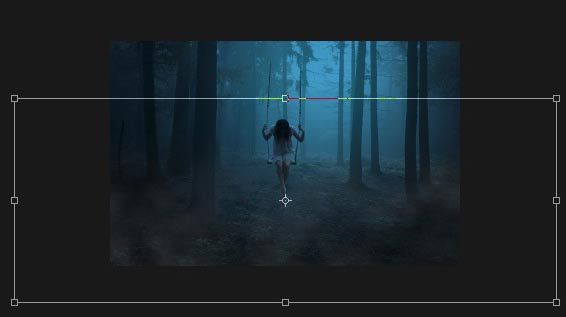
Step 16
Make the fog less visible by stretching it using Transform Tool . So activate the Transform Tool by pressing CTRL + T on the keyboard. Then transform it as shown in the image below.
Results :
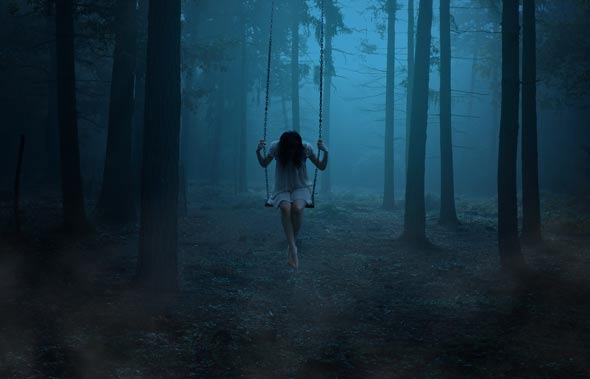
Step 17
Colorize the fog using a Hue/Saturation adjustment layer. Also clip it by pressing Clipping Mask button (red one) otherwise it will affect the below layers as well.
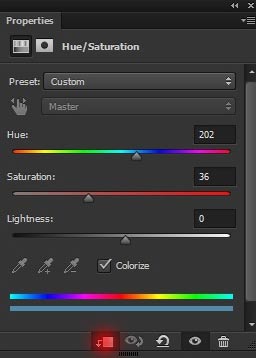
Here are the results.
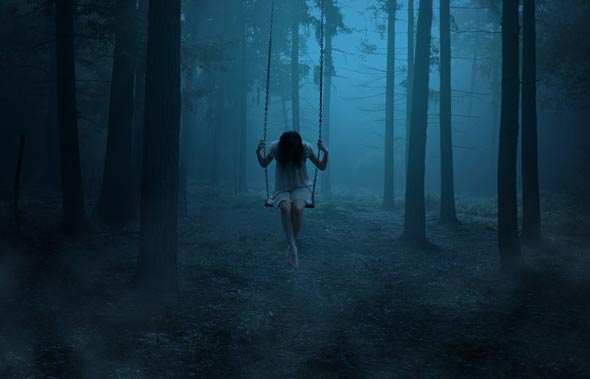
Final Adjustments
Step 18
Create a new layer and name it ‘Final Lights’. Use the same color in step 6 to paint some more lights on the middle of the scene but this time use half of the brush.
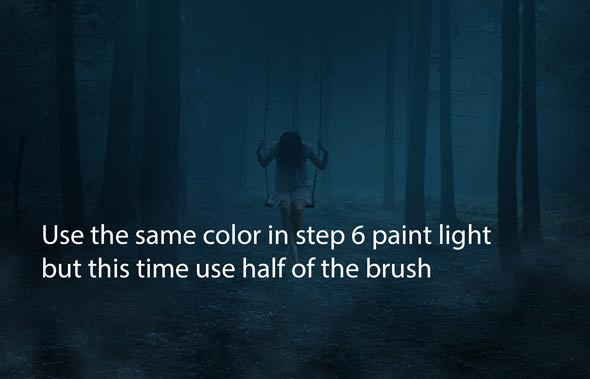
Change the blend mode to Linear Dodge . Here are the results.
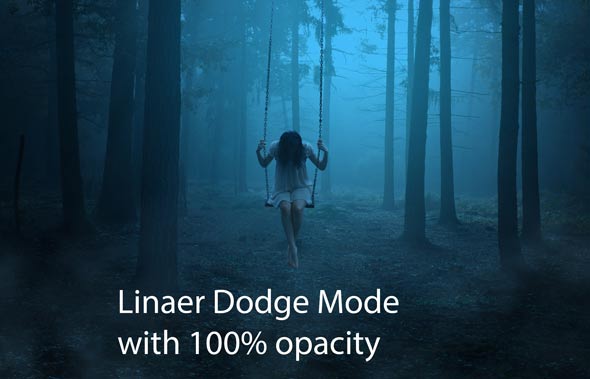
Step 19
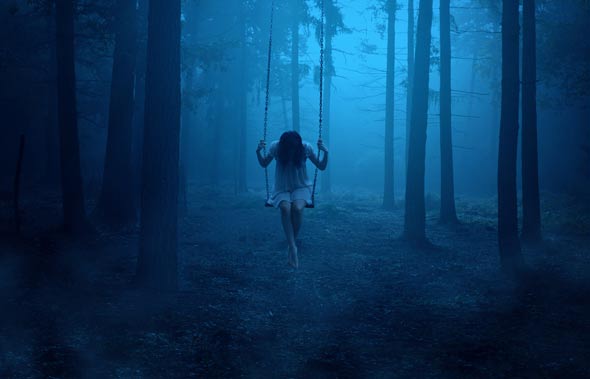
Now make a Color Balance (above all layer) adjustment layer for the overall scene and set the setting as shown in the image below.
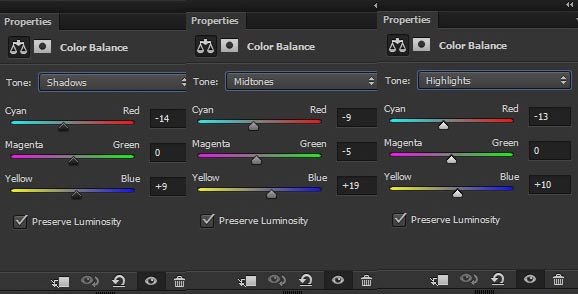
Reduce the opacity of Color Balance to 70%. Here are the results.
Step 20
Finally, add a Color Lookup adjustment layer and choose the Drop Blues filter.
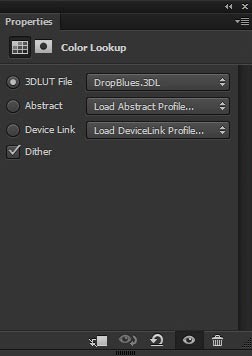
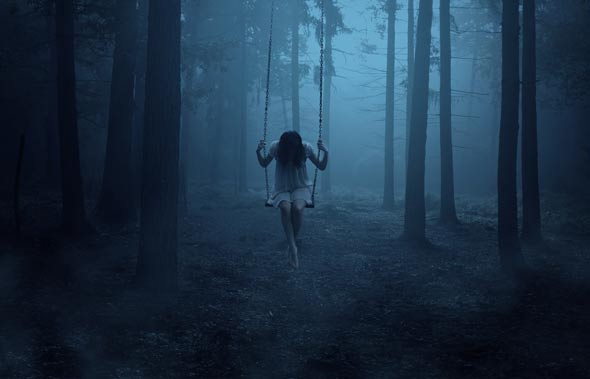
Change the blend mode of Color Lookup to Color and reduce the opacity to 60%. Here are the final results.
Conclusion
Thanks for following the tutorial and I hope that you’ve learned something new today. If you have any question regarding tutorial then do let me know through comments and I’ll happy to help you.
Need Help With Photoshop or Looking for Professional Support?
Whether you're just getting started with Photoshop or need expert-level assistance, we're here to help! Contact us for personalized Photoshop tutorials, project support, or creative services.
Get in touch today to take your skills or projects to the next level.
CONTACT US NOW📘 Want to Master Photoshop Faster?
🎁 Get Your FREE PDF E-Book "Top 10 Photoshop Tricks Every Designer Must Know" Now – Packed with expert tips, shortcuts, and techniques to boost your creativity & workflow.
👉 Download Your FREE PDF E-Book NOW!
