
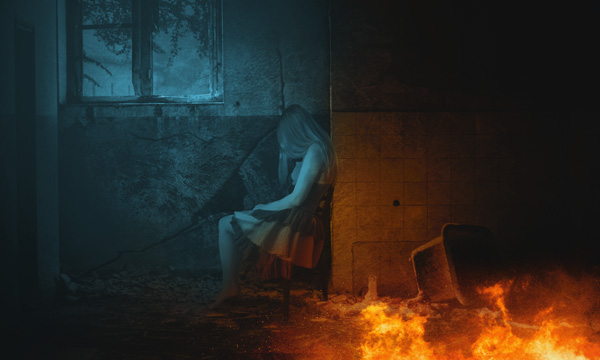

In this tutorial, I’ll show you how to create a dark, haunted and creepy composition for Halloween. You’ll learn how to turn a building into an eerie room using textures, lighting and adjustment layers. You’ll also learn how to add fire effects, add the model and then make her part of the scene and much more.
Tutorial Resources
Create the Background
Step 1
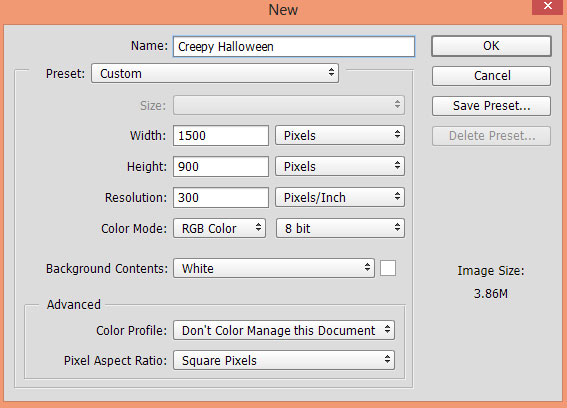
Create a new document in Photoshop by selecting File > New and give the following values:
Step 2
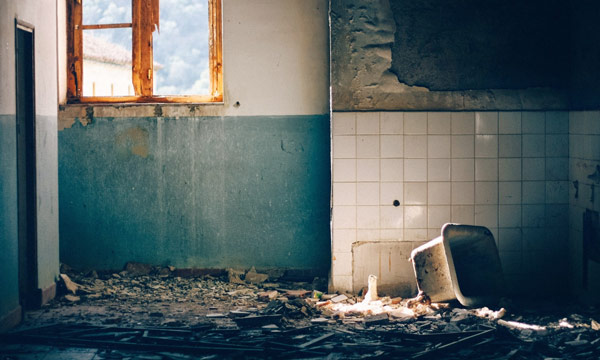
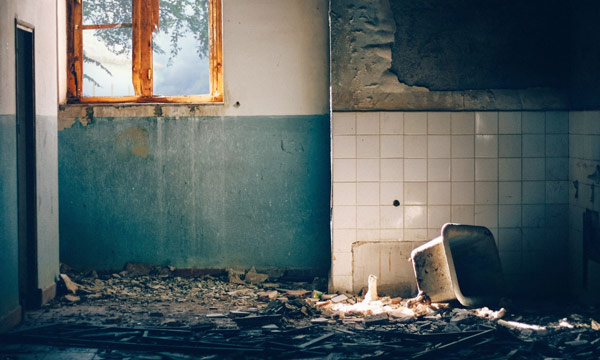
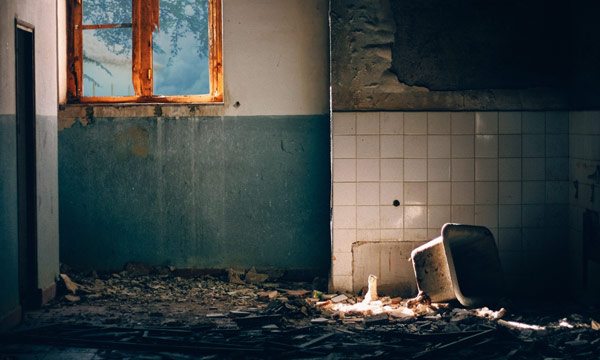
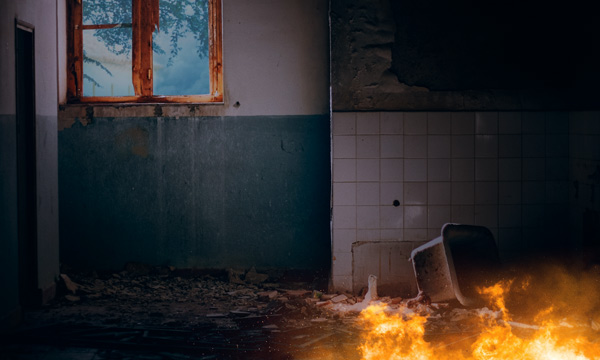
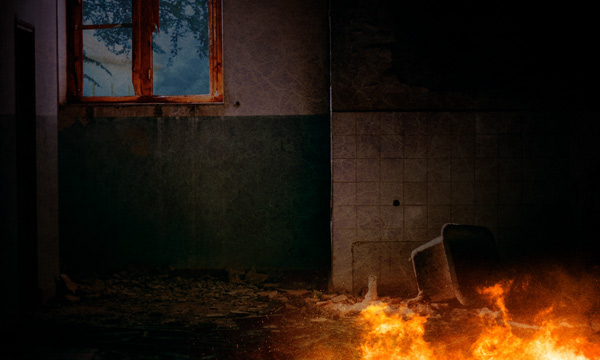
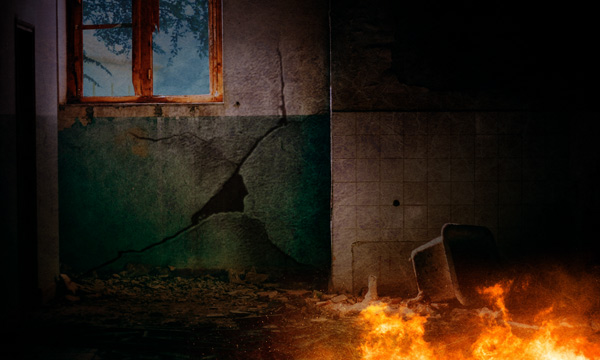
Open up the building room photo and then drag this image into our main document using Move Tool (V).
Here is the image placed on the document:
Step 3
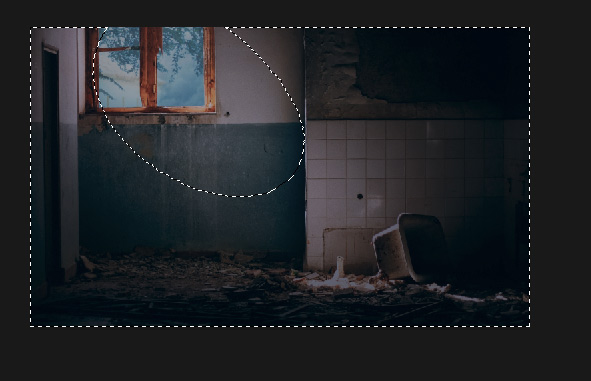
First, we are going to dark the outside of the building room. Select the window using Pen Tool (P) like shown in the image below. While the selection is active, click on the second button at the bottom of layer panel to add a Layer Mask and extract the window.
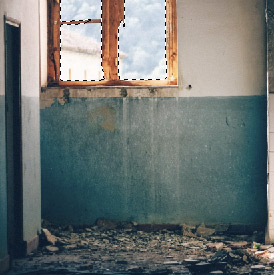
Place the tree image under the building layer and adjust it using Transform Tool (CTRL + T) to get the tree parts visible outside the window.
Here are the results:
Step 4
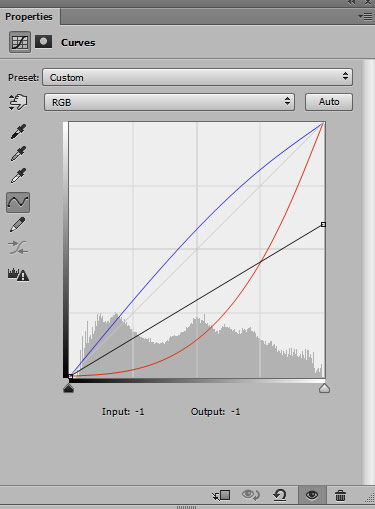
Go to Layer > New Adjustment Layers > Curves to make a Curves adjustment layer for tree and lower the brightness using the following settings. Also, I added Cyan and Blue color tones using Red and Blue channels.
Results:
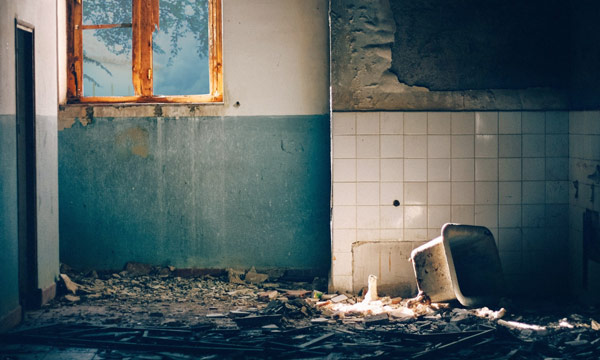
Step 5
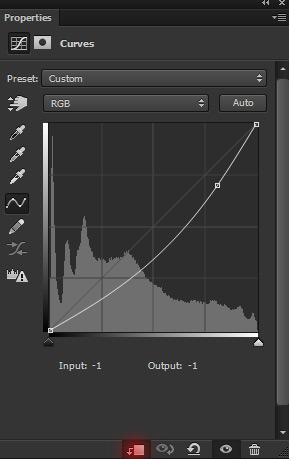
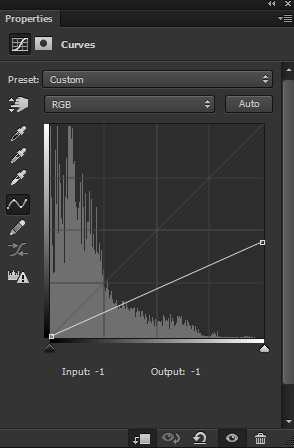
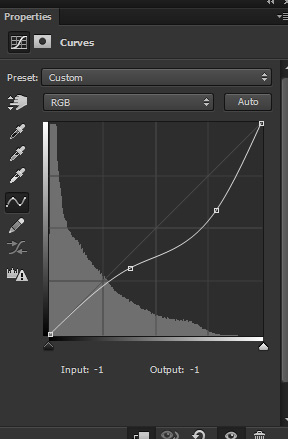
Make a Curves adjustment layer for building and set it to Clipping Mask (press the red icon). Now darken the highlights using the following settings:
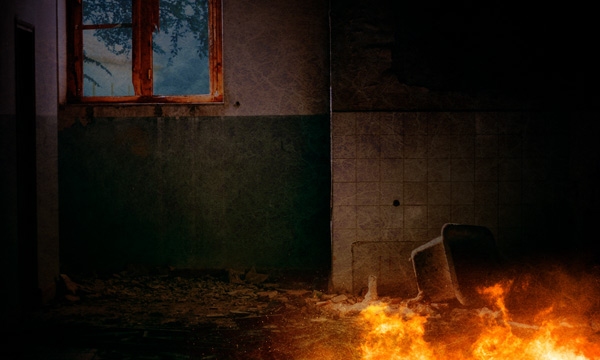
Results after darkening:
Step 6
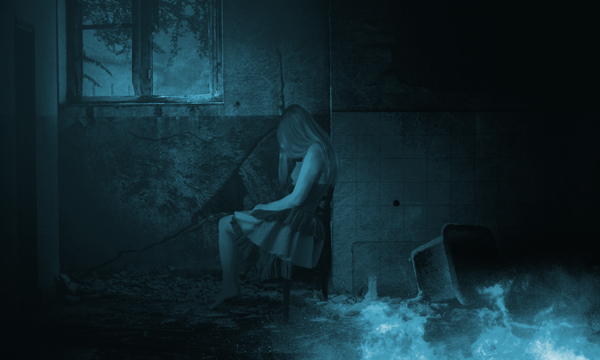
Use the Photo Filter adjustment layer to add blue tones and you can see the settings in the below image.
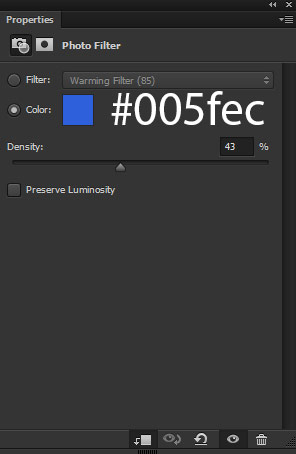
Results with added blue color tones to room:
Step 7
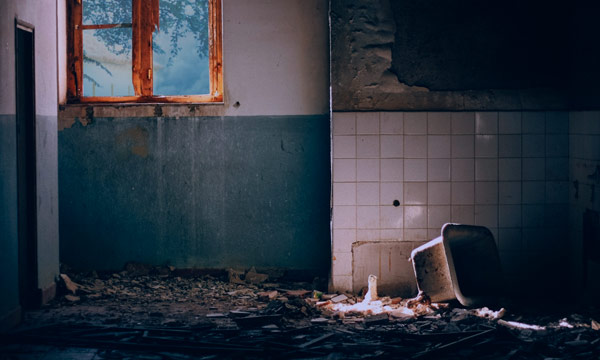
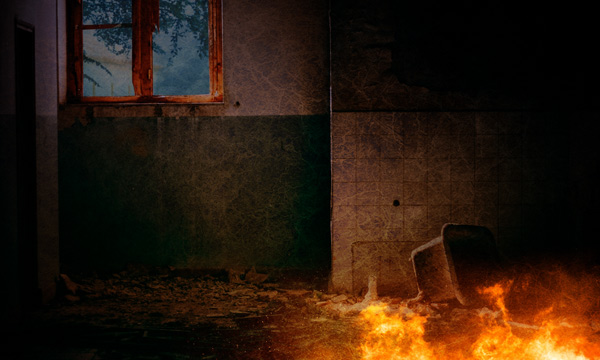
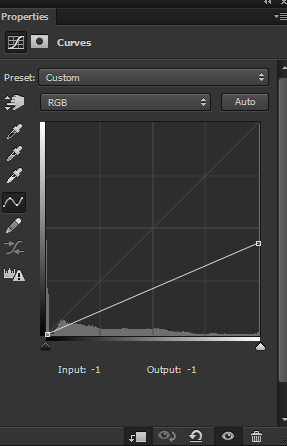
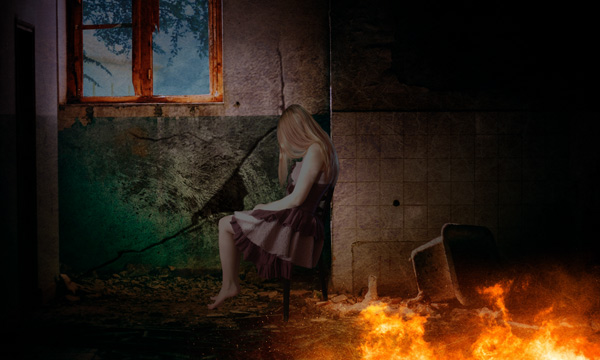
Make a another Curves for the room and this time reduce the brightness using the following settings:
On the layer mask of Curves, I masked the effect on the selected part to keep that area brighten and leave the dark effect on the rest of the background. You can see the selected area where I masked the effect using soft round black brush.
Add the Fire
Step 8
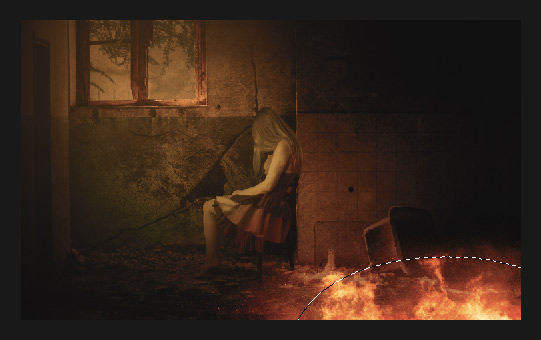
Place the fire image to the main document and place it at the right bottom of the background. Also, scale it like shown below to get the burning flames. You can see the image for reference that how I resized it.
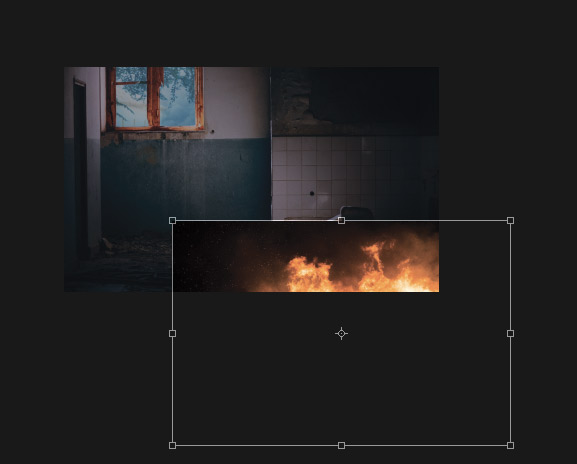
Set the blending mode of the fire image to Screen. Sometimes using Screen blend mode, we have some edges and other parts remain visible which we don’t want. To fix, either you can use the Layer Mask to mask those parts or you can also use the Levels adjustment layer. In this case, if you got the edges after changing the blend mode to Screen then make sure to get rid of them.
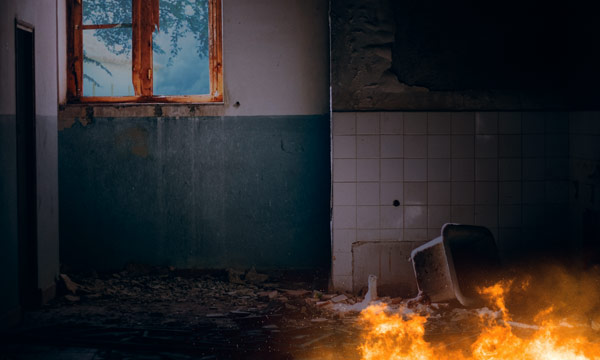
Results after changing the blend mode:
Step 9
Hit CTRL + SHIFT + N to create a new layer and name it ‘fire lights’. Set the foreground color to #593c1c and using soft-medium brush paint the lights over the fires. You can see in the below image how I painted the lights.
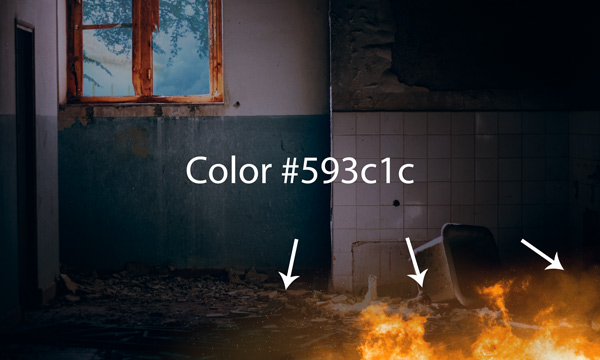
Now change the blend mode to Color Dodge 100%.

Step 10
Create a new layer and name it ‘smoke’. Use the color #989898 to paint the smoke on the room and remember to paint it over the fire as well.

Change the blending mode to Soft Light 100%.
Add the Textures
Step 11
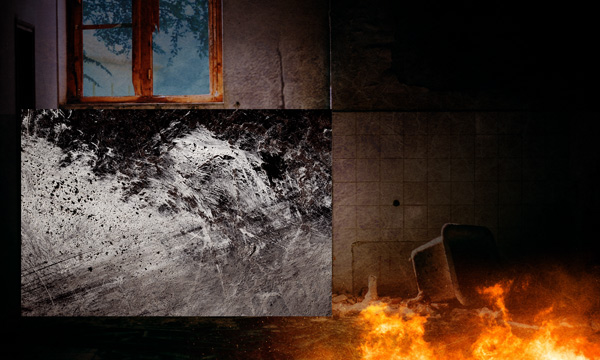
Textures always make the task so easy as they blend the whole scene within no time. Place the texture 1 to the main document and place it shown below to get the most of the color parts visible on the middle.

Set the blending mode to Soft Light.
Step 12
I used a Curves adjustment layer to reduce the brightness of the texture. Don’t forget to clip this adjustment layer to texture.
Results:
Step 13
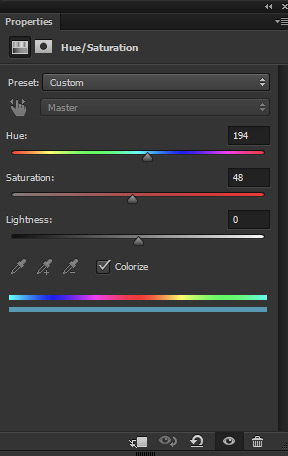
I don’t want any color on the texture so I reduced the color using Hue/Saturation adjustment layer. Also, I reduced the lightness little bit. You can see the settings here :
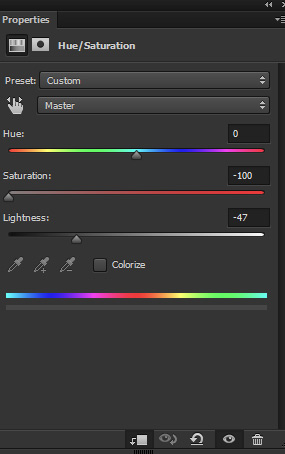
I reduced the opacity of Hue/Saturation to 20%. Results:
Step 14
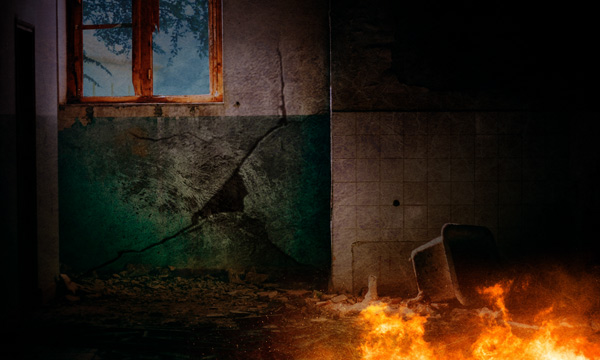
Place the crack texture to main document and position it over the left side.

Set the blending mode to Soft Light. Don’t forget to use the Layer Mask to get rid from the unwanted edges.
Step 15
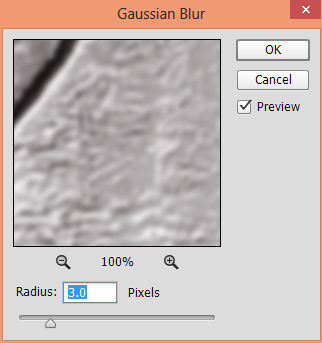
Go to Filter > Blur > Gaussian and set the Radius to 3.0 pixels.
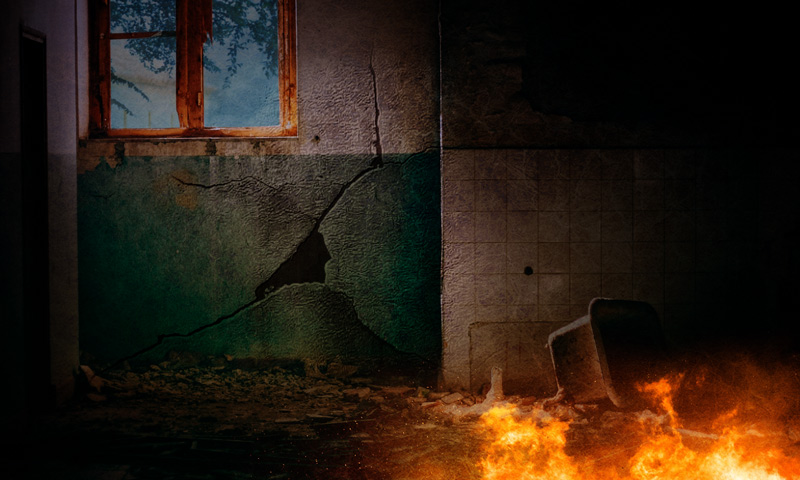
Results after blur to crack texture:
Step 16
Open the metal texture and place it to main document.
Set the blending mode to Soft Light.
Add the Model
Step 17
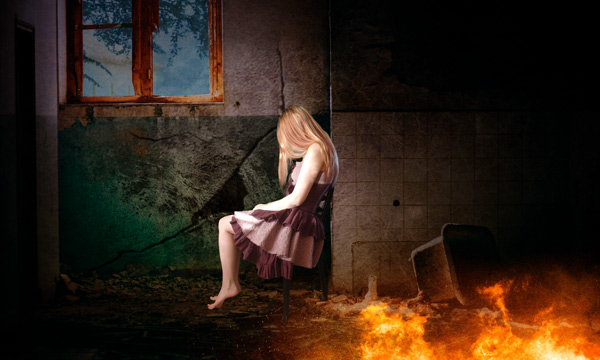
Extract the model using selection tools and place her to main document.
Step 18
Make a Curves adjustment layer and lower the brightness of the model as she looks too bright at the moment.
Results:
Step 19
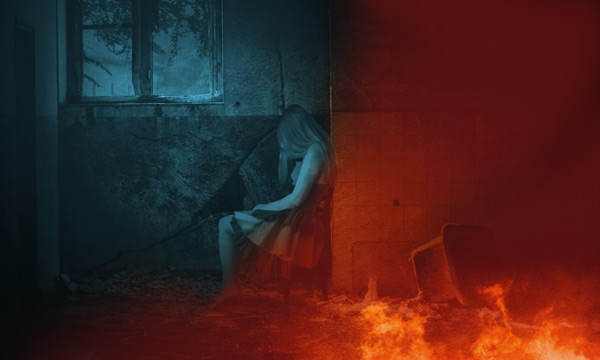
Make a Curves adjustment layer again and this time use the Red and Blue channel to add the red color to model. This will be light reflection of the fire on the model right side parts.
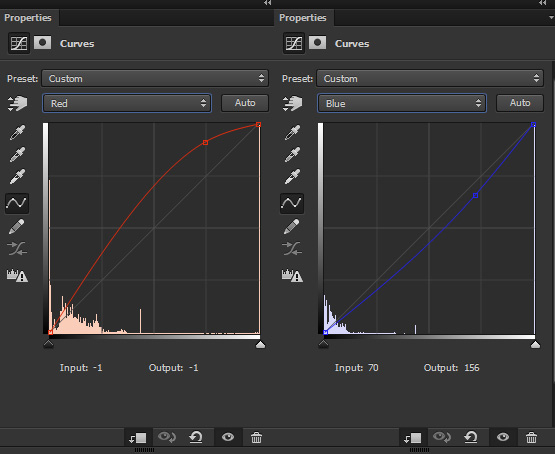
On the layer mask of this, I masked the effect on the left side (highlighted in red color) as I don’t want any red color tones on that side. Don’t forget to use a soft-medium black brush for masking the effect.
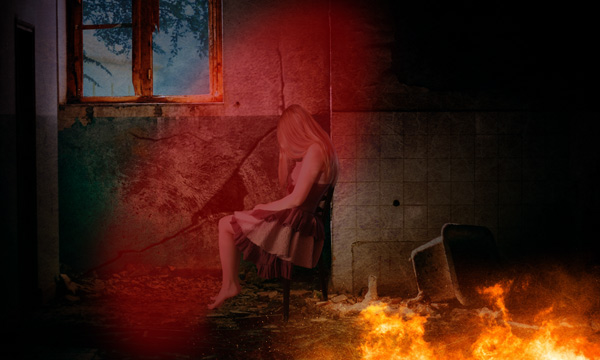
Results:

Step 20
For the left parts I used Color Balance for adding blue tones there. Only change the values of Midtones and Highlights.
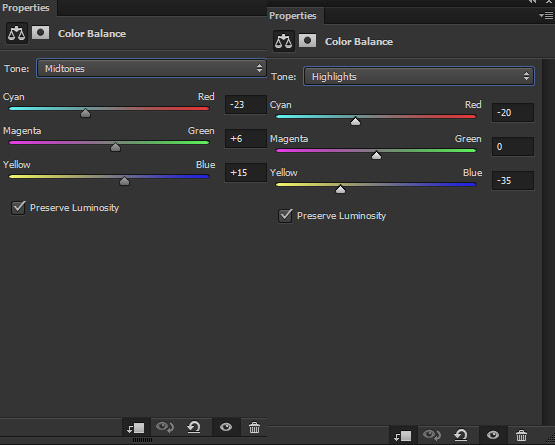
Erase the Color Balance effect on the right side like we did in last step.

Step 21
Make a Brightness/Contrast adjustment layer for the model and reduce the brightness.
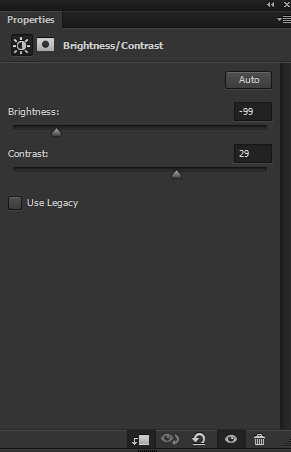
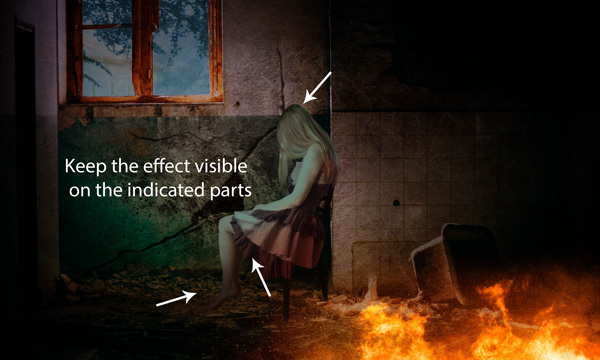
On the layer mask of this, keep the dark effect on those parts which will be less illuminated by the light like keep the effect on the leg, bit on the dress and on the head as well. So mask the effect wherever you think that this part should be brighten using the soft basic black brush.
Results:
Paint the Lights
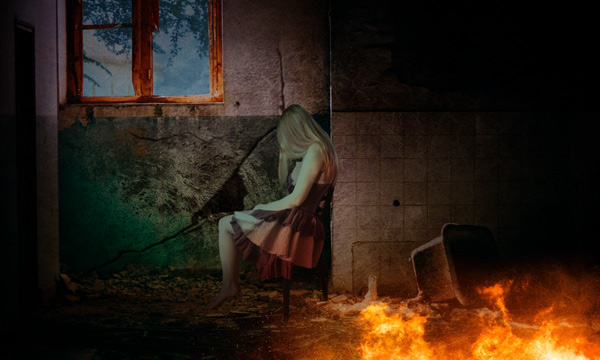
Step 22
Create a new layer and name it ‘light 1’. Set the foreground color to #5c3b10 and paint the fires light reflection on the model.
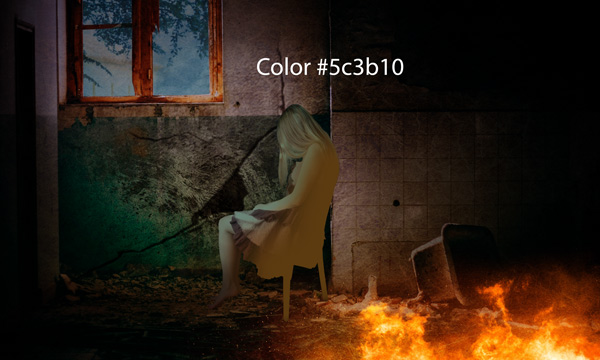
Change the blend mode to Color Dodge and reduce the opacity to 43%.
Step 23
Create a new layer and name it ‘light 2’. Use the color #174a46 to paint the light on the model left side parts.
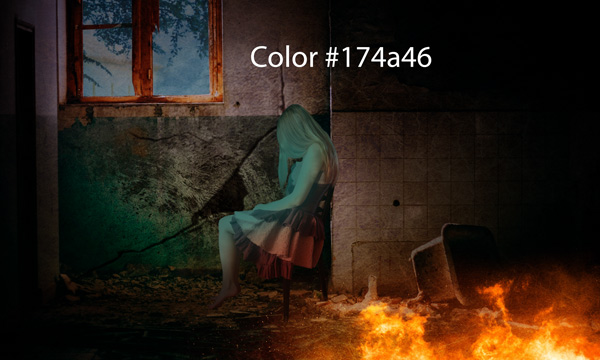
Set the blending mode to Color Dodge and lower the opacity to 69%.
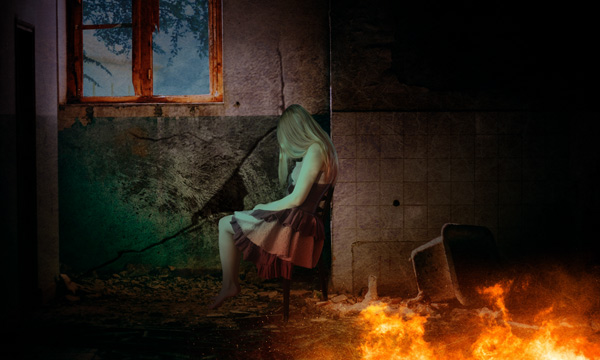
Step 24
Similarly, I painted the light on the wall and wherever I think it needed to paint the light reflection of the fire.
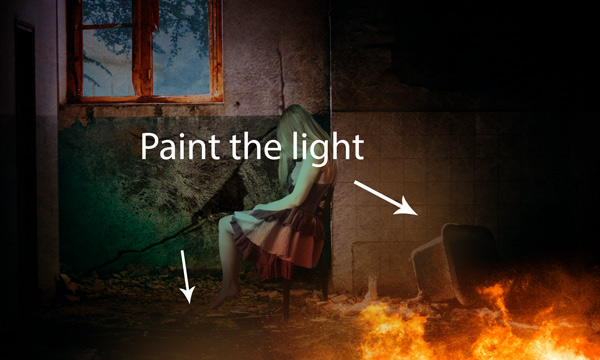
Again I used the Color Dodge blend mode.
Step 25
It’s time to create an another light source which will be the light coming from the outside of the window. On a new layer, using color #184f67, I painted the light source as shown below. Just use a bigger soft round brush to paint the light.
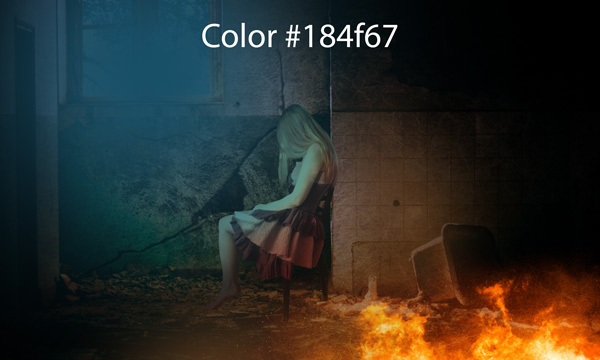
Change the blend mode to Linear Dodge and reduce the opacity to 70%.
Final Adjustments
Step 26
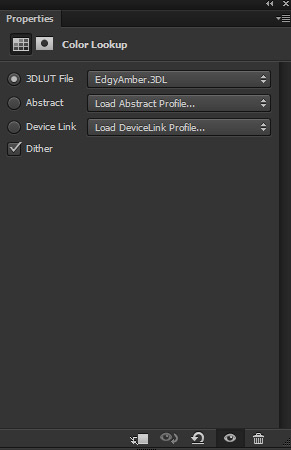
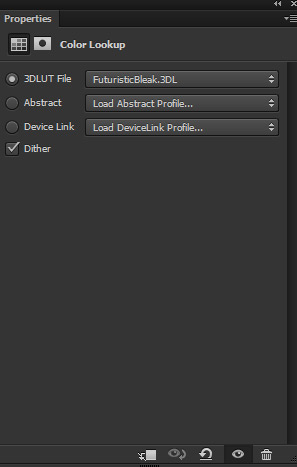
Everything is setup and now it’s time for final adjustment. Create a Color Lookup adjustment layer on top of all layers. Use the following settings to change the color of whole scene:
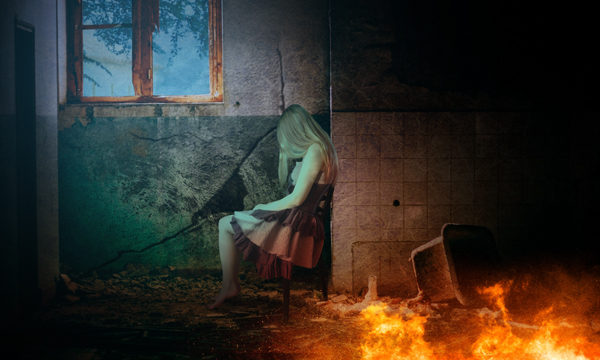
On the layer mask of this, I masked the effect only on the fire but leave the effect on the rest of the background.
You can see the results here:
Step 27
I used the Hue/Saturation adjustment to change the color of whole scene.
Results:
On the layer mask, mask the effect on the highlighted red color using a soft round black brush.
Step 28
Finally, I used the Color Lookup adjustment layer.
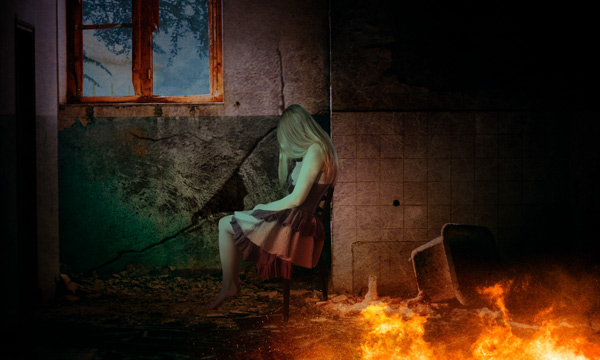
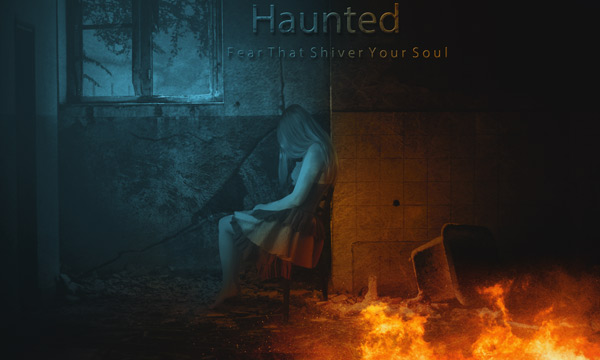
Here are the final results:

You can also add some text like I did:
Conclusion
Thanks for following the tutorial and Happy Halloween to everyone. Hope you enjoyed the lesson and do share the tutorial into the world if you really like. Have a Creepy Halloween!!!
Need Help With Photoshop or Looking for Professional Support?
Whether you're just getting started with Photoshop or need expert-level assistance, we're here to help! Contact us for personalized Photoshop tutorials, project support, or creative services.
Get in touch today to take your skills or projects to the next level.
CONTACT US NOW📘 Want to Master Photoshop Faster?
🎁 Get Your FREE PDF E-Book "Top 10 Photoshop Tricks Every Designer Must Know" Now – Packed with expert tips, shortcuts, and techniques to boost your creativity & workflow.
👉 Download Your FREE PDF E-Book NOW!
