


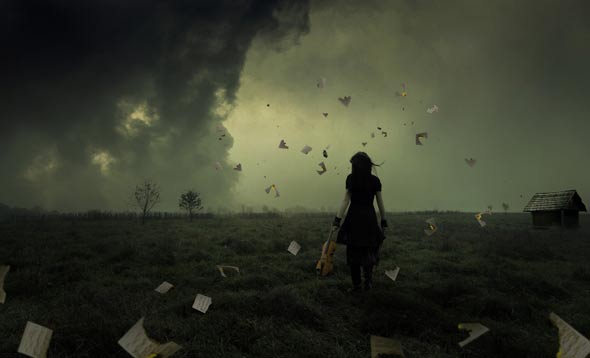
Learn how to create a dark mysterious photo manipulation in Photoshop. In this tutorial you’ll learn how you can create dark, ghastly weather atmospheric scene in Photoshop. I will also give you quick tips to extract the hair.
Tutorial Resources
Setting up the background
Step 1
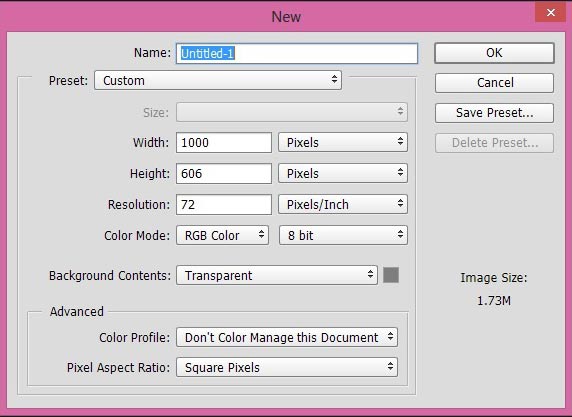
Create a new document in Photoshop by selecting File > New and then set the setting as shown in the image below.
Step 2
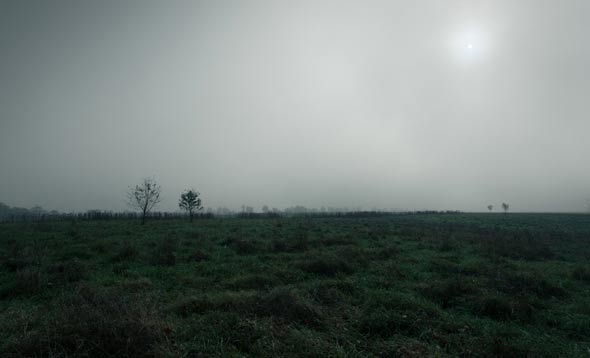
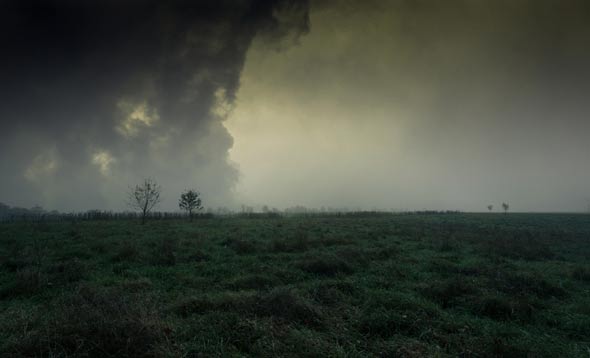
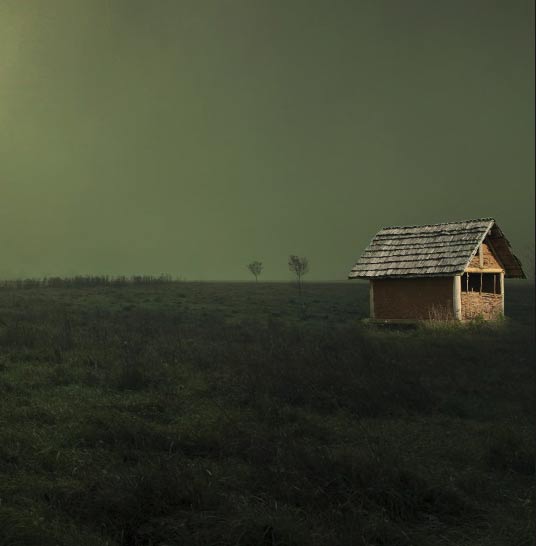
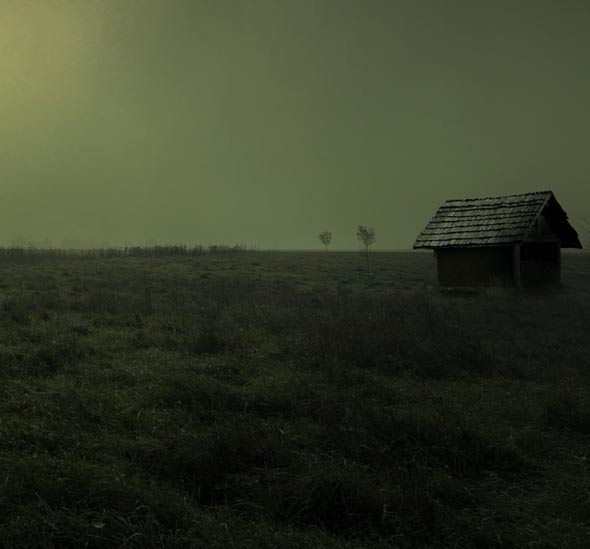
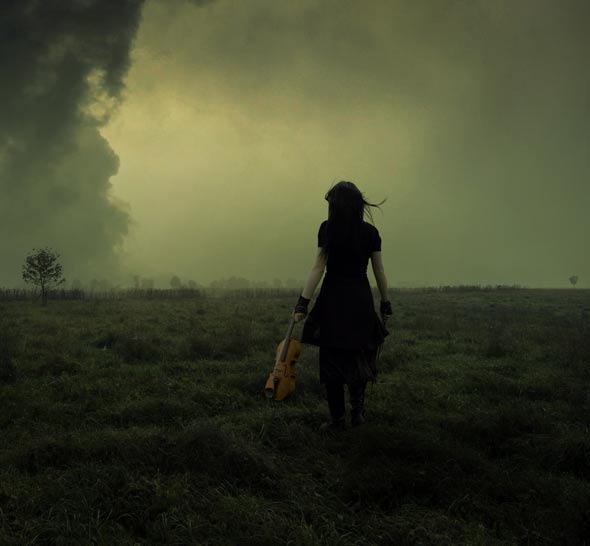
Place the landscape image to the main document by selecting File > Place.
Step 3
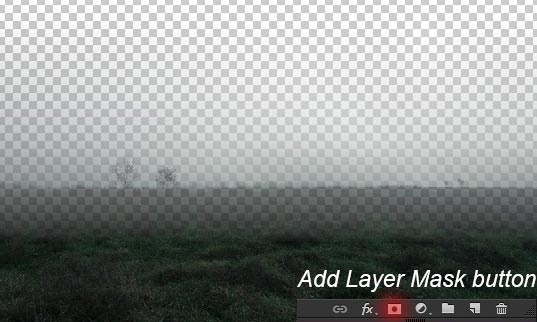
Add a layer mask to the landscape image by clicking on the add layer mask icon on the layer panel or select Layers > Layer Mask > Reveal All. Activate the Gradient tool by pressing (G) on the keyboard then choose a linear black/white gradient and then apply it vertically from top to bottom on the layer mask of the landscape layer. This will hide the sky part of landscape layer and I generally use this technique when I’ve solid part of any image.
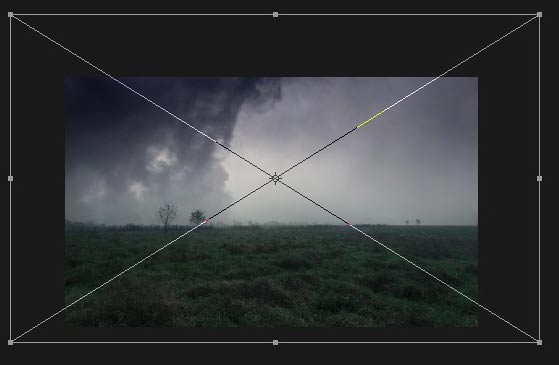
Now place the sky image below the landscape layer. Also, try to resize it as shown in the image below.
Step 4
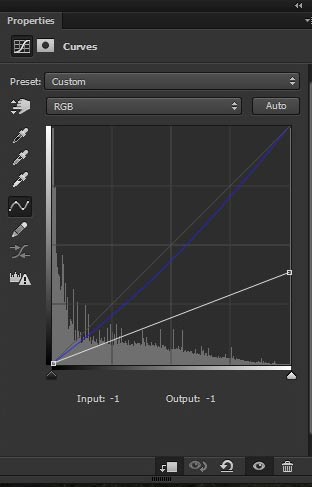
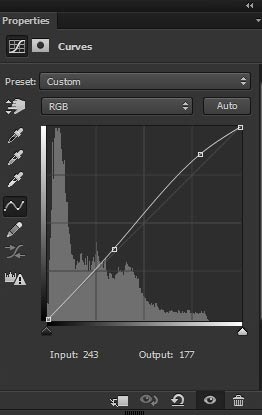
Make a Curves adjustment(Layers > New adjustment Layer > Curves Adjustment) layer to sky.
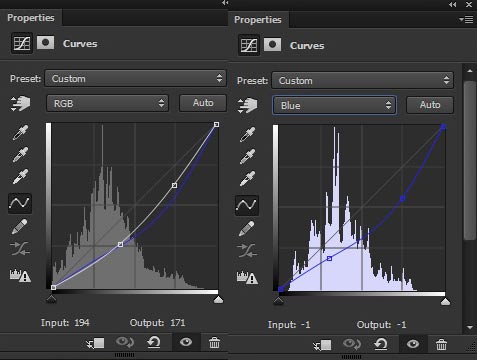
Results with decreased lightness and added yellow tones.
Step 5
Continue coloring sky layer by using a Gradient Map adjustment layer.
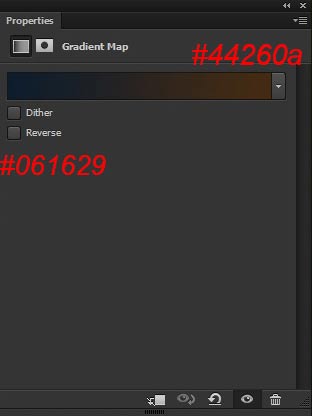
Change the blend mode of Gradient Map to Color Dodge.
Step 6
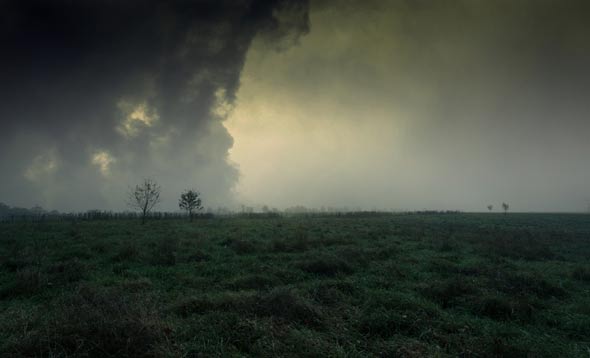
Increased the brightness of sky layer, a little bit, using a Brightness/Contrast adjustment layer.
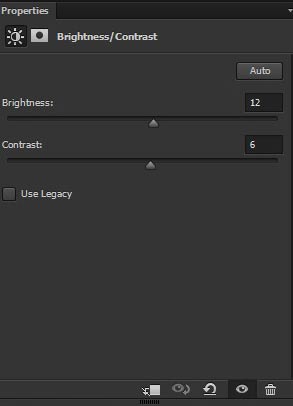
Results:

Step 7
Now select the landscape layer and then start blending it using adjustment layers. Add Curves adjustment layer to it as clipping mask (press the red button for clipping mask) and set the setting as shown in the image below. Also, make a Brightness/Contrast adjustment layer to it.
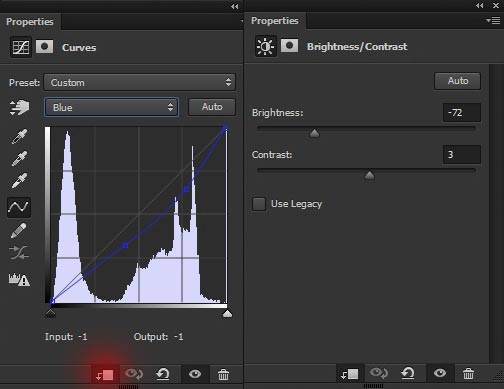
After using Curves and Brightness/Contras adjustments:

Step 8
Hide the effect of Brightness/Contrast adjustment layer indicated by the red area.
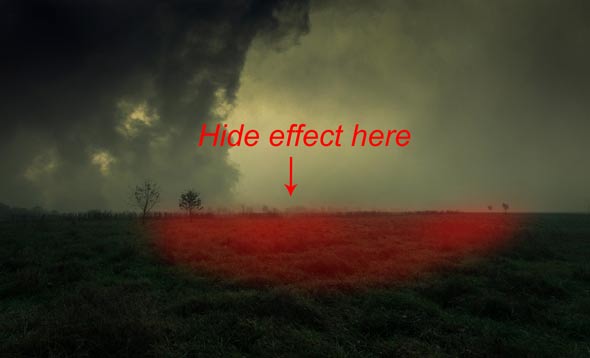
Results with more brightness in the middle of the landscape.

Step 9
Make final adjustment layer for the landscape by adding a Selective Color adjustment layer to the landscape.
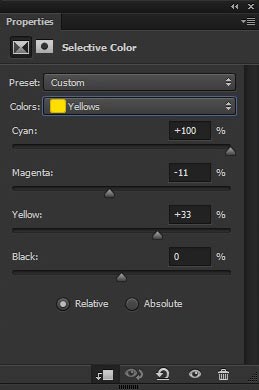
After using Selective Color adjustment layer:

Adding Hut
Step 10
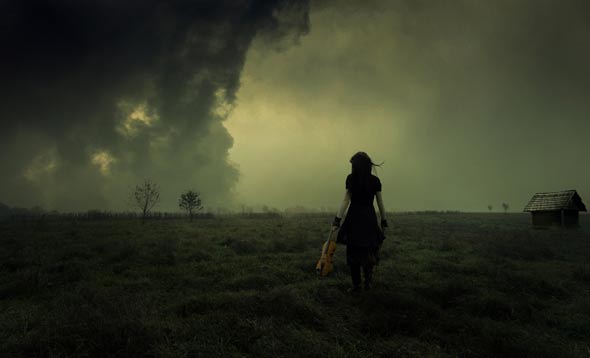
Extract the hut from its background using selection tools. Place it as shown in the image below. Also, hide the below parts of hut using a soft round black brush to blend the hut in the landscape.
Step 11
Decrease the brightness of hut using a Curves adjustment layer.
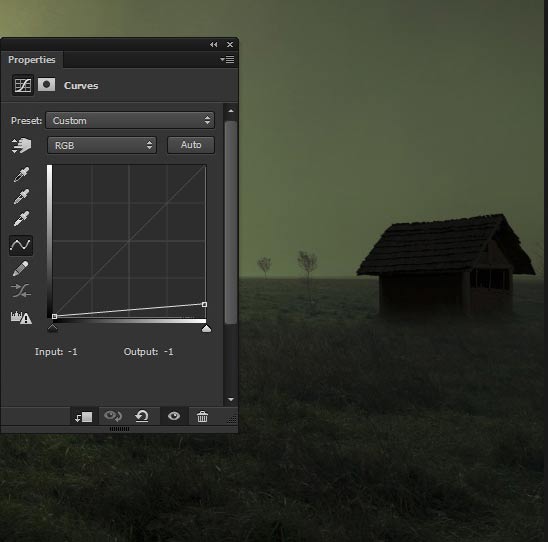
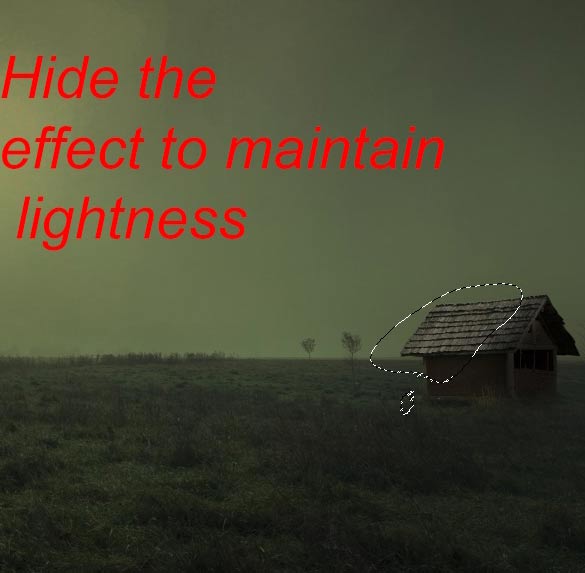
Too much darkness for the hut, hide the selected part of the hut to maintain some light on it as it’s very close to the light source.
Step 12
Add a curves adjustment layer to hut.

Step 13
Add a Color Balance adjustment layer to the hut to blend it rest of the scene.
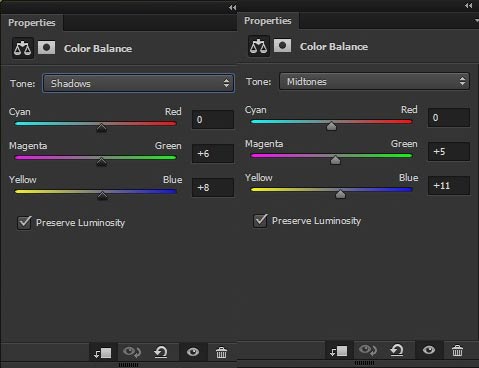
Here are the results on the hut.
Step 14
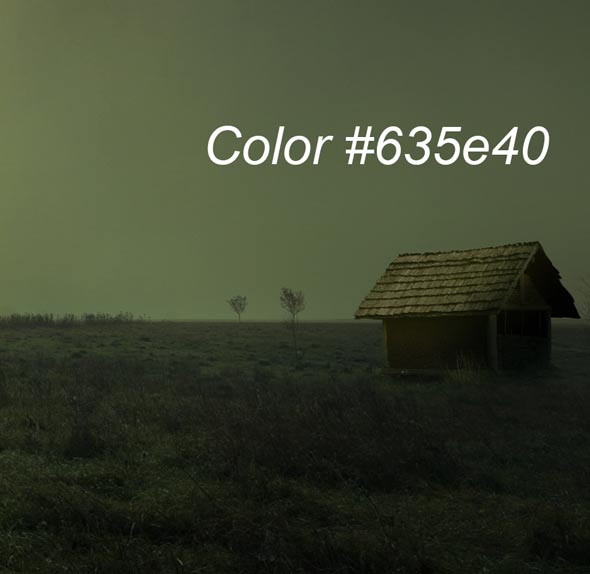
Create a new layer by pressing (CTRL + ALT + SHIFT +N) on keyboard and then change your foreground color to #635e40 . Now start painting some lights on the hut. Use the brush tool with opacity and flow about 30%.
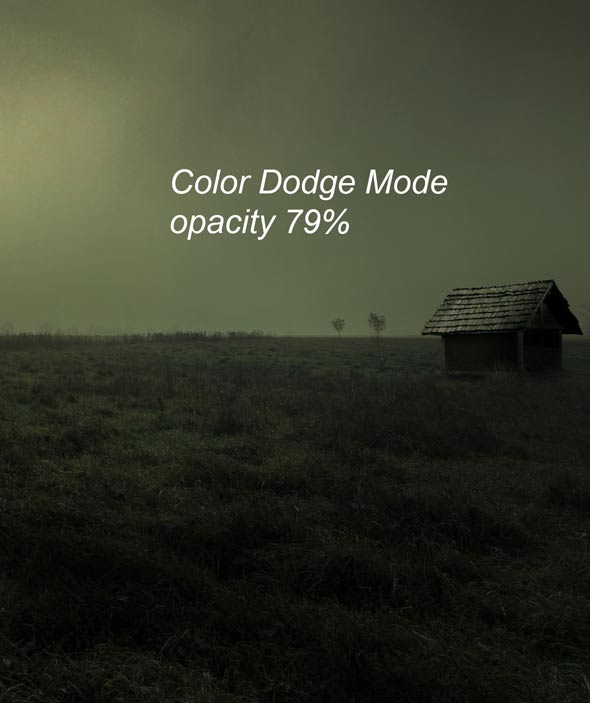
Change the blend mode to Color Dodge and reduce the opacity to 79%.
Adding the Model
Step 15
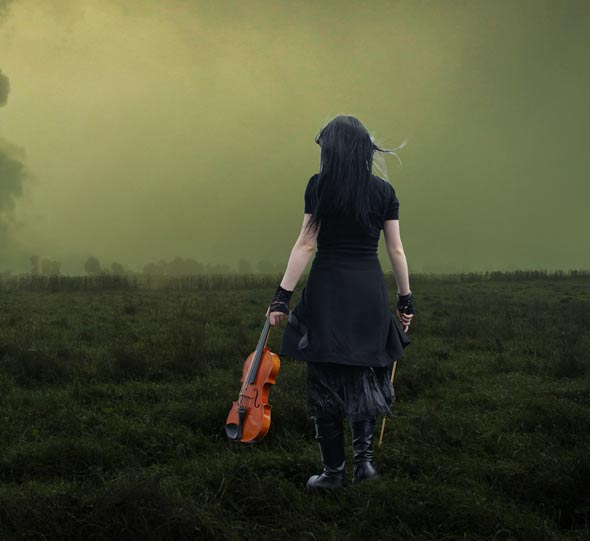
Isolate model from its background and then place it into the main document. While extracting the model, leave some space around the hair and I’ll give you a quick tip to extract hair.
So here is the model placed.
Step 16
Now it’s time to extract the hair using Refine Mask. The good thing about the model hairs is that it has a solid background and let me tell one thing that Refine Mask works best on a solid background.
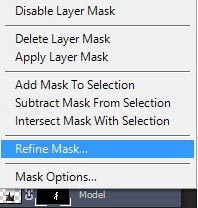
To use the Refine Mask first right click on the layer mask of the model and then choose refine mask.
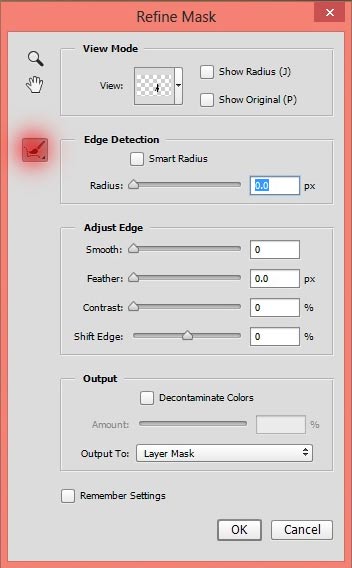
As you choose the Refine Mask, a Refine Mask dialog appear on the screen. Now choose the Refine Radius tool (the red one) and simply drag it over the hair of model to extract the hair.
We’ve pretty much decent results for the hair. Note that this technique only works best when you’ve hair on solid background. It’s even works best for complex hair and you can also test it while making the complex hair selection. Try it out now.
Right now we have the model hair extracted but as you can see there are a lot of white edges around the hair. Don’t worry about we’ll blend them using adjustment layers.
Step 17
Create a new layer and then paint some shadow for the model as indicated by the arrows using soft round black brush.

Step 18
Reduce the lightness of model by adding Curves adjustment layer to it.
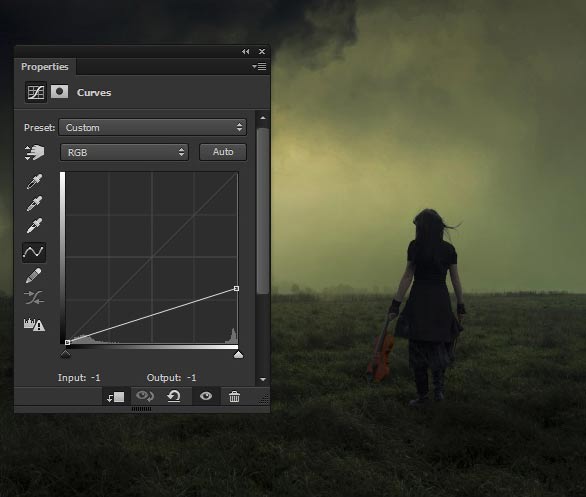
As you can see that the white edges, around the hair, are also blended by decreasing the lightness of model because we’ve dark background.
Step 19
Hide the effects of Curves adjustment layer on the model hands and guitar as indicated by the arrow to maintain some lights on model parts. Use the black brush (B) with opacity and flow about 30%.
After masking the effect of Curves:
Step 20
Match the color of the model to the rest of the scene using Hue/Saturation adjustment layer.
Step 21
Add a Color Balance adjustment layer to model to blend it rest of the scene.
Results:
Here are the results so far.
Adding Music Sheets
Step 22
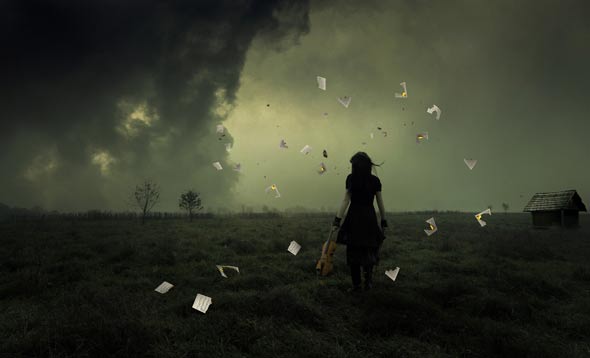
Open the music sheets in Photoshop then place it to the main document. Arrange them as shown in the image below so they look like they are falling on the landscape. I’ve used 18 sheets layer to arrange them. Group all the sheets layer and name this group ‘Sheets’.
Step 23
Match the brightness and color of music sheets using a curves adjustment layer. Set the setting as shown in the image below. Also don’t forget to clip these adjustment layer to ‘Sheets’ group.
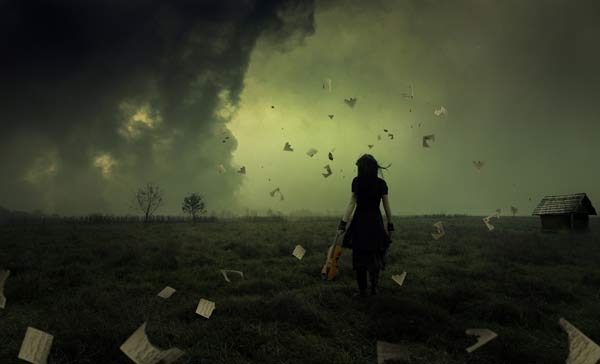
Decreased lights on the sheets:

Step 24
Arrange some more sheets as shown in the image below. You can also use Gaussian Blur filter for sheets to add some depth to the scene. Also use the same curves adjustment layer, in the previous step, for the music sheets.
Enhancing Light Effects
Step 25
Create a new layer name it ‘light 1’. Change the foreground color to #199441 and make a stroke as shown in the image below using the brush tool.
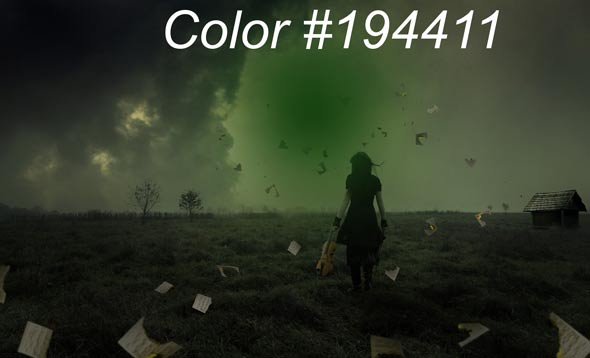
Change the blend mode of ‘light 1’ layer to Color Dodge and reduce the opacity to 35%.
Step 26
Create a new layer again and this time change the foreground color to #3e3f1d. Then paint some more lights wherever you want to keep some lights.
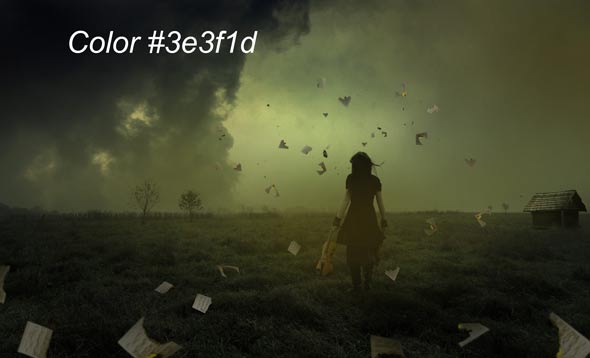
Change the blend mode of this layer to Color Dodge.
Duplicate the light 2 layer and this time reduce the opacity to 40%.
Step 27
Using the same color in step 25 and then paint lights on the top right corner.
Change the blend mode of this layer to Color Dodge and reduce the opacity 72%.

Final Adjustments
Step 28
Add the Curves adjustment layer to increase the lightness of entire scene (mostly at middle).
After using Curves:

Step 29
Make a Color Balance adjustment layer to the scene and here are the settings.
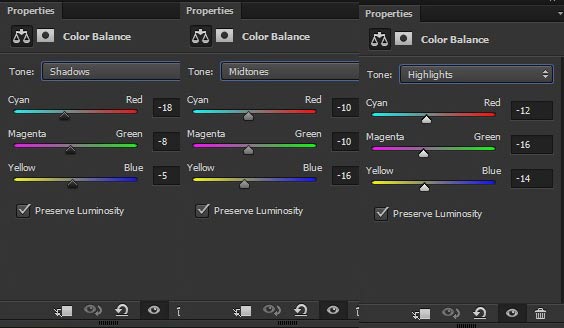
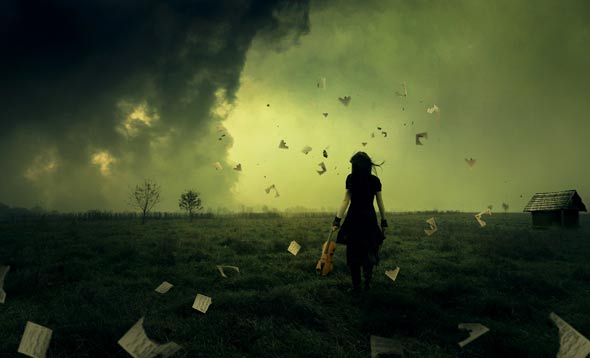
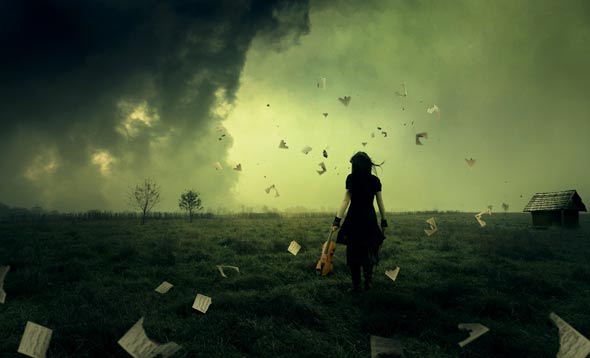
Here are the results.
Step 30
Add Color Lookup adjustment layer and set the setting as shown in the image below.
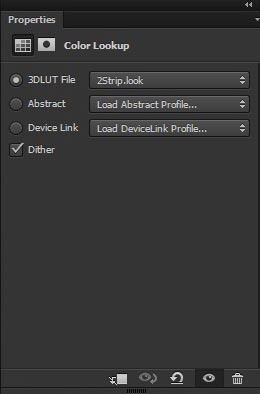
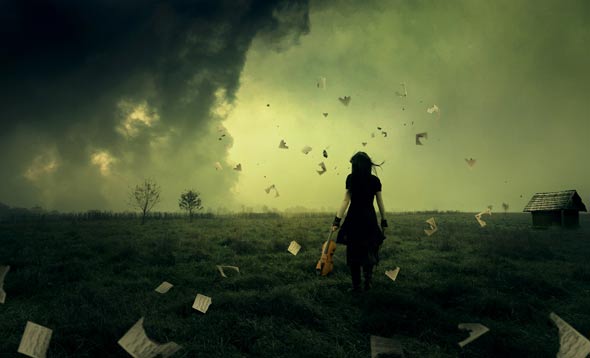
Change the blend mode of Color Lookup adjustment layer to Linear Dodge and reduce the opacity to 10%.
Step 31
Add a Gradient Map adjustment layer to the entire scene.
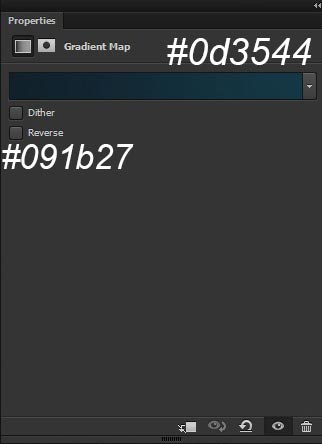
Change the blend mode of Gradient Map to Color Dodge and reduce the opacity to 20%.
Step 32
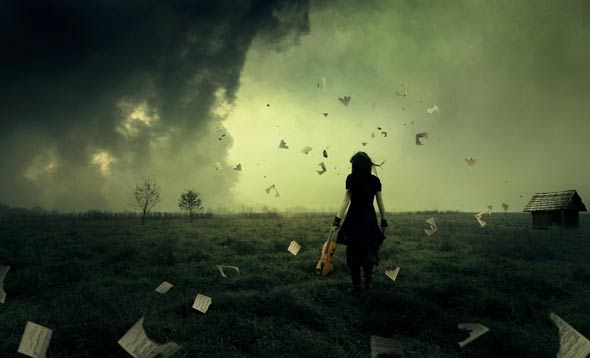
Finally make a Vibrance adjustment layer to the scene.
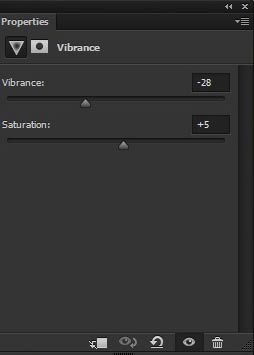
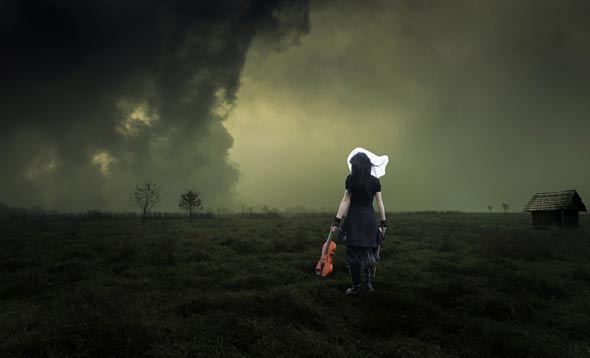
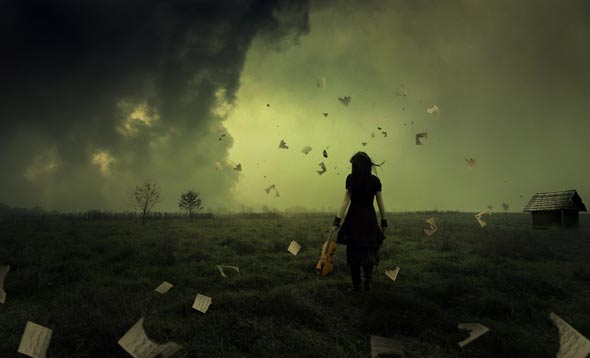
Here are the Final Results.
Conclusion
Thanks for following the tutorial and I hope that you’ve learned something new today. If you have any question regarding tutorial then do let me know through comments and I’ll happy to help you.
Need Help With Photoshop or Looking for Professional Support?
Whether you're just getting started with Photoshop or need expert-level assistance, we're here to help! Contact us for personalized Photoshop tutorials, project support, or creative services.
Get in touch today to take your skills or projects to the next level.
CONTACT US NOW📘 Want to Master Photoshop Faster?
🎁 Get Your FREE PDF E-Book "Top 10 Photoshop Tricks Every Designer Must Know" Now – Packed with expert tips, shortcuts, and techniques to boost your creativity & workflow.
👉 Download Your FREE PDF E-Book NOW!

