
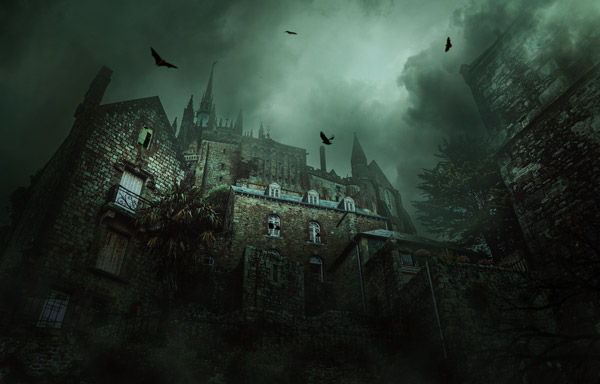

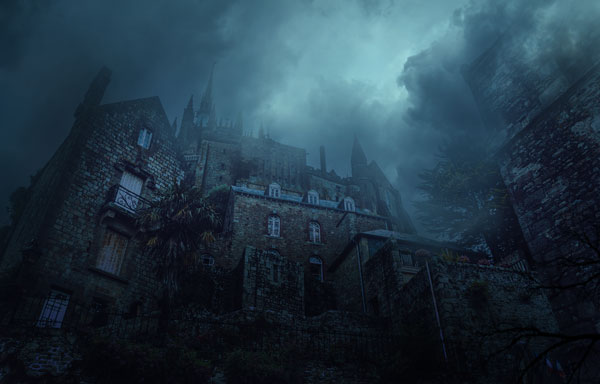
In this Photoshop tutorial I’ll show you how to create a haunted house scene. You’ll learn how to create a dark, eerie and spooky scene of the haunted house using a range of photo manipulation techniques. We’ll also learn how to manage layers, blending the elements seamlessly, creating a gloomy scene, working with groups and paying attention to minor details.
Tutorial Resources
Preparing Dark Background for Haunted House
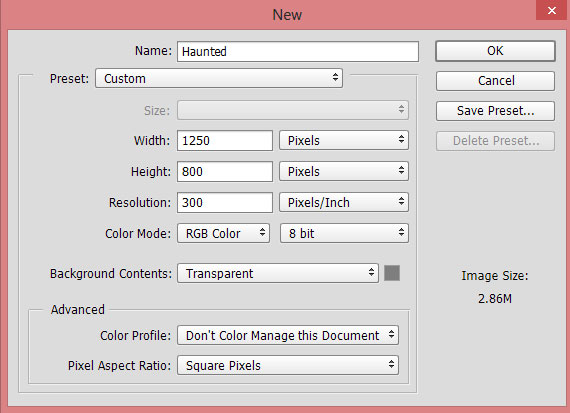
Step 1
Create a new document in Photoshop with height 800px and width 1250px with the following settings:
Adding House
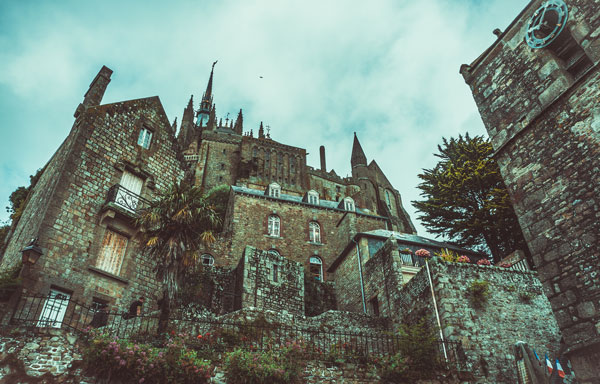
Step 2
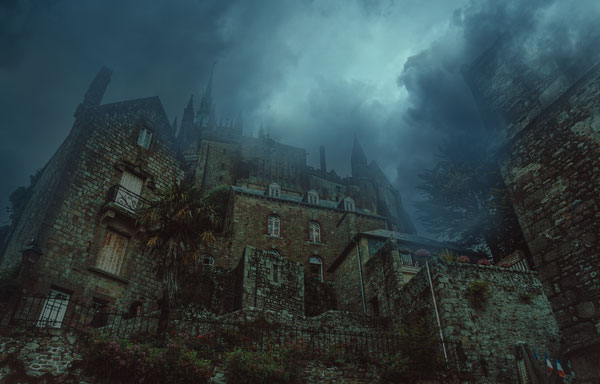
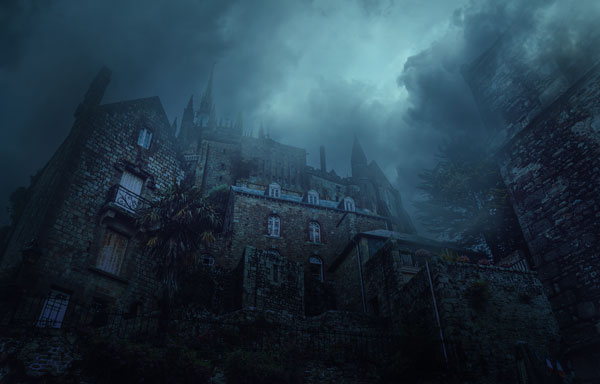
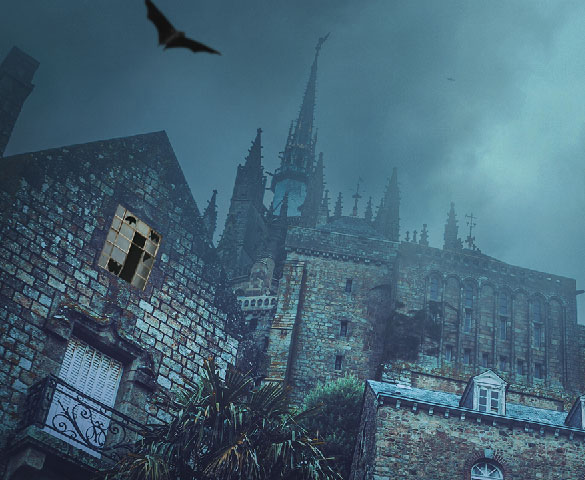
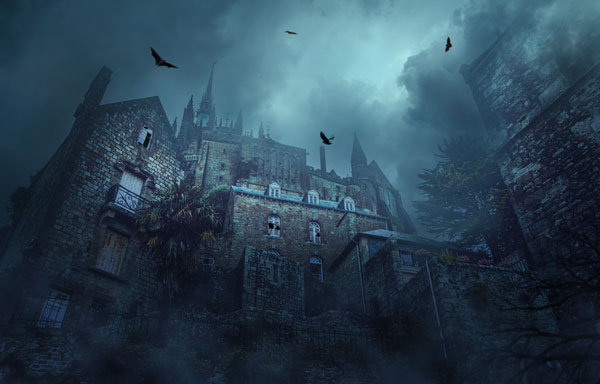
Open the house in Photoshop and then drag it into our main document using Move Tool(V).
Adding Sky
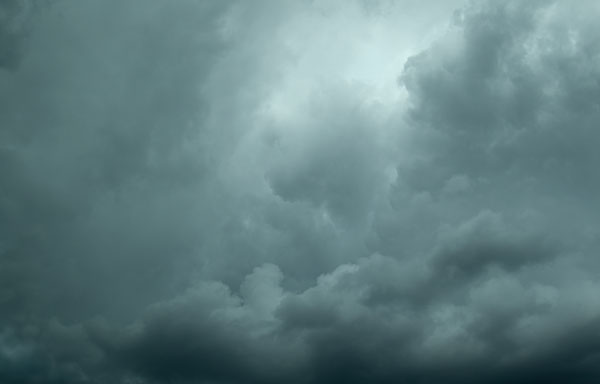
Step 3
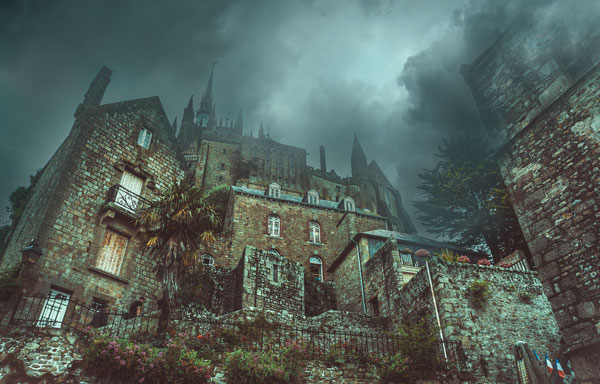
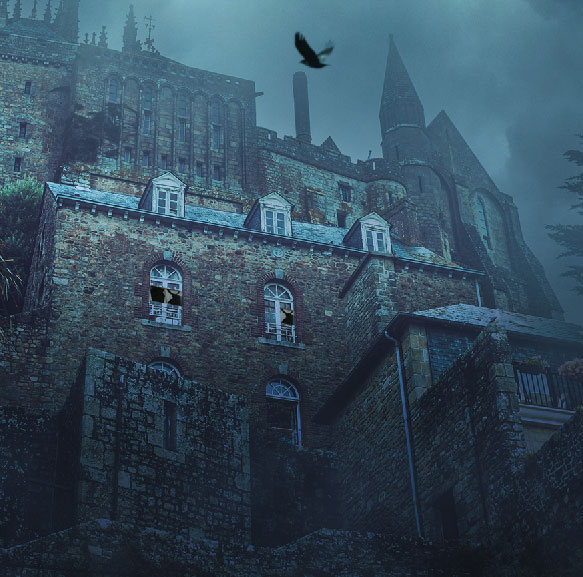
Place the sky image to main document. I hided the visibility of house, so you can clearly see how I placed it.
Step 4
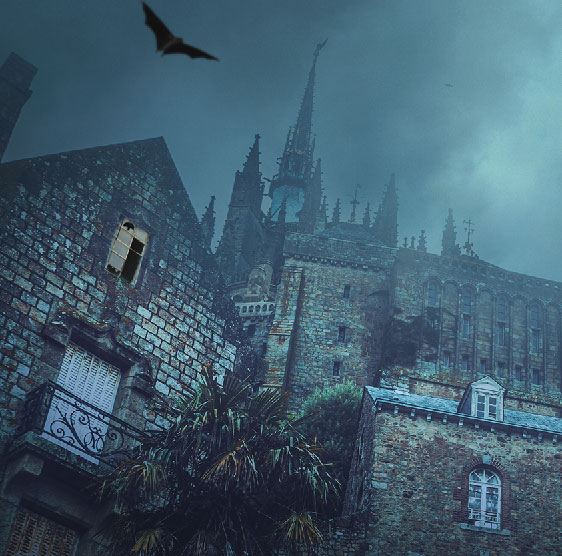
Add a Layer Mask to house image by clicking on second icon at the bottom of layer panel. Use a soft round black brush to mask the upper parts of house and keep the sky part’s visible on the top of house. Here is the image for reference :
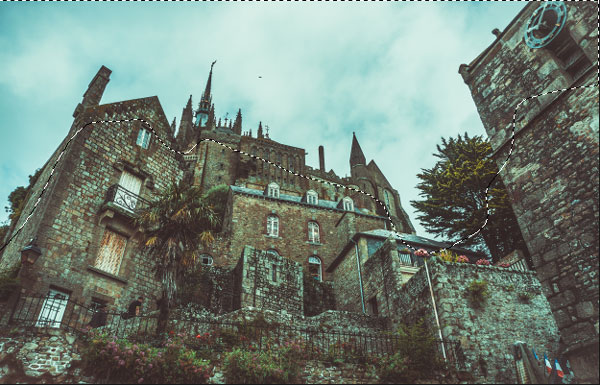
Here are the results on the layer mask of house:
Step 5
Results:
Step 6
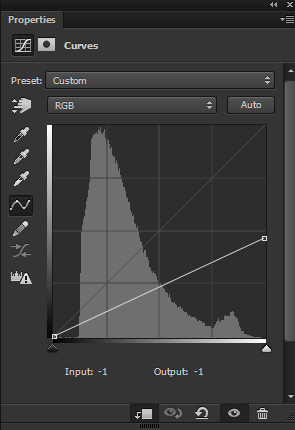
Make a Curves adjustment layer for sky and increase the contrast of sky. You can add an adjustment layer by clicking on third icon at the bottom of layer panel.
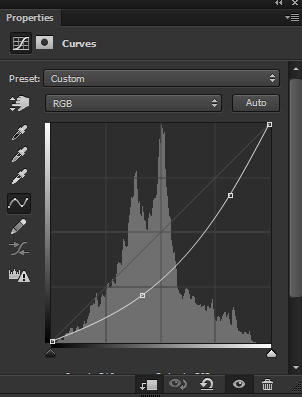
Results:
Step 7
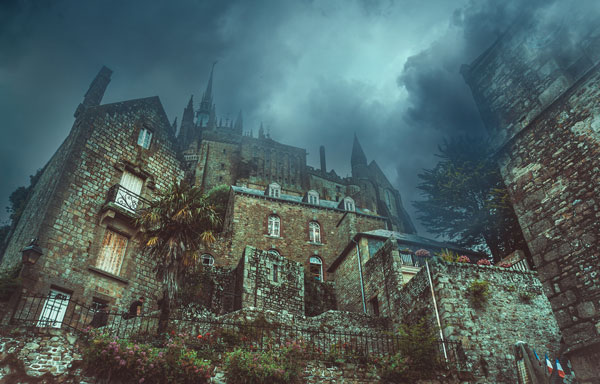
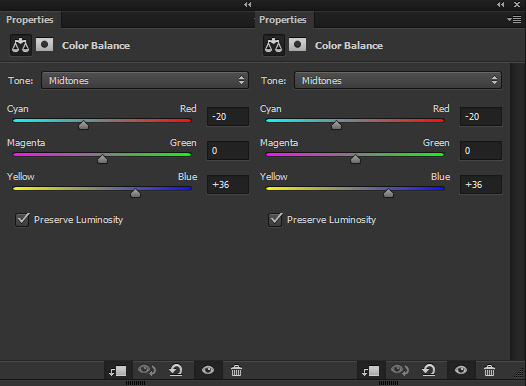
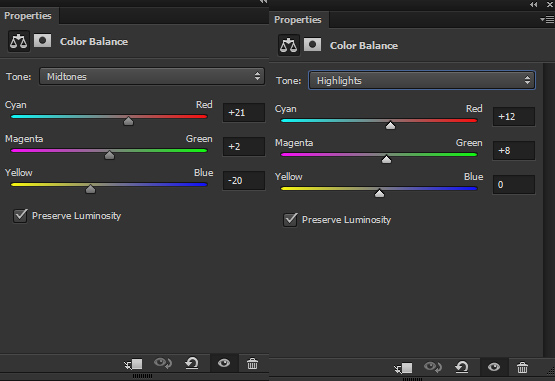
Use the Color Balance adjustment layer to change the color of sky. Only change the values of Midtones and Highlights.
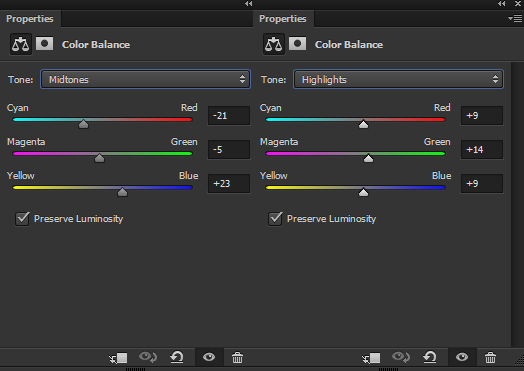
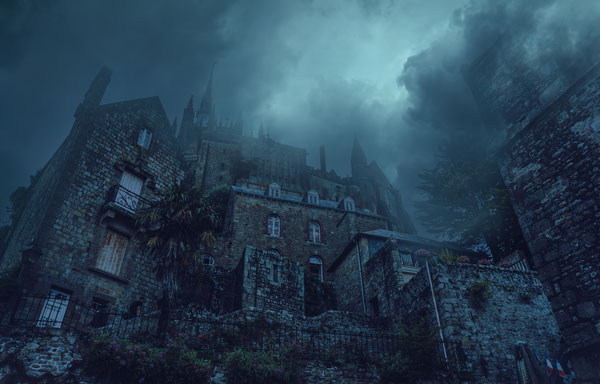
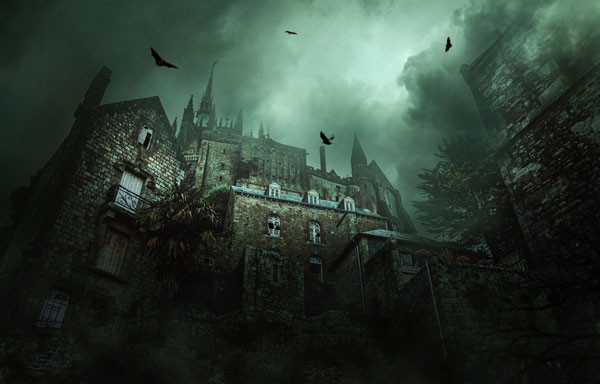
Results:
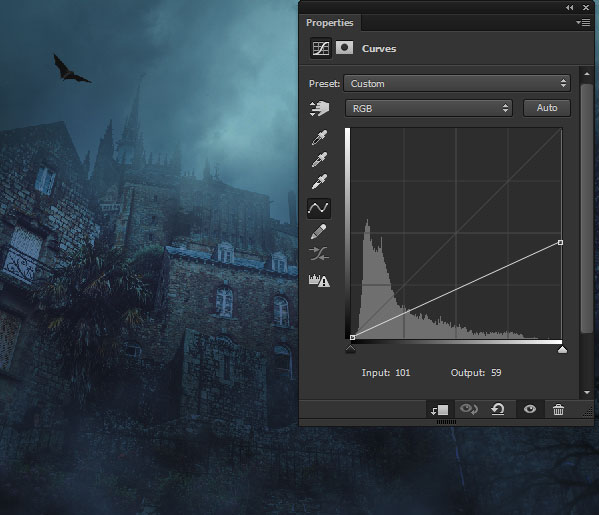
Step 8
Select the house layer and make a Curves adjustment layer for house to decrease its lightness. Don’t forget to set it as Clipping Mask.
Results:
Step 9
Make a Color Balance adjustment layer to house and match the color of house with the sky. For highlight change the value of Cyan-Red to -9, Magenta-Green to +4 and Yellow-Blue to +38.
Results:
Step 10
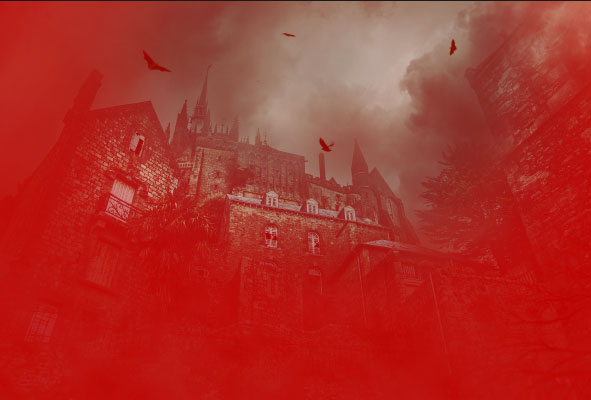
Make a new layer and fill this layer with 50% gray color and set its blend mode to Overlay.
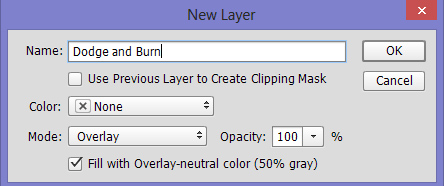
Select the
Burn Tool (O) with Midtones Range, Exposure about 10-12%. Now darken the lower part of the scene. Select the Dodge Tool (O) and lighten up the details on the upper parts of whole scene. Below you can see the results in Overlay mode.
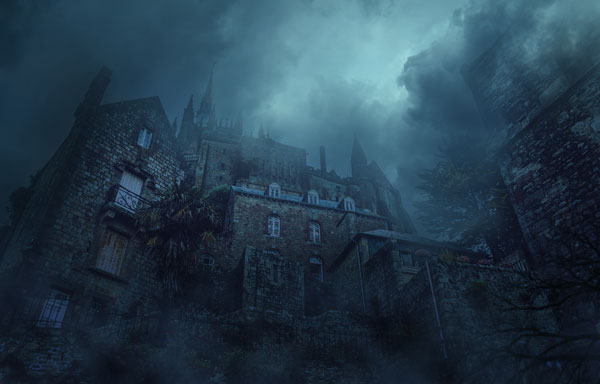
The aim here is very simple and that is to make darken those parts which are less illuminated by the lights and lighten up those which are close to lights. While doing this, keep the light direction in mind.
Results after refining the shade and light of entire scene:
Adding Tree Borders
Step 11
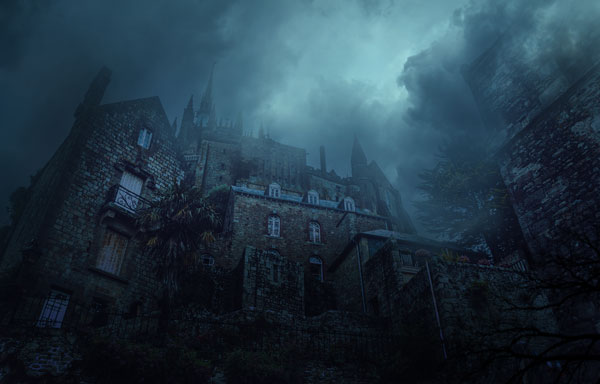
Place the tree border at the bottom of right side of scene.
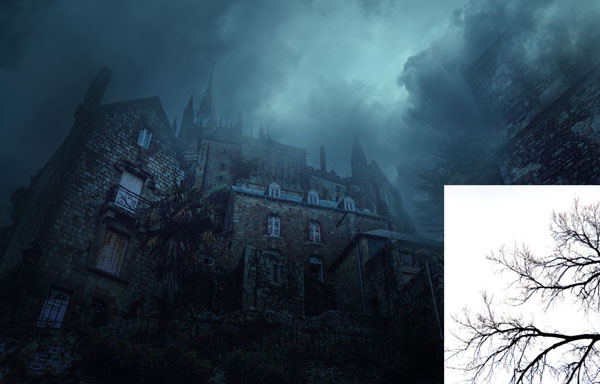
Set the blend mode of tree layer to Multiply and get rid of the white background.

Step 12
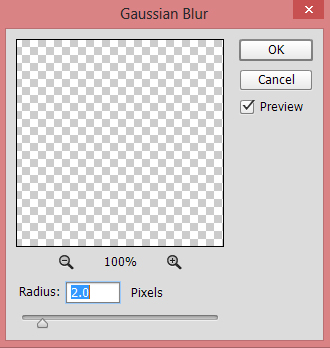
Convert the tree border layer into Smart Objects. Go to Filter > Blur > Gaussian Blur and apply the Gaussian Blur with 2px value.
Results with added depth to scene:
Step 13
Duplicate this layer by pressing CTRL + J and move it little bit below the original.
Step 14
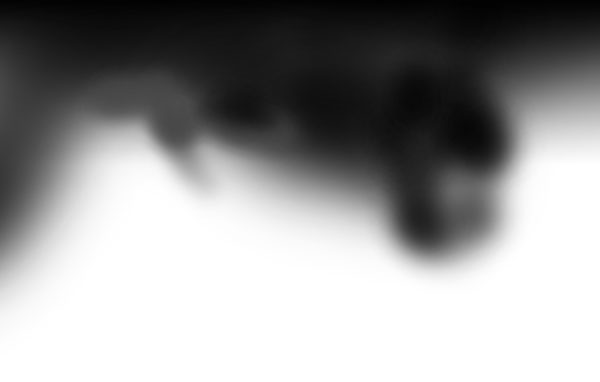
Make a new layer and name it ‘mist’. Set your foreground color to #bdbdbd and paint some mist as shown below.
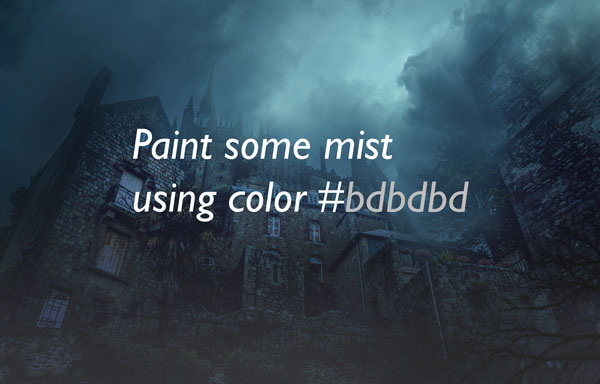
Add a mask to mist layer and go to Filter > Render > Clouds and apply the cloud filter on the layer mask of mist.
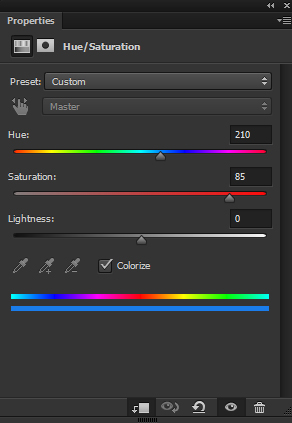
Step 15
Use the Hue/Saturation adjustment layer to colorize the mist layer.
Results:
Step 16
Open up the bat image in Photoshop and extract the bat from it then place it in the main document.
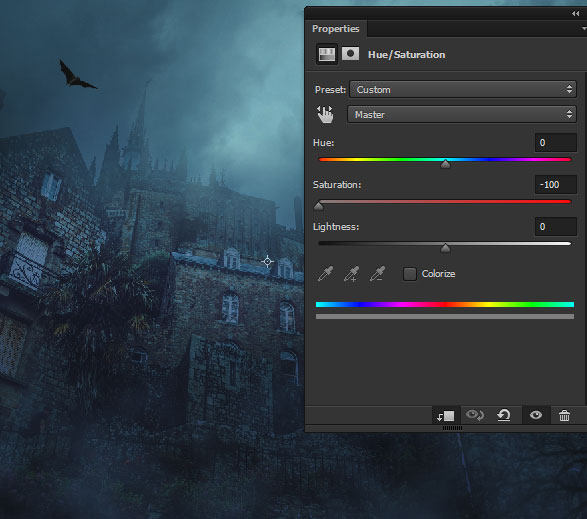
Step 17
Use the Hue/Saturation adjustment layer to desaturate the bat.
Step 18
Use the Curves to decrease the lightness of the bat.
Step 19
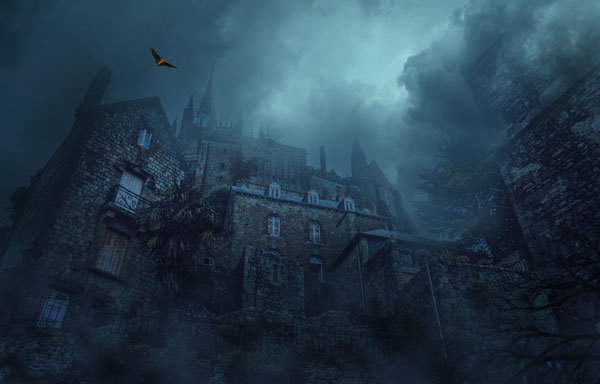
Apply the Gaussian Blur filter to bat to blend them with sky. Use it with 1.5px radius value.
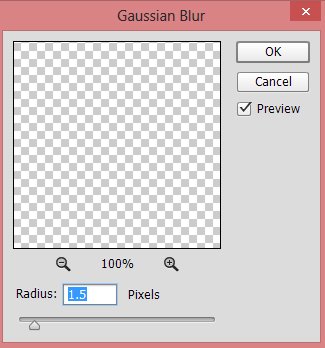
Results:

Step 20
Extract the crow from its background and place it to main document. Don’t forget to apply the Gaussian Blur on it as we did in previous step.

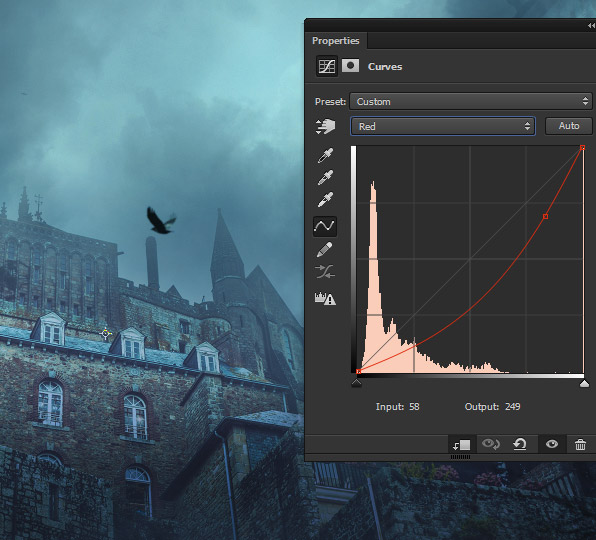
Step 21
Use the Curves adjustment layer to match the color of crow with the existing background. Alter the settings of Red channel.
Step 22
Similarly, extract the two more bats from the bats’ image. Place them onto the main document and blend them into the scene like we did it in step 19.

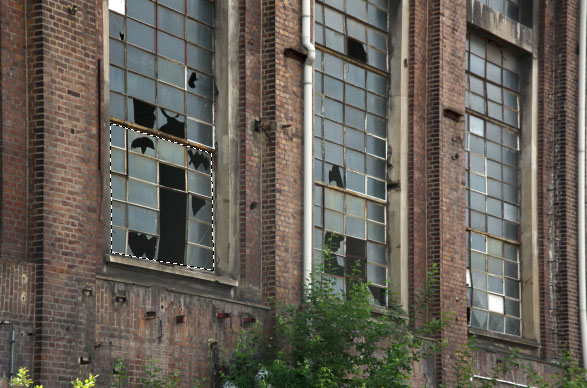
Step 23
Open the window image in Photoshop. Use the Polygon Lasso Tool to make the selection of broken window from it.
Step 24
Now place it as shown below and if needed, use the Transform Tool (CTRL + T) to rotate it to fit the perspective of house window.
Add a mask to this window layer and use a soft round black to mask its hard edges and make it fit with the size of a house window.
Step 25
Duplicate this layer two times and do same with other windows. But try to make the window of the house broken randomly. For this purpose, try to mask the different parts of the window and if needed try to change their perspective by rotating them.
Step 26
Select all the window layer and press CTRL +G to group them. Change the blend mode of this group to Normal. Now make a Curves adjustment layer to adjust all the broken window layers with the background. Change the settings of Red and Blue channel.
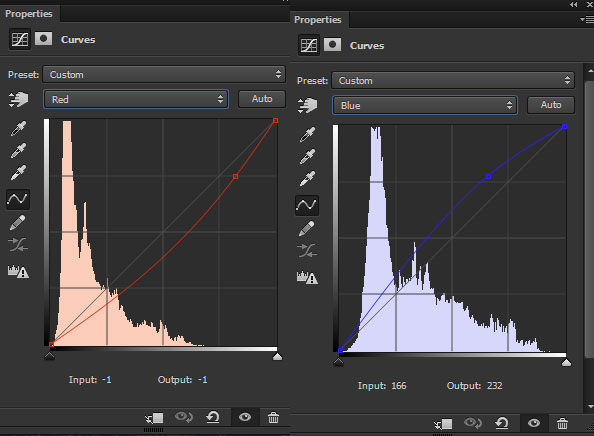
Results:
Final Adjustments
Step 27
Make a Gradient Map adjustment layer onto top of all layers, now use the Black/White gradient to increase the contrast and lightness of whole scene.
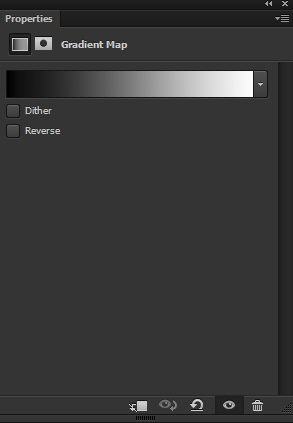
Set the blend mode of this layer to Soft Light and reduce the opacity to 70%.

Step 28
Make a Curves adjustment layer to change the color of whole scene. Change the setting of Green and Blue channel.
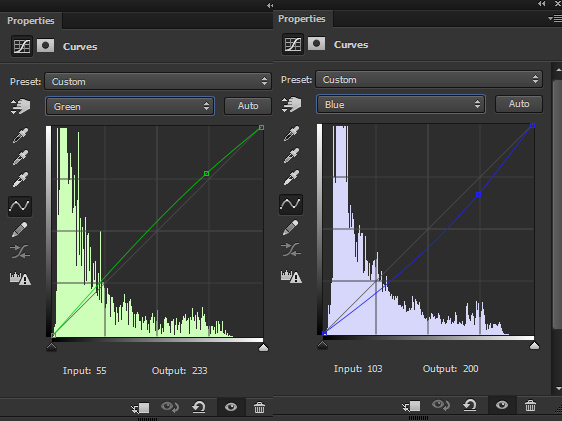
Reduce the opacity of Curves to 63%.
Step 29
Use the Color Balance adjustment layer to give the scene its final color. Only change the Shadows and Highlights
Results:
Step 30
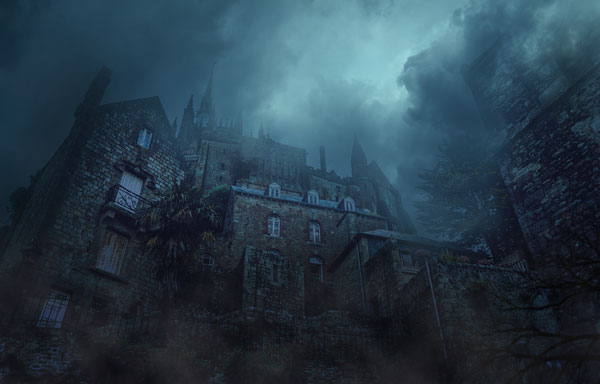
The light on top looks too bright, make a Curves adjustment layer and decrease the lightness of the whole scene. Fill the layer mask of this layer with black color.

On the layer mask of Curves, make the effect visible only on the brighter upper parts and darken them.
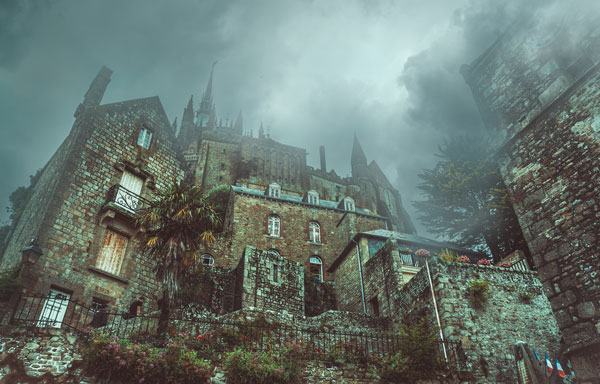
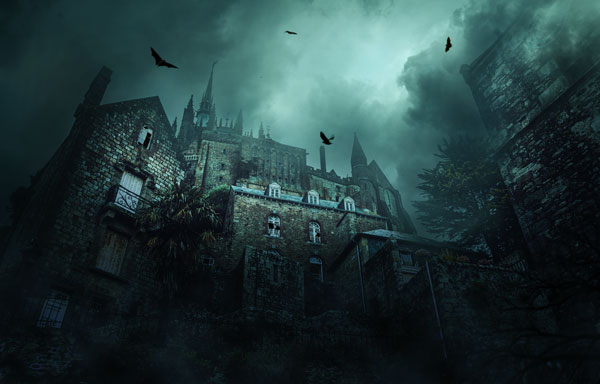
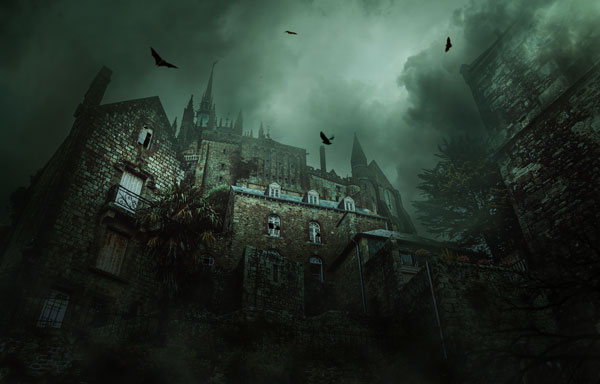
Final Results:
Conclusion
Thanks for following the tutorial. I hope you enjoyed it and learned some new techniques. I’d love to welcome your thoughts on the tutorial. Have a great day!
Need Help With Photoshop or Looking for Professional Support?
Whether you're just getting started with Photoshop or need expert-level assistance, we're here to help! Contact us for personalized Photoshop tutorials, project support, or creative services.
Get in touch today to take your skills or projects to the next level.
CONTACT US NOW📘 Want to Master Photoshop Faster?
🎁 Get Your FREE PDF E-Book "Top 10 Photoshop Tricks Every Designer Must Know" Now – Packed with expert tips, shortcuts, and techniques to boost your creativity & workflow.
👉 Download Your FREE PDF E-Book NOW!
