
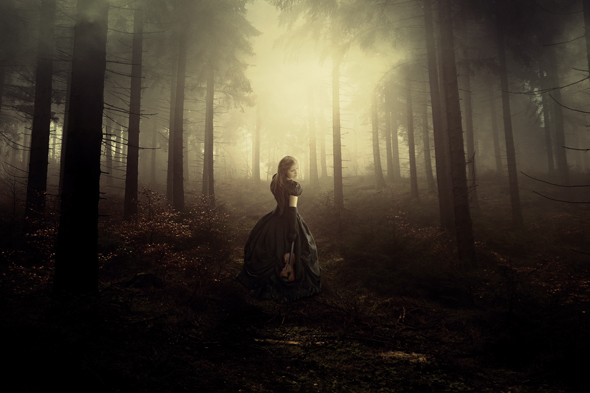

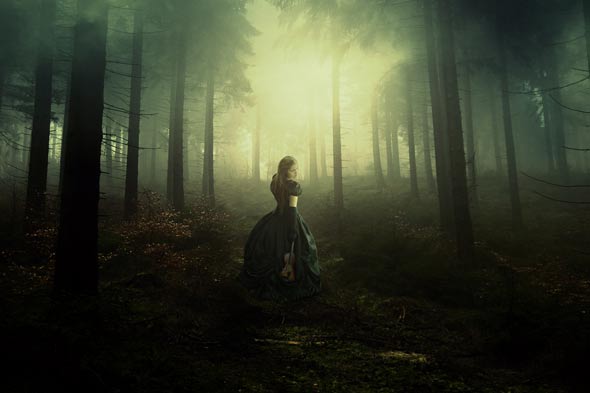
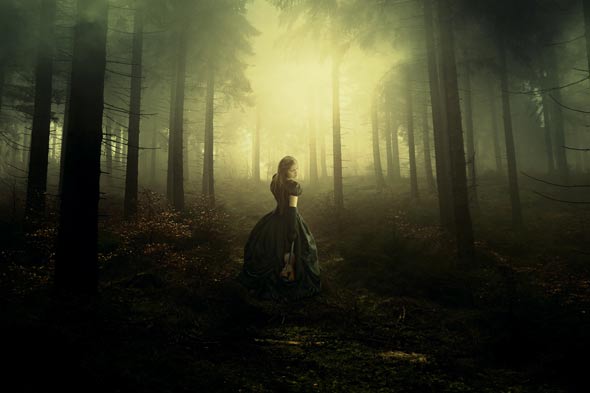
Learn how to create a dark, emotional misty forest scene in Photoshop. In this tutorial I’ll show you how you can convert an ordinary forest into a misty one using a range of photo manipulation techniques. You’ll learn how you can use adjustment layers to make a realistic and believable misty scene. By the end of this tutorial, you’ll be able to produce your own photo manipulation.
Tutorial Resources
Preparing Dark and Misty Background
Step 1
Start by creating a new document by selecting File > New and set the setting as shown in the image below.

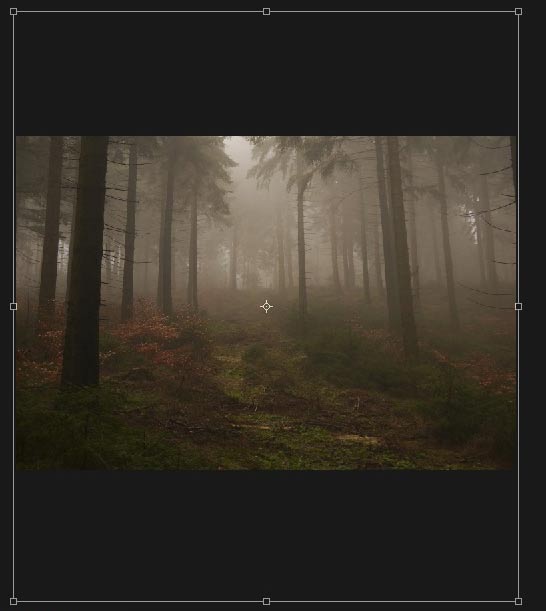
Step 2
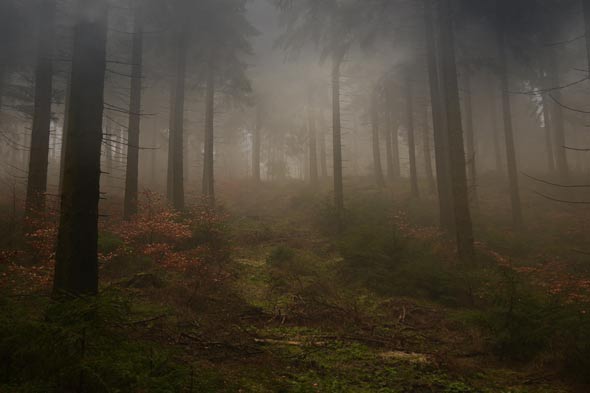
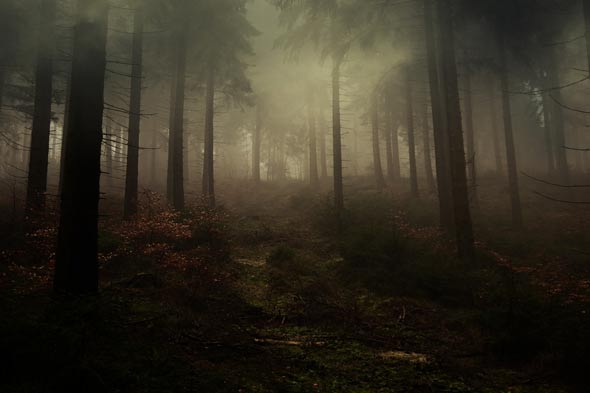
Place the forest image to the main document by selecting File > Place then place it. Don’t forget to resize it using Transform Tool (CTRL + T) to fit it with our document.
Adding Clouds to Forest
Step 3
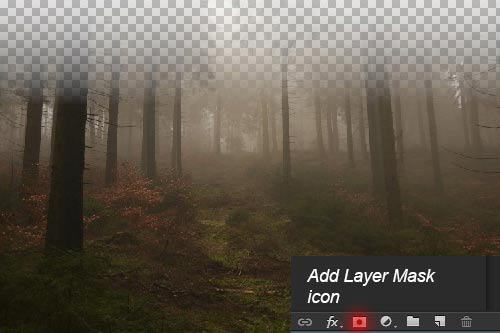
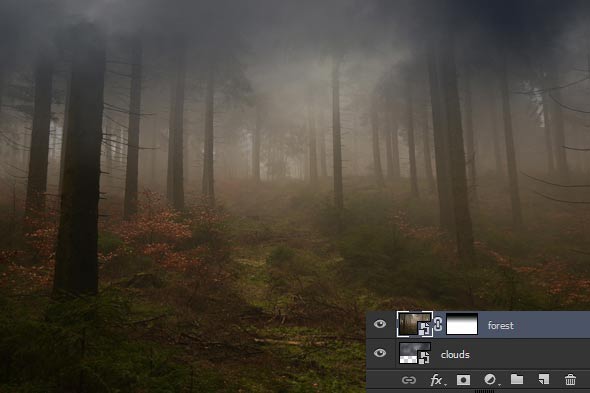
Add a Layer Mask to the forest image by clicking on add layer mask icon on the layer panel. Activate the Gradient Tool by pressing (G) on the keyboard and choose a linear black/white gradient in the gradient editor, then apply the gradient vertically ( hold down the Shift key to apply it vertically) on the layer mask to hide upper parts of forest.
Add the cloud image to the main document. Add the lower parts of clouds image as shown in the image below using Transform Tool (CTRL + T).
I erased the forest layer so you can clearly see how I placed it.
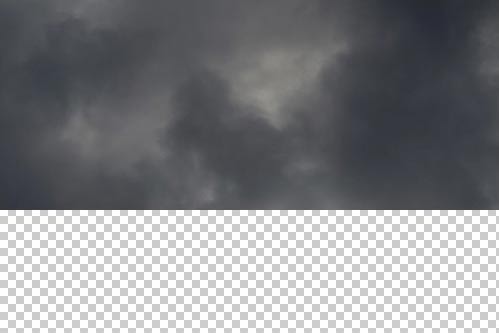
Now drag the cloud layer below the forest layer.
Step 4
As you can see that by adding clouds to the forest, we’ve very foggy and misty forest. But I want to reduce the effect of cloud little bit. To reduce the clouds effect, double click on the layer mask of forest layer and then reduce the density of layer mask to 76%.

Here are the results and we have the forest parts back visible again. Controlling the density of layer mask is an advanced feature of Photoshop. It gives you more control over the masked parts of an image. But note this feature is only available in Photoshop CS5 or higher version.
Step 5
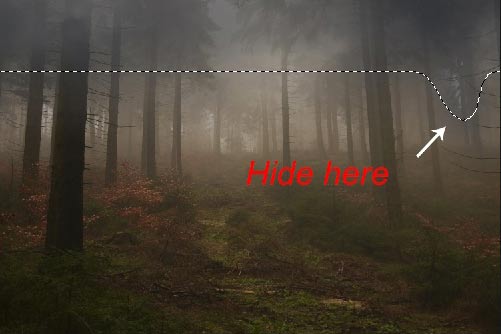
Use a soft round basic brush to hide the selected part of forest image as I want to add little bit darkness to the right side of the forest. So I just erased the forest part using Brush Tool (B) with opacity and flow about 30%.
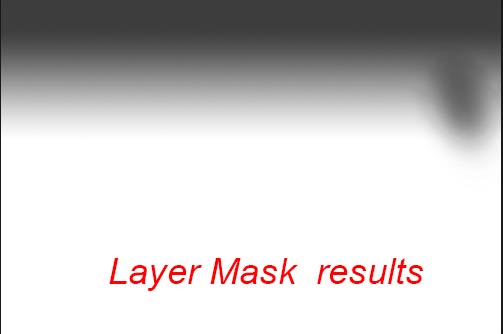
You can also see the layer mask results.
Step 6
Add a Curves adjustment layer (Layer > New Adjustment Layer > Curves) to clouds image and set the setting as shown in the image below.
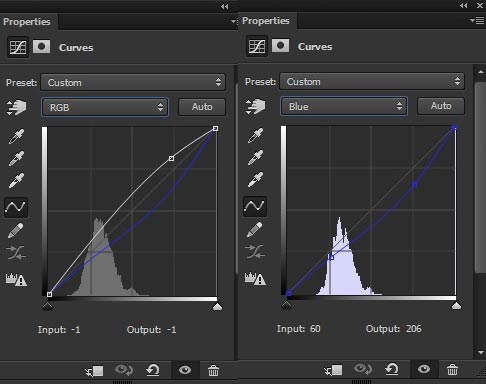
Here are the results. As you can see we’ve increased brightness and added yellow tones to the clouds layer.

Step 7
Add a Curves and Gradient Map adjustment layer to the entire scene. I’ve chosen a Black/White gradient in Gradient Editor and it’s a default 3rd preset.

Change the blend mode of Gradient Map to Soft Light.
As you can see that by changing the blend mode to soft light we’ve more dark forest scene.
Step 8
Continue coloring the entire scene by using a Color Balance adjustment layer.
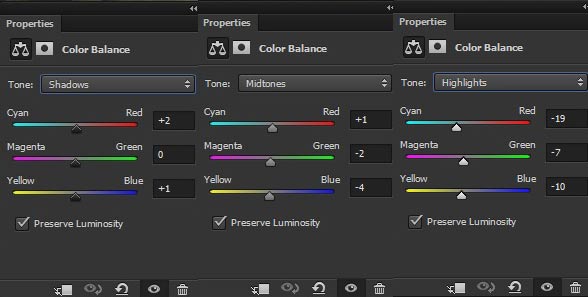
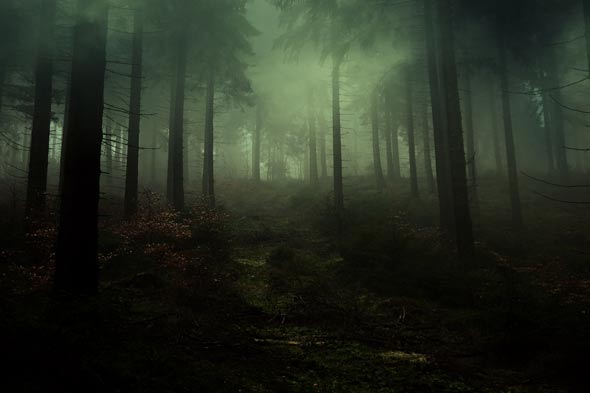
Here are the results.
Step 9
Make a Gradient Map adjustment layer to add cyan tone to the entire scene. Choose color #0e5865 for Shadows and for highlights choose #0f9b89.
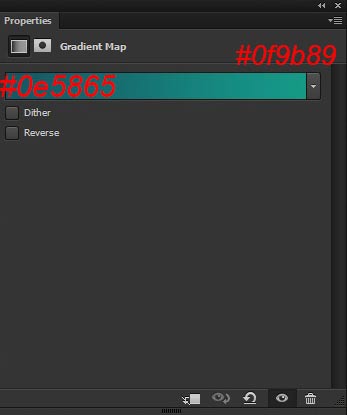
Change the blend mode of Gradient Map to Soft Light and reduce the opacity to 50% (I don’t want too much cyan color for the scene).
Adding Model to Make the Scene Emotional
Step 10
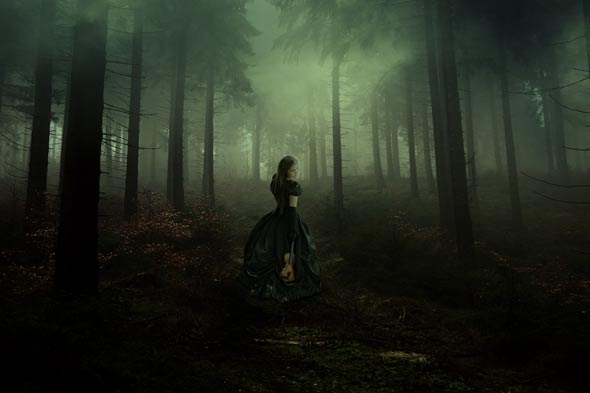
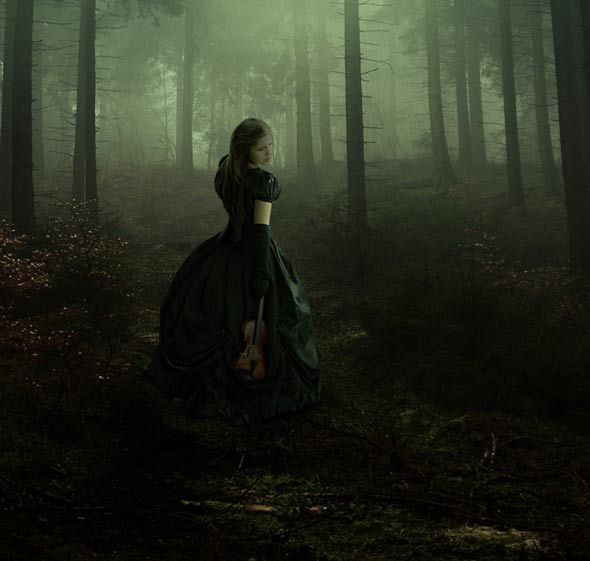
Isolate the model from its background and then place it into the main document. In this particular case the hairs details of model barely visible, so we don’t need to pay more attention to the extraction of hair. But if needed try extracting the hair using Refine Edge Tool or you can leave some space around the model hair while making the selection and after that hide the unwanted background, around the model hair, using soft round brush tool.

Step 11
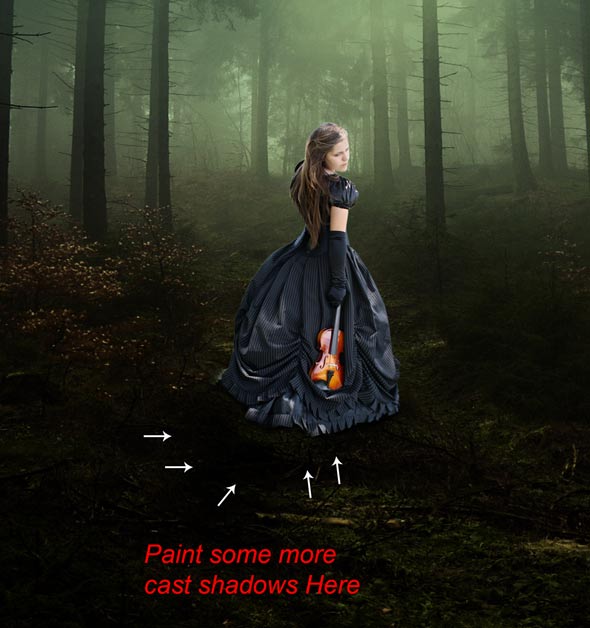
Create a new layer under model layer by pressing (CTRL + ALT + SHIFT + N ) on the keyboard. Using a soft round black brush to paint some contact shadows under the model dress.

Create a new layer again and then paint some more shadows. Remember as you go further from the origin of shadow’s, keep decreasing the opacity and flow in the process. At the end, shadows will look like more or less as in the below image.
Step 12
Now it’s time to blend the model using an adjustment layer. Reduce the lightness of model by adding Curves adjustment layer as clipping mask (press the red button to clip it otherwise it will also affect the below layer) and also use the blue channel to add yellow tones to models.
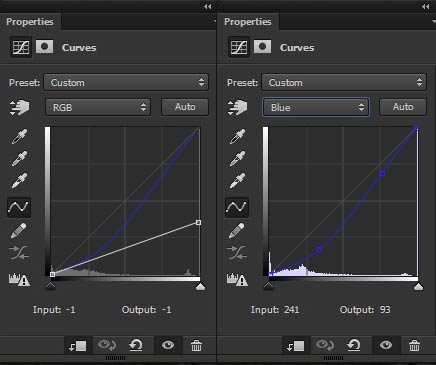
Here are the results.

Step 13
Add a Photo Filter adjustment layer to the model to add green tones.

Step 14
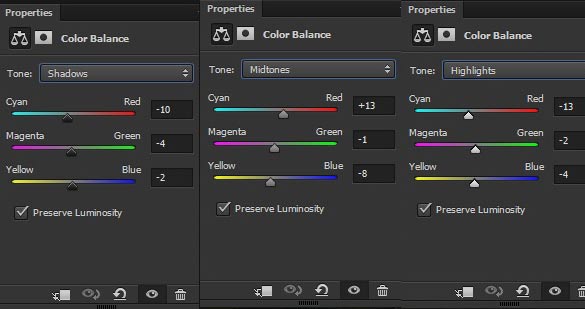
Continue blending the model using a Color Balance adjustment layer. Only change the settings of Midtones and Highlights.
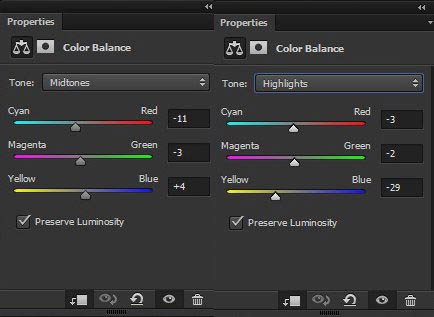
Here are the results.
Step 15
Add a Brightness/Contrast adjustment layers to model to increase the contrast of model.

Refining the Shade and Lights of Model
Step 16
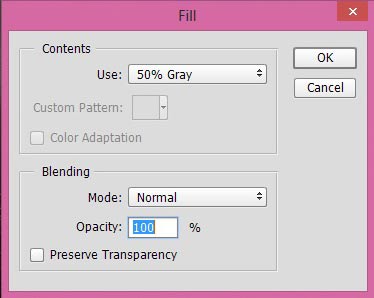
We are now going to refine the shades and lights on the model by using Dodge and Burn tool non-destructively. To do this, create a new layer and then select Edit > Fill then fill the layer with 50% gray color.
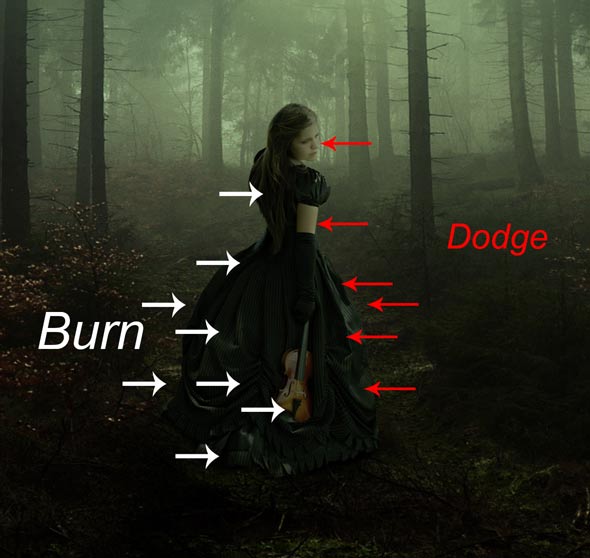
Change the blend mode to overlay and then activate the Dodge/Burn tool by pressing (O) on the keyboard. Set the range to midtones and exposure to 9% then burn the model parts as indicated by the white arrows. Using the same setting, dodge the model parts as indicated by red arrows.
You can see the results in overlay mode that how I’ve done it.
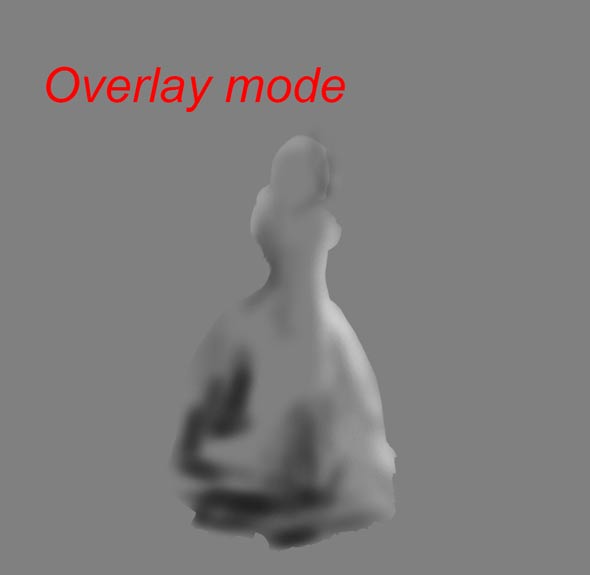
Here are the results.
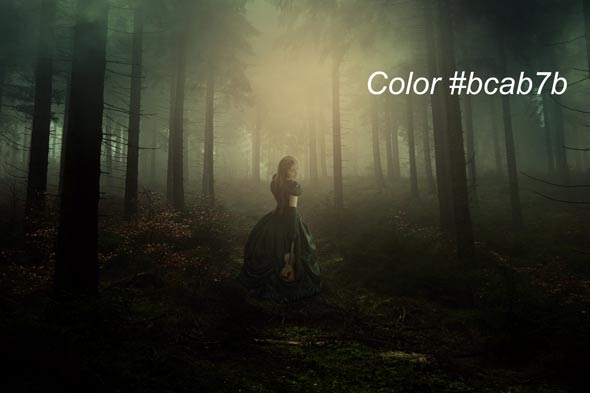
Step 17
Create a new layer and name it ‘light source’. Change your foreground color to #bcab7b and then activate the brush tool and make a big stroke in the middle of the scene.
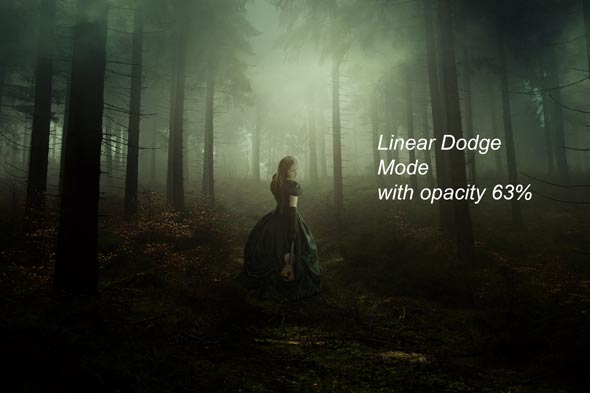
Change the blend mode of light source layer to Linear Dodge and reduce the opacity to 63%.
Final Adjustments
Step 18
Now are at the end of the tutorial and now we’ll finish it up with an adjustment layer. So add a Gradient Map adjustment layer to the entire scene (above all layers).
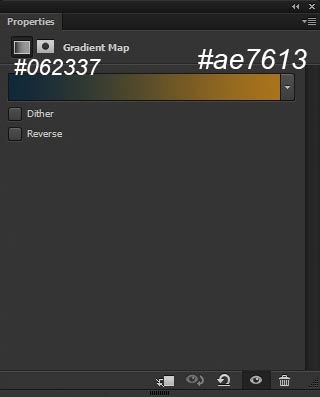
Change the blend mode of Gradient Map to Color Dodge and reduce the opacity to 50%.
Step 19
Add a Photo Filter adjustment layer to the scene.
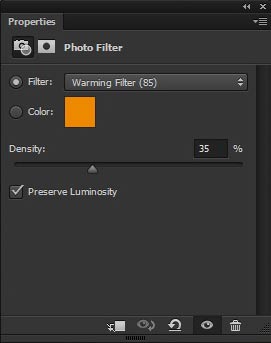
Here are the results.
Step 20
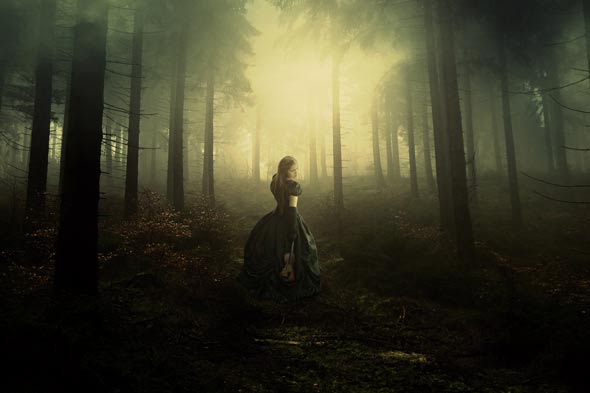
Continue colorizing the whole scene by adding Color Balance adjustment layer.
Here are the results.
Step 21
Finally, add the Color Lookup adjustment layer to change the overall look of the scene.
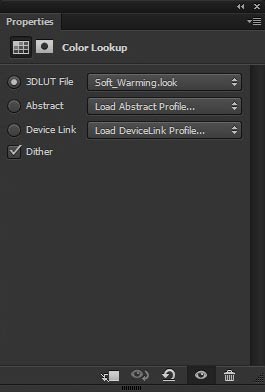
Now change the blend of Color Lookup layer to color and here are the results.

Conclusion
Thanks for following the tutorial and I hope that you’ve learned something new today. If you have any question regarding tutorial then do let me know through comments and I’ll happy to help you.
Happy Photoshopping !!
Need Help With Photoshop or Looking for Professional Support?
Whether you're just getting started with Photoshop or need expert-level assistance, we're here to help! Contact us for personalized Photoshop tutorials, project support, or creative services.
Get in touch today to take your skills or projects to the next level.
CONTACT US NOW📘 Want to Master Photoshop Faster?
🎁 Get Your FREE PDF E-Book "Top 10 Photoshop Tricks Every Designer Must Know" Now – Packed with expert tips, shortcuts, and techniques to boost your creativity & workflow.
👉 Download Your FREE PDF E-Book NOW!

