
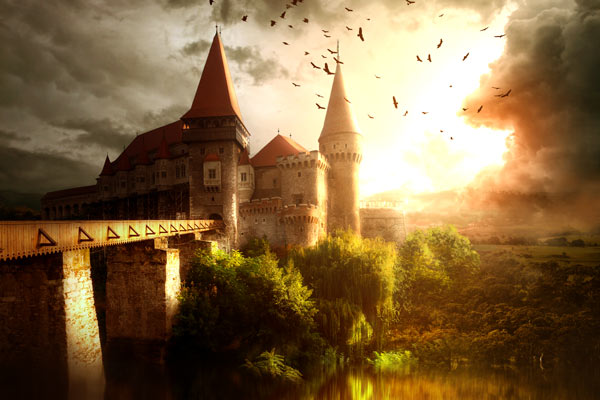

In this tutorial, I ‘ll show you how to create a castle matte painting scene in Photoshop. We’ll first create a background for the castle and then we’ll import other elements to the scene. You’ll learn how to create the light source, coming up with matte painting ideas in just 2 hours using photo bashing technique, creating light direction and paying attention to minor details.
Tutorial Resources (Not all are available)
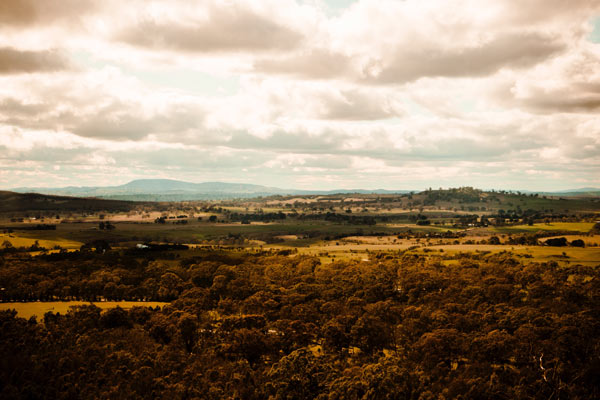
- Landscape
- Castle (different angle)
- Birds Brushes
- Jonas De Ro Brushes
Step 1
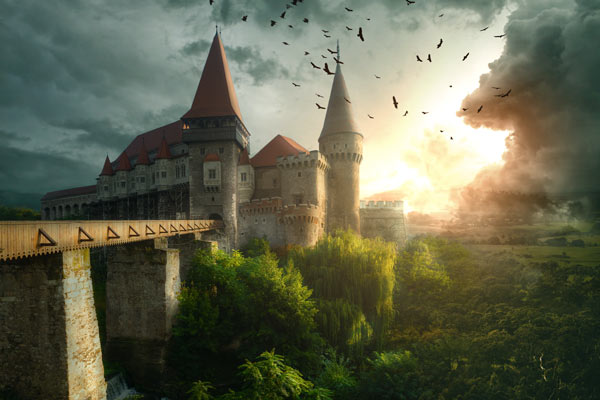
Open the landscape image in Photoshop by selecting File > Open.
Step 2
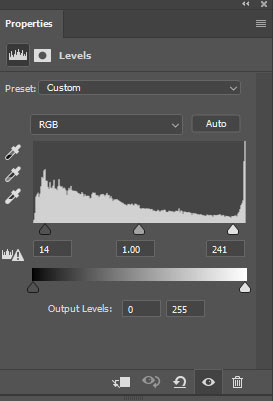
I used two adjustment layers to slightly change the color and contrast of the landscape image. You can see the setting of the Levels (Layer > New Adjustment Layer > Levels) and Curves. Basically, I used the Curves’ red and blue channel to change the colors.

Here you can see that how both adjustment layers affected the landscape:

Step 3
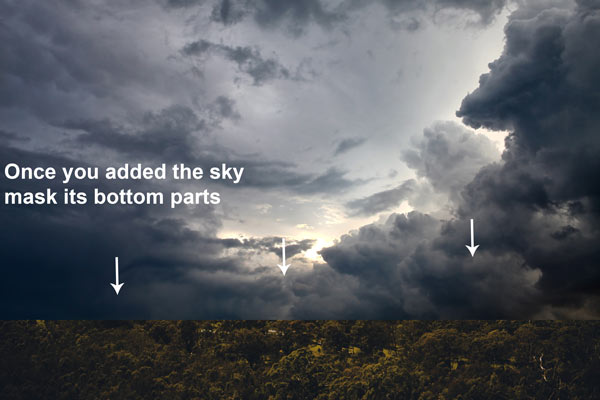
Add the sky image and place it above the landscape layer in Photoshop. You can do it by selecting File > Place Embedded. I am not providing this sky image as I don’t know where I got this from but you can use the similar one.
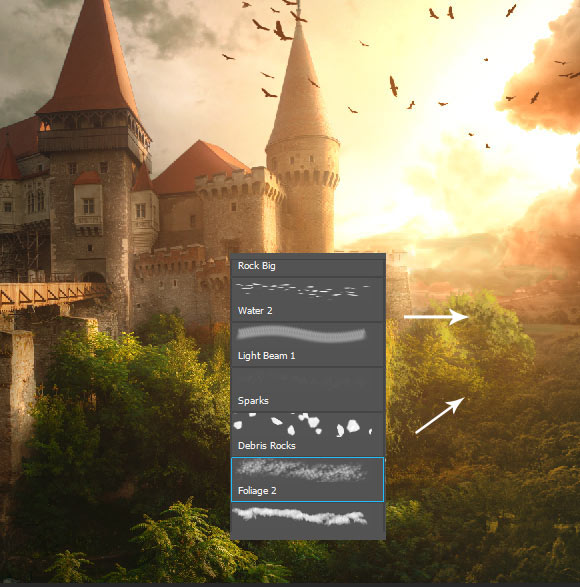
Once you added the sky then you can see we need mask its bottom edges to blend it with the landscape. You can also see which parts needed to masked as indicated by the white arrows.
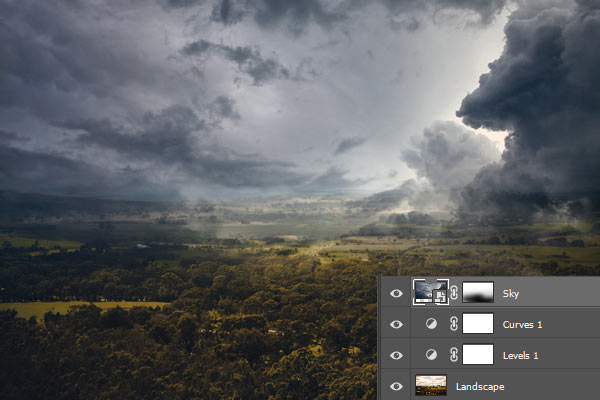
Add a mask to sky layer by clicking on the second icon at the bottom of the layer panel. Now select the mask, activate the Brush Tool (B), and use a soft round black brush to mask the edges of the sky.
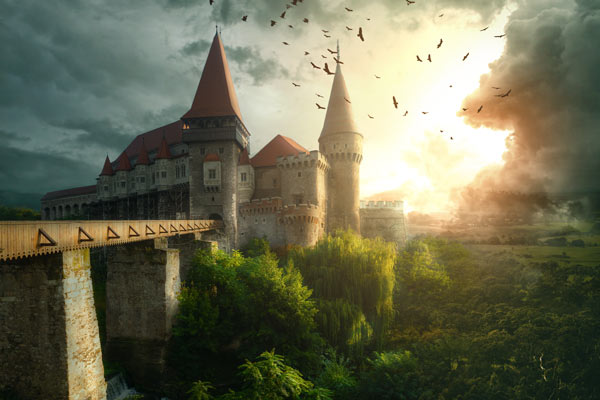
Here you can see the results after masking:
Step 4
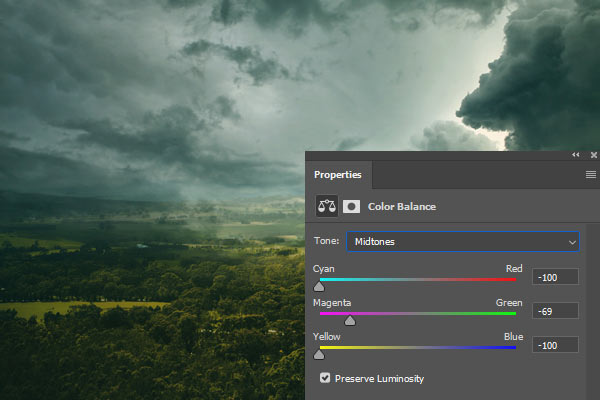
I used a Color Balance adjustment layer on top of all layers, so far, to alter the color of the entire composition. Remember don’t clip this layer to any layer and just put it on top of all layers.
Step 5
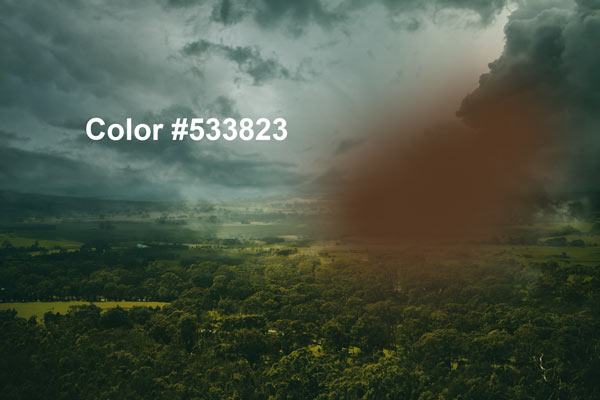
Now we’ll create a light source by using Color and Color Dodge layer. First, create a new layer by pressing CTRL + SHIFT + N and using a dark orange color, 533823, paint on the sky.
Now change the blending mode of this layer to Color.
Step 6
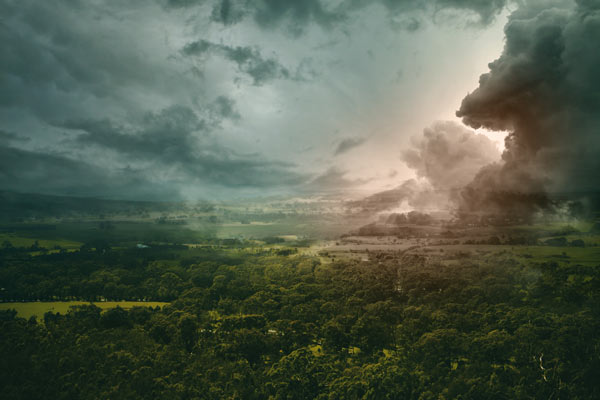
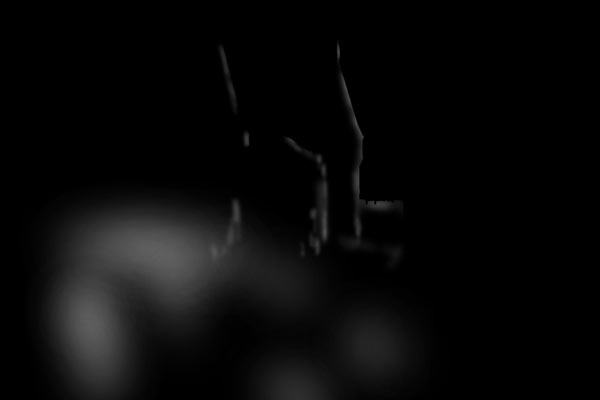
Create another layer and fill this layer with black color. Now change its blending mode to Color Dodge and then using a soft round brush with white color paint exactly on the sky where you want to create the light. You can read more about this technique in my lake tutorial which you can follow here.
Here I have the light source:

Step 7
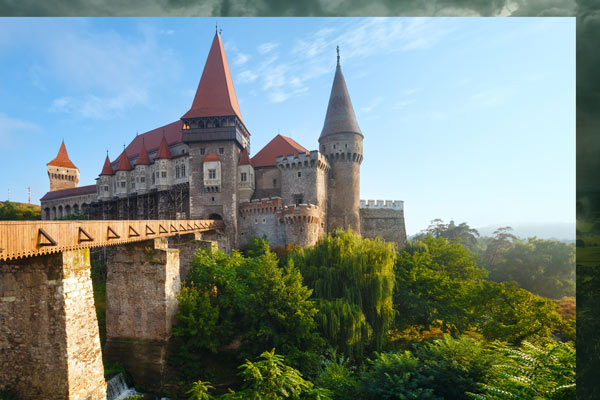
Place the castle image to the main document. Again, I lost the link to this image and I don’t know from which site I got this. But I am giving you the link to the same image but it doesn’t have that angle of Romanian castle which I’m using. Please forgive me for that and I’ll keep in my mind for the next tutorial that I’ll provide you a complete list of used resources as I usually do.
Step 8
Now you need to extract the castle from its background. For that, you can use Quick Selection Tool (W) on the left and but when you go close to the bushes area try to mask it using a soft black brush.

Here you can see the rough masking and you can notice a lot of mistakes but I don’t care about it as we’ll fix them later in this tutorial. In this initial stage of any composition, I always let the idea flow from my mind and just ignore these small mistakes.
Step 9
Darken the castle using a Curves adjustment layer. Don’t forget to use this layer as Clipping Mask.

Step 10
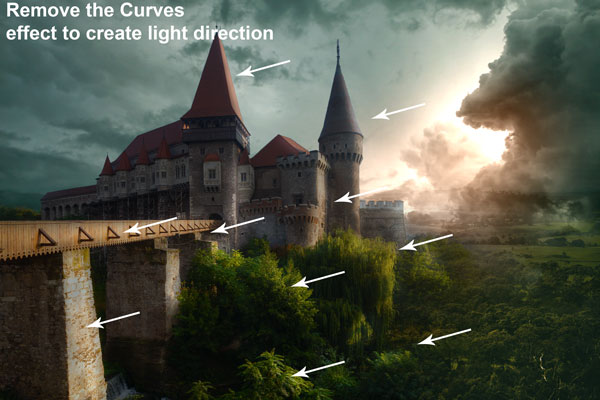
Select the mask of the Curves, and then use a soft round black brush to erase the dark effect from the castle parts to maintain light there or to create a light direction.
See the below image for reference. Once you’ve done it you’ll have the results resemble the image below.
Step 11
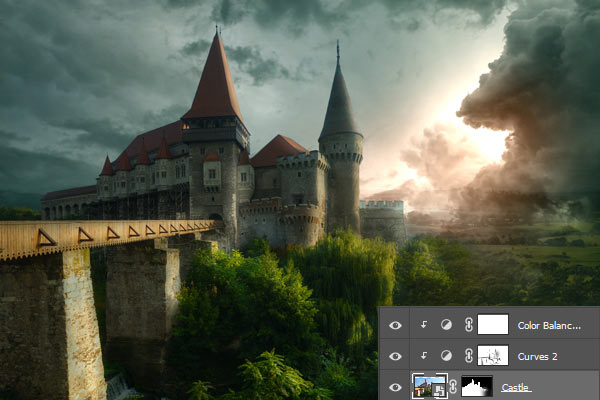
Make a Color Balance layer to match the color of the castle with the background.
Results:
Step 12
Load the birds brushes in Photoshop and then paint some birds on the scene.

Step 13
Choose the saturated orange color and then paint a big stroke of soft round brush on a new layer.
Change its blending mode to Linear Dodge 100%.
Step 14
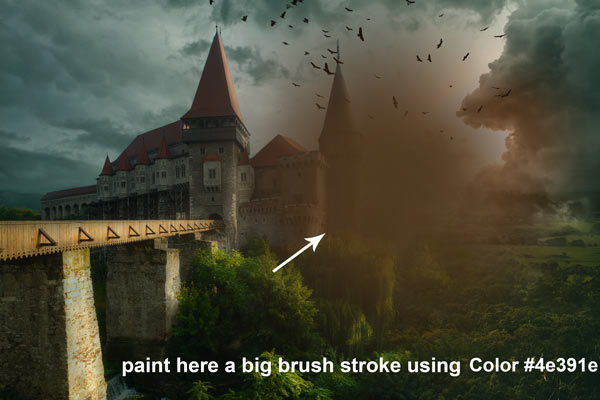
On a new layer, I painted using the same color but this time on top of the document. You can see where I painted it.

Again, I changed the blending mode to Linear Dodge 100%.
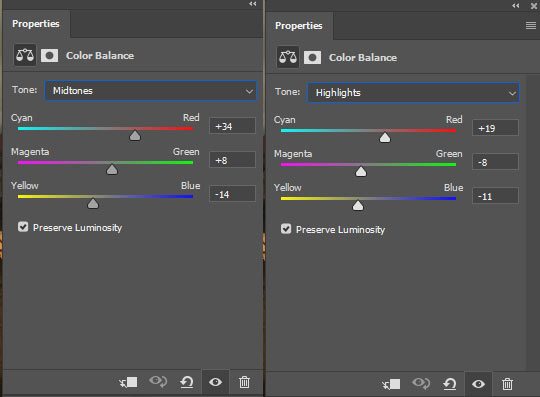
Step 15
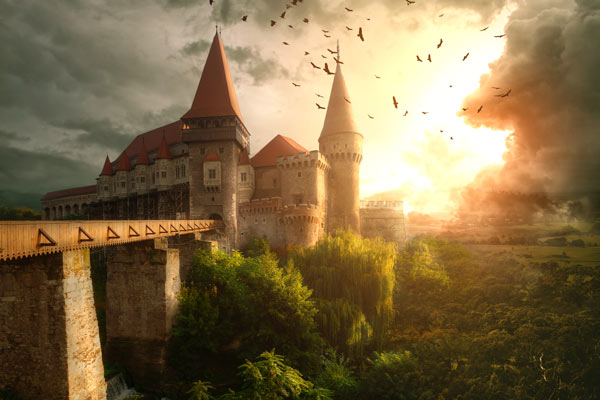
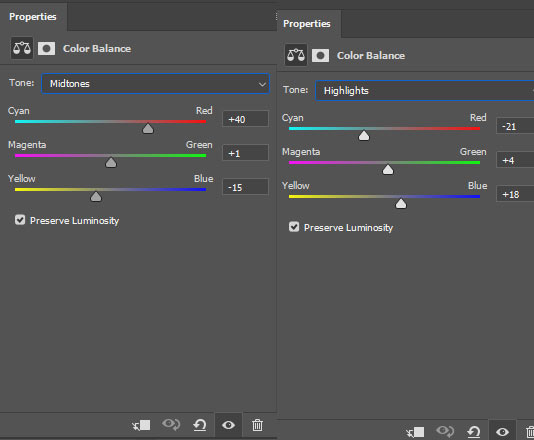
Create a Color Balance adjustment layer and put it above all layers. Then alter the settings of the Midtones and Highlights. This will add a sort of orange color to the entire composition.
Results:
Step 16
I found that the bushes of the castle aren’t blending with the scene properly as I said we masked here roughly. So we need to fix this, load the Jonas De Ro brush pack in Photoshop. Then select the foliage brush and then paint bushes using a bright green color.
Again, this step is for retouching the image. Basically, at this stage, I try to look at the overall image to see if there are something I can fix or it could be better. I found, on the far right side, that there are a lot of overlapping parts, so I try to fix them by either cloning or painting here. I also created more focus on the middle of the scene by darkening the corners by painting on the them using a soft black brush.

Step 18
I increased the contrast using the Levels adjustment layer.
Results:

Step 18
Here again, I used the black color dodge layer (which I used in step 6) for painting more lights on the castle. You can see that the arrows indicating where you need to paint the light using a soft white brush.
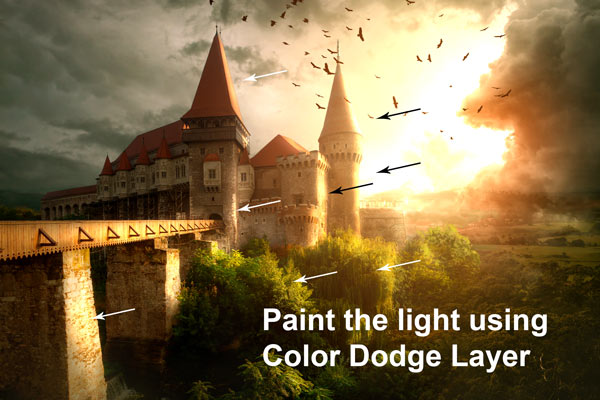
Results in Normal mode:
Step 19
Now we’ll create the reflection. To do this, create a merged copy of all layers by pressing CTRL + SHIFT + ALT + E. Then flip this layer vertically, go to Edit > Transform > Flip Vertical, and use half of it.

Drag it slightly toward the bottom where you can kinda a match the reflection of the image.
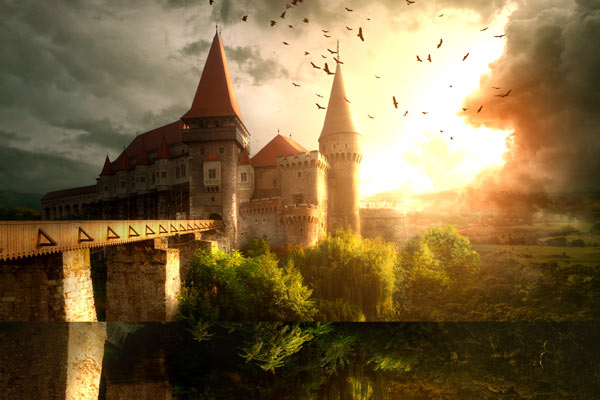
Step 20
Add a mask to the newly merged layer and then mask its edges to create a reflection or create a lake effect for the composition.

After masking:
Step 21
Go to Filter > Blur > Motion Blur and apply the shown amount of motion blur to the merged layer.
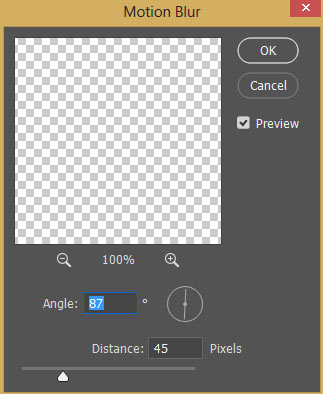
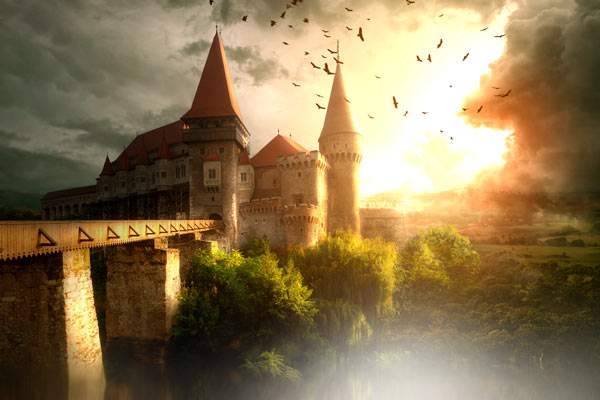
Here we have the water reflection or you can say that we added a water or lake to the scene:

Step 22
I noticed that the indicated bridge part’s reflection is not blended properly. So I did some cloning here using the Clone Stamp Tool (S) to fix this part.

Step 23
Create a new layer and then paint on the reflection using a white color.
Change the blending mode to Overlay 100% to add the glow to the water.

Step 24
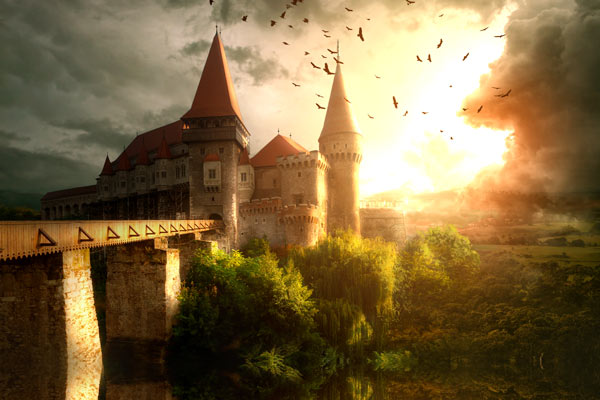
Finally, I used two adjustment layers to finish this piece. First, I used a Black/white adjustment with default settings and I changed its blending mode to Soft Light with 50% Opacity.

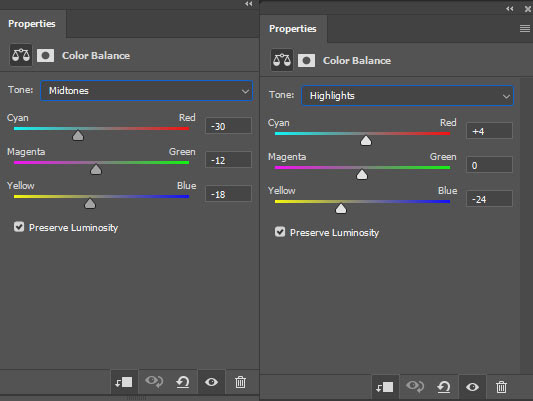
Next one is Color Balance to balance or match the color of the entire image. You can see the settings below.
Here is the final outcome of the tutorial:
Need Help With Photoshop or Looking for Professional Support?
Whether you're just getting started with Photoshop or need expert-level assistance, we're here to help! Contact us for personalized Photoshop tutorials, project support, or creative services.
Get in touch today to take your skills or projects to the next level.
CONTACT US NOW📘 Want to Master Photoshop Faster?
🎁 Get Your FREE PDF E-Book "Top 10 Photoshop Tricks Every Designer Must Know" Now – Packed with expert tips, shortcuts, and techniques to boost your creativity & workflow.
👉 Download Your FREE PDF E-Book NOW!
