
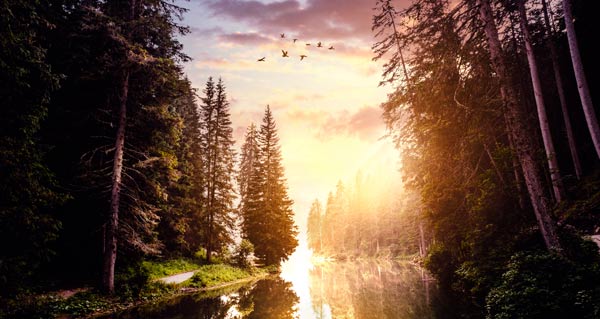

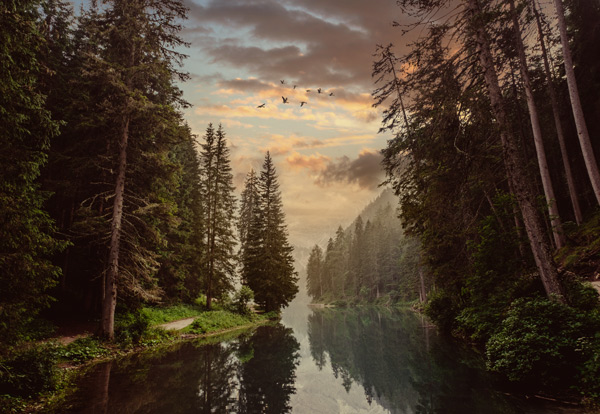
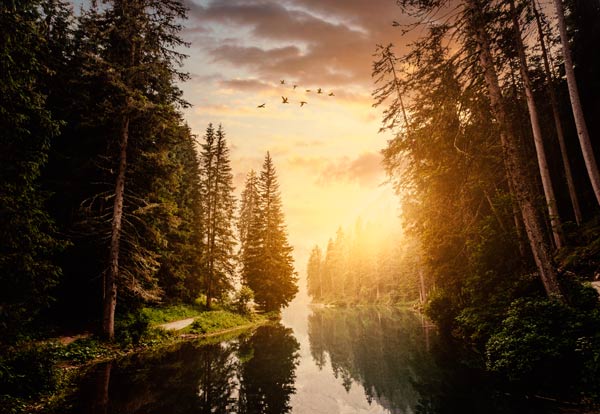
In this tutorial, you’ll be creating a lake scene in Photoshop. We’ll start by using a lake image and then extracting sky from its background. Once the background removed, we’ll then place the sky image there to make it complete. After, we’ll work on the light effect using only brushes, colors and blend modes. So follow the tutorial and let’s see how it goes!
Tutorial Resources
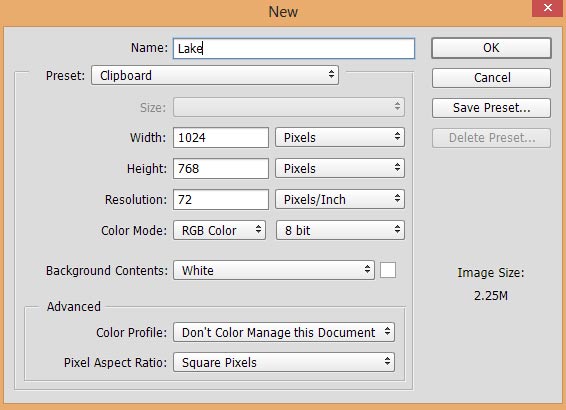
Step 1
Go to File > New and create a new document in Photoshop.
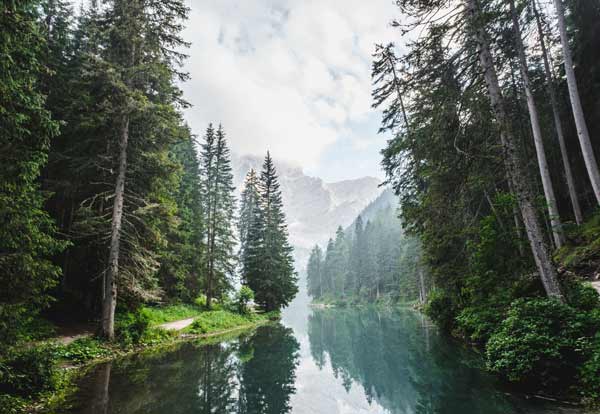
Step 2
Download the lake image from the tutorial resource section and then go to File > Place Embedded to place the lake image in Photoshop.
Step 3
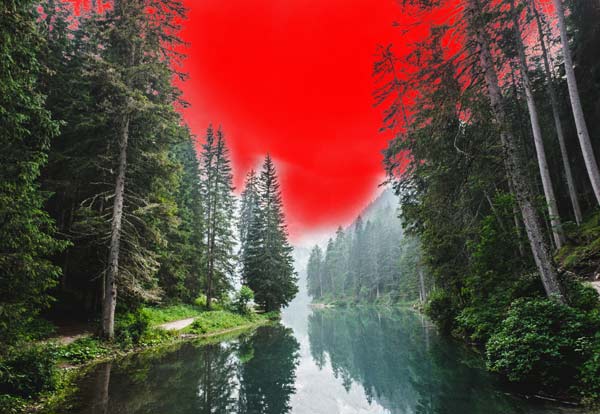
Very first step is to remove the background of the lake but as you can notice the trees and their leafs make the selection process more difficult. So I used my channel techniques which I already explained and I recommend it to everyone if you want to make these types of complex selection. You can read the tutorial here for more detail on that.
Here you can see how I made the selection:
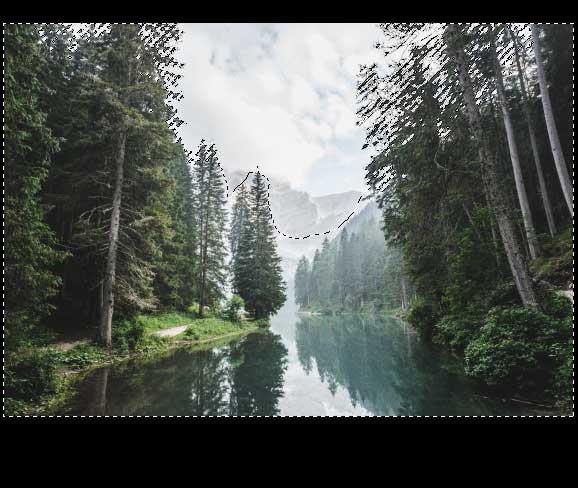
It doesn’t look a perfect selection, but don’t worry because as we progress we’ll definitely fix it. So no need to worry about it right now.
Step 4
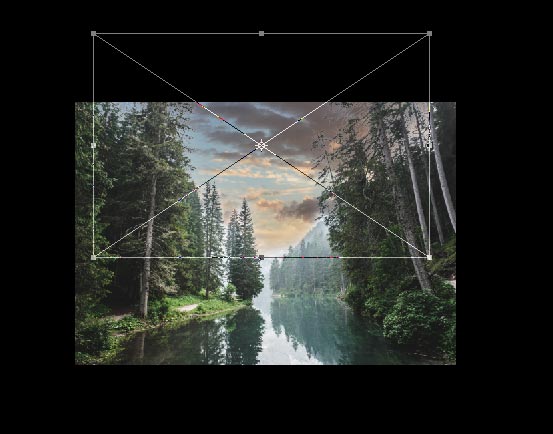
Once you extracted the sky, then it’s time to add the new sky. So place the sky image and drag it below the lake layer. In the below image, you can clearly see how I placed the sky.
Step 5
Press CTRL + SHIFT + N and create a new layer. Choose a dark orange color #493926 and paint over the sky using a soft round brush.
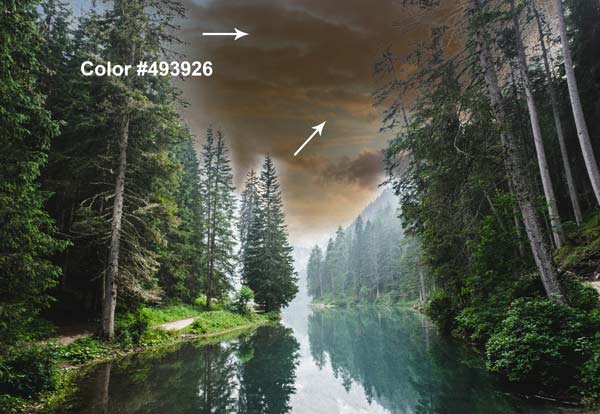
Change the blending mode to Color Dodge to brighten the sky.
Step 6
Go to Layer > New Adjustment Layer > Photo Filter and use it with default settings to add warm colors to the sky.

Step 7
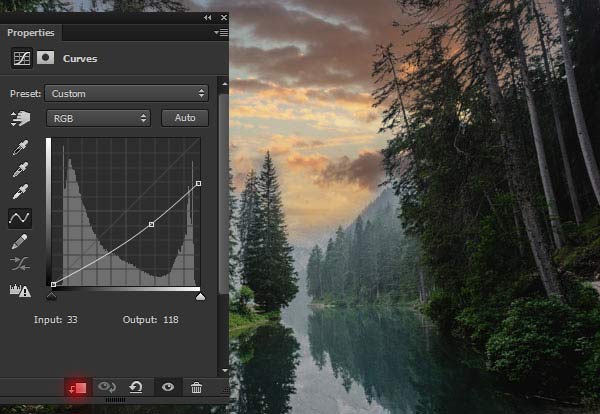
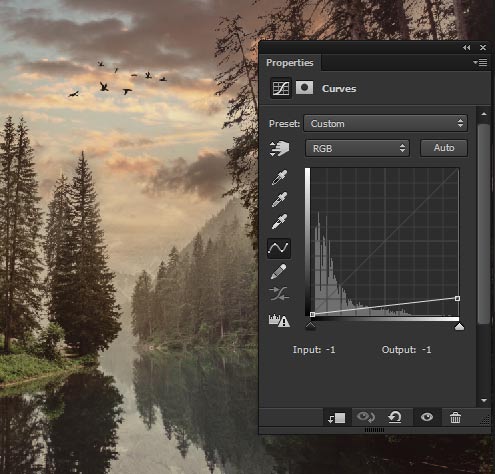
Get back to lake layer and we’ll do some adjustments on it. Reduce the lake brightness using Curves adjustment layer. Use it as Clipping Mask (press the red icon).
Step 8
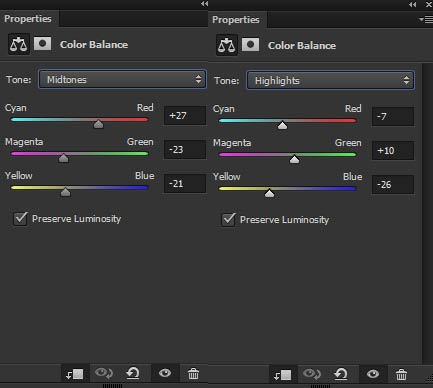
I used the Color Balance adjustment layer to add the color to the lake similar to the sky. Mostly, I added the yellow and magenta tones to the lake.
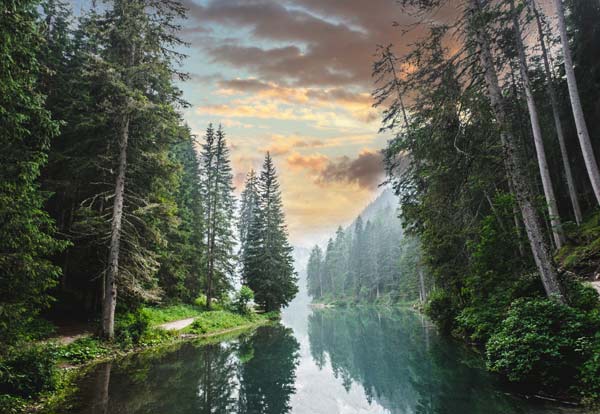
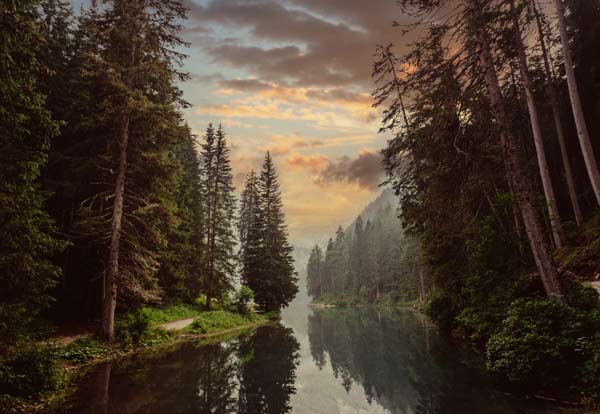
Results:
Step 9
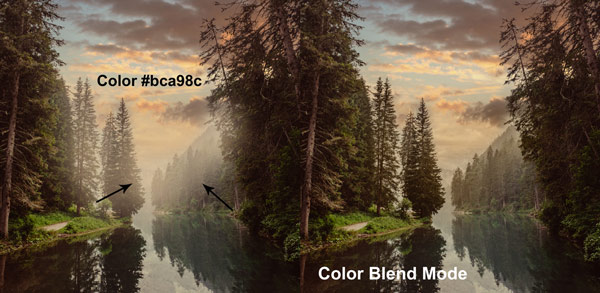
In the previous screenshot, you can notice in the middle of the lake there are some trees having the mist over them and the color of the mist isn’t matching at all. To fix this, create a new layer and using a light orange color, #bca98c, I painted over them. After that, I changed the blend mode to Color to fix the color on that part.
Step 10
Place the birds’ PNG image to add the birds to the scene.
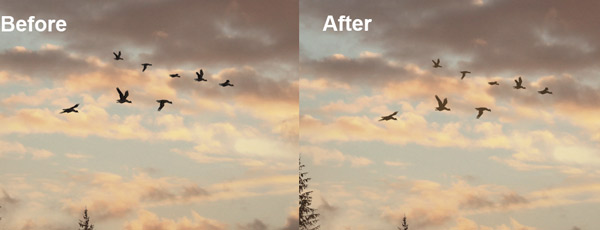
Step 11
I darkened the birds using the Curves.
Step 12
I painted the color over the birds using a lighter orange color. You can also sample the color from the sky.
Here you can compare the results:
Step 13
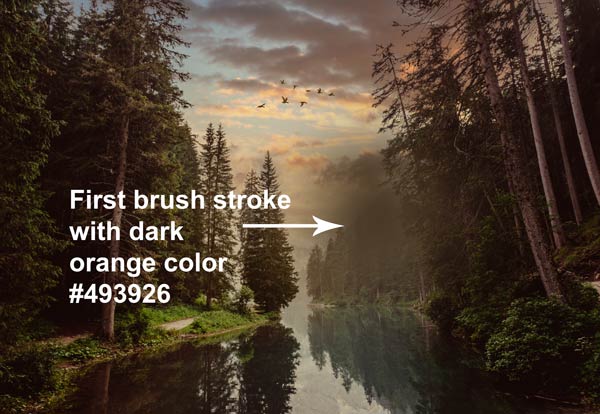
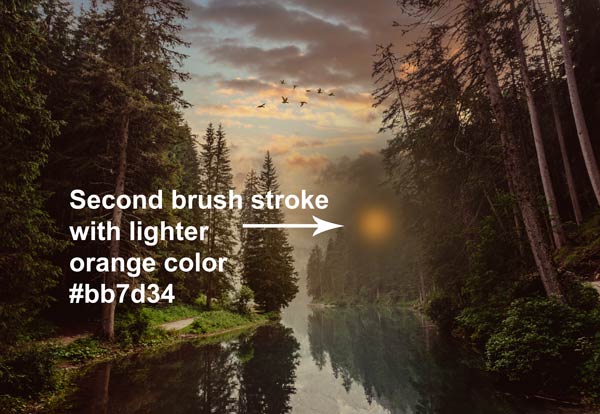
Now, we’ll create the lights by applying a couple of brush strokes and using blend modes. First, use a dark orange color to paint the brush strokes shown in the image below. For creating the light effect, always use the soft around brushes and don’t forget to create a new layer.
For the second stroke, use the lighter orange color than previous one and also reduce the brush size. Reducing brush size is must so if you used the 300px for the first stroke then this time reduce it to 200px.
Second stroke:
Change the blending mode to Linear Dodge 69% and you can notice the light source in the below image. This is how I created the light effect and of course, you can experiment with colors, blend modes and brush sizes to gain different results. Also, when you change the blend mode like I did, then be sure to reduce the opacity of the layer in which you painted the lights so you don’t get the harsh light. Now we can do a lot more to enhance the lights we just created.

Step 14
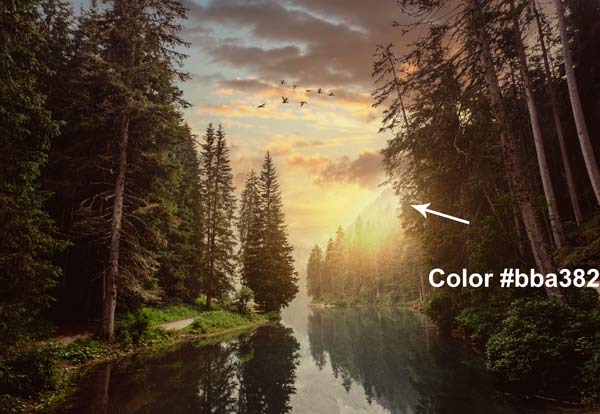
I painted more light here with color #bba382 and then changed the blend mode to Linear Dodge.
Step 15
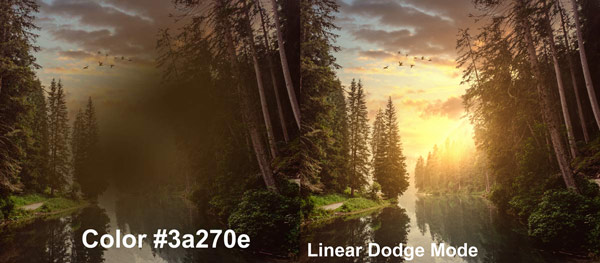
We created the light effect but we haven’t created the light glows of the light source. On a new layer, I used again a dark orange color to paint the light glows and this time I used much bigger brush strokes which you can clearly see. After that, I changed the blending mode.
Step 16
Make a Color Lookup adjustment layer on top of all layers and use the default Fuji REALA 500D Kodak 2393 filter. This will increase the contrast of the entire image.
Results with more contrast and crispy effect:
Step 17
The final stage of the tutorial is always experimenting. I try to use the different adjustment layers to get the final color for the image. Here are I am doing the same thing, making a Color Balance adjustment layer and then experimenting with colors to see what works or not.
Effect of Color Balance:

Step 18
For the final steps, we’ll create the light reflection on the water. You can either do it by creating a single layer of all layer then flipping the layer vertically to create the reflection or just simply paint the lights on the lake. I am going with the second choice.
On a new layer, using the color #5d3e16, I painted on the water of the lake wherever I need the light and then I changed the blend mode to Color.
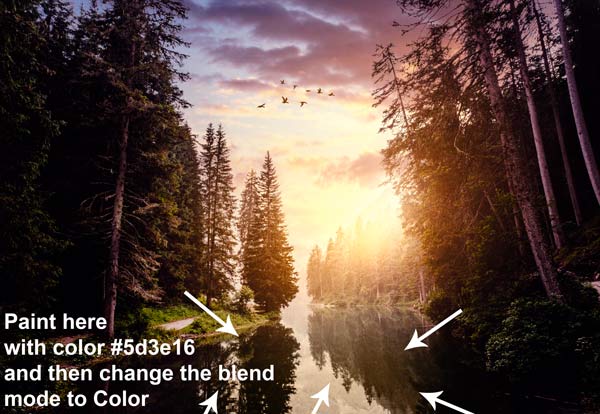
After that, create another layer but put it above the previous one, the Color layer, then fill this layer with black color and change its blending mode to Color Dodge. Use a soft brush with white color and with very low opacity, around 10-15%, to paint over the water to paint the light. Remember paint only over those parts of the water where exactly you painted with the color mode layer.
Here are my results:

Step 19
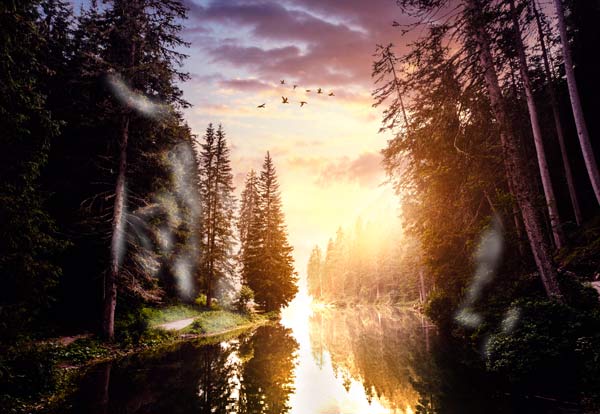
The final step is to paint the light reflection on the trees. Create a new layer and paint over the trees or any part using a basic white brush wherever you think this part needed to lighten up. While painting the highlights make sure you keep the light direction in the mind. For example, in our composition, the light source is in the right so you should paint the highlights on the left side of the tree like I did. I also painted on the right side because this part is pretty much closer to the light source so it should be illuminated by the lights.
The story doesn’t end here if you want you can paint the light on others parts as well. I am happy with the results so I stopped here but as always feel free to experiment.
After painting the lights, change the blending mode to Overlay.
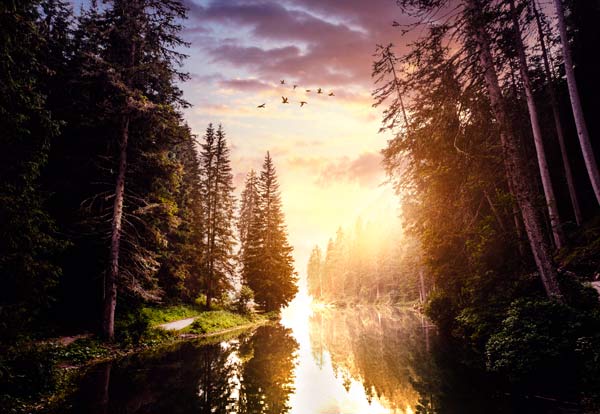
Here is the final outcome:
Need Help With Photoshop or Looking for Professional Support?
Whether you're just getting started with Photoshop or need expert-level assistance, we're here to help! Contact us for personalized Photoshop tutorials, project support, or creative services.
Get in touch today to take your skills or projects to the next level.
CONTACT US NOW📘 Want to Master Photoshop Faster?
🎁 Get Your FREE PDF E-Book "Top 10 Photoshop Tricks Every Designer Must Know" Now – Packed with expert tips, shortcuts, and techniques to boost your creativity & workflow.
👉 Download Your FREE PDF E-Book NOW!

