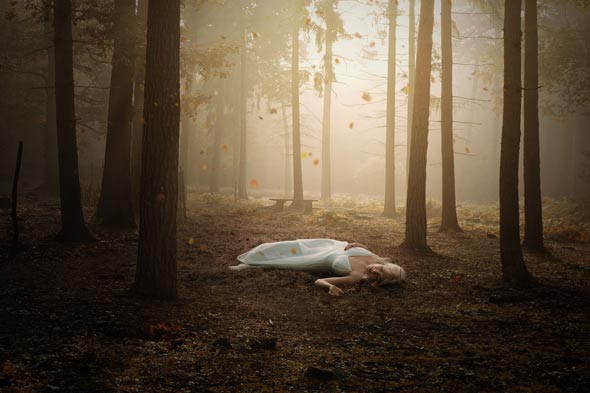
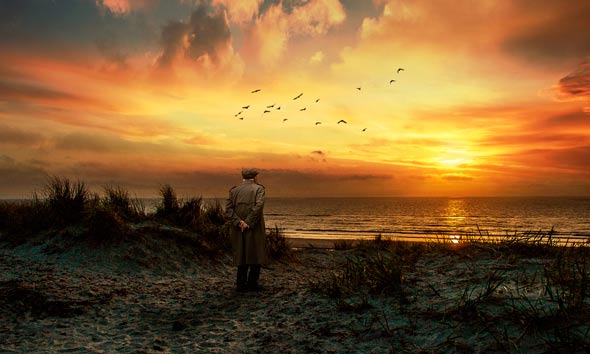
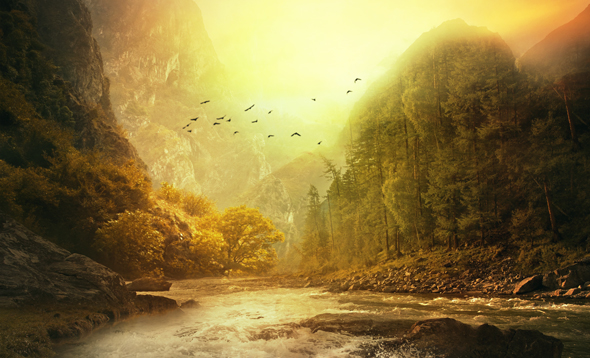
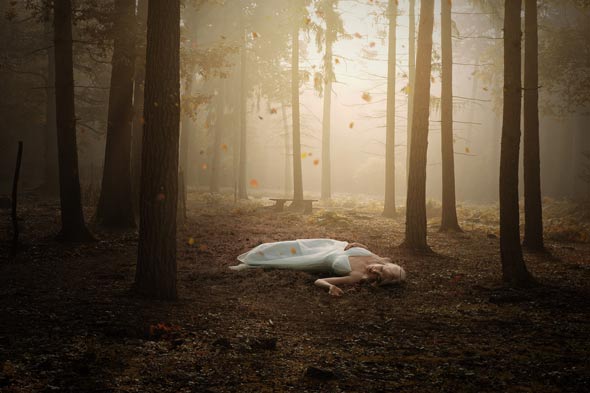
Learn how to create a beautiful sleeping autumn beauty in a very emotional scene. In this tutorial I’ll show you how you can achieve an emotional scene using a variety of photo manipulation techniques. You’ll also learn how you can add motion to falling leaves, achieving autumn color tones, making the use of adjustment layers effectively.
Tutorial Resources
Preparing the Background
Step 1
This tutorial is the second version of this Dark, Eerie photo manipulation. On that tutorial I’ve used the same forest image to make the scene dark and eerie but this one is completely opposite with more lights and blissful autumn atmosphere. Let’s get started !!
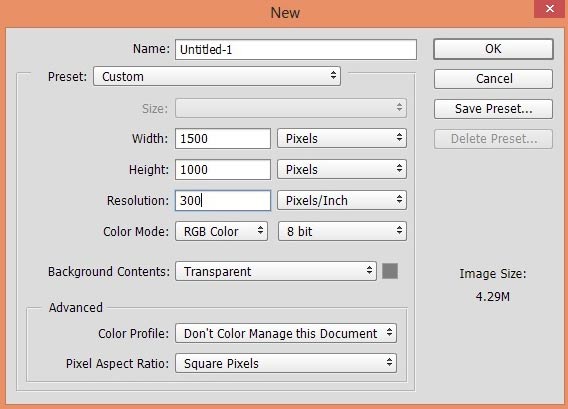
Create a new document in Photoshop by selecting File > New and then use the following settings or feel free to choose your own.
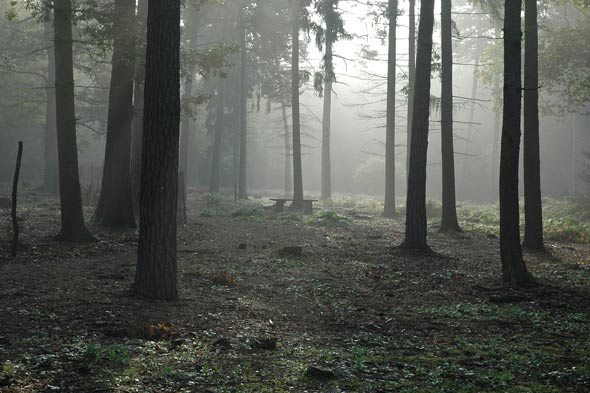
Open up the Forest image and drag it into the main document using Move Tool (V).
Step 2
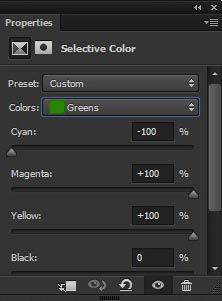
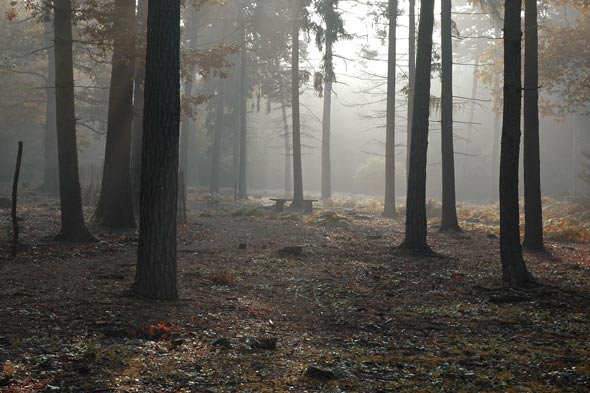
The color of forest is green but we are aiming to create a autumn scene then the forest should have a autumn color tones. To reduce the green color from forest and to add autumn color tones, I used a Selective Color (Layer > New Adjustment Layer > Selective Color ) adjustment with the following setting. I changed the settings for Red, Green and Yellow colors. Here are the settings for Red and Yellow colors.
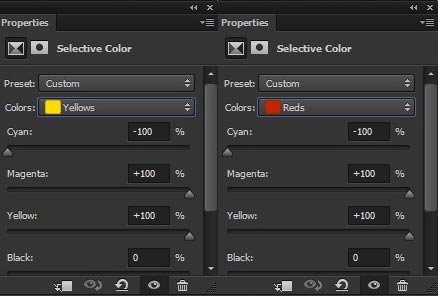
Here is the settings for Green Colors :
Here are the results :
Step 3
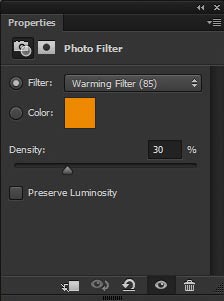
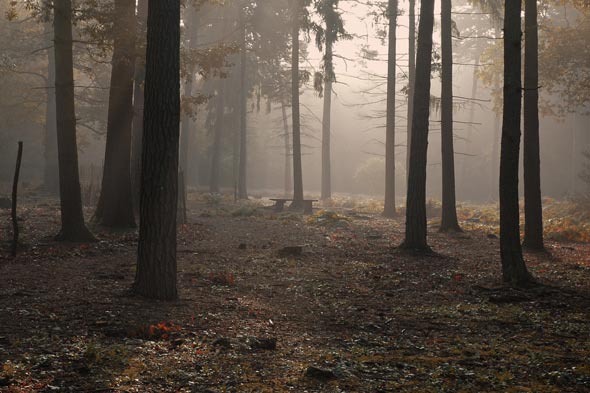
Add a Photo Filter adjustment layer to forest. I am using Warming Filter (85) with 30% density to add warm colors tones to forest.
Results :
Step 4
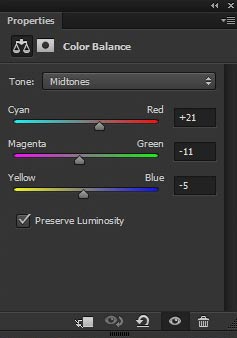
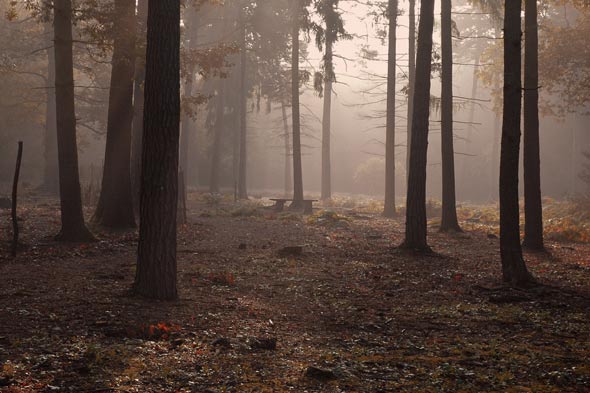
Continue colorizing the forest using Color Balance adjustment layer. Only change the settings for Midtones.
Results :
Adding Model
Step 5
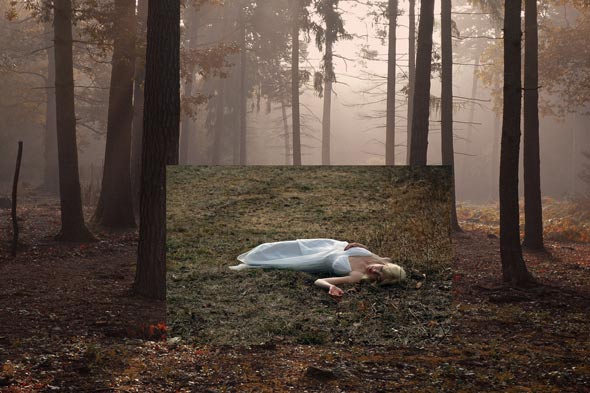
Place the model into our main document by selecting File > Place then place the model onto middle of the forest.
Step 6
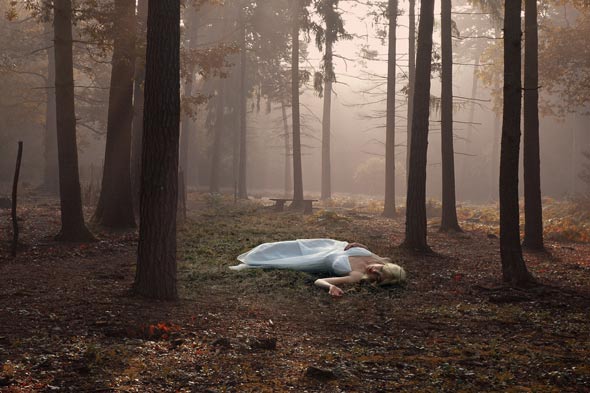
Add a Layer Mask (Layer > Layer Mask > Reveal All) to model. Grab the Brush Tool (B) . Set its opacity and flow about 30%. Use a soft round black brush to blend the model with the forest. Take your time while masking the model background and for better blending keep the ground parts of model.
Step 7
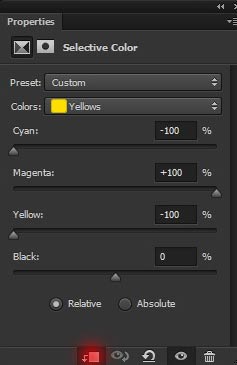
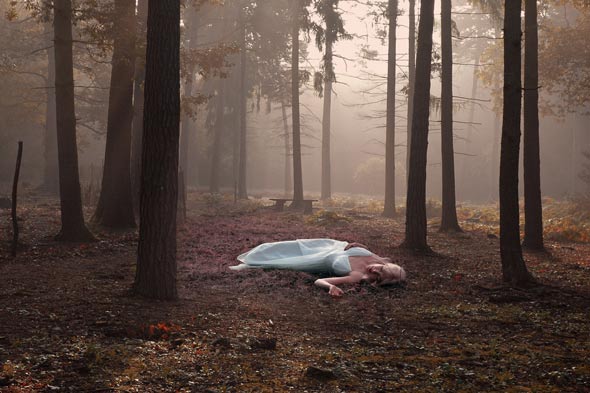
To match the colors of model, I use a Selective Color adjustment layers as clipping mask (press the red button to clip it to model layer). Set the setting only for Yellow colors.
Results :
Step 8
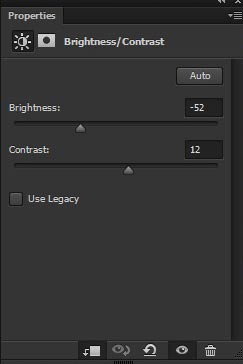
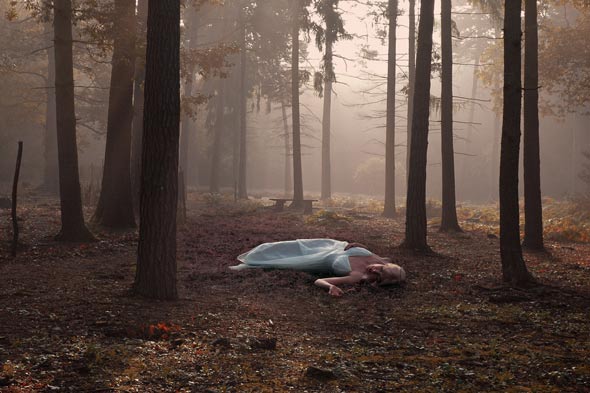
At the moment the model looks too bright as compared to background, so add a Brightness/Contrast adjustment layer to model and reduce its brightness.
Results with reduced brightness :
Step 9
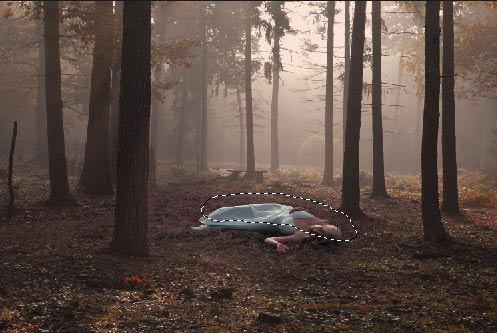
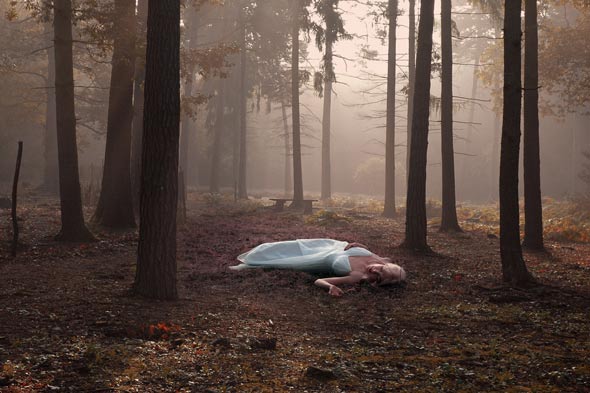
I am aiming to create light source in the middle of the scene and we know the lights is going to be reflected on the model body, so we should maintain the lightness on model those parts which are close to lights. To keep these things in my mind, I erased the selected effect on the layer mask of Brightness/Contrast using a soft round basic black brush.
Results after masking the effect :
Adding Leaves
Step 10
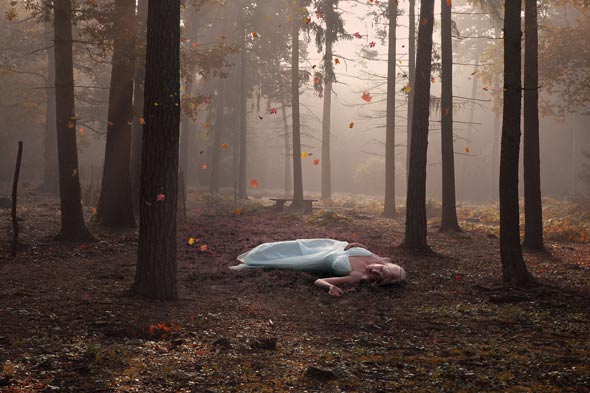
Add the leaves to scene and use many layers of leaves to arrange them.
If needed use the Transform Tool (CTRL/CMD + T) to tweak them. I’ve used more than ten layers to arrange them.
Step 11
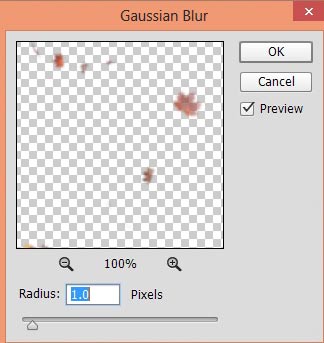
Add a Gaussian Blur and Motion Blur to leaves. To add Gaussian Blur select Filter > Blur > Gaussian Blur and set the radius value to 1px.
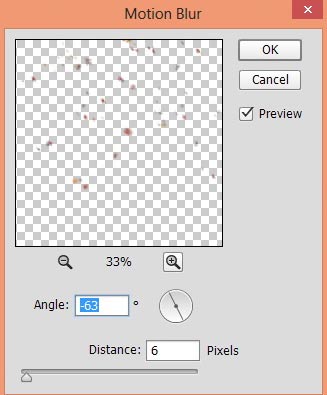
To add Motion Blur select Filter > Blur > Motion Blur and use the following setting for it. This will add movement to leaves.
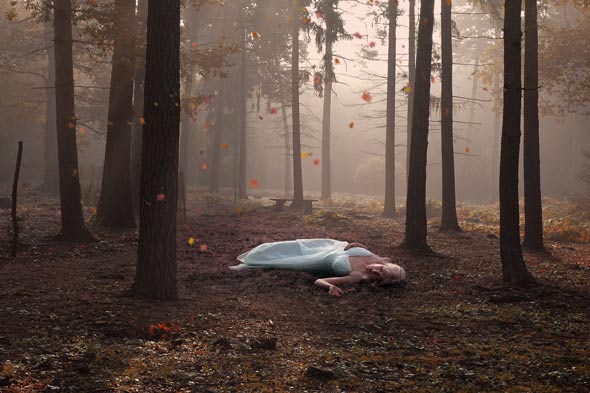
Results after using Filters .
Step 12
Use some more leaves to place it over the model.
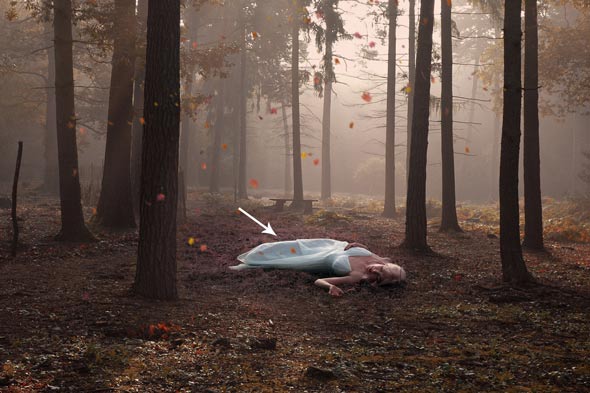
Step 13
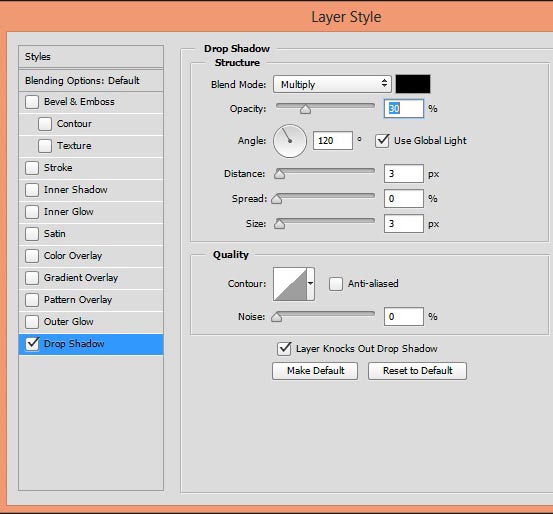
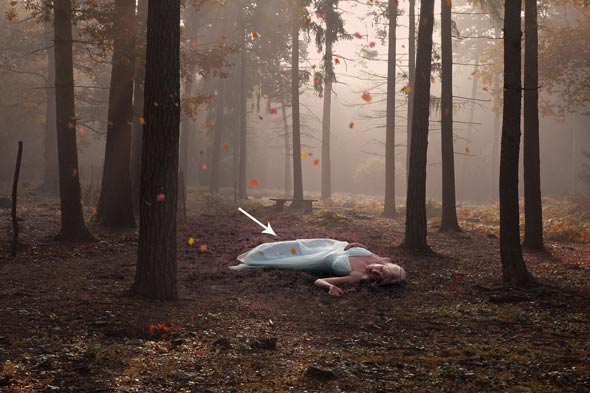
Add a Drop Shadow effect to leaves (on the model) by right clicking on leave layer and then choose “Blending Options”. Use the following settings for Drop Shadow effects.
Results with shadows :
Step 14
Select all leaves layers and then group them by pressing (CTRL/CMD + G) on the keyboard. Now change the blend mode of this group to Normal from Pass Through.
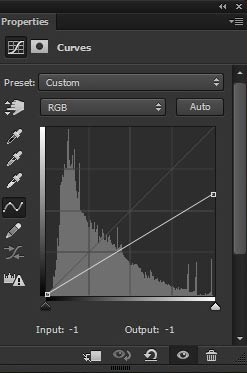
Make a Curves (inside the leaf group) for leaves with the following setting to darken them.
Results :
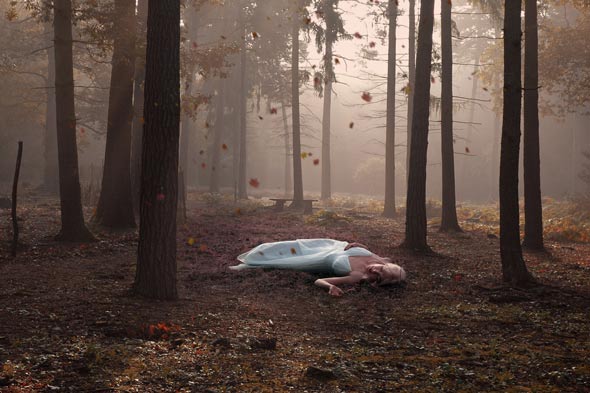
Step 15
Now make those leaves brighter which are illuminated from the effects of lights by masking the effects of Curves. Use a soft round black brush to hide the effect of Curves on the highlighted red parts of leaves.
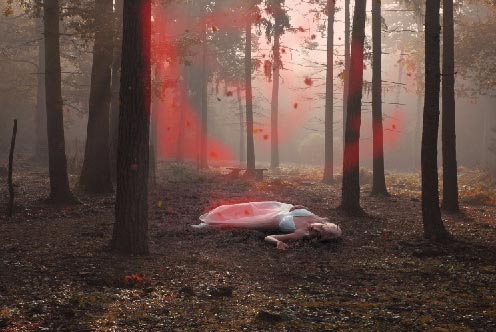
Results :
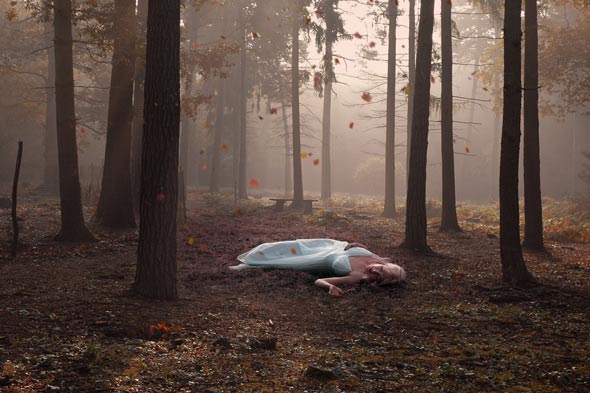
Creating Light Source
Step 16
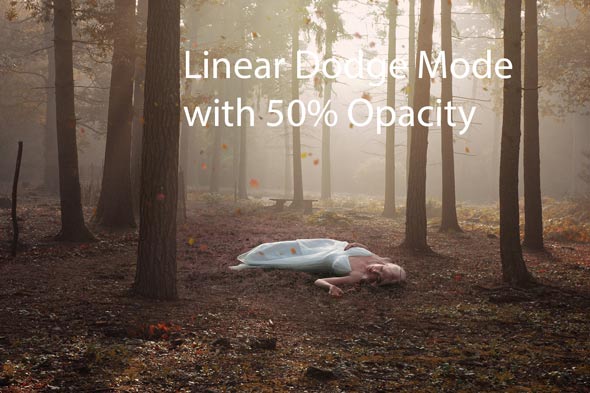
Create a new layer and name it ‘light source’. Set your foreground color to #c59462. Use a soft round brush to paint a big brush stroke on the middle of the background.
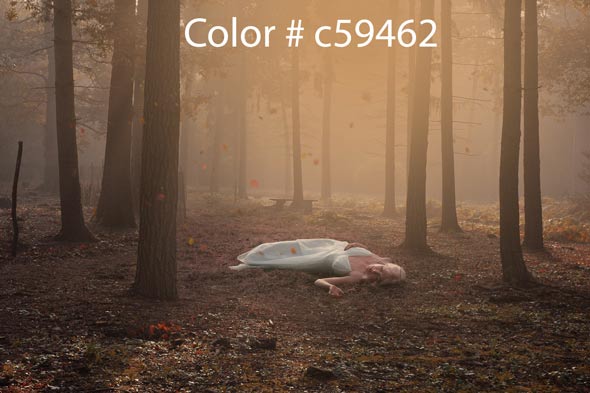
Change the blend mode to Linear Dodge and reduce the opacity to 50%.
Final Adjustments
Step 17
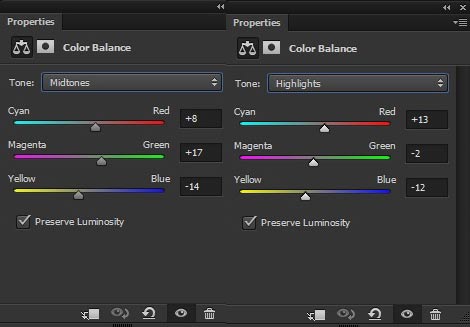
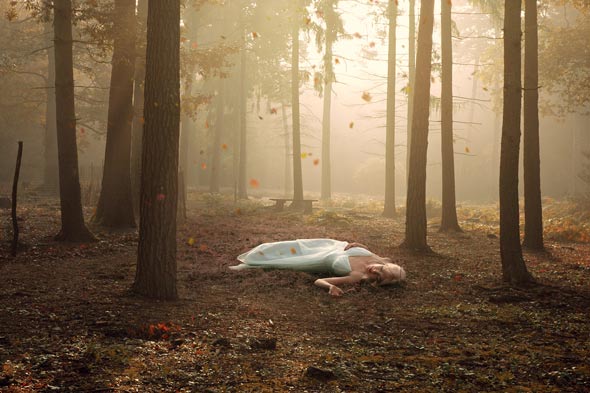
Time of Final Adjustments . Make a Color Balance adjustment layer. Use it with the following settings.
Results :
Step 18
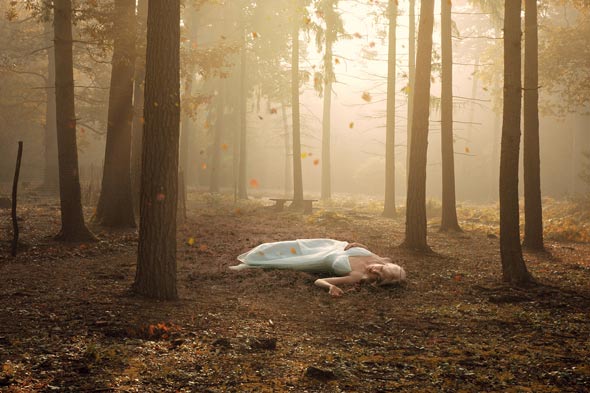
Make a Selective Color adjustment.
Results :
Step 19
Add a Gradient Map adjustment layer.
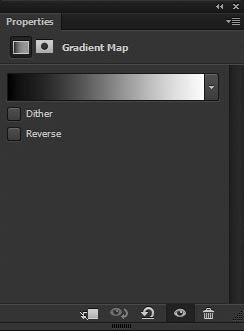
Set the blend mode of Gradient Map to Soft Light and reduce the opacity to 46%.
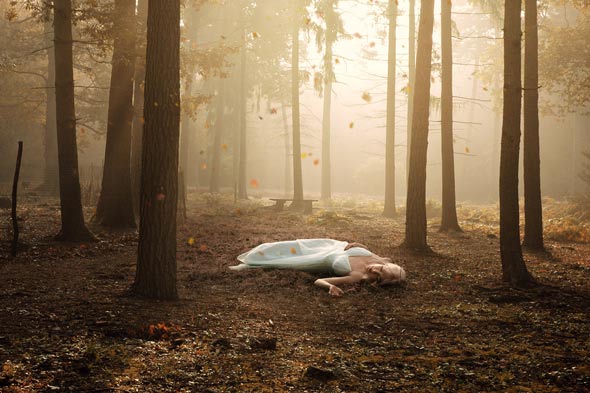
Step 20
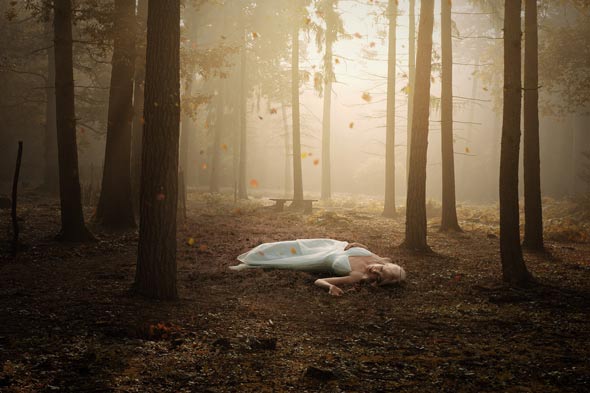
Finally make a Curves adjustment layer to darken the entire scene.
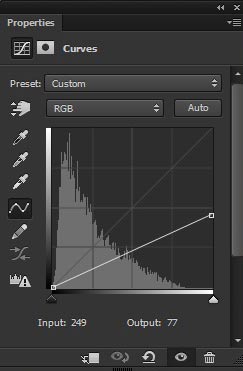
Results :
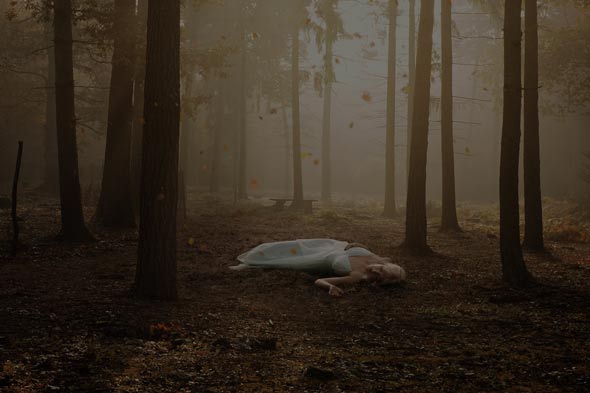
To create more focus on the middle, I erased the effect of Curves on the middle of the scene. Hide the effect of Curves on its layer mask using soft round black brush.
Step 21
Duplicate the Curves adjustment layers for more stronger effect by pressing CTRL + J and reduce its opacity to 60%.
Here are the Final Results :
Conclusion
Thanks for following the tutorial and I hope that you’ve learned something new today. If you have any question regarding tutorial then do let me know through comments and I’ll happy to help you.
Need Help With Photoshop or Looking for Professional Support?
Whether you're just getting started with Photoshop or need expert-level assistance, we're here to help! Contact us for personalized Photoshop tutorials, project support, or creative services.
Get in touch today to take your skills or projects to the next level.
CONTACT US NOW
