


In this tutorial, we’ll be creating a battlefield game inspired promotional art in Photoshop. If you Google for the game you’ll able see the artwork from which I inspired to create this piece. We’ll be achieving the bokeh effect, the rain effect and adding the character you see in the promotional key art of Battlefield game. This is going to be really advanced and detailed tutorial so sit back and enjoy the tutorial!
Tutorial Resources
Step 1
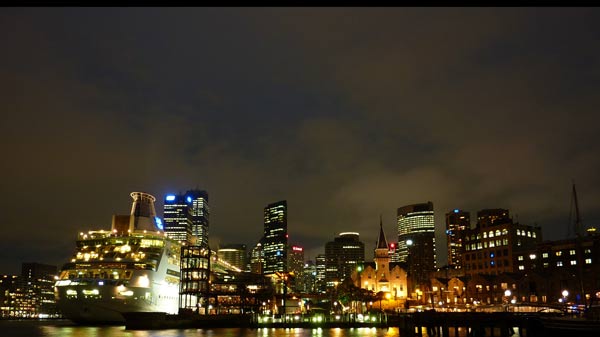
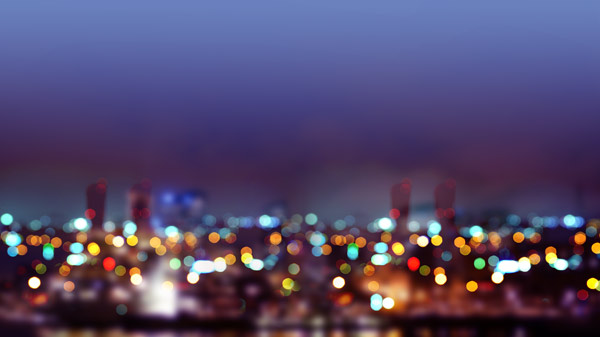
Create a new document in Photoshop with 3000px width and 2000px height by selecting File > New. Once you created the document then place city image to it.
Step 2
Go to Layer > Layer Mask > Reveal All and add a mask to city layer. Activate the Gradient Tool (G) and then apply a black/white gradient on the mask of the city layer vertically (hold down the SHIFT sky while applying gradient).
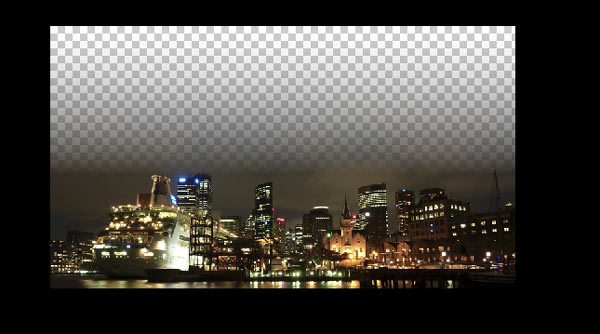
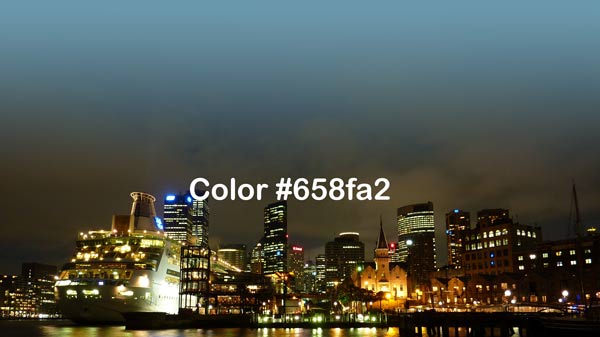
Once you masked the top parts of the city, then create a new layer below the city layer by pressing CTRL + SHIFT + N and then fill the empty parts with color #658fa2 using a soft brush.
Step 3
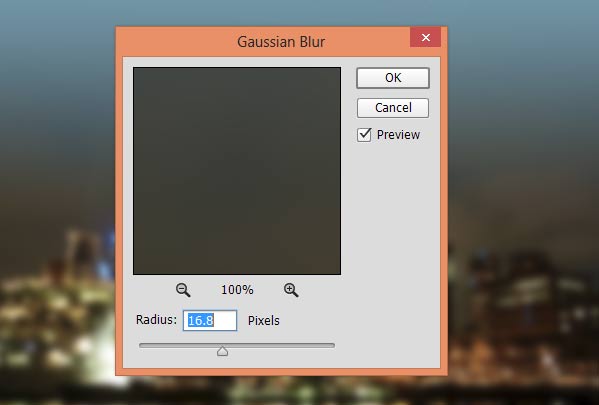
Now convert the city layer into Smart Objects. Go to Filter > Blur > Gaussian Blur and set the radius value to 16.8px.
Step 4
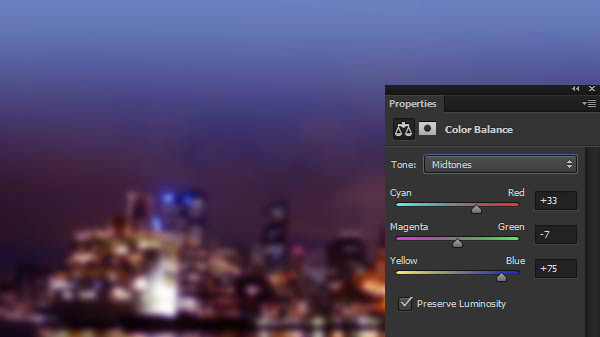
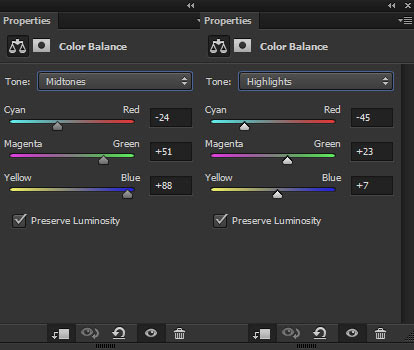
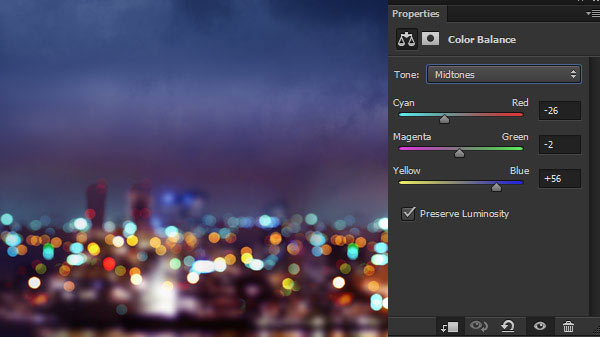
Go to Layer > New Adjustment Layer > Color Balance and change the color using only the Midtones settings.
Adding the Bokeh Lights
Step 5
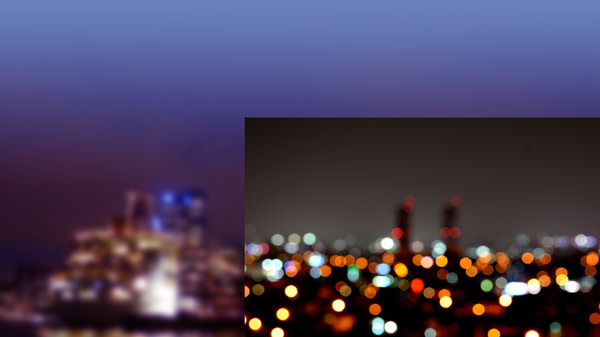
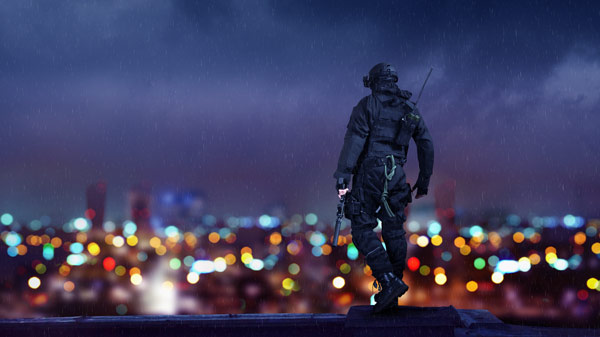
Open up the bokeh image in Photoshop and place it to our composition as shown below. Adjust it to the right side of the document.
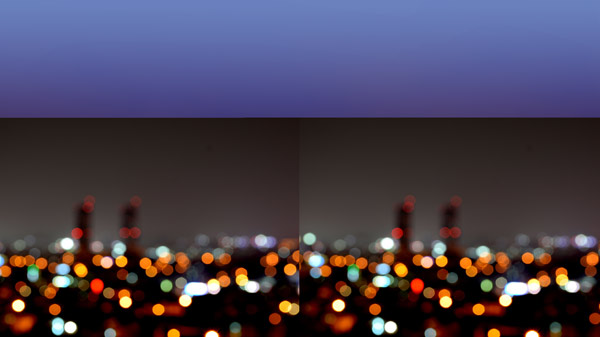
Duplicate the bokeh layer by pressing CTRL + J and then move it to the left side.
Step 6
Change the blending mode of the both bokeh’s layers to Screen.

As you can notice due to Screen blend modes these two bokeh layers overlapping each other and we can see the edges of them as well. To fix this, add a mask to both layers and then mask the edges of the both layer using a soft round black brush.
After masking your results should resemble to below image:

Step 7
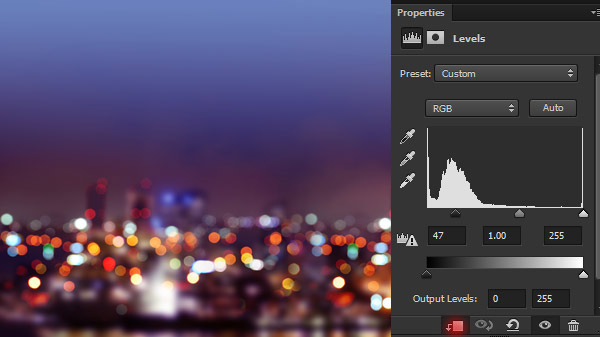
Select both bokeh layers and then press CTRL + E to merge them. Remember to rasterize both layers if they are Smart Objects otherwise you can’t merge them. Once you did it now you’ll have only single layer version of both bokeh layer. Make a Levels adjustment layer to merged bokeh layer and using the following value increase the contrast.
Don’t forget to use the Levels adjustment layer as Clipping Mask (click on the red icon).
Step 8
I used Color Balance adjustment to change the color of the bokeh.
Results:
Step 9
Add the sky to our composition and add a mask to sky layer. After adding the mask, mask its bottom parts, highlighted in red color, using a soft black brush.
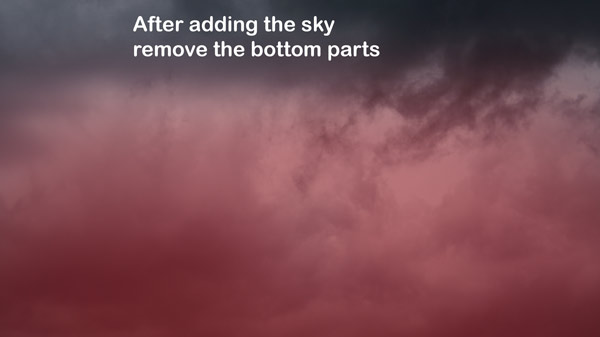
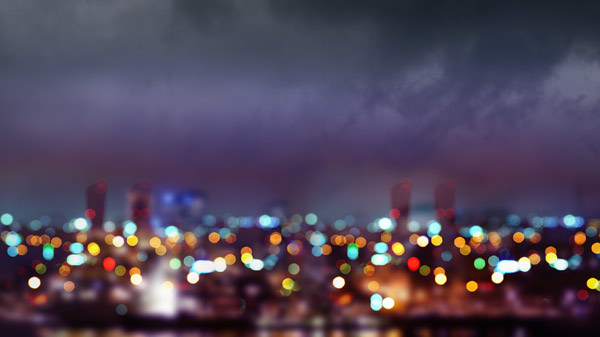
Here is the sky added to the scene:
Step 10
I matched the color of the sky using a Color Balance layer.
Adding the Wall
Step 11
Now we’ll add the wall and we’ll place the soldier over it later in this tutorial. Add the wall image and flip it horizontally (go to Edit > Transform > Flip Horizontal). Remove its unwanted highlighted parts using selection tools.
Step 12
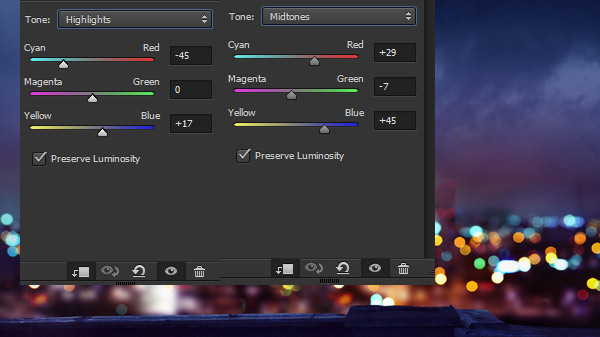
Make a Color Balance adjustment layer for wall and add the blue tones to the wall to match its colors with the background.
Step 13
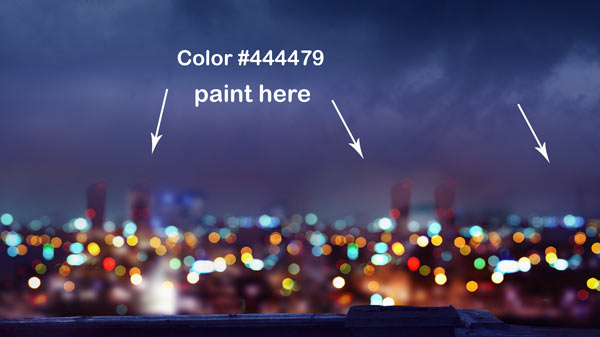
The horizon area has the saturated orange color and clearly, it is not matching with the blue color of the composition. Set the foreground color to #444479 and then paint over the area using a soft brush as shown below.
Adding the Soldier
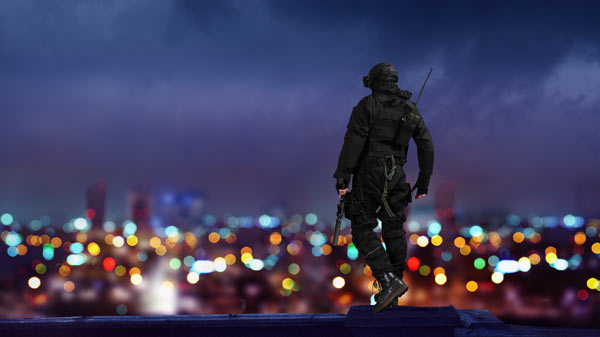
Step 14
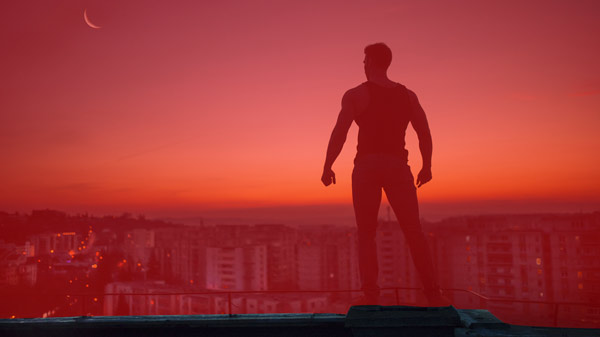
Extract the solider from its background and place it over the wall. Don’t forget to flip him horizontally.
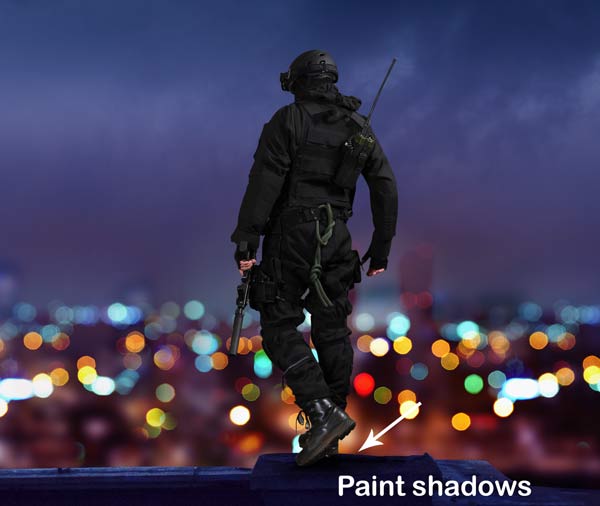
Create a new layer under the soldier layer and then paint shadows under his shoes using a soft black brush.
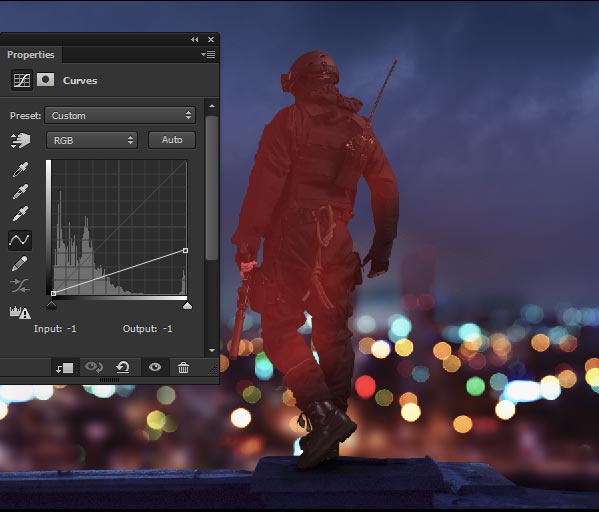
Step 15
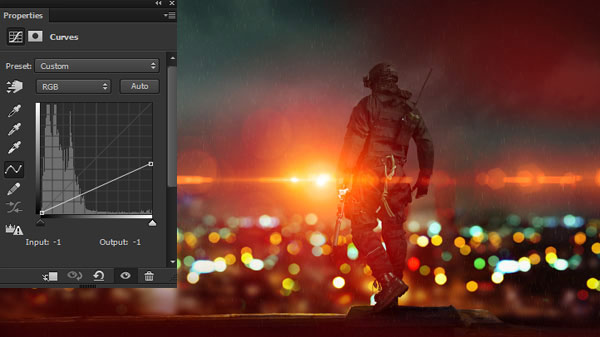
I lowered the brightness of the soldier using Curves. On the mask of Curves, I erased the dark effect on the highlighted red parts to keep them brighter.
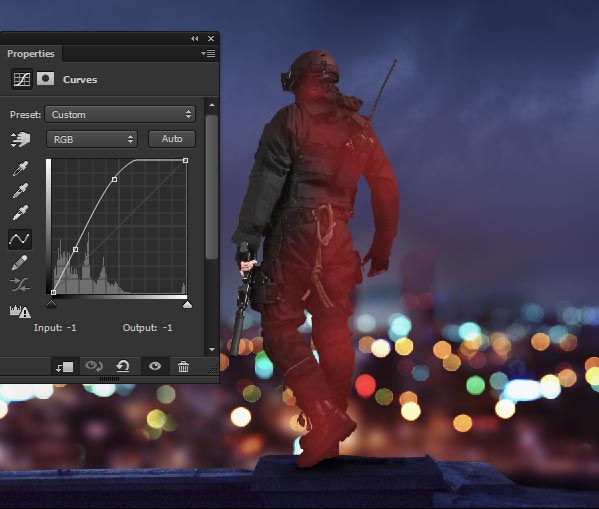
Using another Curves adjustment layer I increased the brightness. I removed this Curves effect on the back parts of the soldier to keep them darker.
Step 16
After refining the light and shade on the soldier, I used a Color Balance adjustment layer to colorize him with the colors like we have in the background.

Add the Rain
Step 17
I used my old technique here to create the rain. I used the combination of filters and adjustment layers to create the rain. You can read my tutorial here which explains everything about creating rain in Photoshop.
Here you can notice the rain on the composition:
Add the Lens Flare
Step 18
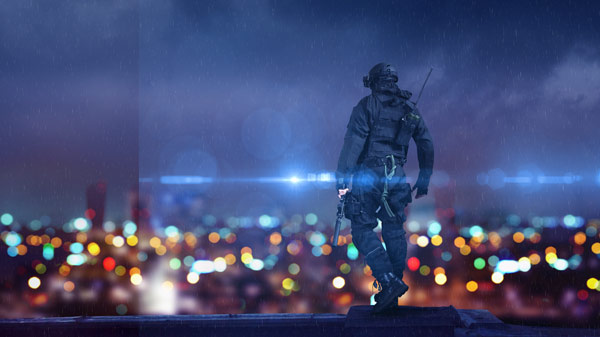
Choose the Blurry Blue By CodeDraco lens flare from the lens flare pack. Now place it as shown below and then change its blending mode to Screen.
Step 19
I used Hue/Saturation for changing the color of the lens flare and then I used Levels to get rid of its edges.
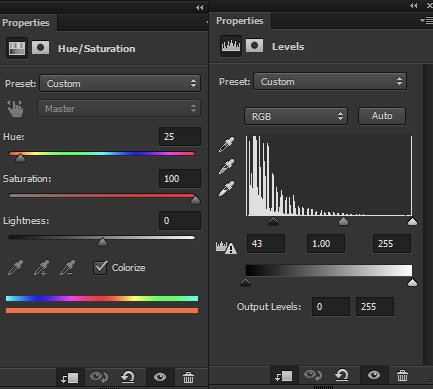
Here you can see how both adjustment layers affected the lens flare:
Step 20
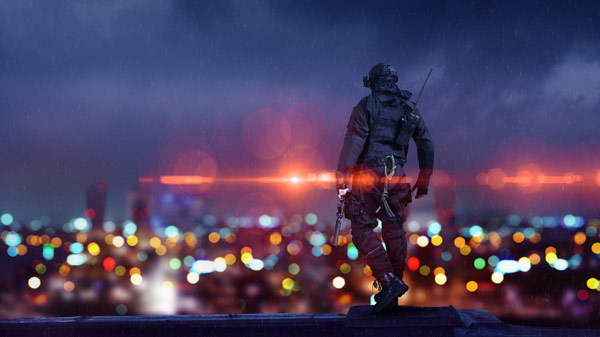
I used another lens flare and this time I chose flare(26) and I placed it just right of the previous one with blend mode changed to Screen.
Using the same adjustment layers with same settings like we did for previous lens flare I changed the color and contrast of this lens flare.
Painting Water Drops on the Soldier
Step 21
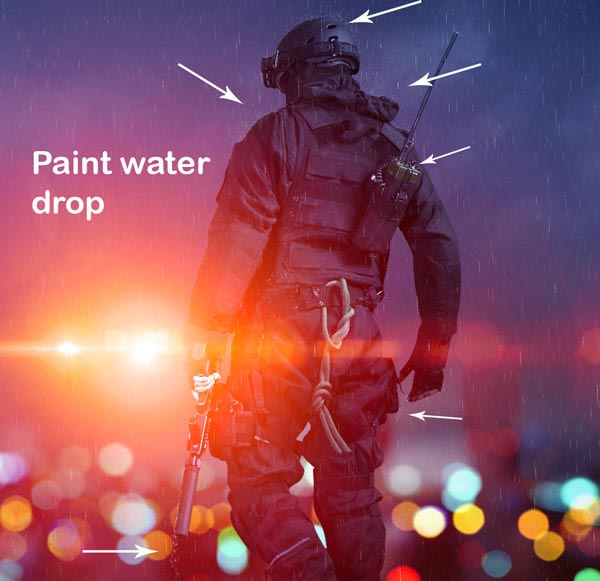
To paint water drops on the soldier, create a new layer on top all layers. Select a hard round brush with 1px size and change its Scattering settings. In order to bring the setting panel of the brush you need to press F5 after selecting the hard round brush.
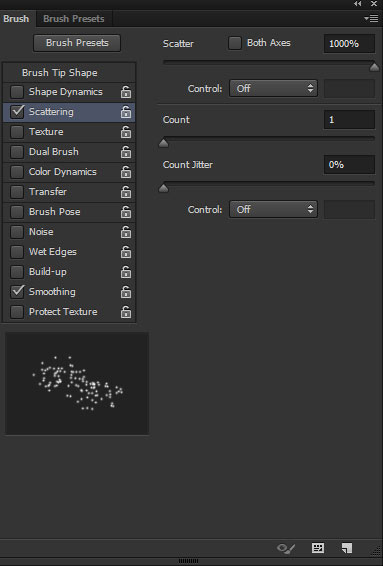
Once you set the settings of the brush, pick a neutral color, I chose #c3c3c3 and then paint some water drops on the helmet, both shoulders, some dripping drops on the gun, some more on the right hand and on his walkie-talkie as well. You can see that arrow indicating where I painted the rainwater drops.
Final Adjustments
Step 22
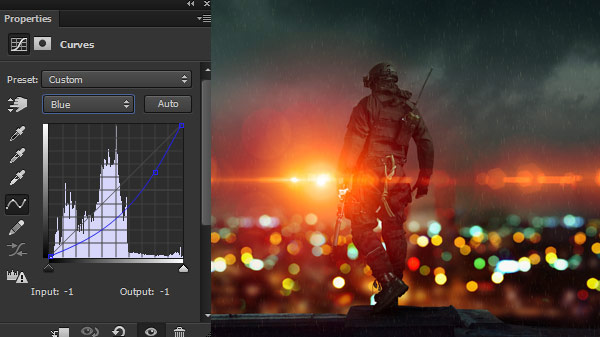
I changed the color using Curves and don’t forget to make it on top of all layers. In the below image you can see I used the Blue Channel.
Step 23
On a new layer, I painted lights using color #ac3b19.
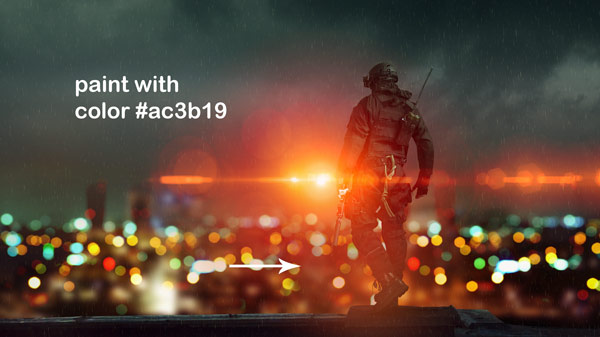
Color Dodge mode with 71%.

Step 24
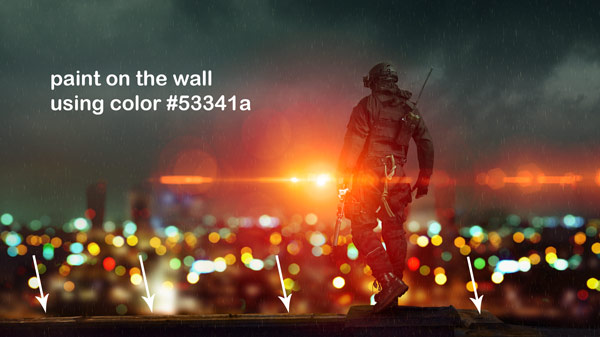
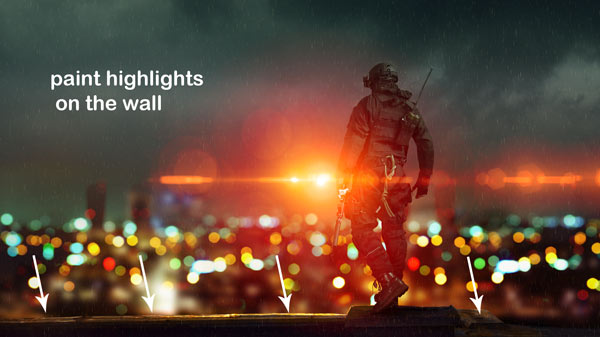
Now we’ll paint the highlights on the wall and it will be the light reflection coming out from lens flare and city lights. First, create a new layer and then change its blend mode to Color. After that, using the color #53341a paint over the wall where you want the highlights.
Now create another layer and fill this layer with black color and change its blending mode to Color Dodge. Using a white brush, paint the highlights on the wall like I did it below.
Step 25
I used the Curves for lowering the brightness on the corners of the composition. You can see that I kept the dark effect on the top right and bottom left corner which is highlighted in red color and masked the dark effect on the rest of the remaining parts using a soft black brush on the layer mask of the Curves.
Step 26
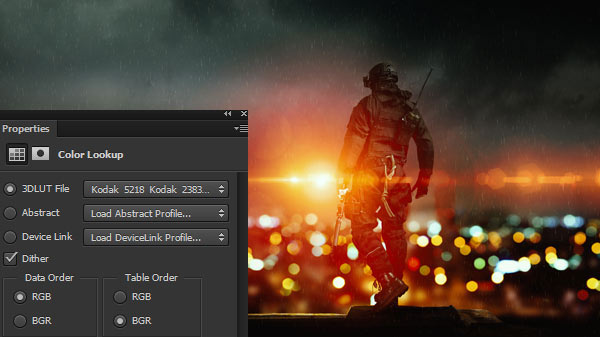
Using Color Lookup’s Kodak 5218 Kodak2383 file I gave the boost of brightness to the entire image.
Step 27
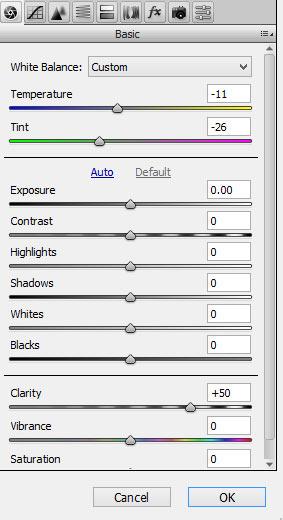
At the end, I used the Camera Raw filter. First, merge all layer into a single layer by pressing CTRL + SHIFT + ALT + E and then go to Filter > Camera Raw. Now input the following values for Tint, Temprature and for Clarity. This will basically sharpen the image and adjust the color of the image as well.
Sharpening the image here is must because you can see the rain drops are barely visible and there is a lot more smoothness over the sky. It looks too smooth and sharpening using Clarity will fix this. Feel free to experiment with this filter.
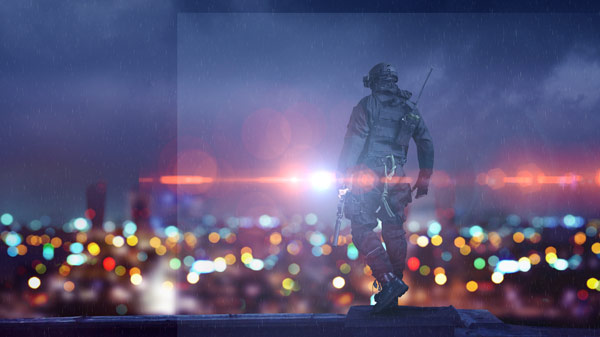
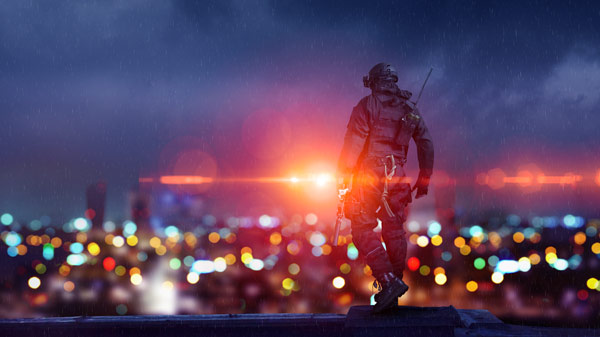
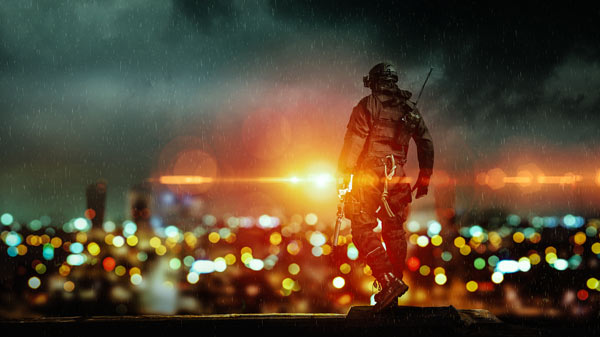
Final outcome:
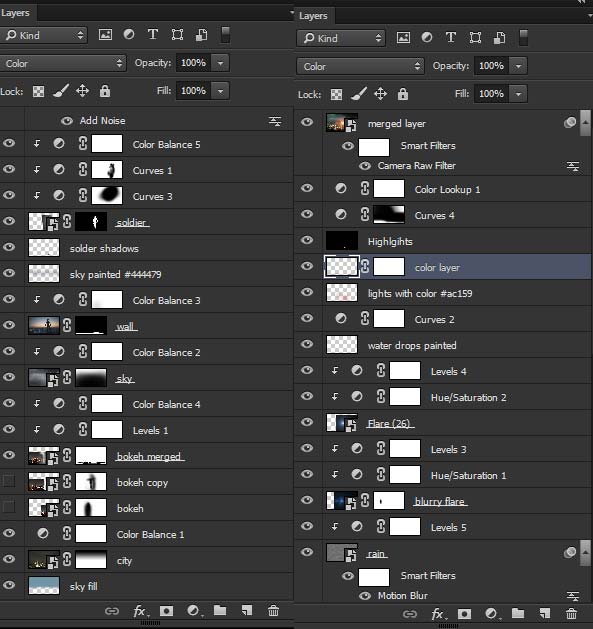
Here you can see the things on layer panel:
Need Help With Photoshop or Looking for Professional Support?
Whether you're just getting started with Photoshop or need expert-level assistance, we're here to help! Contact us for personalized Photoshop tutorials, project support, or creative services.
Get in touch today to take your skills or projects to the next level.
CONTACT US NOW📘 Want to Master Photoshop Faster?
🎁 Get Your FREE PDF E-Book "Top 10 Photoshop Tricks Every Designer Must Know" Now – Packed with expert tips, shortcuts, and techniques to boost your creativity & workflow.
👉 Download Your FREE PDF E-Book NOW!
