
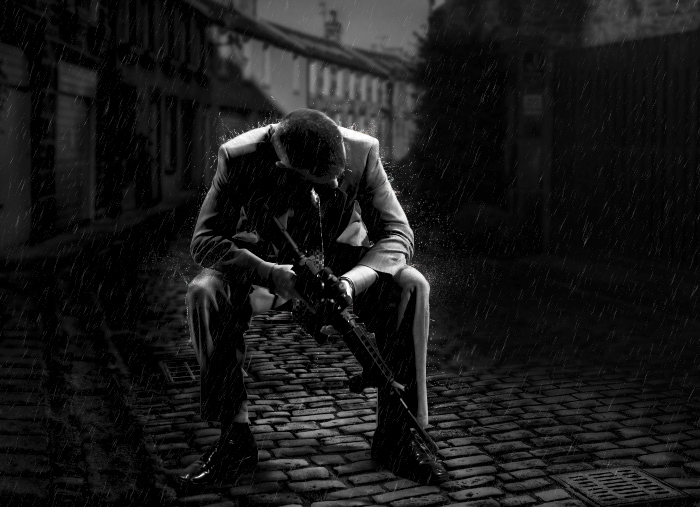

\In this Photoshop tutorial I’ll show you how to create a shooter photo manipulation in Photoshop. You’ll learn how to achieve dramatic rainy, lightning and awesome black/white effect in Photoshop. You’ll also learn how to keep the original shadows of an image, create a reflective or soaked effect for street and for shooter using filters. Read on and enjoy!
Tutorial Resources
Preparing Background
Step 1
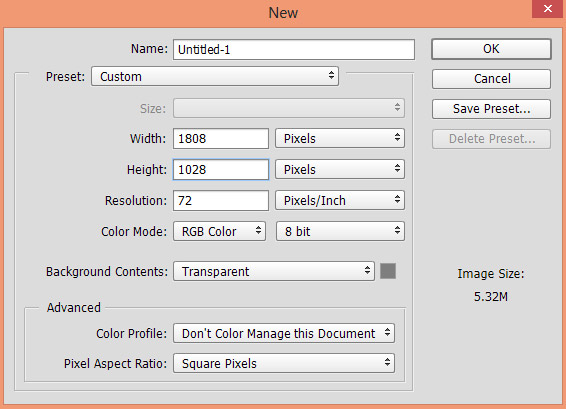
Create new document in Photoshop with the following settings :
Adding Street
Step 2
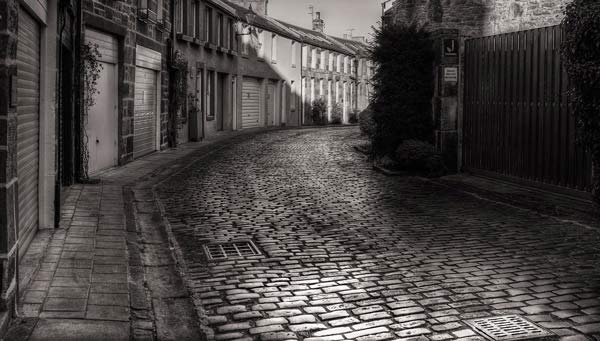
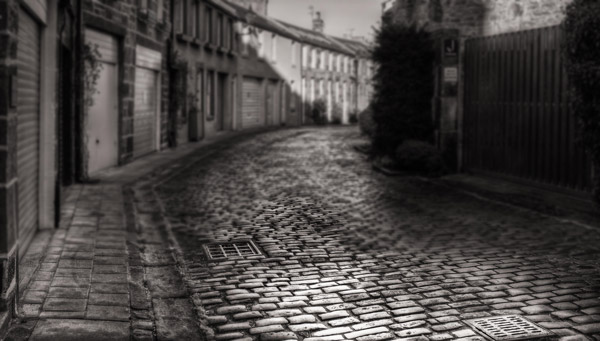
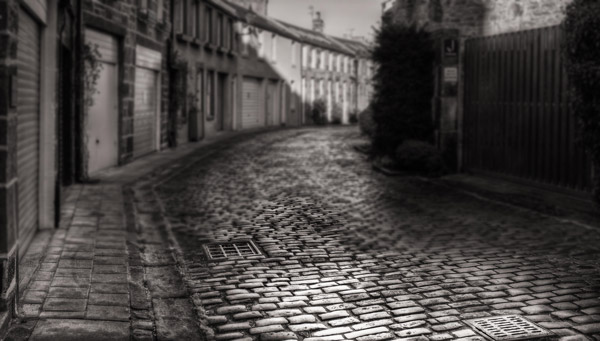
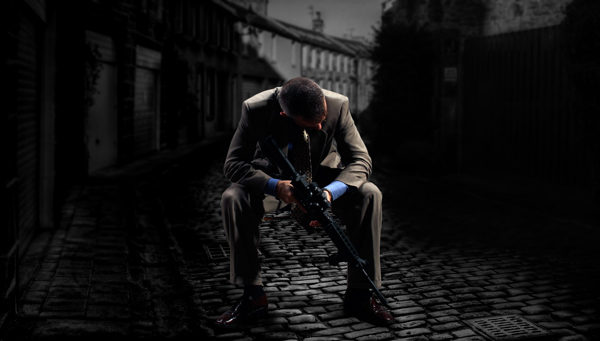
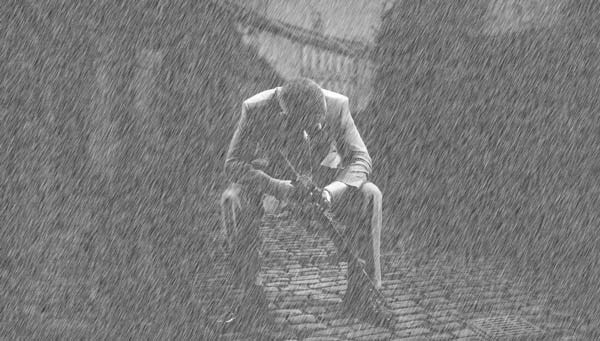
Place the street into newly created document by selecting File > Place Embedded and place the street image as shown below.
Create the Depth
Step 3
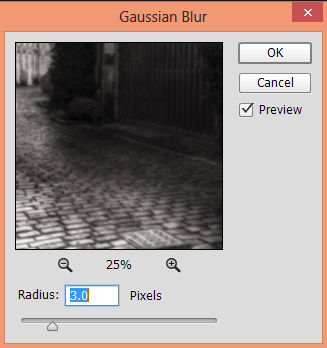
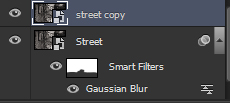
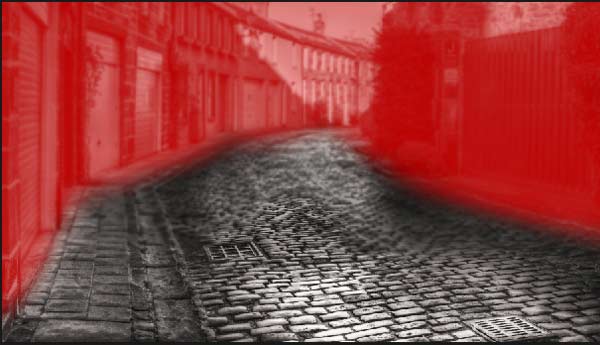
Convert the street layer into Smart Objects. Go to Filter > Blur > Gaussian Blur and set the radius value to 3 pixels.
On the layer mask of Gaussian Blur filter, mask the blur effect on the selected parts as we are going to place the shooter there. And I want to more focus on shooter rather than the background. Use a soft, basic black brush with opacity and flow around 30-40%, and mask the blur effect.
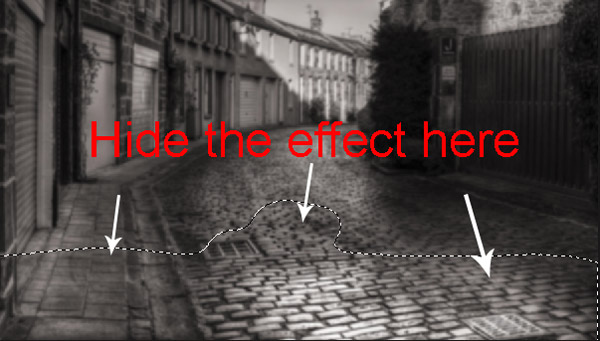
Results after masking:
Create the Reflective and Soaked Effect
Step 4
When it’s rain the rain drops are barely visible and what is visible is reflective and soaked ground.
Since we are working on rainy photo manipulation so we should create a reflective and soaked effect for the street. To do this, first, duplicate the street layer and delete the existing Gaussian Blur filter. To delete a filter, just right-click on it and choose ‘delete Smart Filter’.
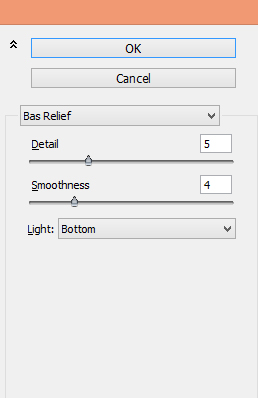
Now, go to Filter > Filter Gallery > Base Relief and give the following values to this filter.
On the layer mask of this filter, mask the effect on street’s uppers parts as I only want to keep the effect on the street’s floor. Use a soft round black brush for masking.
Results with reflective or soaked floor:
Step 5
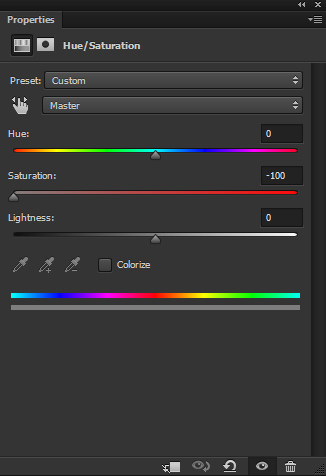
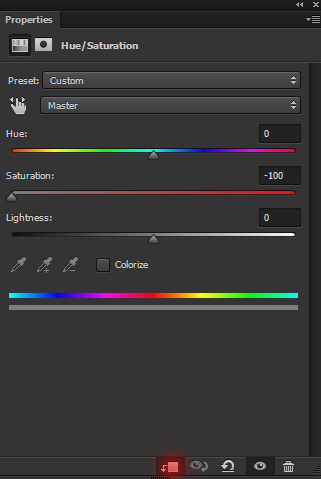
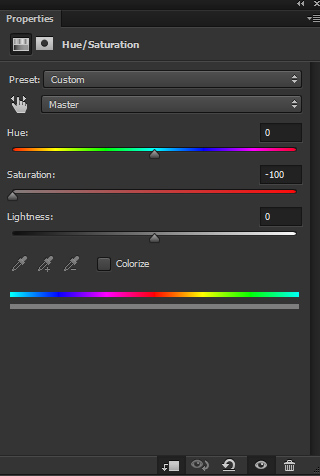
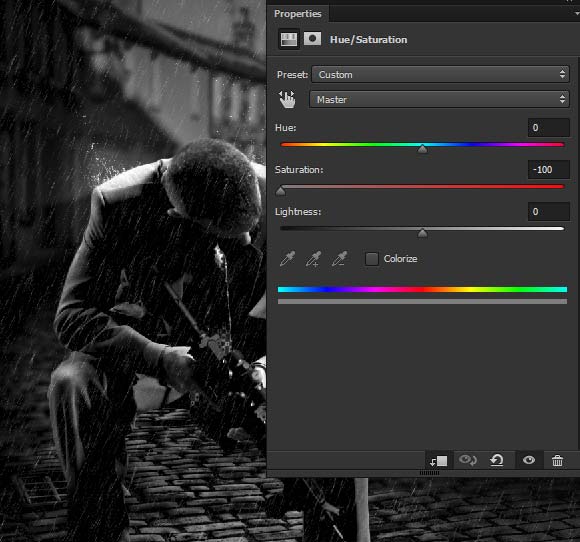
I noticed that street image has some colors and I don’t want that. Add a Hue/Saturation adjustment layer (above all layers) and reduce the saturation by dragging the Saturation slider to -100.
To add an adjustment layer go to Layer > New Adjustment Layer > Saturation or click the third icon at the bottom of layer panel.
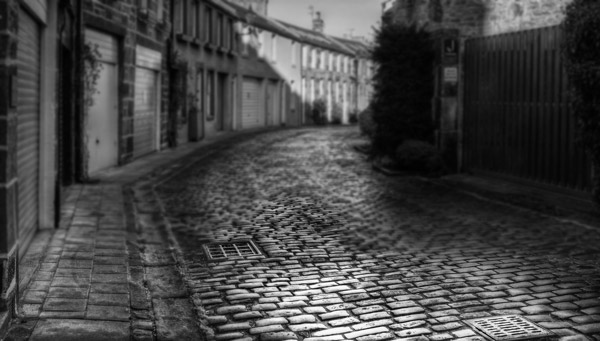
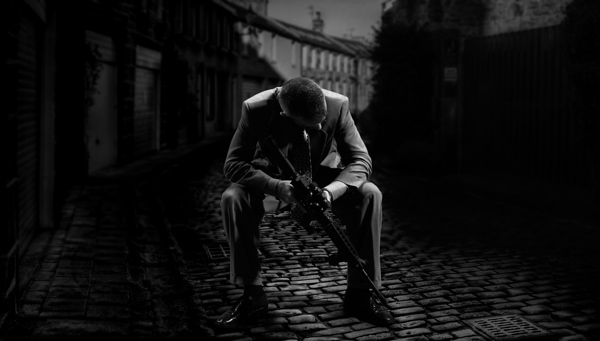
Results:
Step 6
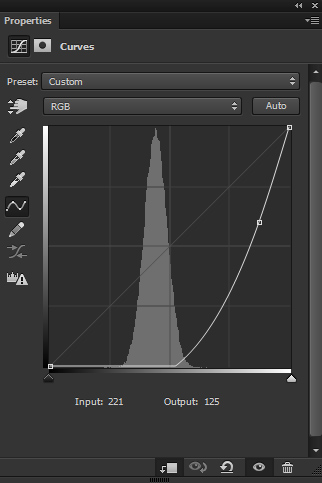
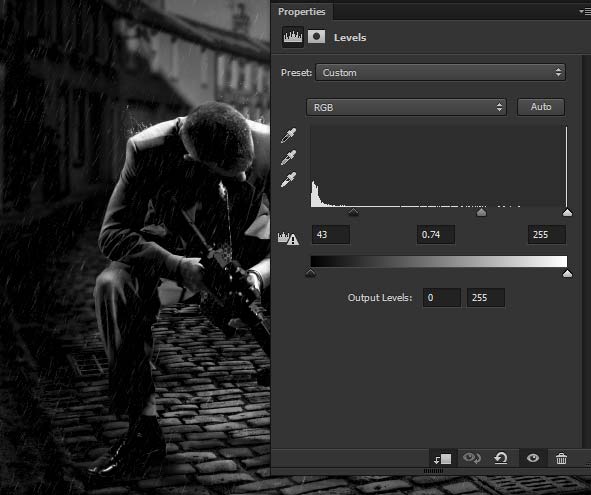
Add a Curves adjustment layer and reduce the brightness of the street. Use it with following settings :
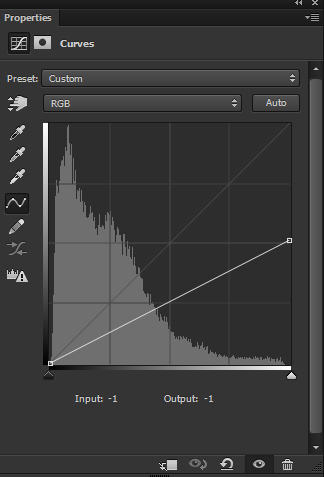
Results:

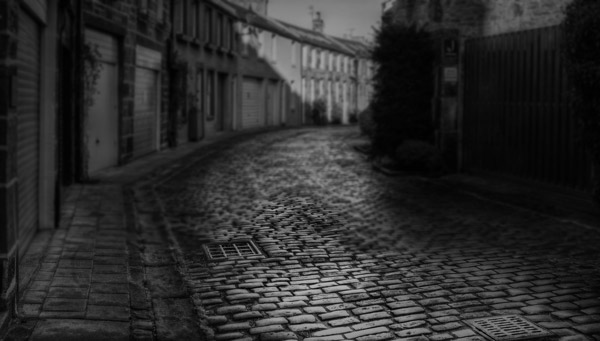
Step 7
On the layer mask of Curves, mask the effect on the middle of the scene to maintain light there. Mask the effect on the highlighted area using a soft round black brush.

Results:
Step 8
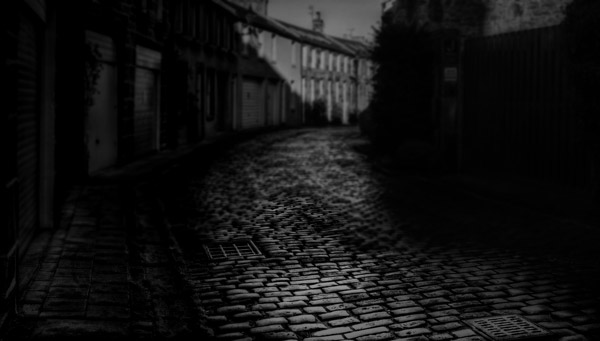
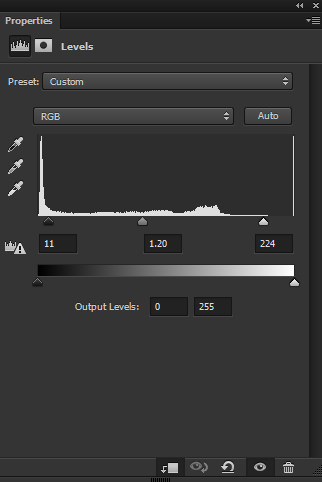
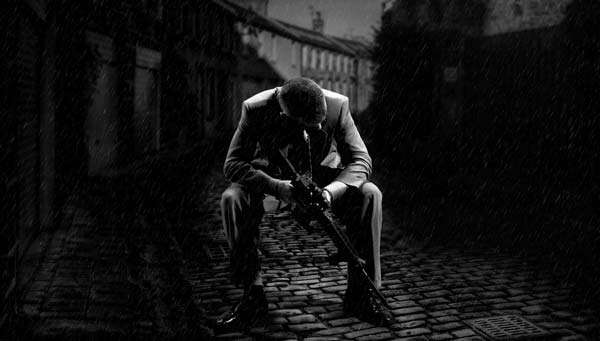
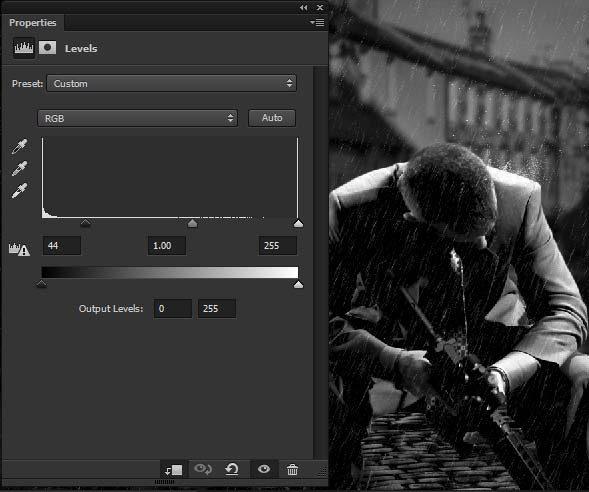
I used a Level adjustment to further darken the scene with more contrast.
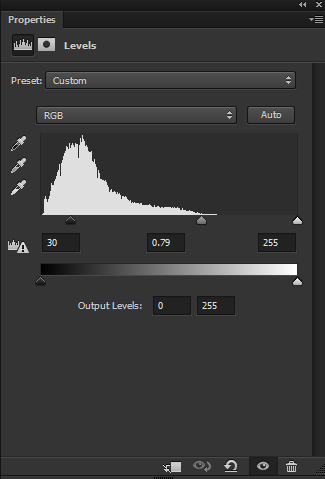
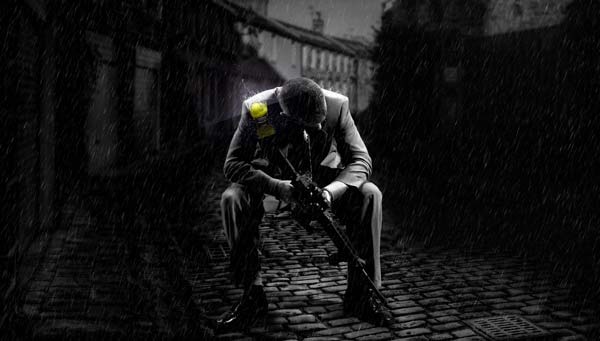
I masked the effect on the right side of the street (little bit). Results:
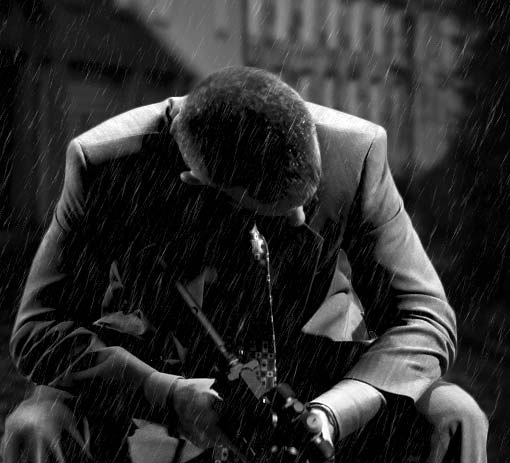
Add the Model
Step 9
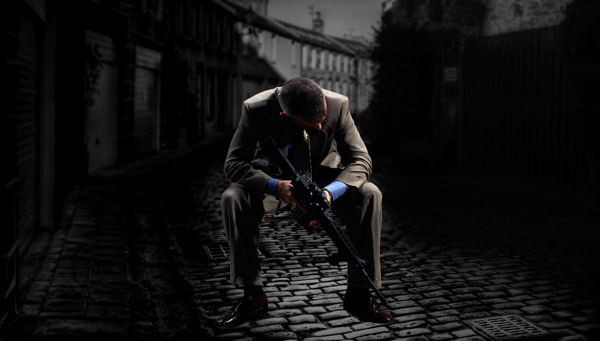
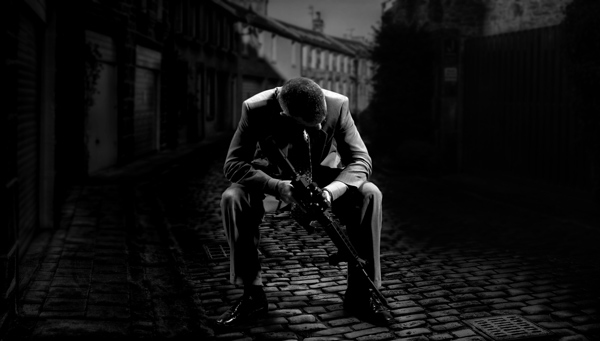
Extract the model from the background and place him to main document.
Step 10
Duplicate the model layer by pressing CTRL + J. Place it under the original layer.

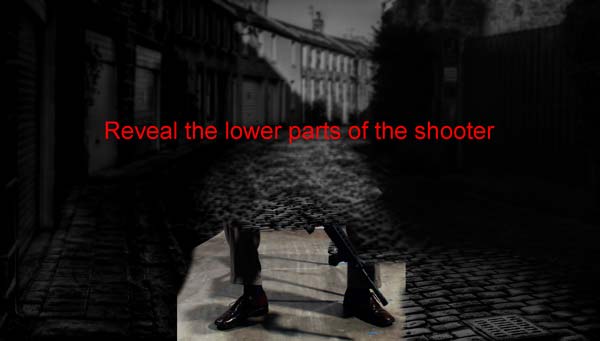
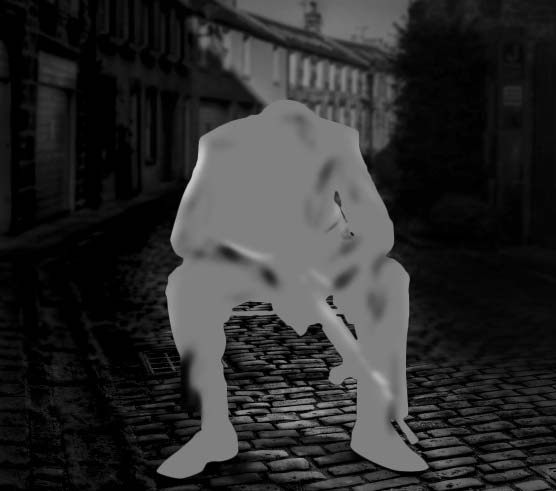
Now use a soft round white brush to reveal the lower parts. Remember the aim here is to reveal the original shadow parts and don’t reveal the entire parts, only the shadow parts. Don’t worry about the other parts we’ll blend them later using a simple trick.
I have hidden the visibility of original models layer’s so you can clearly see how much parts I revealed.
Step 11
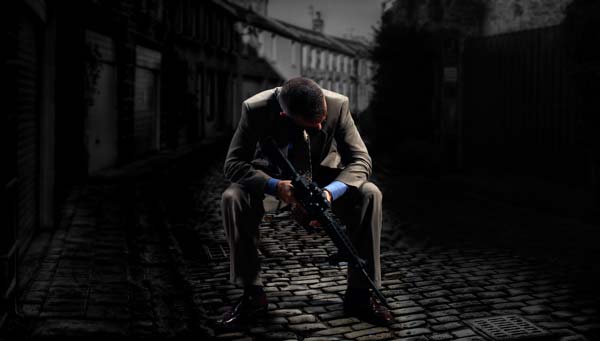
Here is a trick that will help us to keep the shooter’s shadow without painting. Change the duplicated model layer’s blending mode to Overlay. You can see we got the shadows back without painting them.
Step 12
Add a Hue/Saturation adjustment layer to duplicated model layer and reduce the saturation. Don’t forget to set it as clipping mask (press the red icon).
Results:
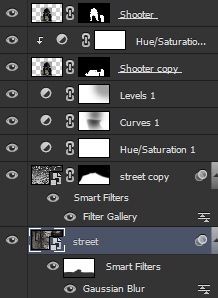
Layer Panel arranged so far:
Step 13
Now back to original shooter layer and reduce the saturation using a Hue/Saturation adjustment layer.
Results:
Step 14
Use a Level adjustment layer for shooter and, enhance the light and shade on the shooter.
Results:
Step 15
Create a new layer, fill this layer with 50% gray colour and change the blend mode to Overlay. Don’t forget to check ‘use previous layer to create clipping mask’.

Activate the Dodge Tool (O) with Midtones Range, Exposure about 9-12% to refine the light and shade on the shooter. Use the Dodge Tool (O) to bring more light on left shoulder and little bit on right shoulder. Also, I used the Dodge Tool on the hands, legs and upper parts of the gun. Similarly use the Burn Tool (O) to add shade to left leg and many other areas where you want to keep the parts darker.
You can see how I did it in Normal mode.
Results in Overlay mode:

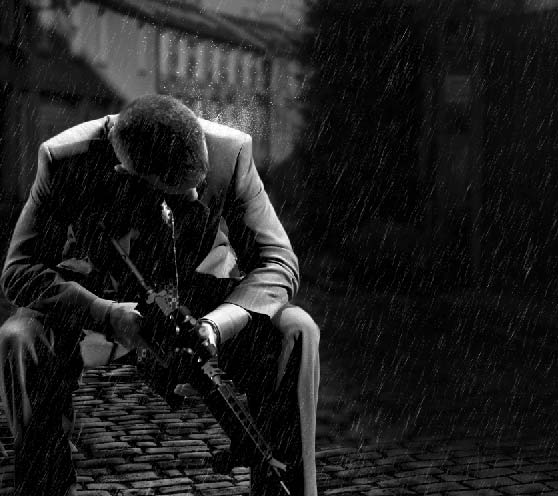
Create the Rain
Step 16
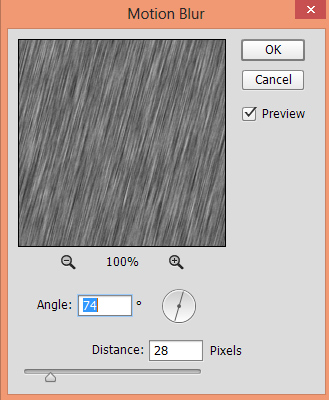
Let’s create the rain now. Create a new layer and fill this layer with black color, name this layer ‘Rain’. Convert this layer into Smart Objects. Go to Filter > Noise > Add Noise and give the following values to Noise filter.

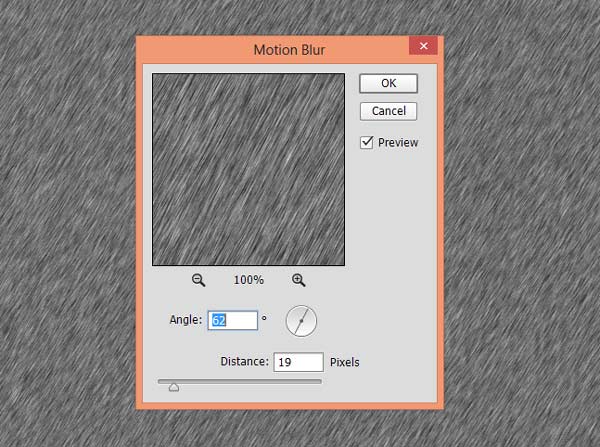
After adding Noise, go to Filter > Blur > Motion Blur and set the following values to create rain.
Change the rain layer’s blend mode to Screen.
Step 18
Use a Curves adjustment layer for rain layer and increase the contrast using the following settings:
You can see the values I darken the rain layer a lot after that I got the rain as shown below.
Step 19
As we all know that rain doesn’t usually fall in perfect lines because of the wind. To get the randomness for rain, duplicate the rain layer including the Curves adjustment layer.
But this time we’ll change the Motion Blur settings to create randomness for rain. Double click on the duplicated rain layer’s filter and alter the Motion Blur values to generate randomness for rain. You can see I slightly changed the Angle and Distance.
Results:

Step 20
Here you can clearly see the results with 200% zoom and we got randomness for the rain.
Water Splash Effect
Step 21
Now we’ll add rain drops to the shooter as it’s raining heavily (on the scene). Place the water splash 1 image to the main document and place it on the model shoulder.
Set the blending mode to Screen.
Step 22
Add a mask to water splash 1 layer by clicking on the second icon at the bottom of layer panel. Mask the unwanted edges using a soft round brush and blend the water splash nicely with the shoulder.
Step 23
You can also use the Levels adjustment layer to further control the light of the water splash 1 layer. Like I did for this layer.
Step 24
Add the water splash 2 image to left shoulder with blend mode changed to Screen and place it as shown below.
I used the layer mask to get rid of the unwanted details. I used Hue/Saturation adjustment layer to reduce the saturation as well.
Step 26
Similarly, I used the Levels adjustment layer to control the contrast of water splash layer 2.
Step 27
I duplicated the water splash layer’s several times to add more rain drops to model. You can see how I did it and placed the water splashes around the model’s body.

Step 28
I painted some more rain drops using 1 pixels white brush.

Step 29
We’ve done with everything except the model. We created realistic rain but model’s body doesn’t look wet. We need to fix this. Merge all layers into single layer by pressing CTRL + ALT + SHIFT + E. Go to Filter > Filter Gallery > Base Relief and give the following values:
Change the blend mode to Overlay and reduce the opacity to 51%.
Step 30
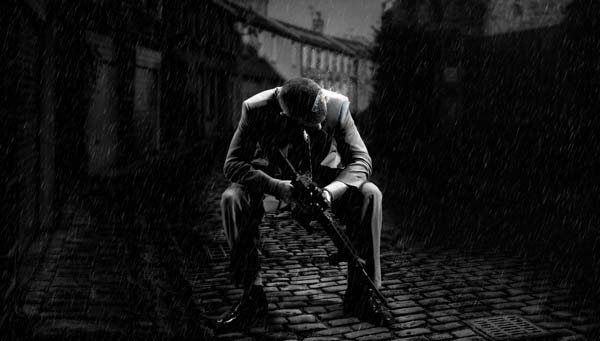
On the layer mask of the merged filter layer, mask all the effect except on the model as I only want to keep the effect on the model.

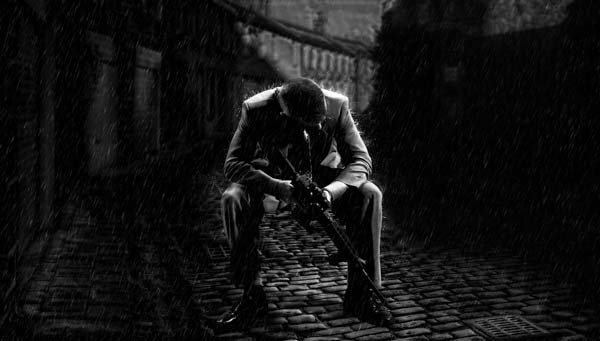
Final Results:

Conclusion
Thanks for following the tutorial. Hope you liked it and please do share, tweet, pin on social media. Just click the social media icon on your screen to share the tutorial with the world. Have a great day!
Need Help With Photoshop or Looking for Professional Support?
Whether you're just getting started with Photoshop or need expert-level assistance, we're here to help! Contact us for personalized Photoshop tutorials, project support, or creative services.
Get in touch today to take your skills or projects to the next level.
CONTACT US NOW📘 Want to Master Photoshop Faster?
🎁 Get Your FREE PDF E-Book "Top 10 Photoshop Tricks Every Designer Must Know" Now – Packed with expert tips, shortcuts, and techniques to boost your creativity & workflow.
👉 Download Your FREE PDF E-Book NOW!
