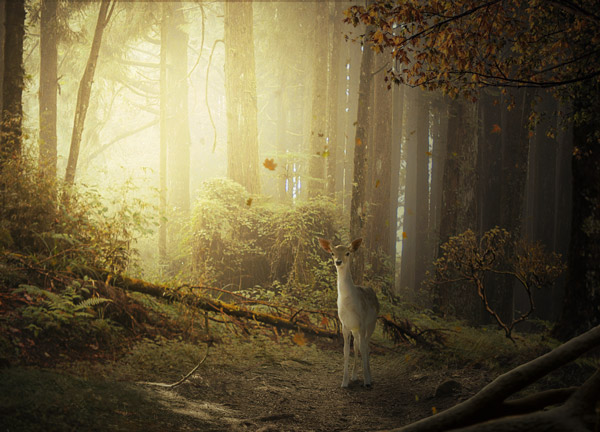
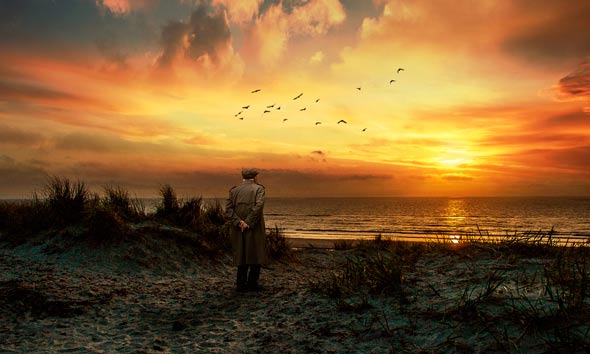
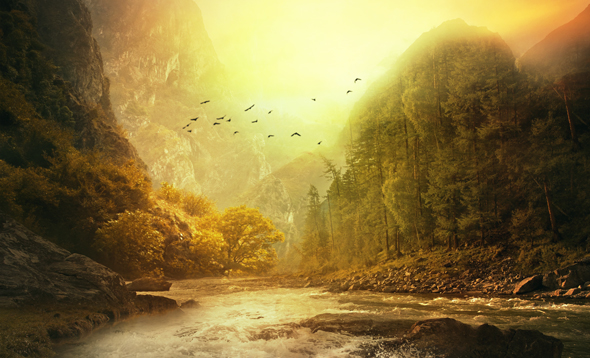
In this Photoshop tutorial, I’ll show you how to create an adorable deer photo manipulation in Photoshop. We’ll first create a forest scene for deer using forest stock. Then we’ll add other elements such deer, woods and tree, and blend them using range of photo manipulation techniques. At the end we’ll create a light source and, finalize the whole using adjustment layers.
Tutorial Resources
Creating Background
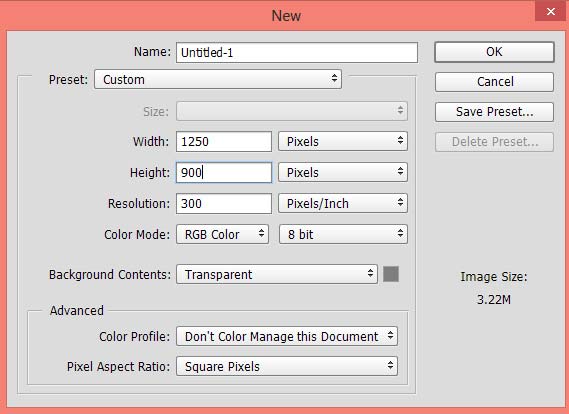
Step 1
Create a new document in Photoshop with the following settings :
Add the Forest
Step 2
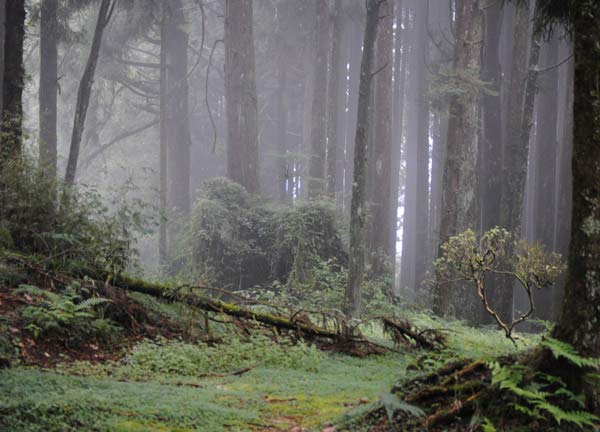
Go to File > Place Embedded and place the forest image to main document.
Step 3
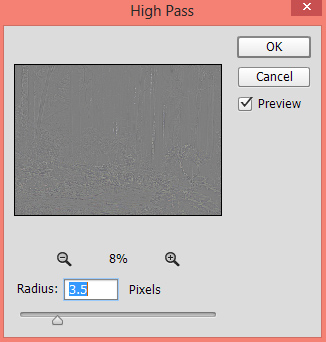
Time to add sharpness to forest using High Pass filter. Duplicate the forest layer by CTRL + J. Convert the duplicated forest layer into Smart Objects. Now go to Filter > Other > High Pass and apply it with the following settings :
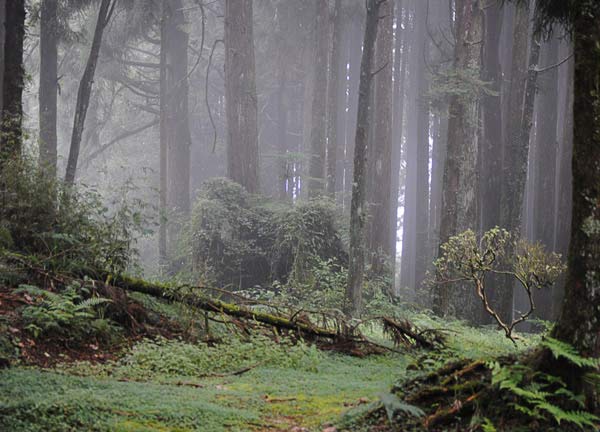
If you don’t add the sharpness to forest then you’ll have a blurred background for deer.
Step 4
Make a Curves adjustment layer and reduce the brightness of the forest. To add an adjustment layer, go to Layer > New Adjustment Layer > Curves or click the third icon at the bottom of layer panel.
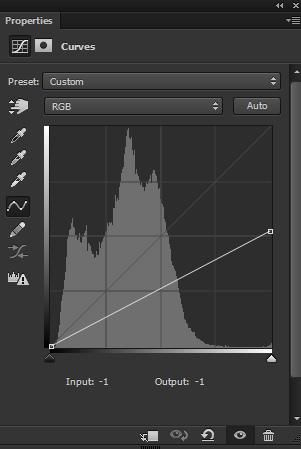
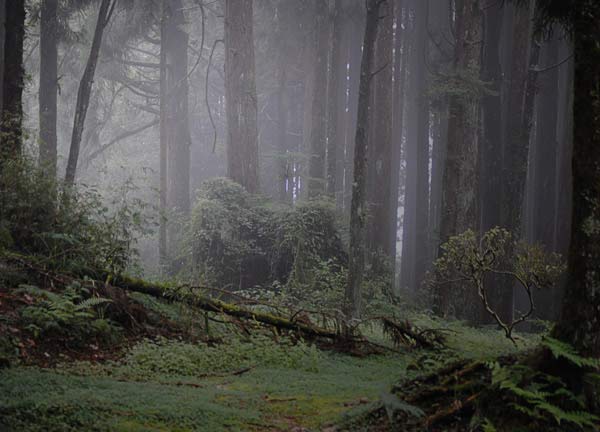
On the layer mask of Curves, mask the effect on the selected part using a soft round black brush as I am aiming to create light source on the left side of the scene. Use a soft, basic black brush for masking the effect with lower opacity around 40%-50%.
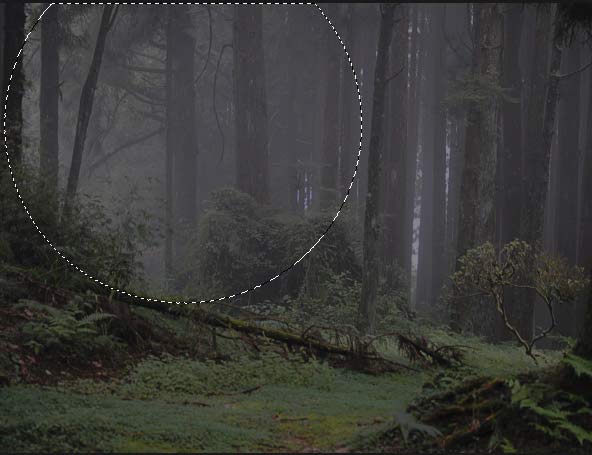
Results with maintained brightness on the left side :
Step 5
Add a Brightness/Contrast adjustment layer, reduce the brightness and increase the contrast little bit.
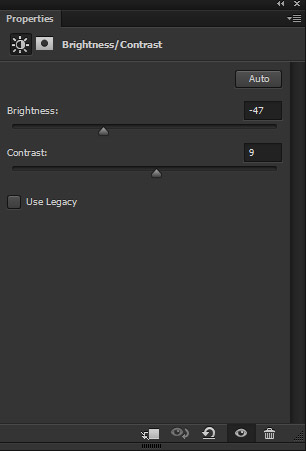
On the layer mask of Brightness/Contrast, mask the effect on the left side using soft round basic black.
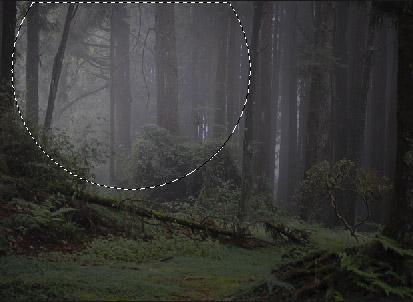
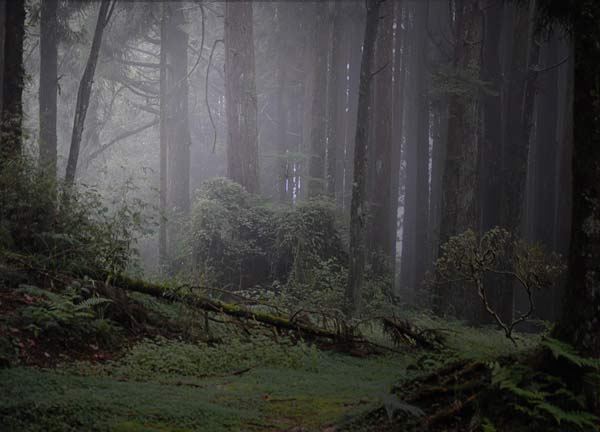
Results with more darkness :
Step 6
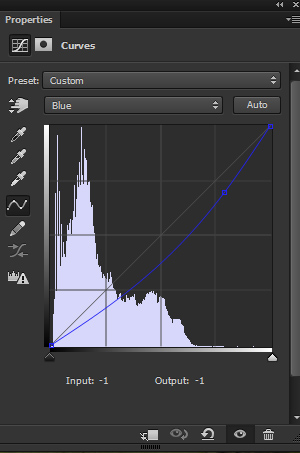
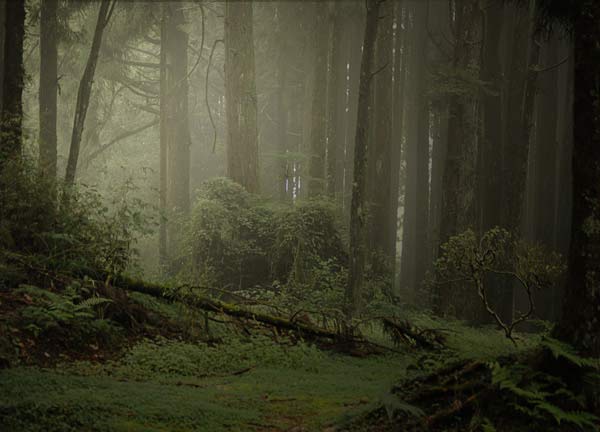
Add a Curves adjustment layer and use the Blue Channel to add yellow color tones to forest.
Results :
Step 7
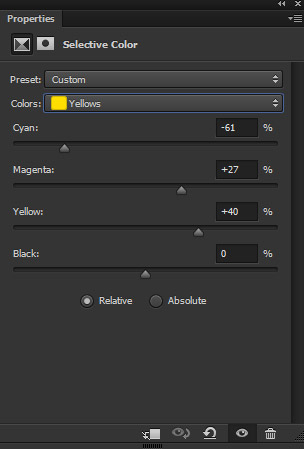
Make a Selective Color adjustment layer and choose the yellow colors to enhance the colors of the forest.
Results :
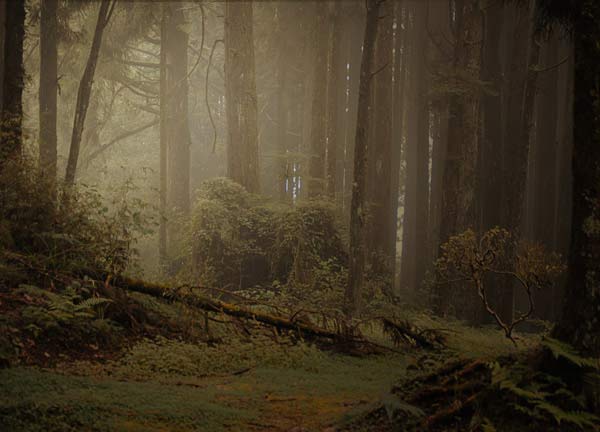
Layer panel arranged so far :
Add the Beach
Step 8
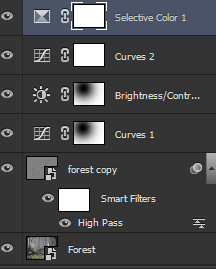
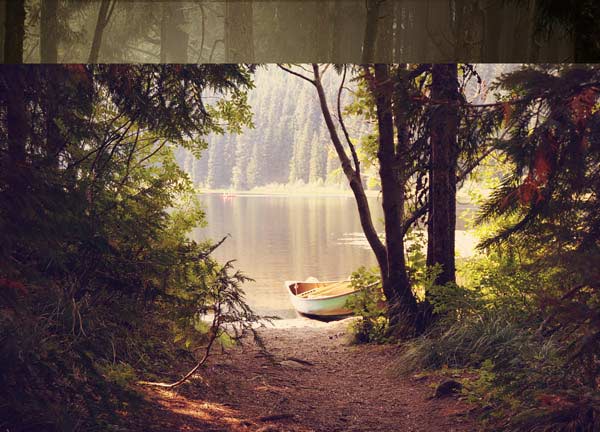
Add the beach image to main document and place it shown below.
Step 9
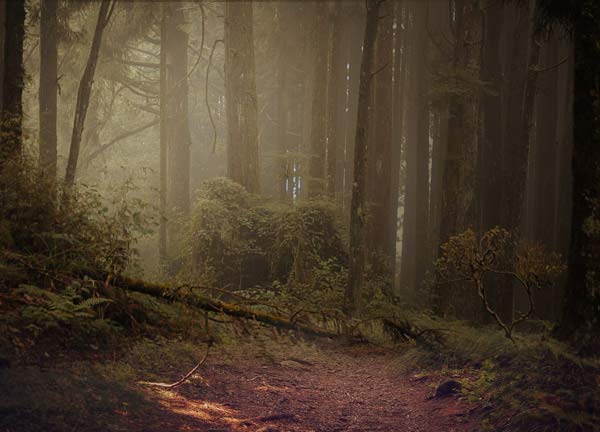
The aim of adding the beach image is to get its forest path parts and add them to existing forest. Add a mask to beach image by clicking second icon at the bottom of layer panel or go to Layer > Layer Mask > Reveal All. Now use a soft, basic black to mask the selected parts of beach.
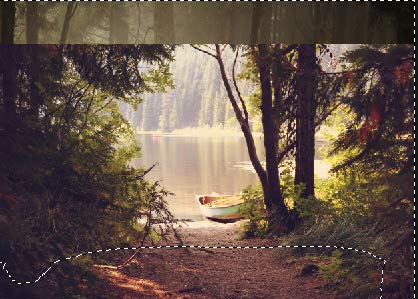
Results after masking :
Step 10
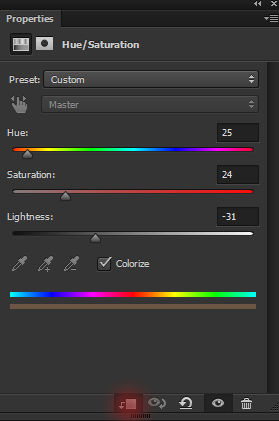
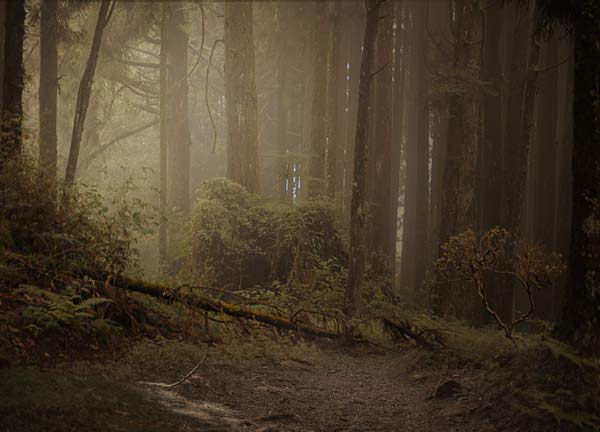
Add a Hue/Saturation adjustment layer and set it as clipping mask (press the red icon). Now check the Colorize option to match the color of the beach with existing background.
Results :
Step 11
Use the Curves adjustment layer and add some more yellow colors tones.
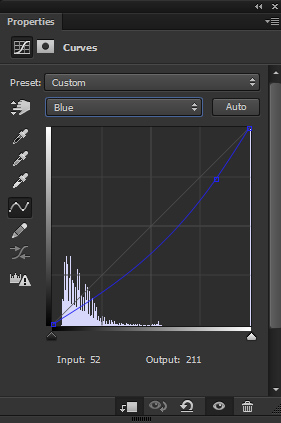
Reduce the opacity of Curves to 50%. Results :
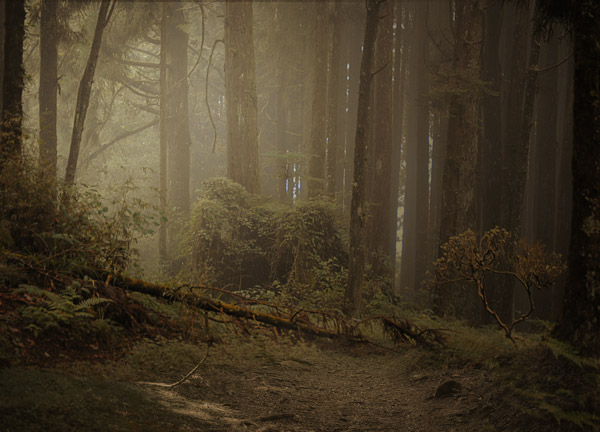
Layer panel arranged so far :
Step 12
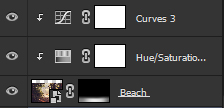
Extract the deer from its background and place him to main document.
Step 13
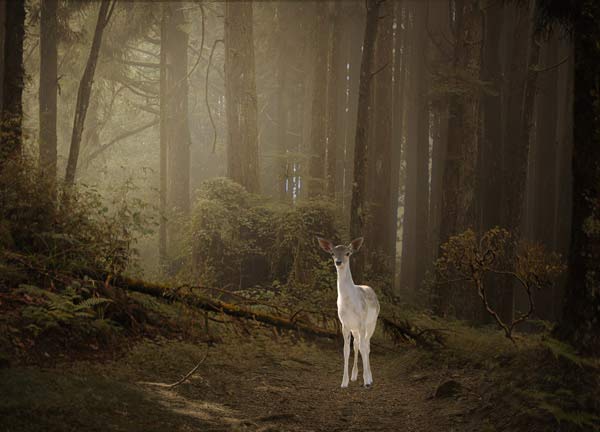
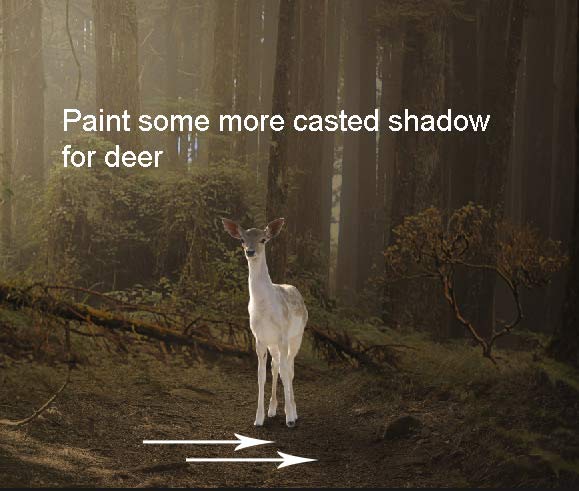
Create a new layer under the deer and name it ‘Shadow 1’. Use a soft round black brush to paint shadows under the deer’s body as below.
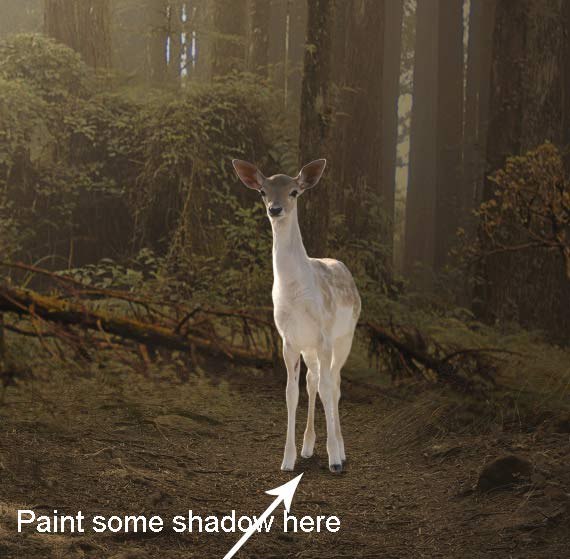
Create new layer one more time and this time paint the casted shadows for the deer.
Step 14
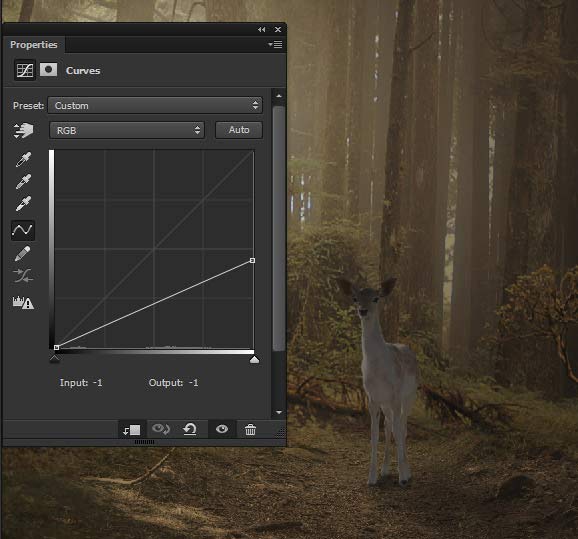
Time to adjust the deer with background. Use the Curves adjustment layer for deer (use it as clipping mask) and reduce the brightness.
Step 15
On the layer mask of deer, mask the effect on the highlighted parts to maintain light there. For masking, always use soft basic black brush with lower opacity and flow about 30%-40%.
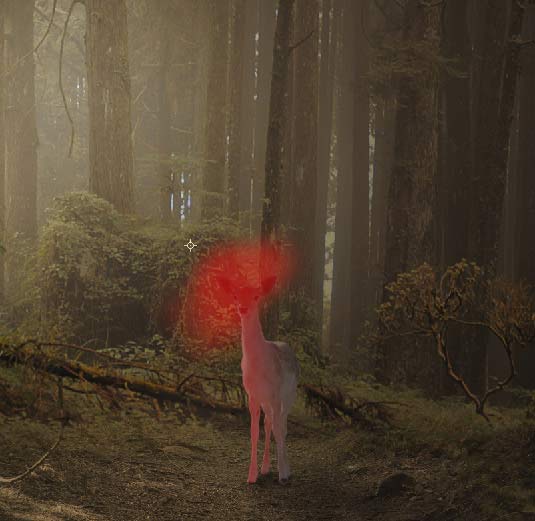
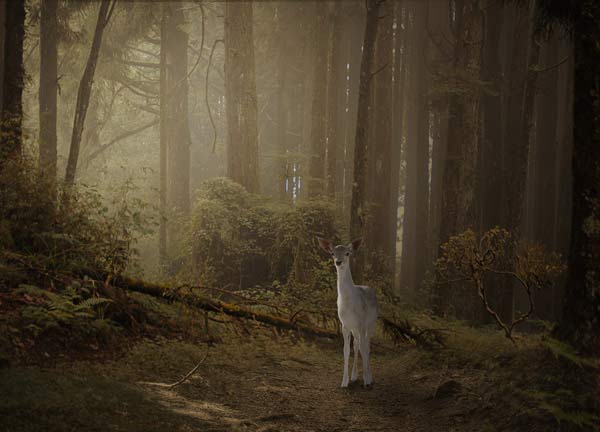
Results :
Step 16
Use the Brightness/Contrast adjustment layer to reduce the brightness one more time.
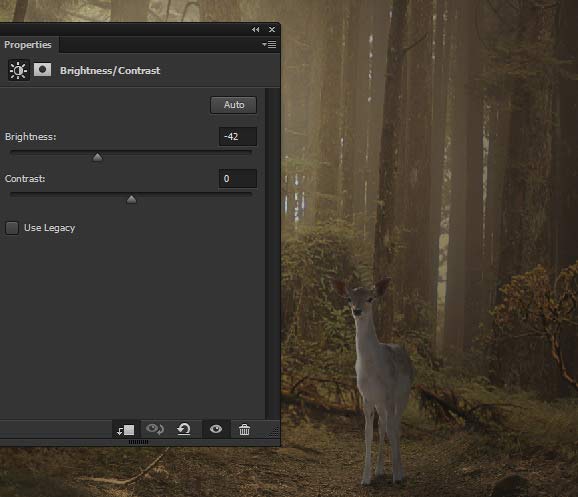
Step 17
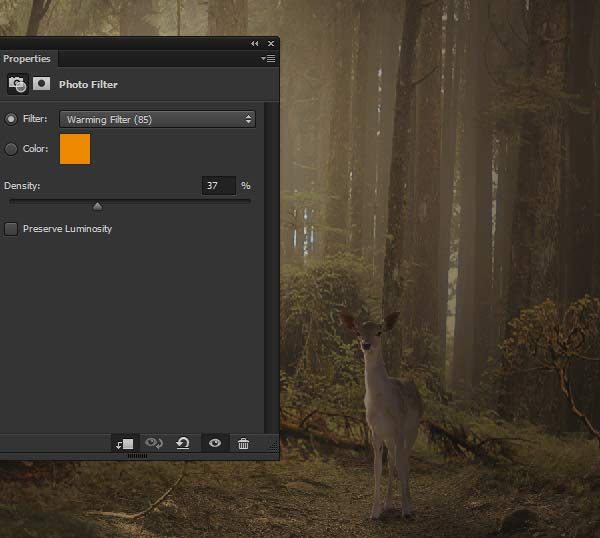
Use the Photo Filter adjustment layer to add warm colors tones to forest. Use the Warming Filter (85) with Density of 37%.
Step 18
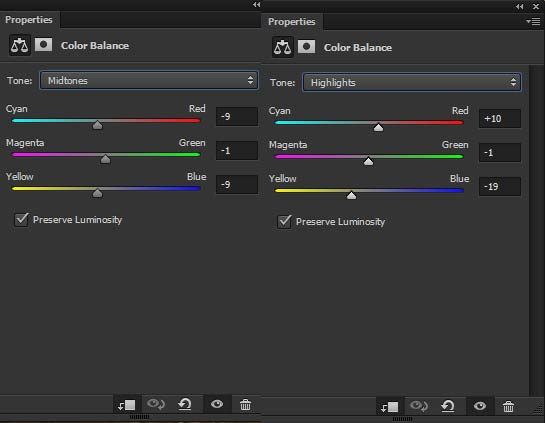
Use the Color Balance adjustment layer to match the color of the deer with the rest of the background. Only change the values of Midtones and Highlights.
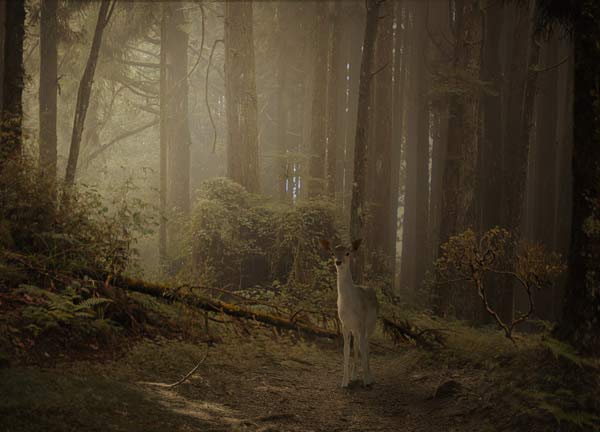
Results :
Step 19
Create a new layer, fill this layer with 50% gray colour and change the blend mode to Overlay.
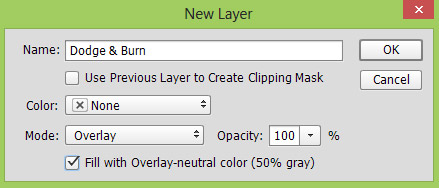
Activate the Dodge Tool (O) with Midtones Range, Exposure about 9-12% to refine the light and shade on the deer. Use the Dodge Tool (O) to bring more light to left outside parts as they are close to light source. Similarly use the Burn Tool (O) to add shade to right side parts as they will be less illuminated by the light source.
See the below image for results in both mode :
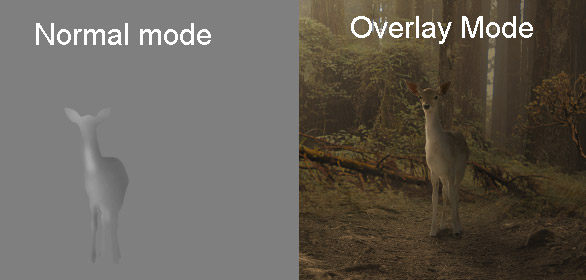
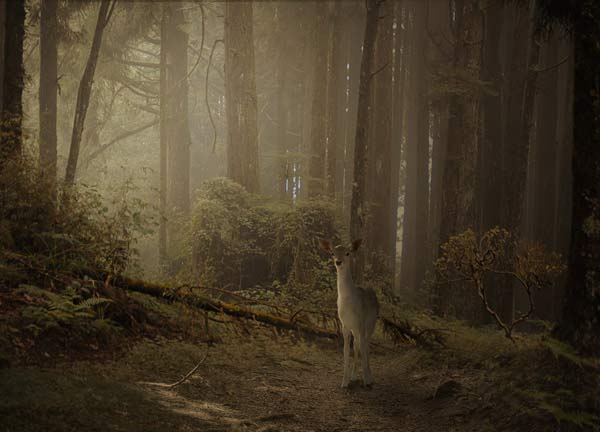
Results so far :
Read this Basic level tutorial for detail explanation on Dodge & Burn Tool .
Create Light Source
Step 20
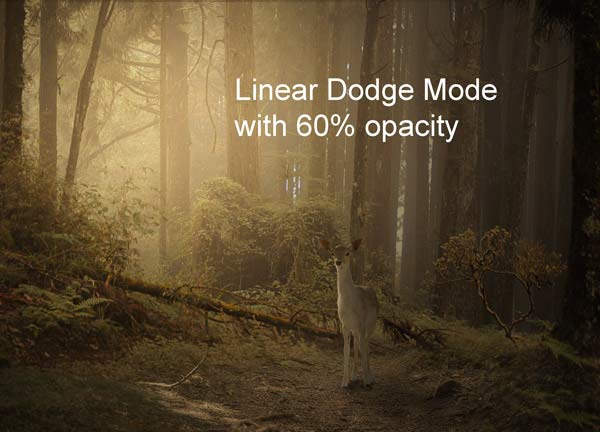
Create a new layer and name it ‘light’. Activate the Brush Tool (B). Set the foreground color to #614318. Now paint the lights as shown below.
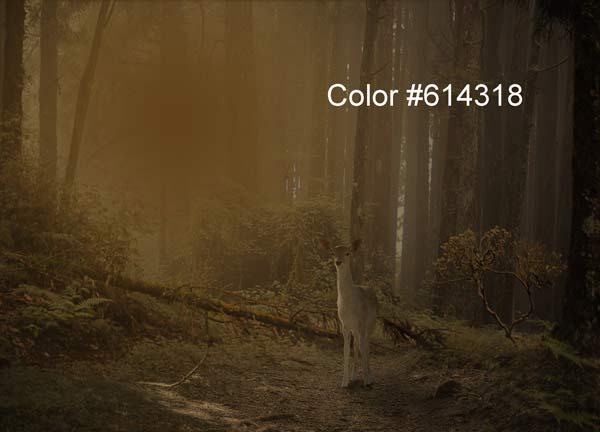
Change the light’s layer blend mode to Linear Dodge and reduce the opacity to 60%.
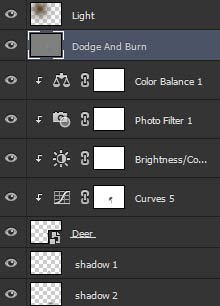
Layer panel arranged so far :
Add the woods
Step 21
Extract the woods and place them at the bottom of right corner.
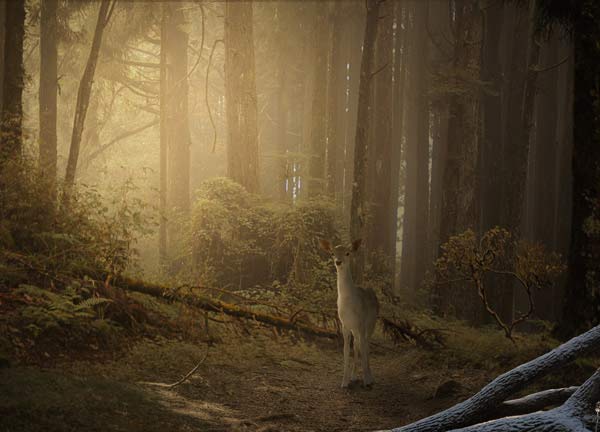
Step 22
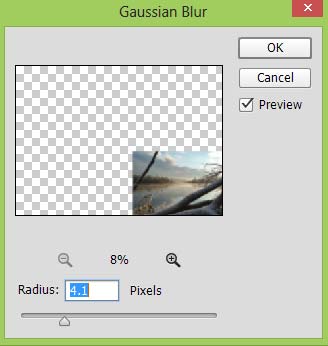
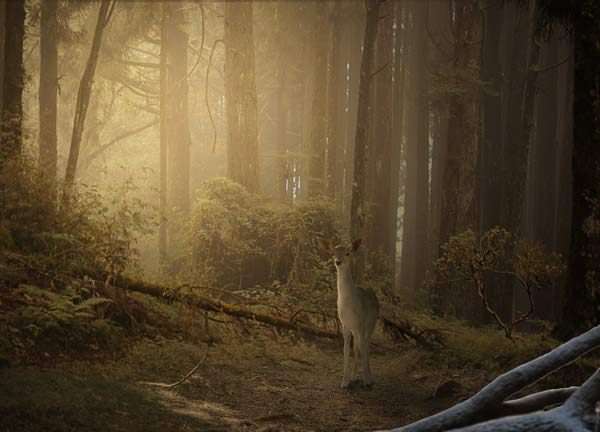
Convert the woods layer into Smart Objects. Go to Filter > Blur > Gaussian Blur and set the radius value to 4.1. This will create a depth of field for the scene.
Results :
Step 23
Make a Curves adjustment layer for woods and reduce the brightness.
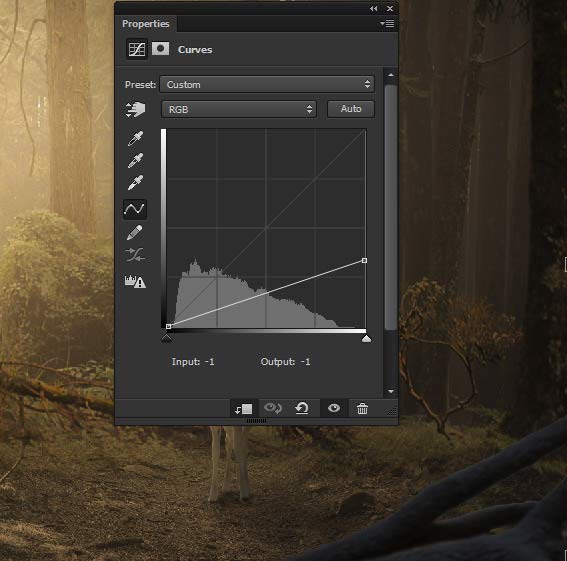
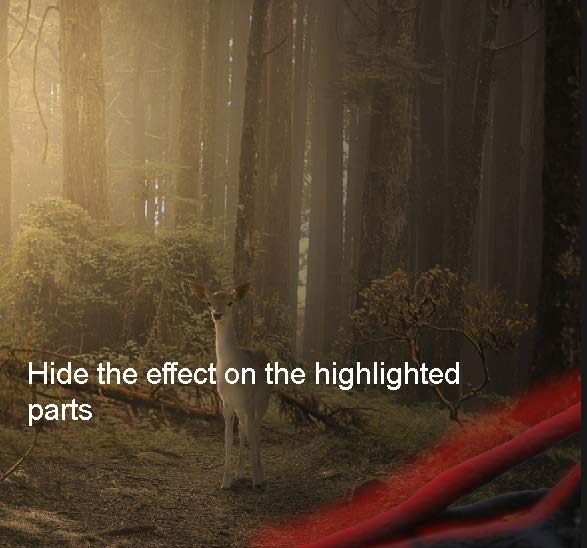
On the layer mask of Curves, mask the effect on the highlighted area using soft, basic black brush.
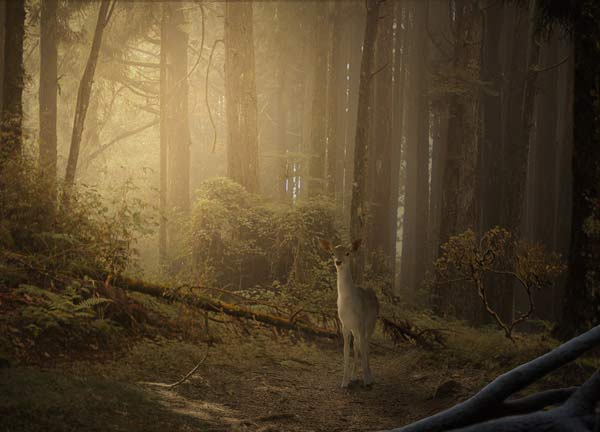
Results :
Step 24
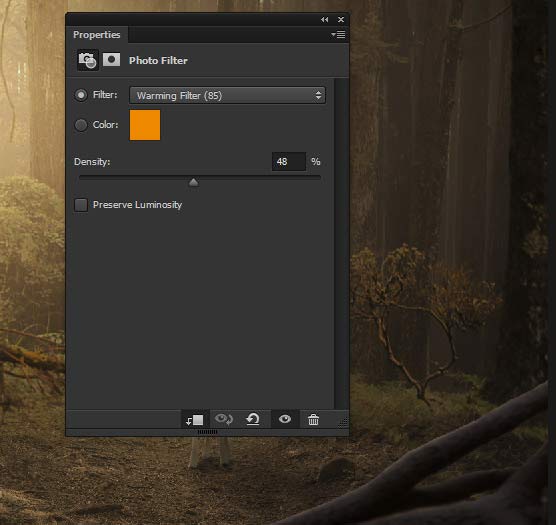
Use the Photo Filter adjustment layer for woods and add some colors.
Step 25
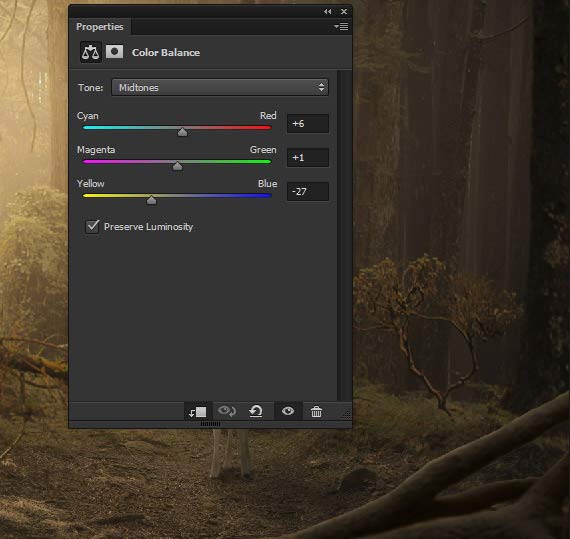
Add a Color Balance adjustment layer and enhance the colors. Only change the value of Midtones.
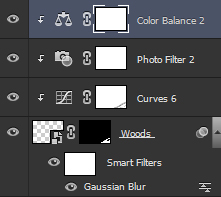
Layer panel arranged so far :
Add the Tree
Step 26
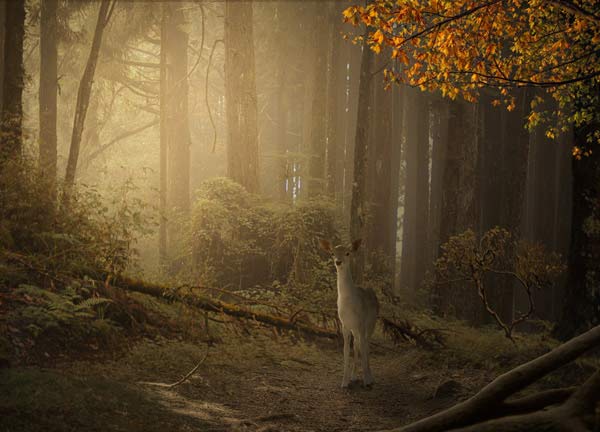
Isolate the tree and add the tree (only the leaves parts) to main document.
Step 27
Use the Hue/Saturation adjustment layer to decrease the saturation of the tree.
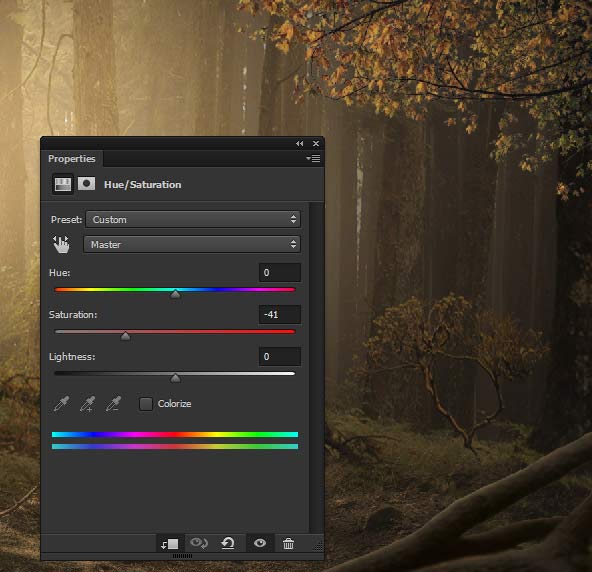
Step 28
Make a Curves adjustment layer for tree and reduce the brightness.
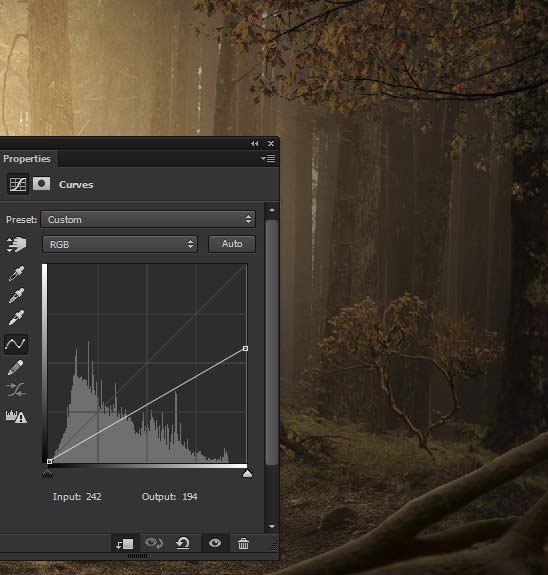
Step 29
Use a Photo Filter to bring back the colors.
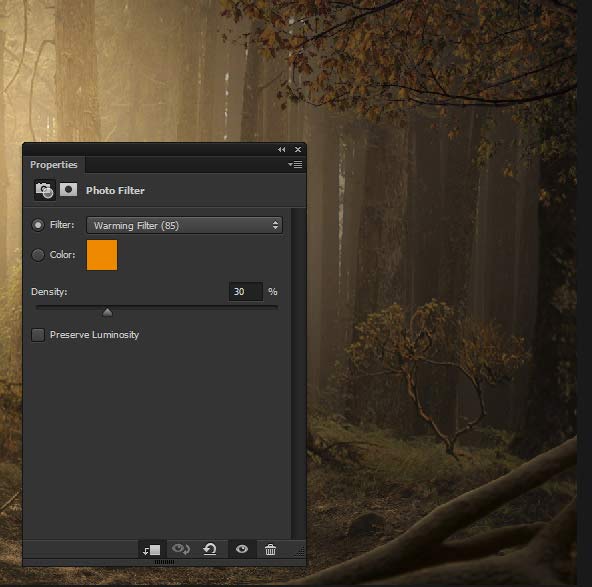
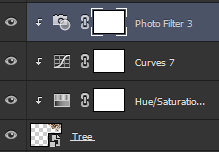
Layer panel arranged so far :
Step 30
Open up the png leaves image and place them to main document. Arrange the leaves to scene as much you want but make sure that arrange them in a way that looks like they are falling from the tree.
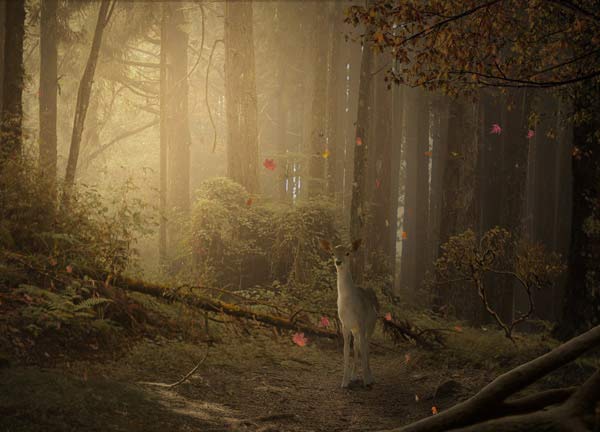
Step 31
After arranging leaves to scene, apply 2px of Gaussian Blur to each leaves layer.
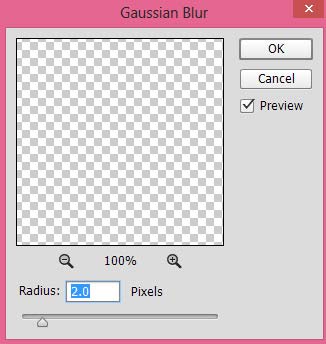
Results :
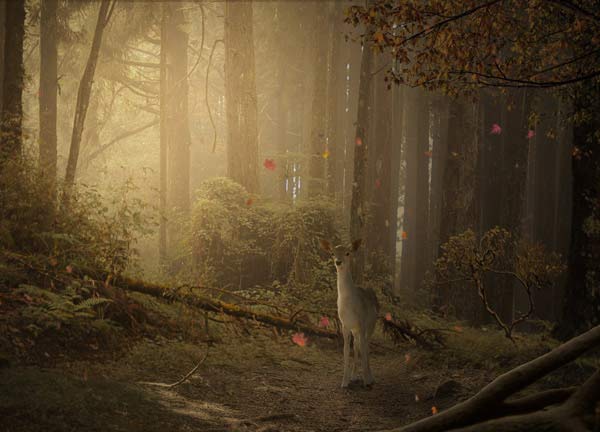
Step 32
Select all leaves layer and group them by pressing CTRL + G. Change the blending mode of the leaves group to Normal. Now make a Curves adjustment layer, inside the group, and reduce the brightness of all leaves layers.
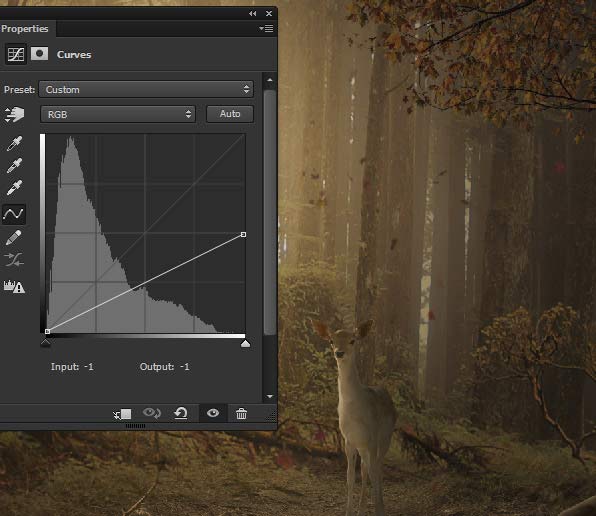
On the layer mask of Curves, mask the effect on those area of the leaves in which you think that this area will be less illuminated by the lights. Don’t hide the effect on those leaves that are in right side of the scene.
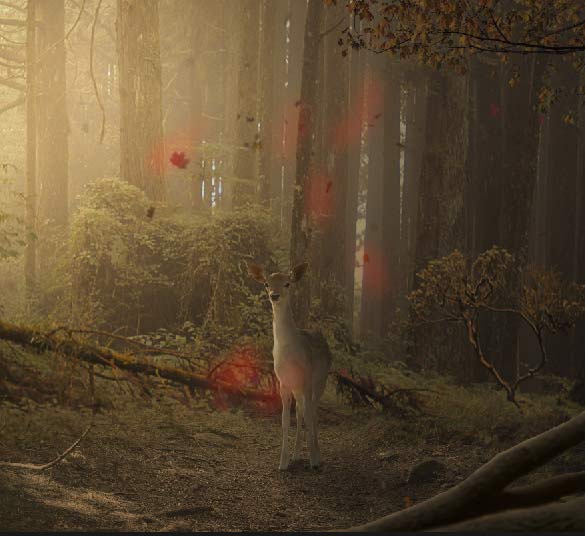
Results :
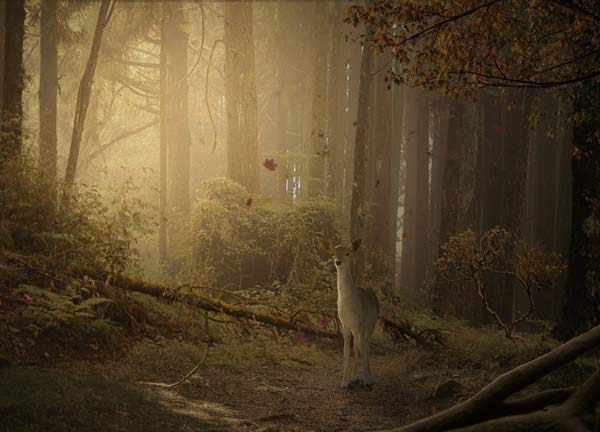
Step 33
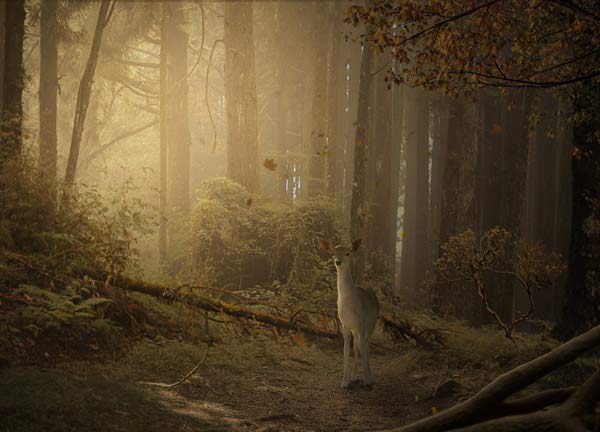
Use the Color Balance adjustment layer and enhance the colors of all leaves.
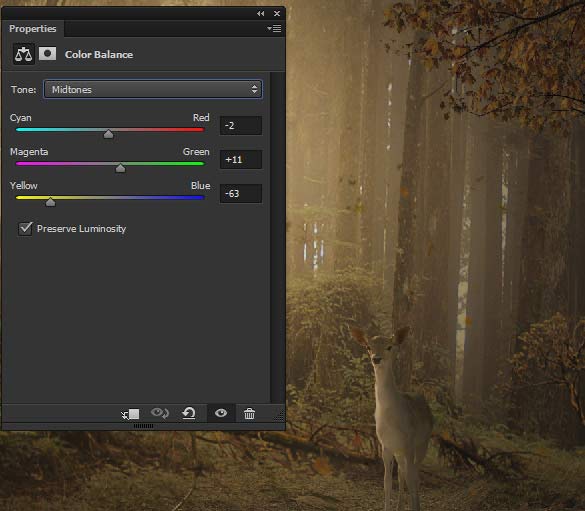
Results :
Final Adjustments
Step 34
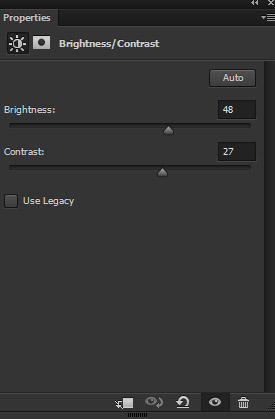
It’s time for final adjustments. Create a Brightness/Contrast, on top of all layer, and increase the contrast and brightness of whole scene.
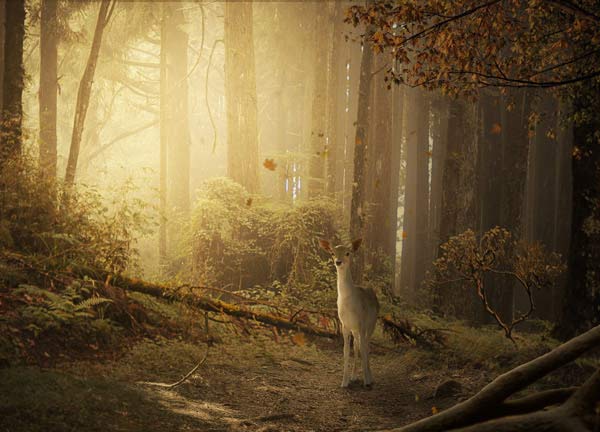
Results :
Step 35
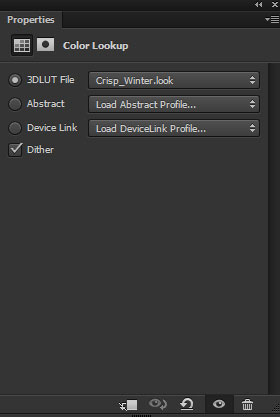
Use the Color Lookup adjustment to boost the contrast of whole scene. Use the Crisp winter lookup file.
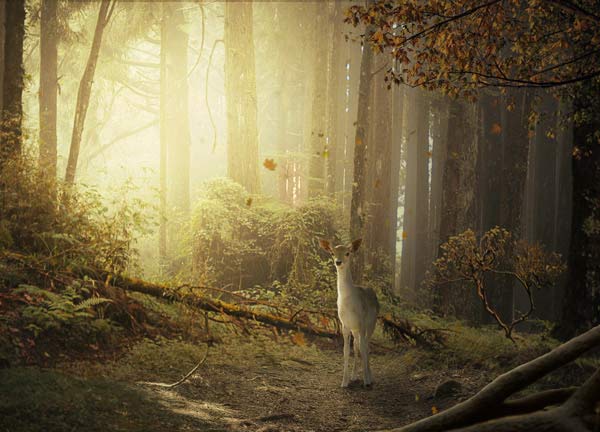
Reduce the opacity to 42%. Results :
Step 36
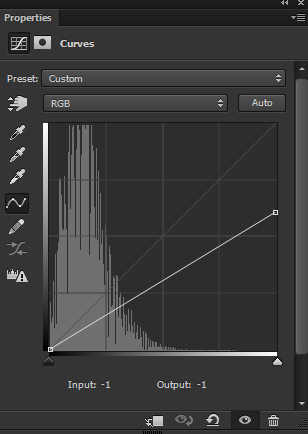
Finally, use the Curves adjustment layer and reduce the brightness of whole scene.
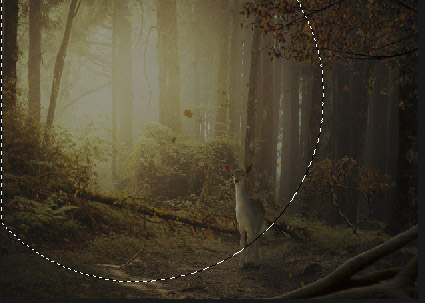
On the layer mask of Curves, mask the effect on the selected area.
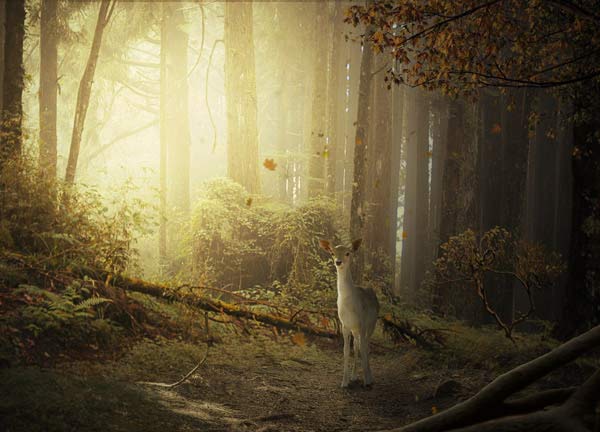
Final Results :
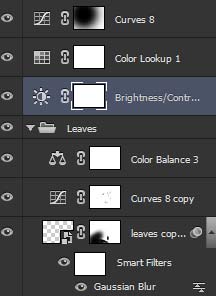
Layer panel arranged :
Conclusion
Hope you enjoyed the tutorial and do let me know if need any help.
Need Help With Photoshop or Looking for Professional Support?
Whether you're just getting started with Photoshop or need expert-level assistance, we're here to help! Contact us for personalized Photoshop tutorials, project support, or creative services.
Get in touch today to take your skills or projects to the next level.
CONTACT US NOW📘 Want to Master Photoshop Faster?
🎁 Get Your FREE PDF E-Book "Top 10 Photoshop Tricks Every Designer Must Know" Now – Packed with expert tips, shortcuts, and techniques to boost your creativity & workflow.
👉 Download Your FREE PDF E-Book NOW!
