


In this tutorial I’ll show you how to create a surreal underwater photo manipulation in Photoshop. We’ll begin by setting up our background using underwater and sky stock. After that, we’ll add more elements such as fish, boat, birds and boy. Then we’ll blend them using photo manipulation techniques to make them parts of the scene.
Tutorial Resources
- Underwater 1
- Sky
- Underwater 2
- Boat
- Fishes
- Birds 1
- Birds 2
- Birds 3
- Birds 4
- Water Splash Brushes
- Bubbles Brushes
- Boy
Step 1
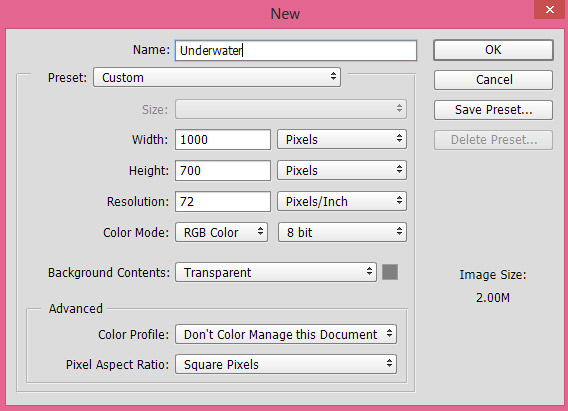
Create a new document in Photoshop with the following settings:
Step 2
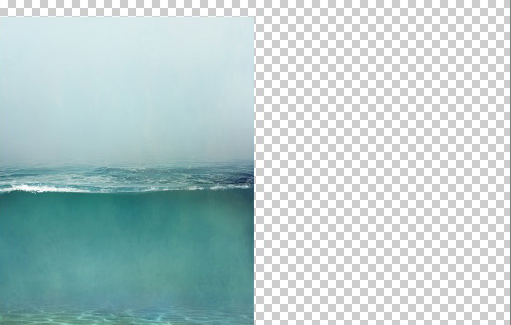
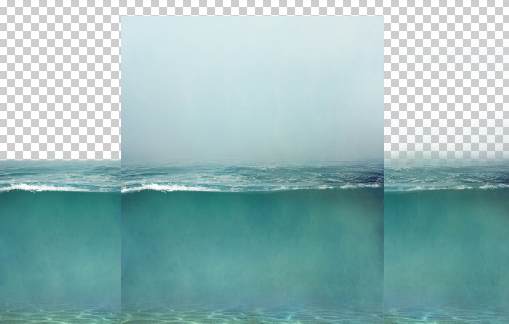
Now place the underwater 1 image by selecting File > Place. Place it to the left side of the document. You can see the below image for reference.
Step 3
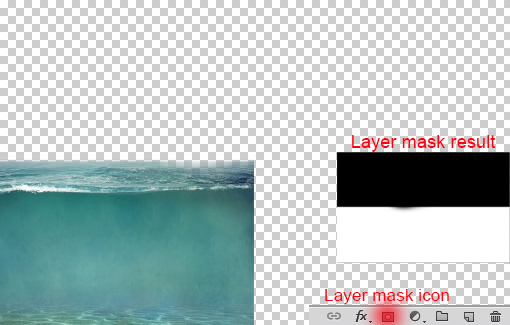
Add a layer mask to the underwater image by clicking on the second button on the layer panel at bottom right side. Grab the brush tool by pressing (B) on the keyboard. Use a soft round basic black brush to hide the upper part of underwater as shown in the image below. You can see the result below.
Step 4
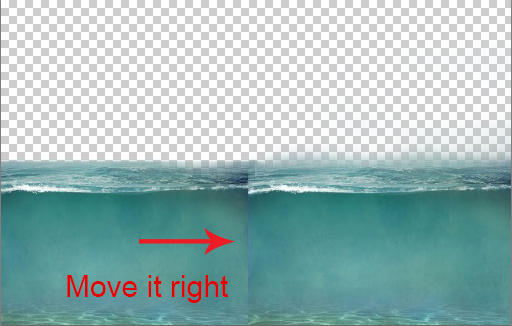
Duplicate the underwater layer and move it to the right side of the document.
Step 5
Place the underwater image again but this time in the middle of the main document as shown in the image below.
Step 6
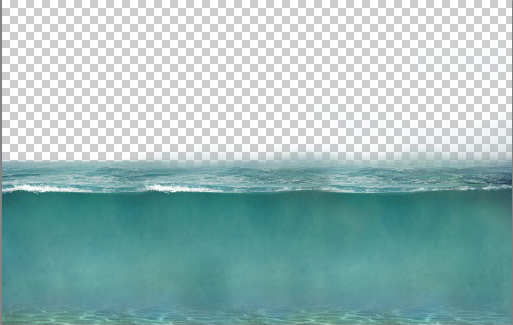
Add a layer mask to it and use a soft round basic black brush to hide its parts to blend it properly to the scene. Here are the results. Now select all the underwater layer then press (Ctrl+E) on the keyboard to merge all three layer into a single layer. Now you’ll have a complete underwater image as shown below. You can also delete the layers under the finally merged layer or you can proceed with them as well.
Step 7
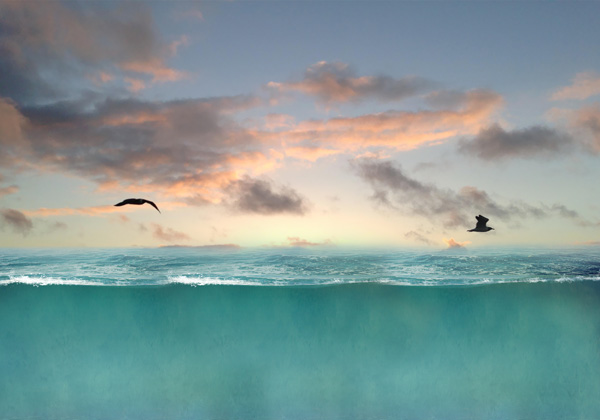
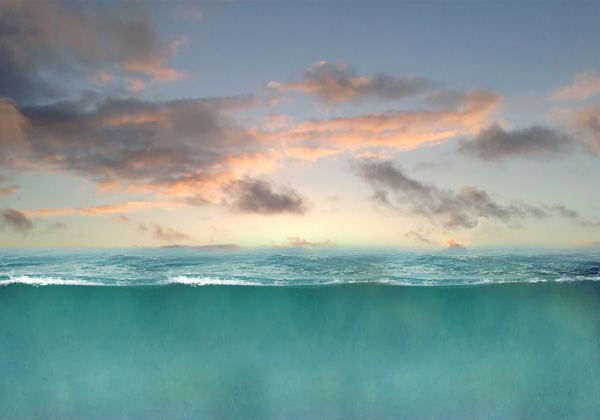
Open up the sky image in Photoshop. Then drag it to our main canvas using Move Tool (V). Place the sky layer under the underwater layer. If needed you can also resize the layer to fit it nicely with the underwater image using Transform Tool (CTRL + T).
Step 8
As you can see that there are unwanted details in the sky like the birds. We’ll add different birds to the scene so we need to remove the existing ones.
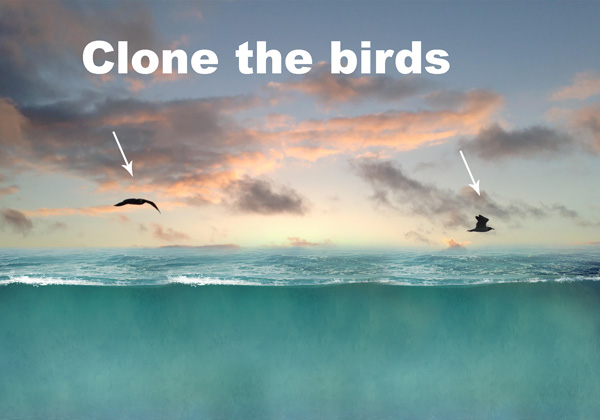
Create a new layer and name it ‘cloning’. Activate the Clone Stamp (S) tool. Now start cloning the birds from the sky. Take your time while cloning and don’t forget to take different sample source for better cloning.
Here are the results after cloning:
Step 9
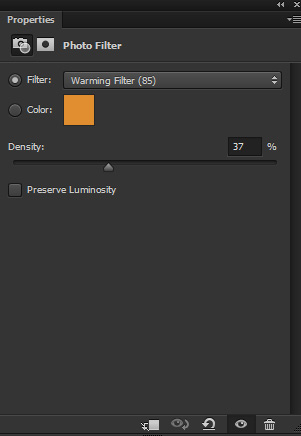
Make a Photo Filter adjustment layer and add warm tones to sky. Use the Warming Filter (85) with 29% Density. You can add an adjustment layer by clicking on third icon at the bottom of layer panel.
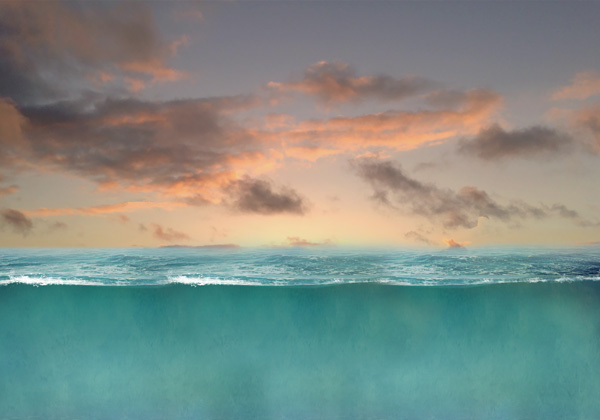
Results:
Step 10
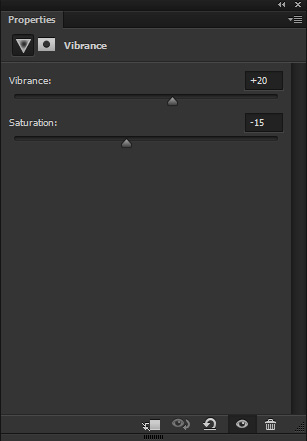
Add a Vibrance adjustment layer. Increase the vibrance and decrease saturation little bit. Here are the values.
Results:

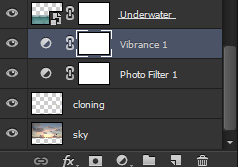
Layer panel arranged so far:
Need Help With Photoshop or Looking for Professional Support?
Whether you're just getting started with Photoshop or need expert-level assistance, we're here to help! Contact us for personalized Photoshop tutorials, project support, or creative services.
Get in touch today to take your skills or projects to the next level.
CONTACT US NOW📘 Want to Master Photoshop Faster?
🎁 Get Your FREE PDF E-Book "Top 10 Photoshop Tricks Every Designer Must Know" Now – Packed with expert tips, shortcuts, and techniques to boost your creativity & workflow.
👉 Download Your FREE PDF E-Book NOW!
