

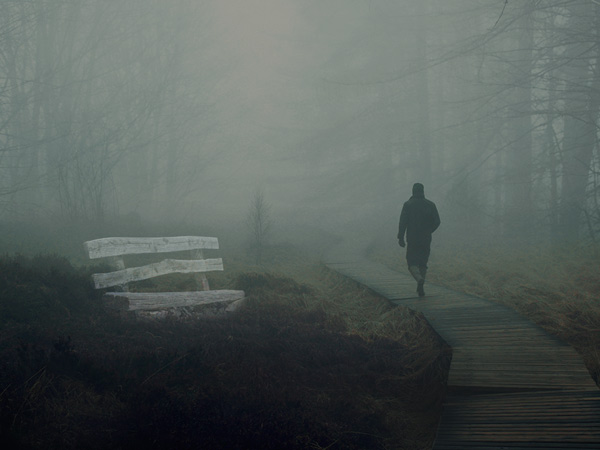
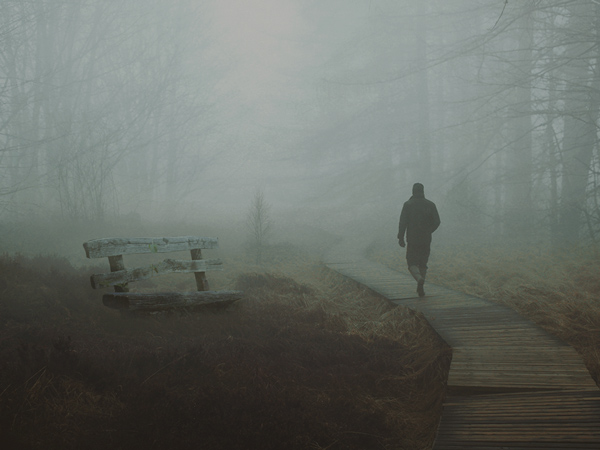
In this Photoshop tutorial I’ll show you how to create a moody scene photo manipulation in Photoshop. We’ll begin using a misty pathway image and then we’ll add forest. We’ll make the scene misty and will achieve a moody mood using an adjustment layer. After that, we’ll make the scene more mysterious by adding a bench to the scene. At the end, we’ll finalize the whole scene and finish it up by creating a vignette effect.
Tutorial Resources
Preparing Background
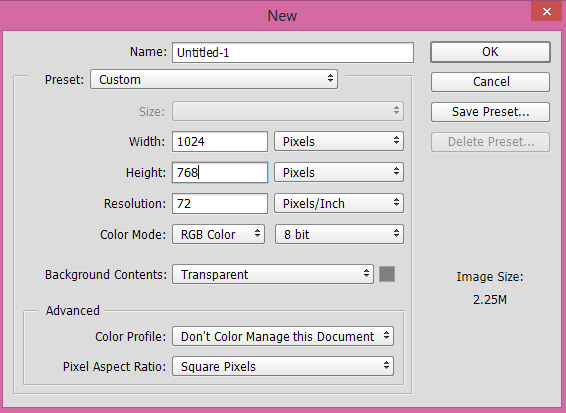
Step 1
Start by creating a new document in Photoshop and use the following settings.
Step 2
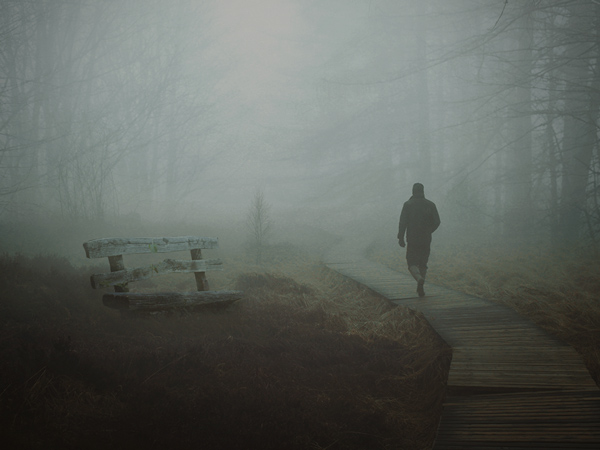
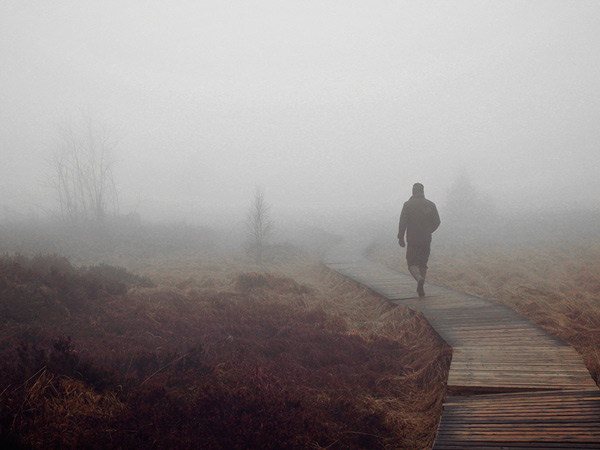
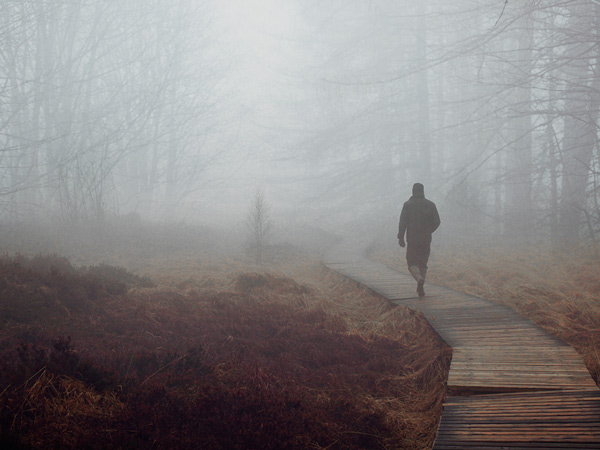
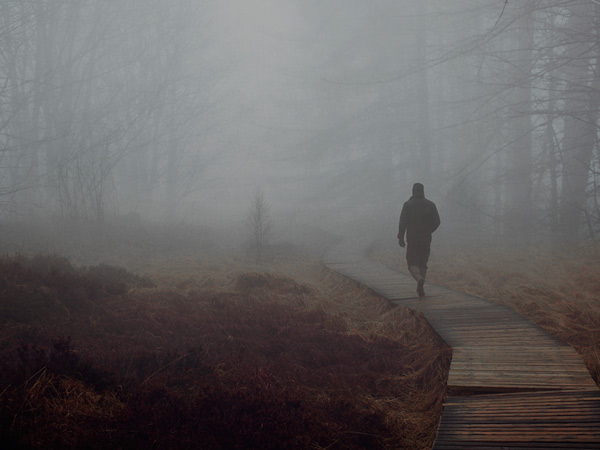
Place the misty pathway image to main document by selecting File > Place Embedded.
Step 3
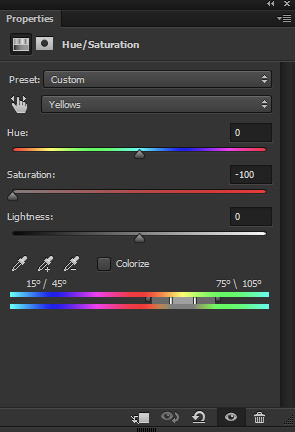
Add a Hue/Saturation adjustment layer and choose the yellow color from the drop down list. Now reduce the yellow color by dragging the Saturation to -100. You can add an adjustment layer by pressing third icon at the bottom of layer panel.
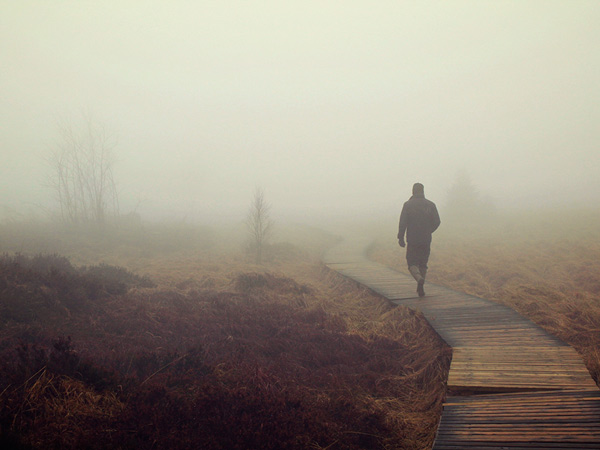
Result:
Add Forest
Step 4
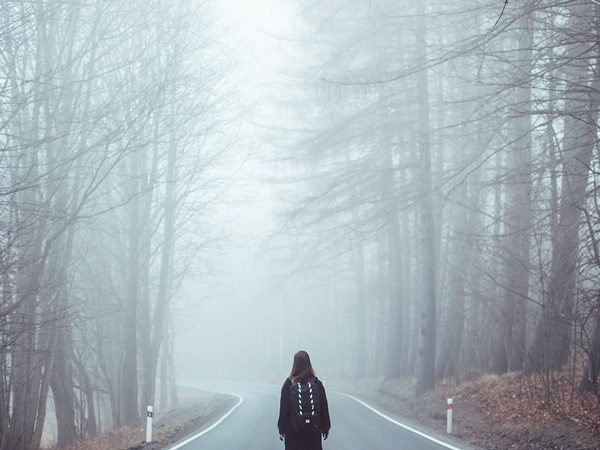
Now we are going to add forest trees to the scene as the existing trees looks barely visible. Place the forest image to main document and scale it using Transform Tool (CTRL + T) to fit it to main document. Your aim should be only adding the tree not the rest. Here you can see how I did it to get the tree areas.
Set the blending mode of the forest layer to Multiply and reduce the opacity to 50%.
Step 5
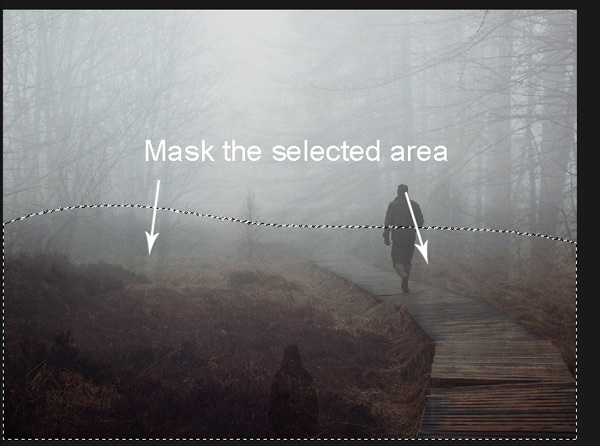
As you can notice that there are many unwanted details of forest which we don’t want. To get rid of them we are going to use Layer Mask. Add a mask to forest layer by clicking on the second icon at the bottom of layer panel. Activate the Brush Tool (B). Use a soft basic, black brush to mask the unwanted selected area of forest. See the below image for reference.
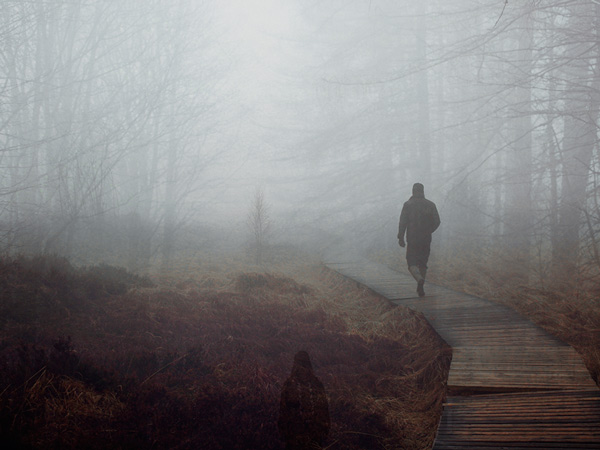
Here you can see the results after masking:
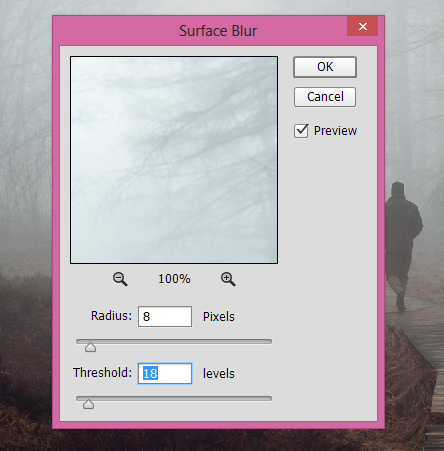
Step 6
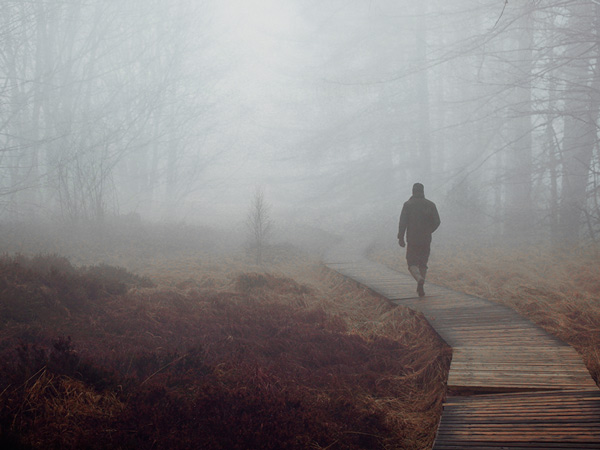
Convert the forest layer into Smart Objects. Go to Filter > Blur > Surface Blur and give the following values to forest trees blend with the existing tree. You can also use Gaussian Blur filter as well.
Results:
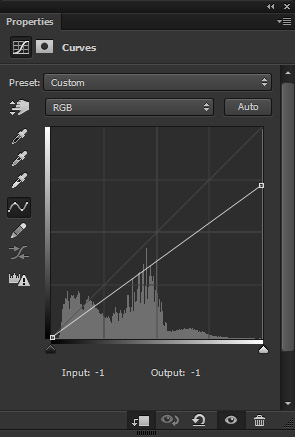
Step 7
Make a Curves adjustment layer and reduce the brightness of whole scene (little bit).
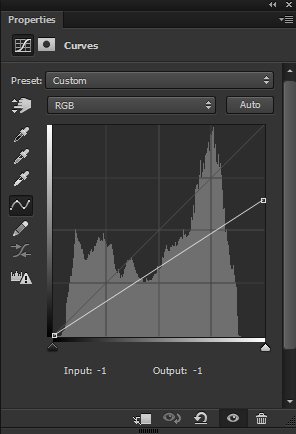
Reduce the opacity of Curves to 70%.
Step 8
Use the Photo Filter adjustment layer to add warm yellow tones. Use the Warming Filter (85).

Results:
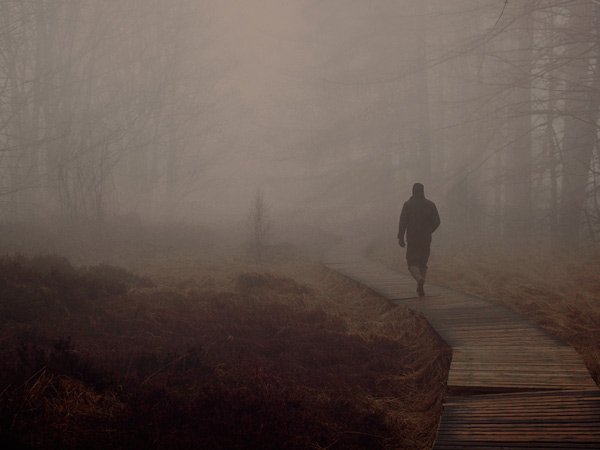
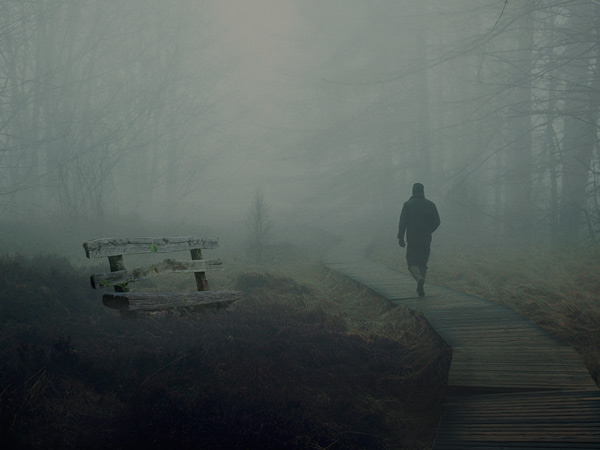
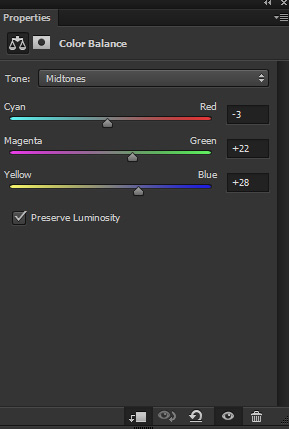
Step 9
Use the Color Balance adjustment and use it with following settings. I aim to add cyan tones to scene.
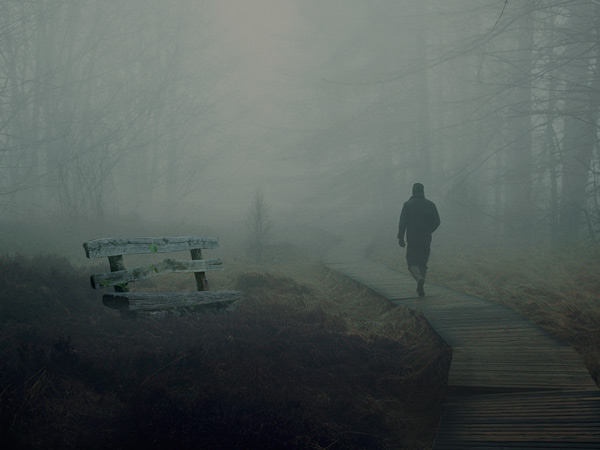
Results:
Layer panel arranged:
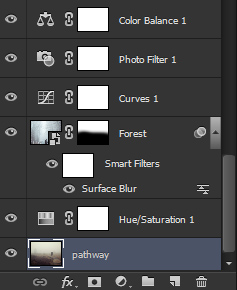
Step 10
Create a new layer and name it ‘mist 1’. Set the foreground color to #33333. Paint some mist on the area indicated by arrows to cover them up into the mist. Use a soft brush for painting the mist.
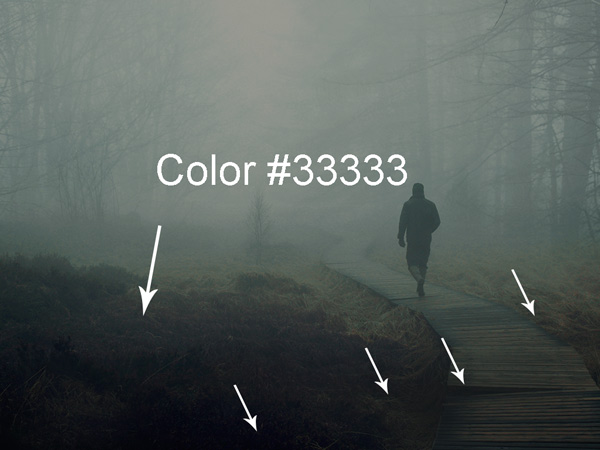
I reduced the opacity to 60%.
Add the Bench
Step 11
Extract the bench from background using your favourite selection tools. Place the bench to main document.
Step 12
Add a Hue/Saturation adjustment layer and increase the lightness by dragging the Lightness to +52. Don’t forget to use this layer as Clipping Mask (press the red icon).
Results:
Step 13
On the layer mask of Hue/Saturation, I masked the effect on the highlighted red area and keep the effect visible at the bottom parts of the bench. Use a soft black brush for masking the effect.
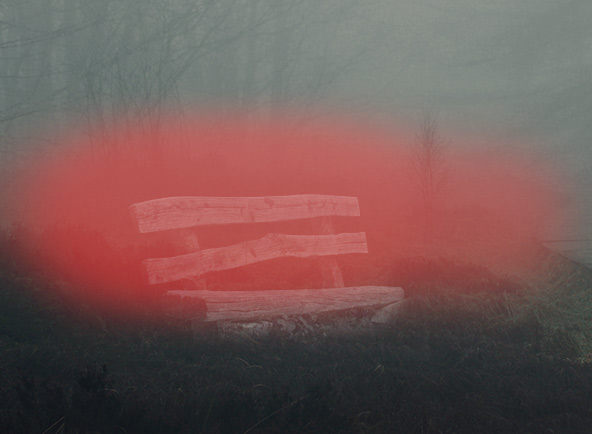
Results:
Step 14
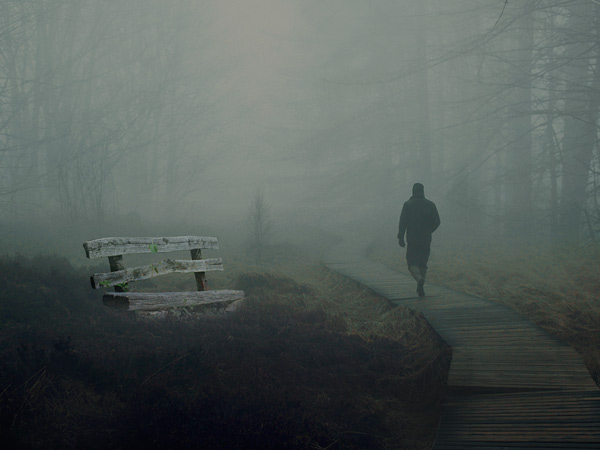
Make a Curves adjustment layer and reduce the brightness of the bench as it’s look bright compared to background. Again use this layer as Clipping Mask.
Results:
Step 15
Make a Color Balance adjustment layer for bench. Use the Midtones settings to match the color with the rest of the background. Try to add cyan tones to bench.
Results:
Step 16
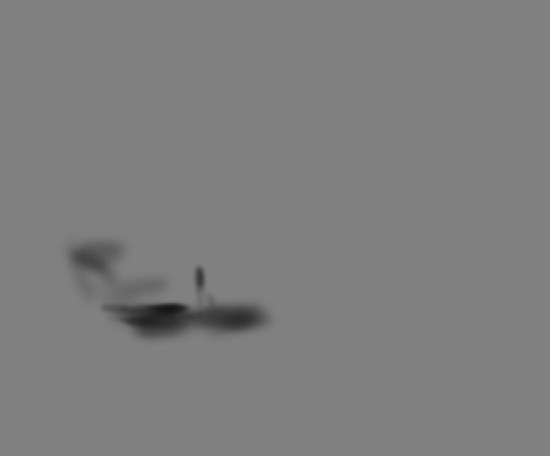
Create a new layer and fill this layer with 50% gray color. Change the blending mode to Overlay. Activate the Burn Tool (O). Set the Range to Midtones and Exposure to 9-10%. Now refine the shade on the bench using Burn Tool (O). You can see how I did it in Normal Mode below.
Results in Overlay Mode.
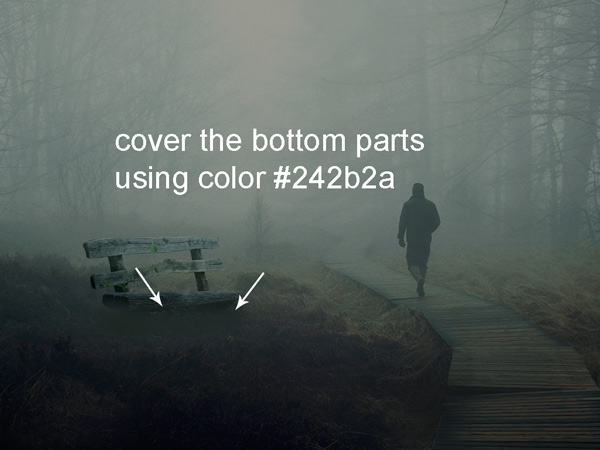
Step 17
Although, the bench looks well blended in the misty background but not completely as it lacks mist over it. We need to cover up the bench in the mist to completely blend it with the scene. Create a new layer and set the foreground color to #242b2a. Now paint some mist under the bench indicated by the arrows. Don’t forget to use a soft brush for painting mist. Name this layer ‘mist 2’
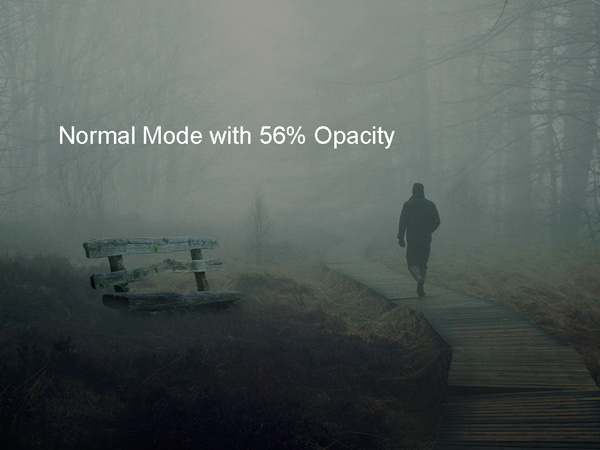
Sometimes we overdo things (I always do) like I painted the mist too much. Due to that, the bottom area of the bench is barely visible. To fix this, I reduced the opacity of Mist 2 layer to 56%.
Step 18
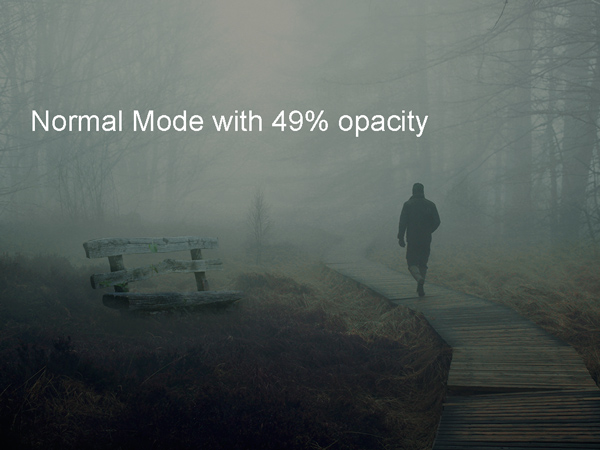
Now we are going to paint the mist again but this time we’ll paint the mist over the bench. Create a new layer and name it ‘mist 3’. Set the foreground color to #505f59. Now paint the mist over the bench using a soft basic brush.
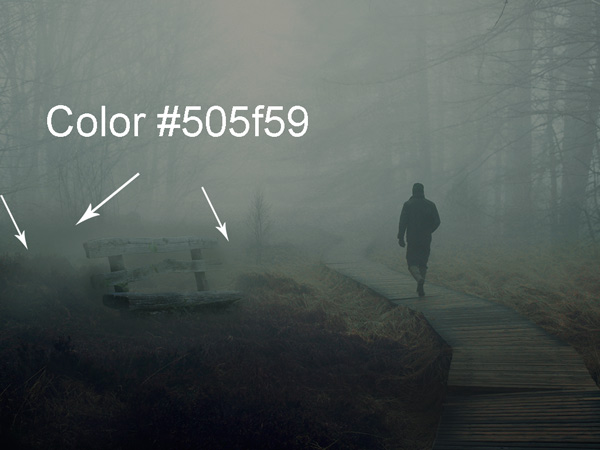
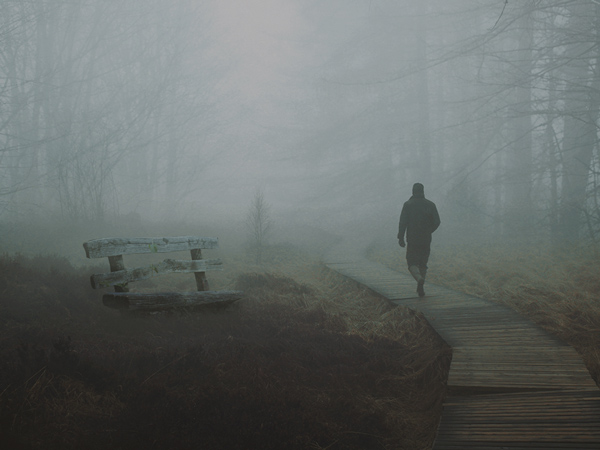
Reduce the opacity to 49%. Here are the result :
Final Adjustments
Step 19
It’s time for final adjustments and awesome job for coming this far. Make a Color Lookup adjustment layer (on top of all layers) and use the Kodak 5218 Kodak 2395 filter.

Results:
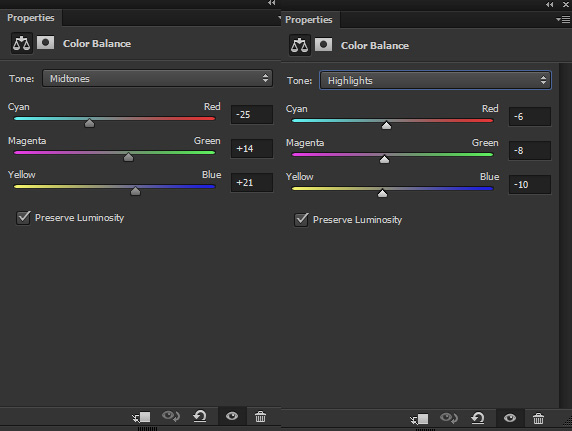
Step 20
Make a Color Balance adjustment layer. Only change the value of Midtones and Highlights.
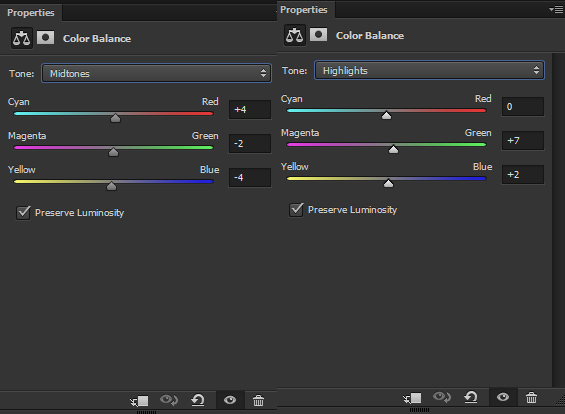
Results:
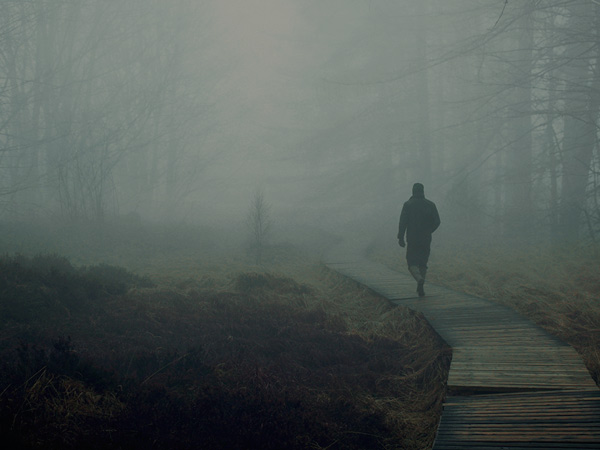
Step 21
Finally, I created a Vignette Effect for the scene. Make a Curves adjustment layer and reduce the brightness of whole scene.
On the layer mask of Curves, I masked the effect using soft basic, black bigger brush. You can see the highlighted red area where I masked the effect.

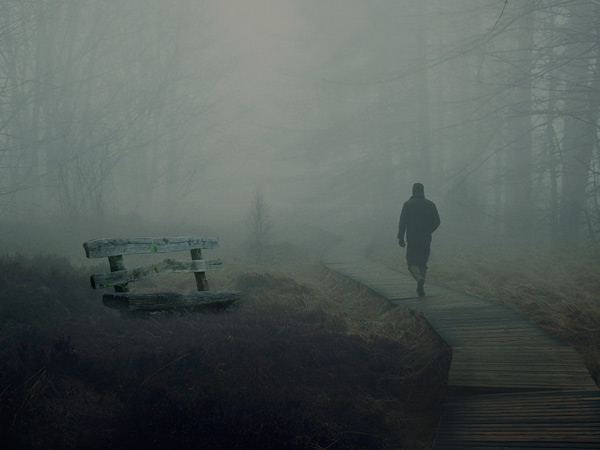
Here are the final results:

Conclusion
Thanks for following the tutorial. Hope you like the creating process of moody scene photo manipulation. Let me know if you have any questions, thoughts, and feedback. Have a great day!
Need Help With Photoshop or Looking for Professional Support?
Whether you're just getting started with Photoshop or need expert-level assistance, we're here to help! Contact us for personalized Photoshop tutorials, project support, or creative services.
Get in touch today to take your skills or projects to the next level.
CONTACT US NOW📘 Want to Master Photoshop Faster?
🎁 Get Your FREE PDF E-Book "Top 10 Photoshop Tricks Every Designer Must Know" Now – Packed with expert tips, shortcuts, and techniques to boost your creativity & workflow.
👉 Download Your FREE PDF E-Book NOW!

