


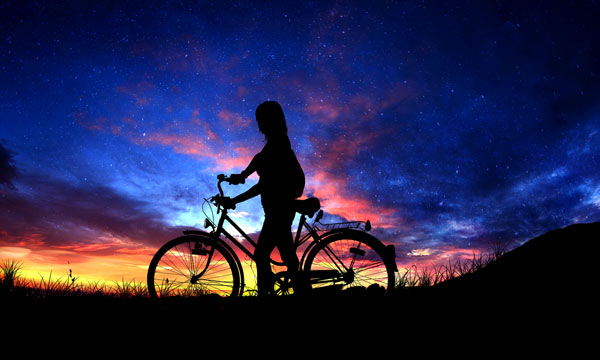
In this tutorial, I’ll take you through the steps to create a starry sky scene in Photoshop. We’ll be using the basic composition techniques and mostly blend modes to create this artwork. This tutorial mainly focuses on the basic of the photo manipulation and it’s a great way to learn for beginners. Let’s dive deep into the tutorial!
Tutorial Resources
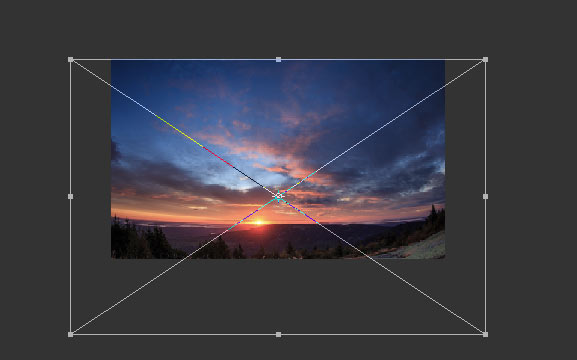
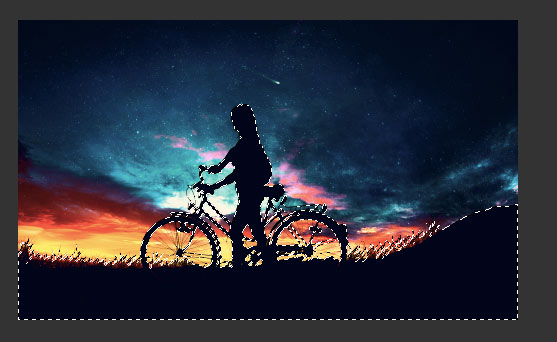
Step 1
First, create a new document using File > New command. Choose the dimension of the document with 2000 Width X 1300 Height. Once you did that, now place the sky 1 image to the document by selecting File > Place Embedded and then resize it as shown below using the Transform Tool (CTRL + T).
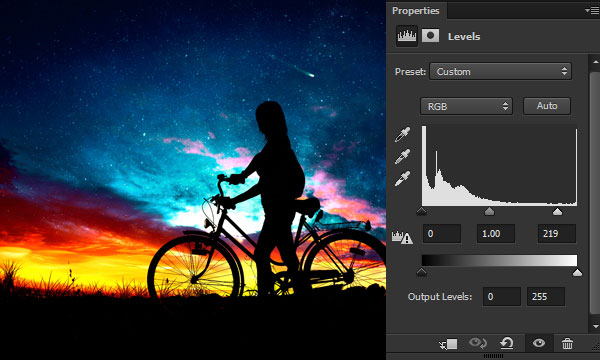
Step 2
Go to Layers > New Adjustment Layer > Levels and give a boost of the contrast and brightness to the sky using the settings below.

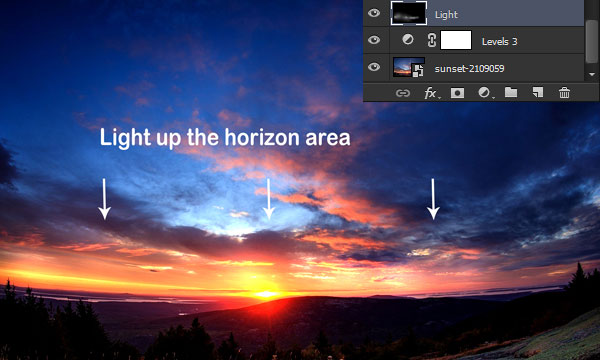
Step 3
Create a new layer by pressing CTRL + SHIFT + N and fill this layer with black color and change its blend mode to Color Dodge. Using the soft, white brush paint over the horizon area to light it up. Remember use the white brush with very low opacity around 20%.
Step 4
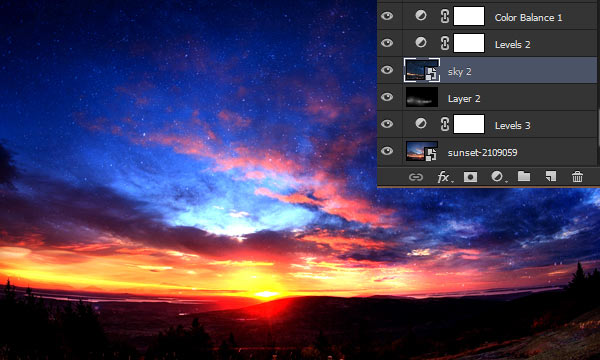
Place the sky 2 image and you can see how I placed it. It has starry texture in it and this will add stars to our composition.
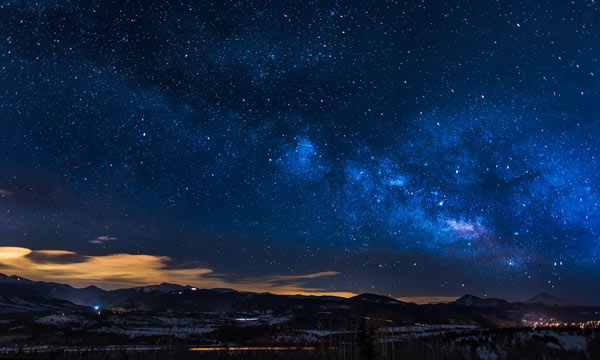
To blend it with existing background, simply change the blending mode of the sky 2 to Soft Light.
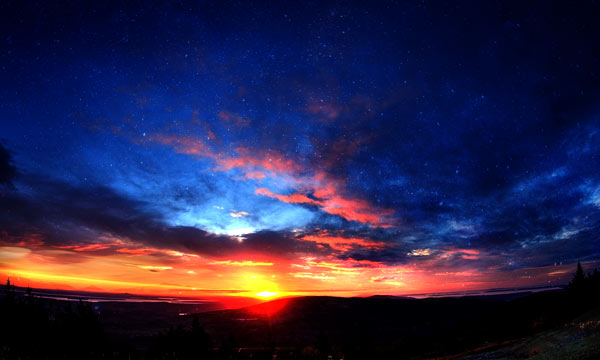
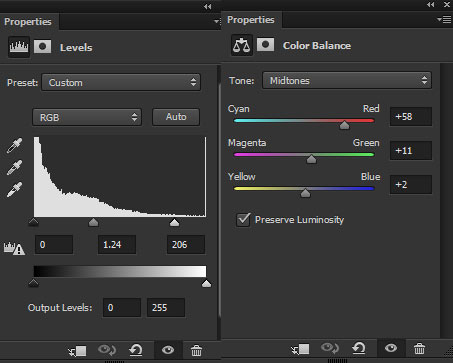
Step 5
On top of all layers, I used the Levels to boost the brightness and using Color Balance I added more red tones to the composition.
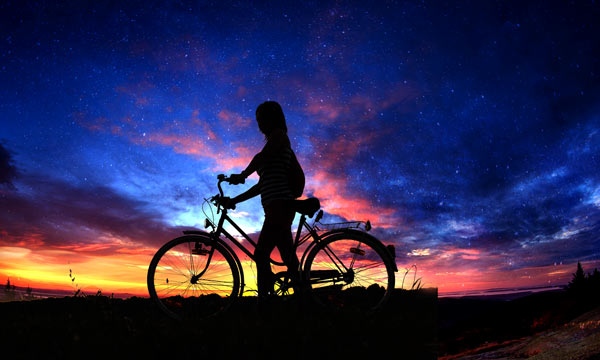
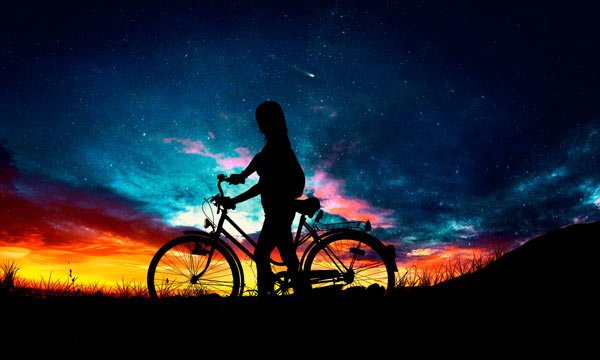
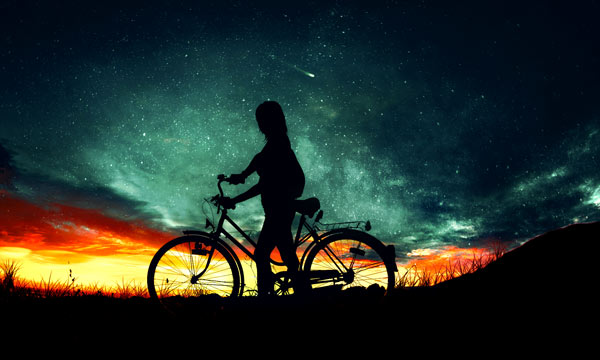
Results:
Step 6
Extract the sky of the girl from the background and place it on the background. If you are wondering how I extracted the sky then you can check out channel techniques here for the extraction of this type of background.
Step 7
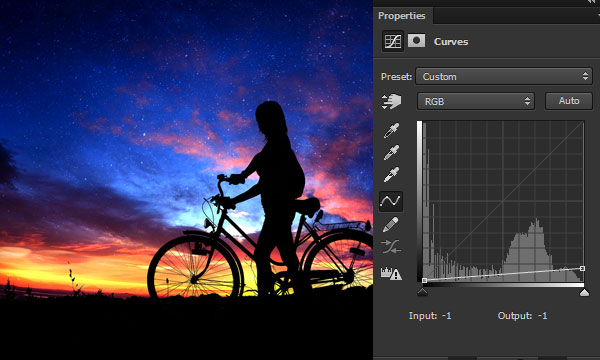
Make a Curves adjustment layer for girl and use it as Clipping Mask. Reduce the brightness to make it like a silhouette.
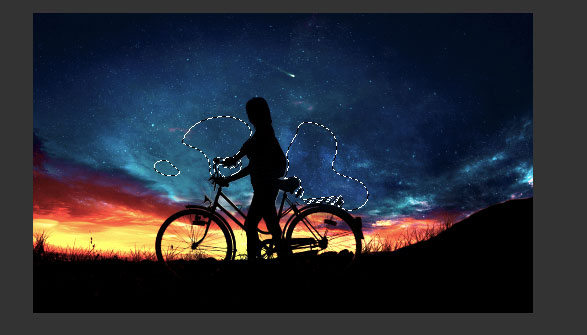
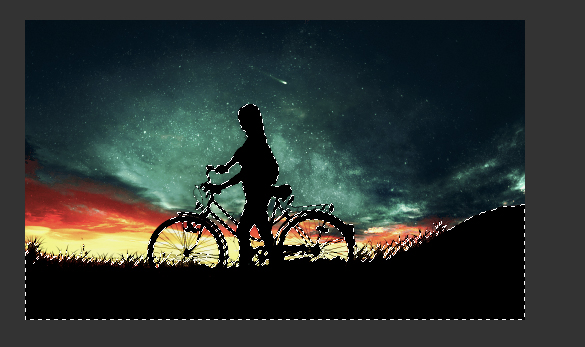
As you can notice that the right side part of the girl image is empty and we need to create a path to complete it. Using the lasso tool, I painted the rest of the path and using the default Photoshop grass brushes I painted the bushes as well. If you want to learn more about these techniques that how I painted the path and grass then head over to this tutorial. It will show you all the techniques that I used here in the detail.
Here you can see the how I did it:
Step 8
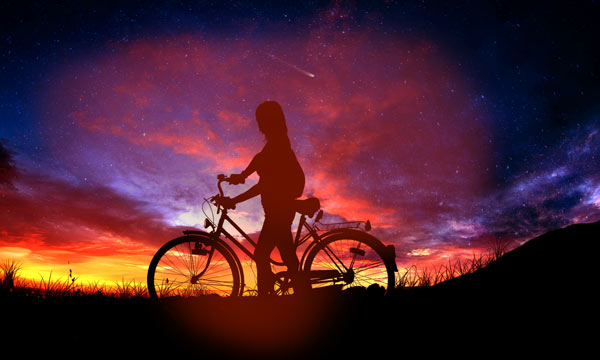
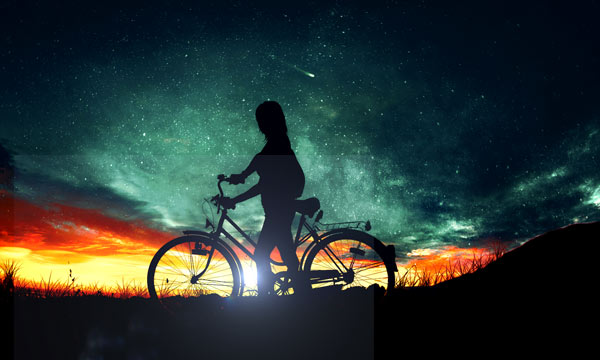
Load the space brushes in Photoshop. Use the meteor brush to paint the shooting stars using a white color. I painted it just over the girl which you can notice in the below image.

Step 9
Using Color Balance, I added red color tones on the highlights and midtones area of the compositon.
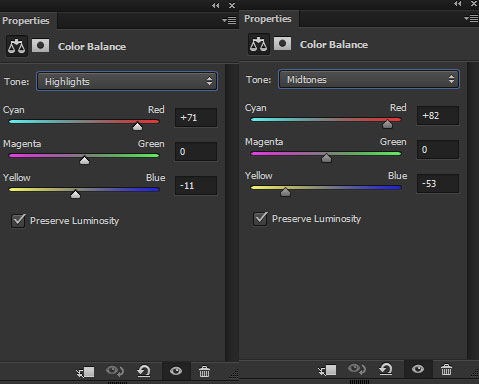
I removed the effect of the Color Balance on the middle (highlighted in red color) as I don’t like too much red color there. So select the mask of the Color Balance and then erase the effect using soft, black brush.
Step 10
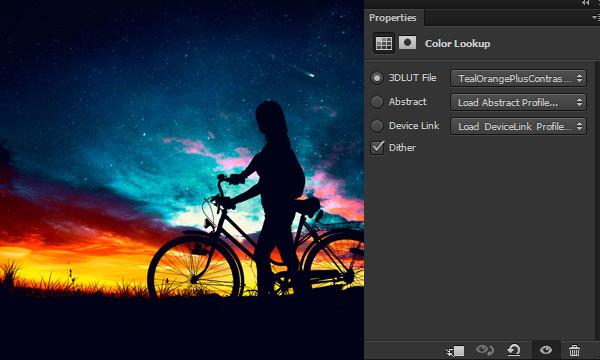
Make a Color Lookup adjustment layer and use the TealOrangePlusContrast filter to change the colors of the scene.
Step 11
I erased the effect of the Color Lookup only over the silhouette area which includes the girl, bushes, and path. To remove the effect properly, I retrieve the selection of the girl, bushes, and path, then I painted over it using a black brush to remove the effect. You can retrieve the selection of each of these layers by simply holding the CTRL/CMD key and then clicking on the thumbnail of the layer or the thumbnail of layer mask to activate the selection.
After removing the effect:
Step 12
I used the Levels adjustment layer again to increase the brightness.
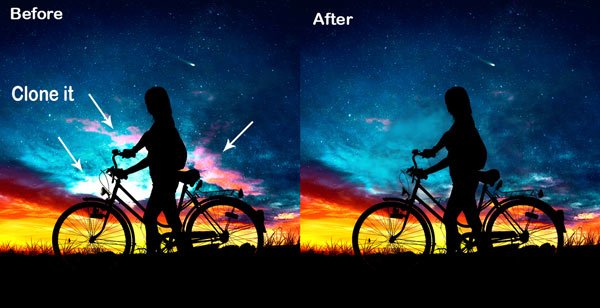
Step 13
Due to Color Lookup, we have managed to change the color but if you notice that it also created the harsh contrast over the sky which is not looking good at all. To fix this, I used the Clone Stamp (S) to remove that harsh light from the sky. You can compare the before and after results that how I did it.
Step 14
So I removed that harsh light from the sky but those cloned sky parts look flat as it doesn’t have any stars like in the rest of the sky. To add stars there, I am using the sky 2 image again. Place it over all layers as shown below.

Add a mask to sky 2 and then only keep the selected parts as we don’t the need the remaining. By mistake, if you add parts to the girl silhouette then simply activate the selection of the girl, then remove the sky 2 parts to keep them behind the girl silhouette.
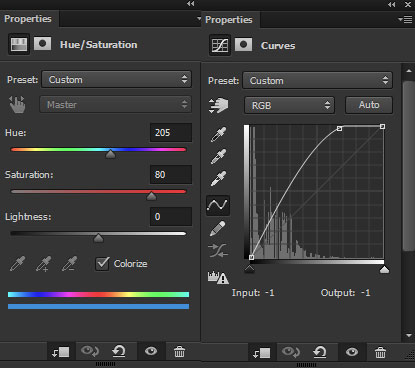
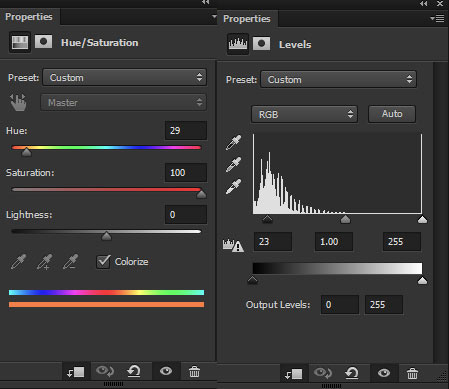
Step 15
I made some adjustment layers to sky 2 image so it can adjust with the existing sky. Here you can see the Hue/Saturation and Curves settings:
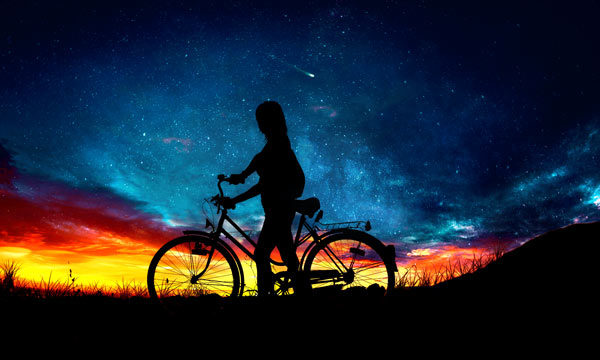
Results:
Step 16
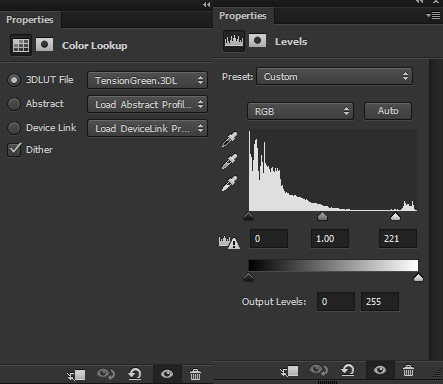
I used the Color Lookup adjustment layer’s Tension Green filter to change the color from blue to green. I also used the Levels for the entire composition.
Results:

Step 17
Create a new layer and fill this layer with 50% Gray color. Change its blend mode to Overlay and then using the Dodge Tool (O) paint over the sky’s middle section to light it up further.
Here you can see where I used the Dodge tool in Normal mode:
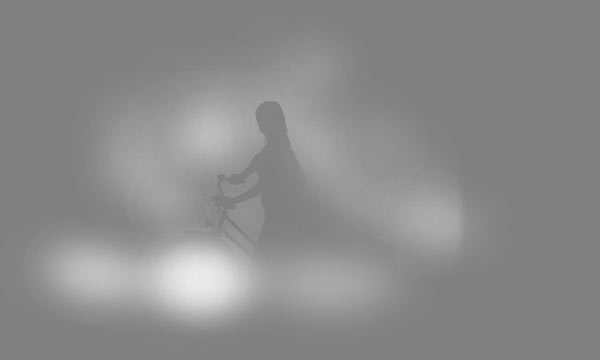
Here you can see the results in the Overlay mode:
Step 18
Activate the selection of the silhouette again and then fill this area with black color. Since we used many adjustment layers and I think that Color lookup might leave some colors over the silhouette and it will create color glitches on it as well. I don’t want that and I think you shouldn’t either that is why I just filled it up with black color.
Step 19
Download the lens flare pack and choose the lens_flare_12 4 image and then place it over the main canvas as shown below. We’ll use the lens flare to create a sunlight effect. After adding it, change its blend mode to Screen.
Step 20
Now let’s change the color and contrast of the lens flare. Make a Hue/Saturation and Levels adjustments and use the following settings to change the color and contrast.
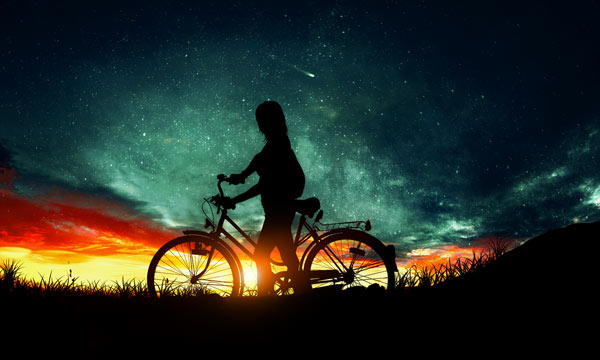
Here are the final results:
Need Help With Photoshop or Looking for Professional Support?
Whether you're just getting started with Photoshop or need expert-level assistance, we're here to help! Contact us for personalized Photoshop tutorials, project support, or creative services.
Get in touch today to take your skills or projects to the next level.
CONTACT US NOW📘 Want to Master Photoshop Faster?
🎁 Get Your FREE PDF E-Book "Top 10 Photoshop Tricks Every Designer Must Know" Now – Packed with expert tips, shortcuts, and techniques to boost your creativity & workflow.
👉 Download Your FREE PDF E-Book NOW!

