


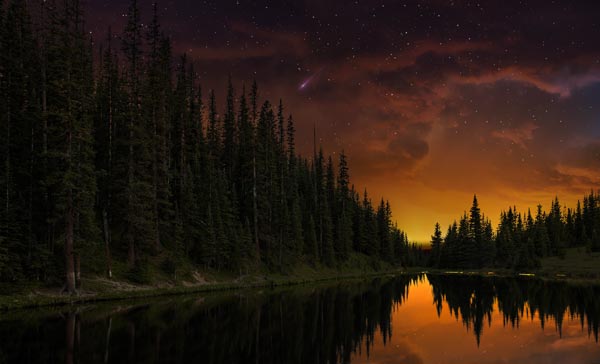
In this tutorial, I’ll show you how to create a starry night scene in Photoshop. You’ll learn how to create a beautiful and colorful starry night background using milky way and a sky image. I’ll also show you how to works with colors, lights, and shadows. Follow along with tutorial and improve your photo manipulations skills.
Tutorial Resources
Step 1
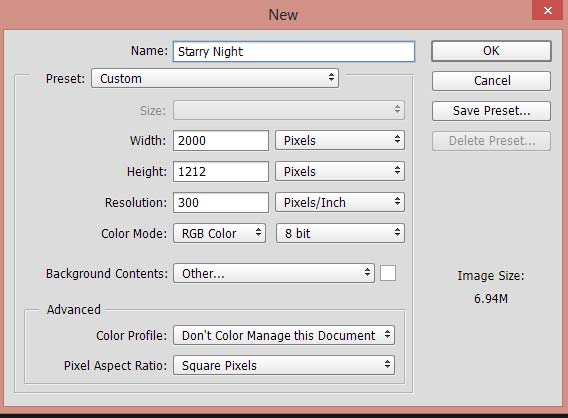
Start by creating a new document in Photoshop. You can create a document in Photoshop by selecting File > New and give the following values:
Step 2
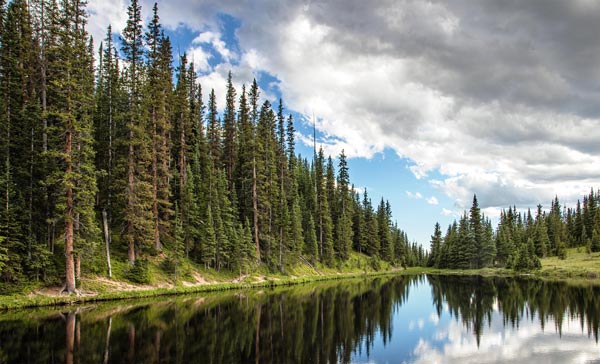
Open up the lake image in Photoshop and move it to our main document using Move Tool (V).
Step 3
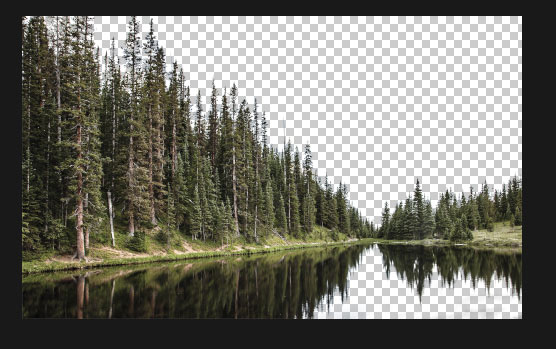
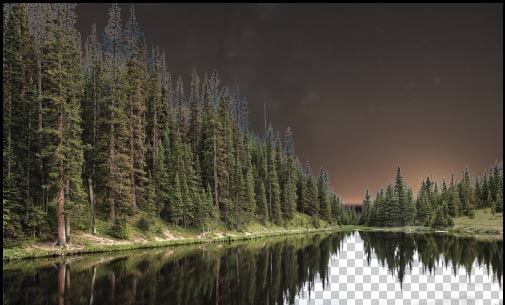
We need to remove the sky in order to add another one. You can do this easily by using Calculation & Channels techniques and I already devoted a detailed on my website and you can follow it here. Check out the tutorial and then come back and remove the sky. Here you can see not only the sky, sky reflection in the lake also has been removed. It’s very easy to do and you can do it properly but have some patient while making the selection.
Create the Starry Sky
Step 4
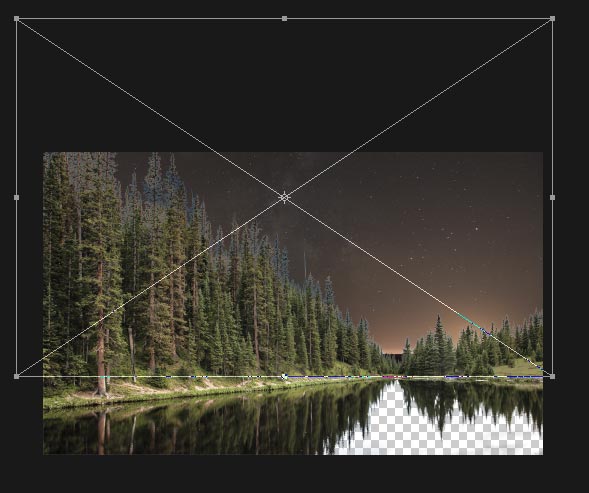
Open up the milky way pack and open the OPR_9684 file in Photoshop. Then drag it to main document and use the Transform Tool (CTRL + T) to scale it like shown below. Don’t forget to drag the milky way layer below the lake.
Step 5
The milky way image has some noise and it usually has when we capture these starry night sky shots. If you want the noise then you can skip this step but I don’t like it so I applied the blur to milky way image. Convert the milky way image to Smart Objects and go to Filter > Blur > Gaussian Blur.
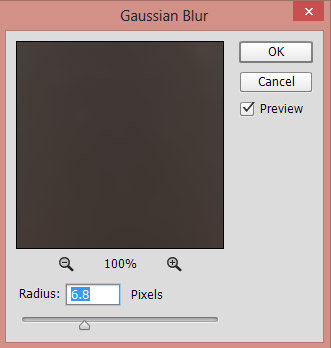
Results after applying blur:
Don’t worry about the stars we’ll add them later.
Step 5
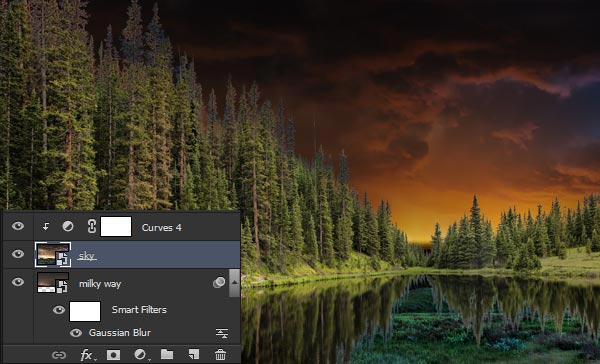
Open the sky image in Photoshop and add it to main document.
Don’t forget to enlarge it using Transform Tool (CTRL + T) as shown below.

Set its blend mode to Soft Light.
Step 6
Make a Curves adjustment layer and increase the brightness of the sky image. You can add an adjustment layer by selecting Layers > New Adjustment Layer > Curves and don’t forget to use this layer as Clipping Mask (press the red icon).
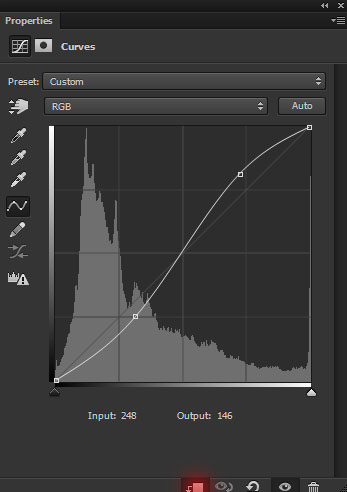
Results:
Step 7
Select all the sky layers (including milky way OPR_9684 and sky image which we used in step 5) and duplicate them on a new document. You can do this by selecting all sky layers and then right click on it and choose duplicate layers. On the dialog box, choose New in Destination option to duplicate the sky layer on a new document.
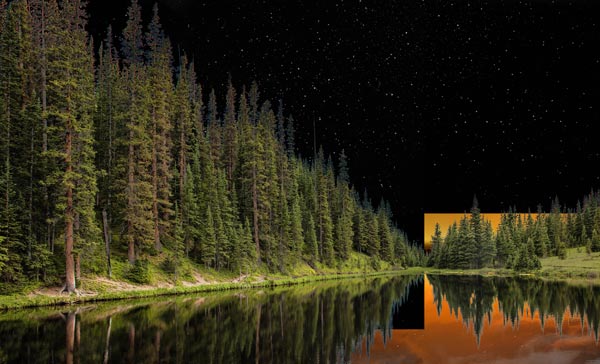
Once you are in new document press ALT + SHIFT + CTRL + E to merge all layers into a single layer. Then move this layer back to main document and put it below the lake layer. Now activate the Transform Tool and while the Transform Tool is active, right click on the document and choose Flip Vertical to create the sky reflection.
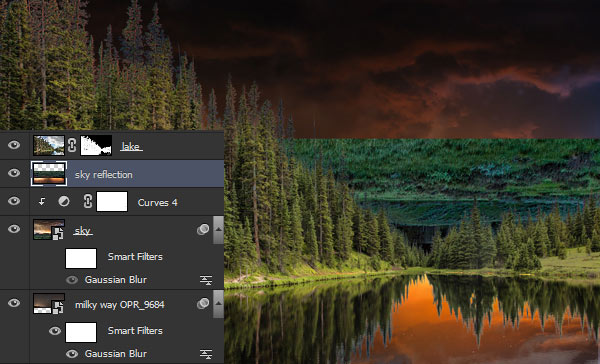
You’ll have some unwanted edges as well but you can remove them using a mask like I did it. Just add a mask to reflection layer and then remove the parts by painting on the mask using a black brush. Remember don’t remove the sky parts which will be shown as reflection.
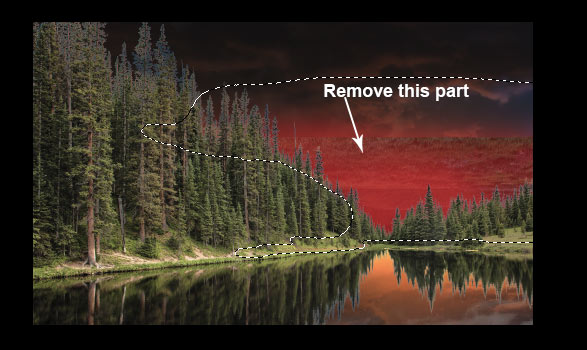
Once you did it, you’ll have the below results:
Step 8
Make a Color Balance adjustment layer on top of all layers and add some yellow color tones to scene.
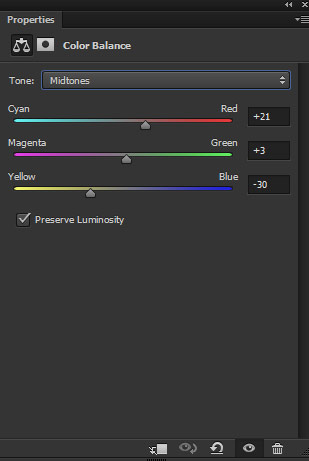
Reduce the opacity of Color Balance to 73%.

Add the Stars
Step 9
You can either create the stars or use the starry background textures pack to add them over the sky. Open up the starry background textures pack and choose starry-1 image.
Set the blending mode to Screen.
Step 10
I reduced the saturation using Hue/Saturation.
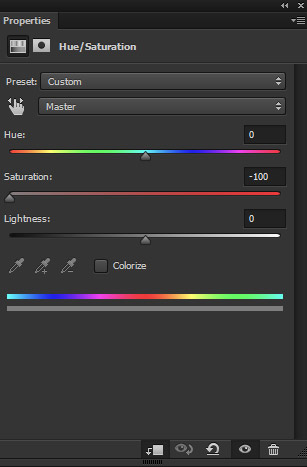
Results:

Step 11
I used the Levels adjustment layer to control the visibility of the stars. The more you drag the black slider to right the less visible the stars.
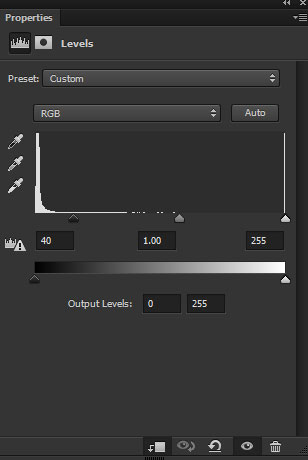
Results:

Step 12
I duplicated the starry-1 layer to add more stars on the left side of the sky.

Add the Shooting Star
Step 13
For the shooting star I used the lens flare pack. Open up the lens flare pack and choose optical_26 lens flare image and add it to main document. Rotate it using Transform Tool and change its blending mode to Screen.

Step 14
Using Hue/Saturation adjustment layer I changed the color of the star. You can see the settings below :
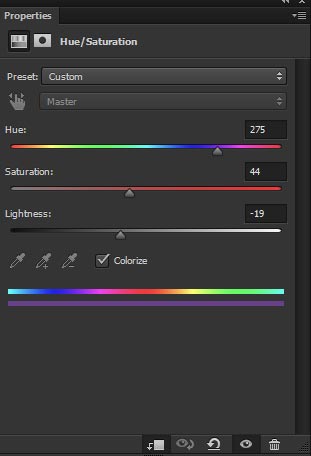
Results:

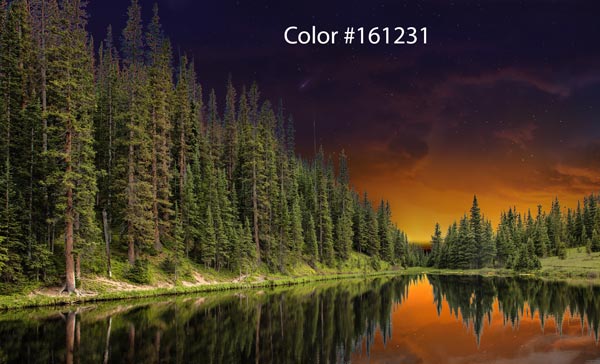
Step 14
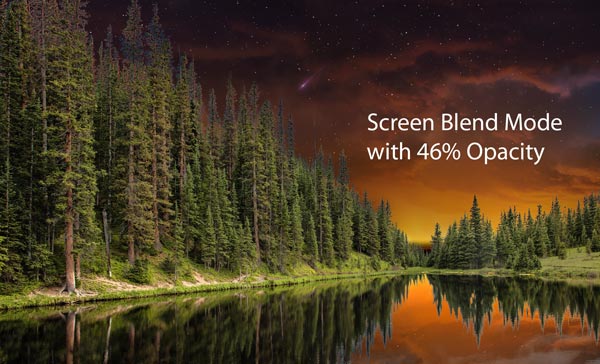
Hit CTRL + SHIFT + N to create a new layer and set the foreground color to #161231. Use a soft round brush to paint lights on the sky to brighten it as it looks too dark.
Set the blending mode to Screen and lower the opacity to 46%
Step 15
Get back to lake layer and lower the brightness using Curves adjustment layer.

Results:
Create the Light Effects
Step 16
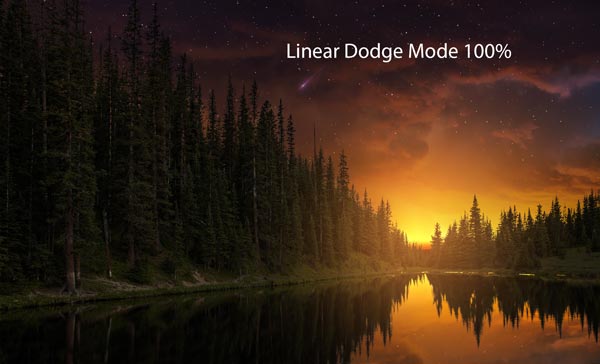
Create a new layer and set the foreground color to #9a5824. Using a soft round brush paint the light as shown below.
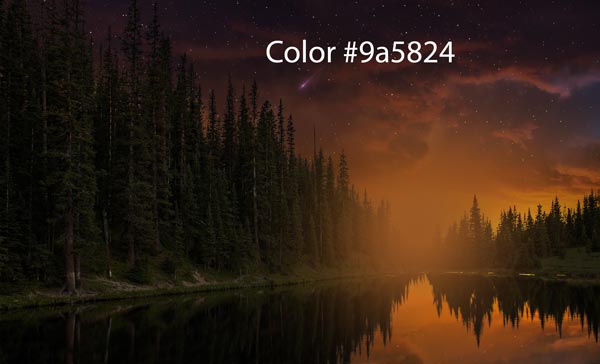
Change the blending mode to Linear Dodge 100%.
Final Adjustments
Step 17
Make a Gradient Map adjustment layer on top of all layers. Choose the gradient color flow from #091d2c to #5e451a.

Set the blending mode to Color Dodge 100%.
Step 18
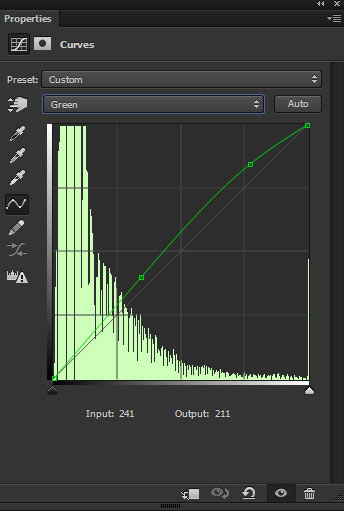
I use a Curves adjustment layer to add more green color tones to scene using Green Channel.
I used another Curves adjustment layer to lower the brightness of the whole scene.
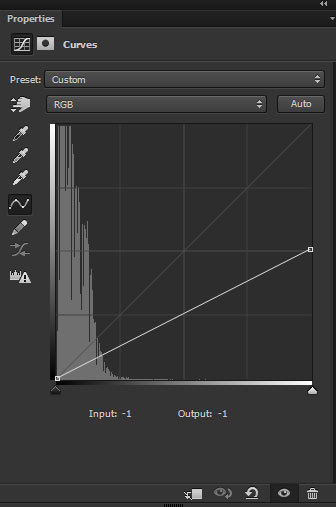
On the layer mask of this Curves, I masked the effect on the red highlighted area using soft round black brush and keep the dark effect on the rest of the parts.
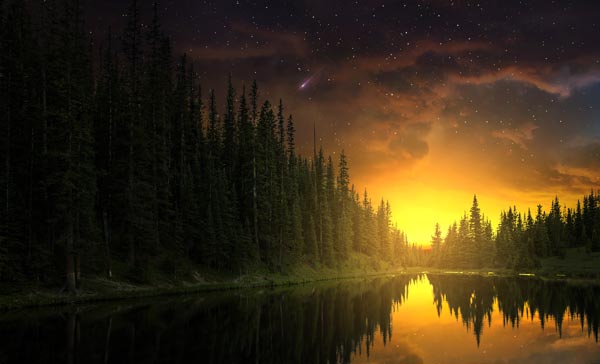
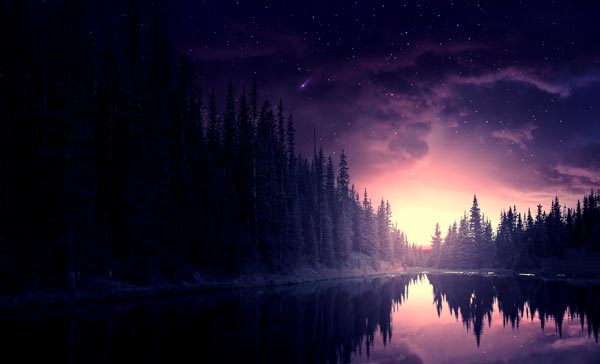
Results so far:
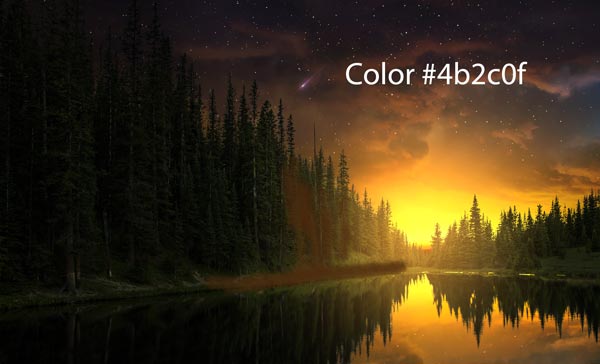
Step 19
Create a new layer and use the color #4b2c0f and paint the light reflection on the trees and wherever you think that these parts are going to illuminated by the lights. Always use soft round brush for painting lights.
Change the blending mode to Color Dodge and lower the opacity to 36%.

Step 20
Use the Vibrance adjustment layer to reduce the vibrance.
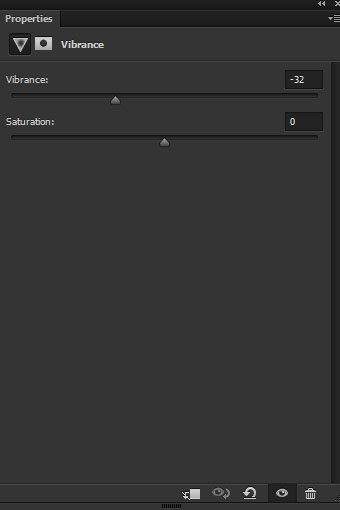
On the layer mask of this, I masked the effect on the highlighted area using the soft-medium black brush.
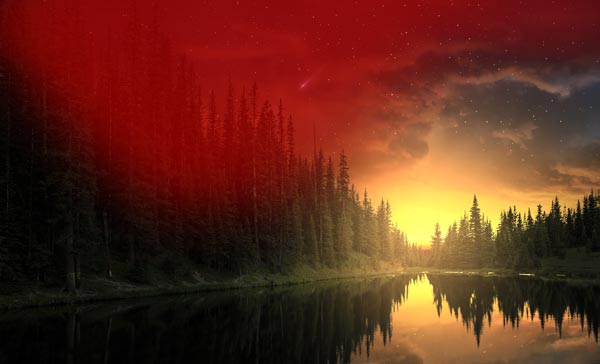
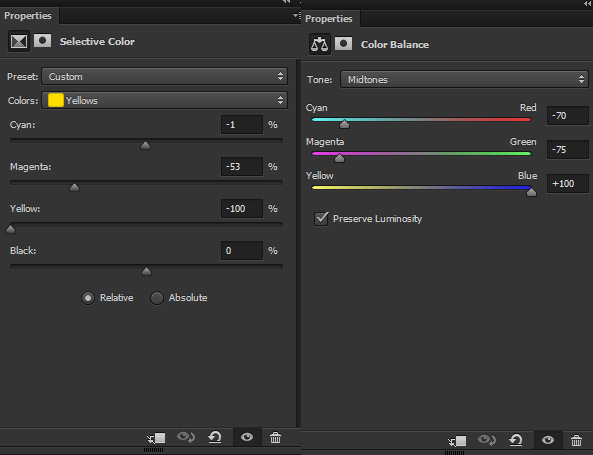
Step 21
Using Selective Color adjustment layer I reduced the yellow colors from the scene as I wanted different colors. Using Color Balance adjustment layer I introduced new colors to scene. You can see the settings below.
Results:
Step 22
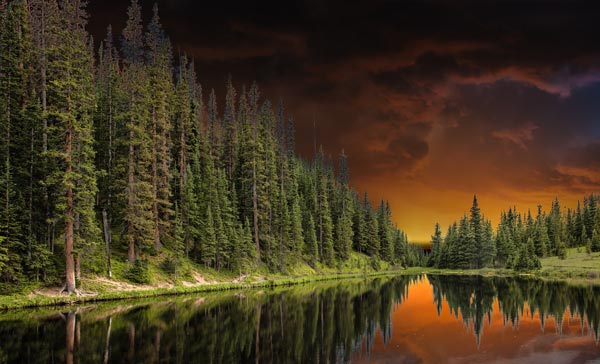
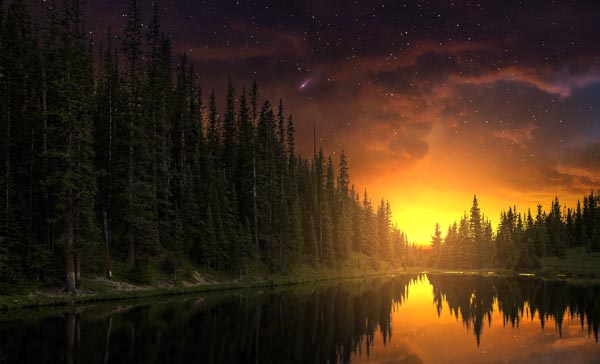
Finally, I adjusted the contrast of whole scene using Levels adjustment layer. Using Selective Color adjustment layer I added dark blue tones.

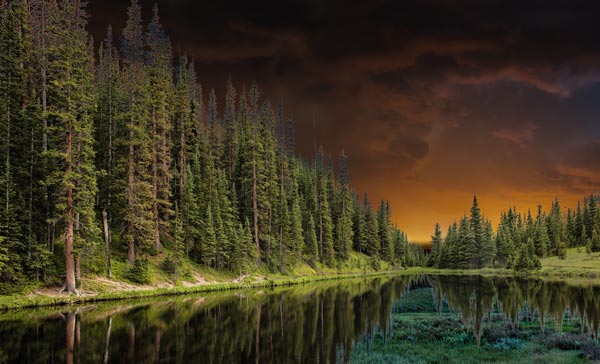
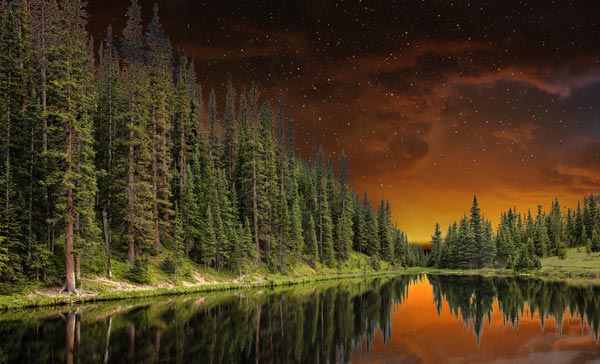
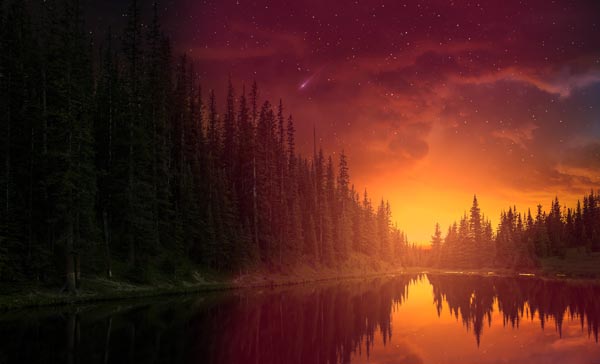
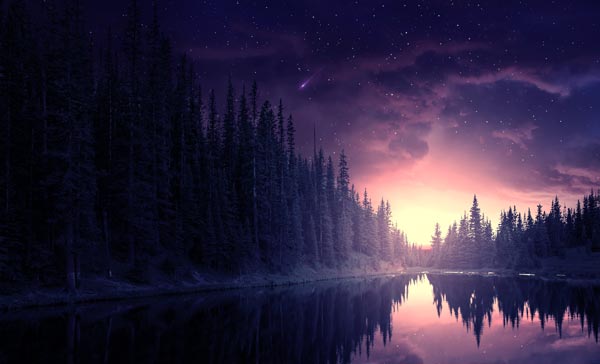
Final Results:
Conclusion
I hope you enjoyed the tutorial and let me know if you need any help. Sorry for the late update as I am busy with my exams. Happy Photoshopping Day!!
Need Help With Photoshop or Looking for Professional Support?
Whether you're just getting started with Photoshop or need expert-level assistance, we're here to help! Contact us for personalized Photoshop tutorials, project support, or creative services.
Get in touch today to take your skills or projects to the next level.
CONTACT US NOW📘 Want to Master Photoshop Faster?
🎁 Get Your FREE PDF E-Book "Top 10 Photoshop Tricks Every Designer Must Know" Now – Packed with expert tips, shortcuts, and techniques to boost your creativity & workflow.
👉 Download Your FREE PDF E-Book NOW!
