
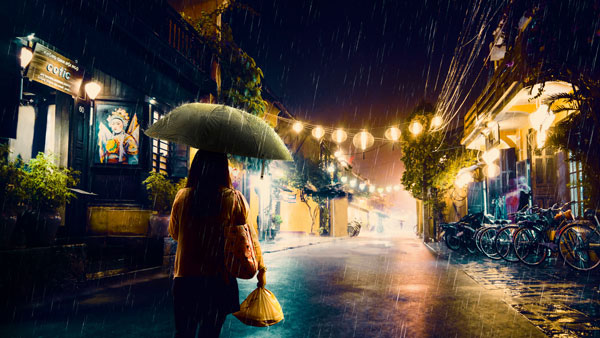

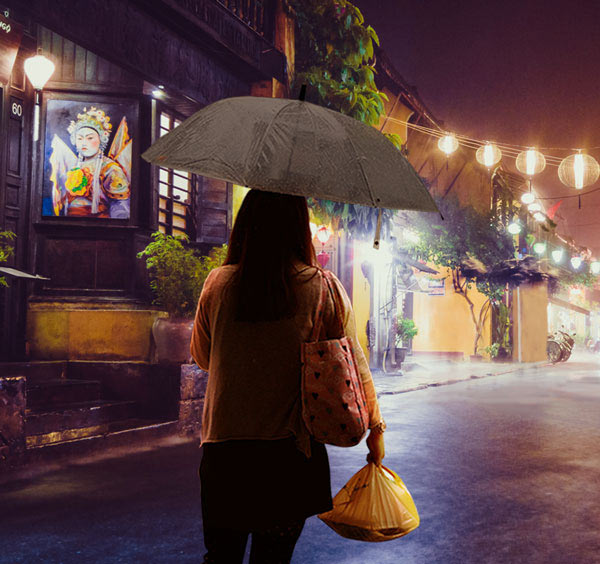
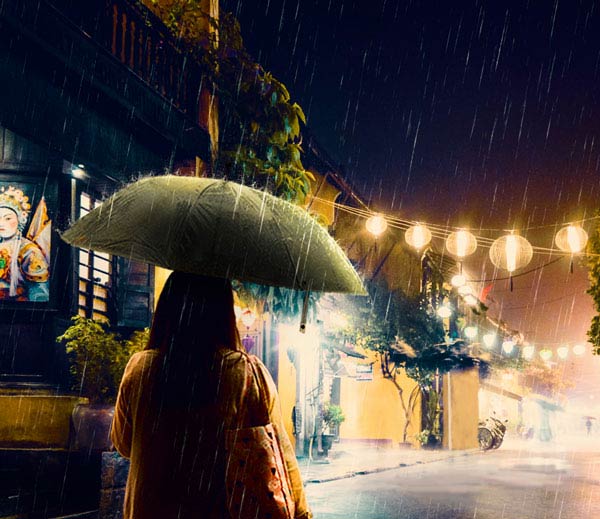
In this tutorial, I’ll show you how to create a rainy night scene photo manipulation in Photoshop. We’ll use rainy night street image as the base for our composition and then we’ll add the woman holding umbrella and a bag in her hand. After that we’ll blend the woman into the scene and you’ll learn how to paint lights and rain effect using texture and Brush Tool (B). Follow along and create a wet, rainy street night scene using photo manipulation techniques.
Tutorial Resources
Add the Rainy Street
Step 1
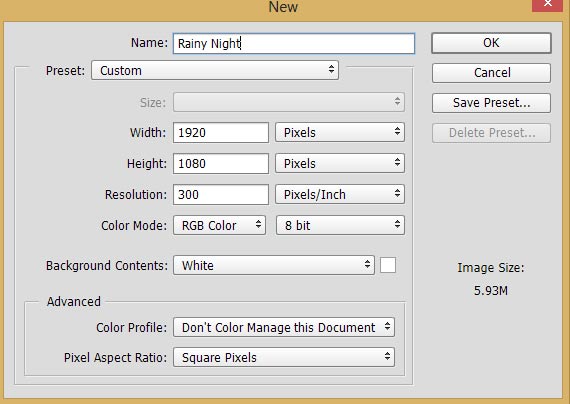
Create a new document in Photoshop by selecting File > New and give the following values :
Step 2
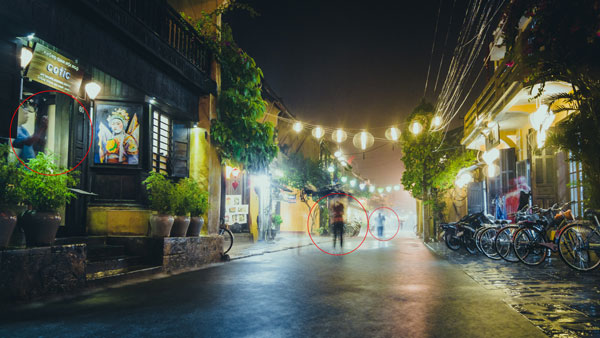
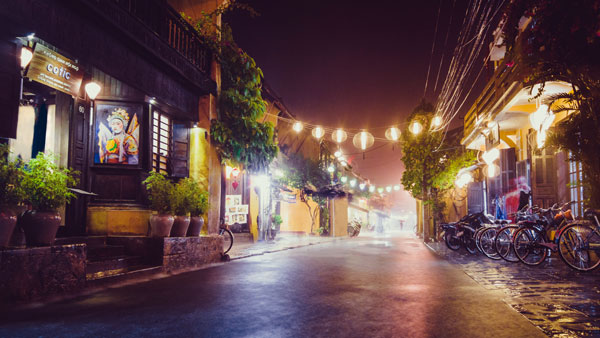
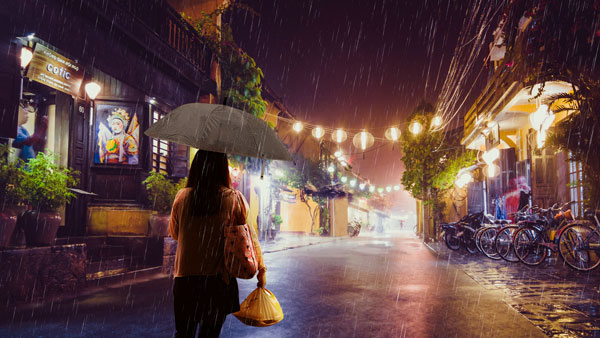
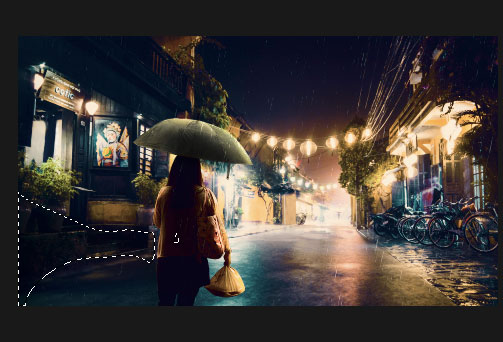
Place the street image to main document by selecting File > Place Embedded. After adding the street image to main document, you can notice unwanted parts (indicated in red circle) which I don’t want.
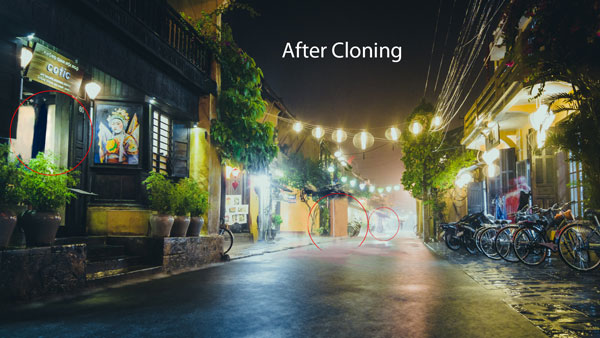
Create a new layer and name it ‘cloning’. Activate the Clone Stamp Tool (S). On the option bar, set the Sample to Current & Below and it will only sample the below image which is street. Now clone out the unwanted parts. You can see how I did it in below image.
Step 3
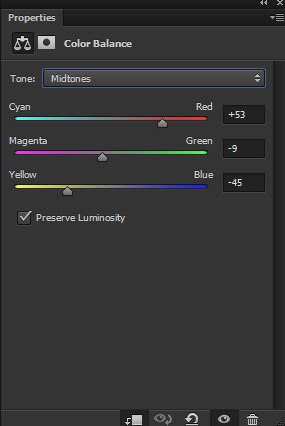
Create a Color Balance adjustment layer and alter the color of the street using following settings. You can create an adjustment layer by clicking on third icon at the bottom of layer panel.

Results :
Add the Woman
Step 4
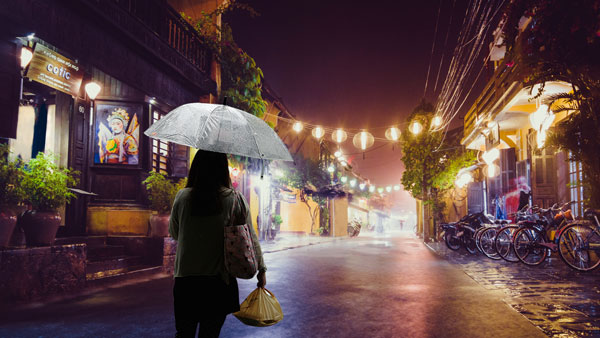
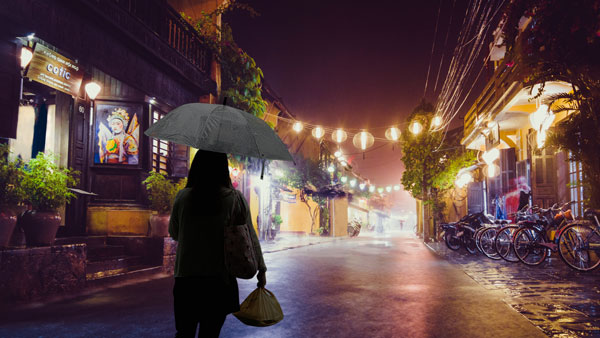
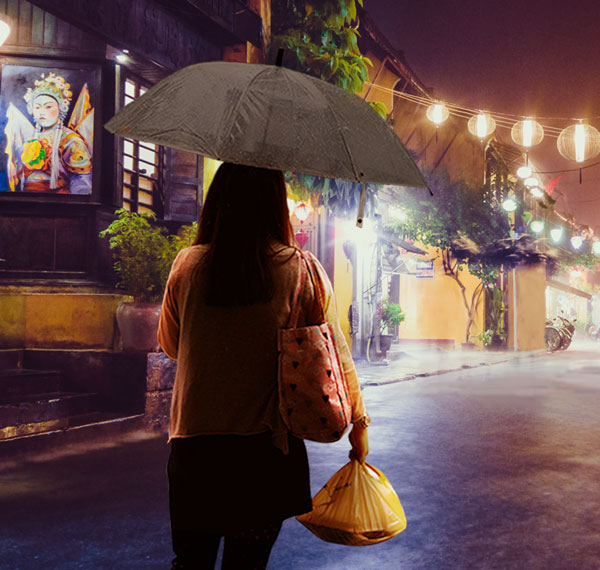
Extract the woman from the background and place her to main document.
Step 5
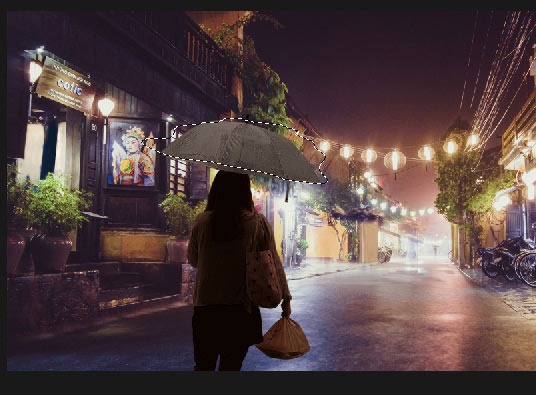
You can notice that the umbrella color is white and I wanted dark blue and black umbrella but color is white. I am going to darken it by reducing the brightness. To do this, make a Curves adjustment layer and reduce the brightness using following settings. Don’t forget to use this layer as Clipping Mask for woman (click the red icon).
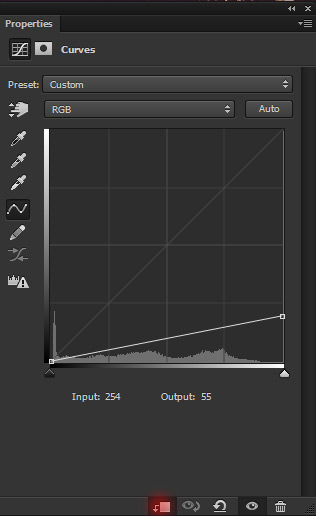
Since we applied the Curves for umbrella, then we need to mask the effect on the rest of the highlighted red parts. Select the layer mask of Curves and mask the effect using soft round black brush on the highlighted red parts. Also, I reduced the Curves adjustment layer opacity to 69%
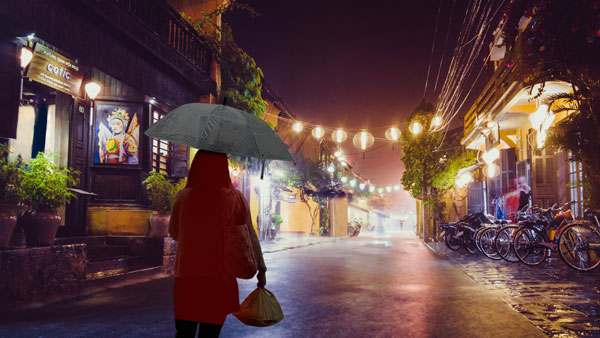
Results so far :
Step 6
Continue coloring the lady with Color Balance adjustment layer.
On the layer mask of Color Balance, I masked the effect (little bit) on the umbrella using soft round black brush.
Step 7
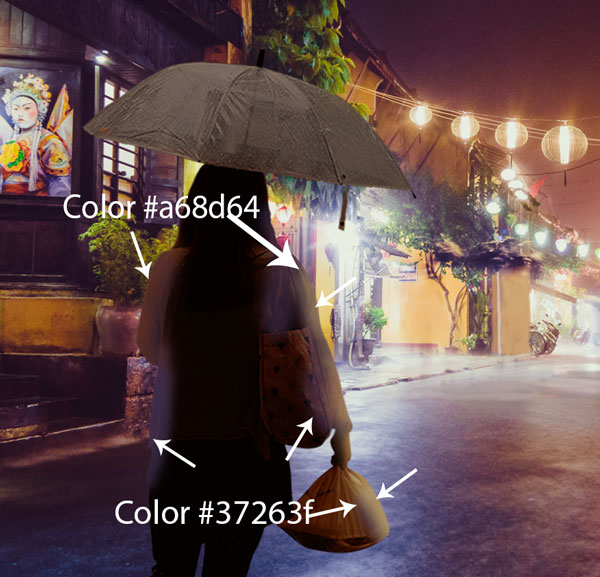
Create a new layer and clip it to woman layer. Now we’ll paint the light on the woman which are reflecting from the street’s lights.
Basically, I used two color dark purple (#37263f) and yellow (#a68d64). I painted dark purple color on the lower left side as there is dark blue light is coming and using yellow color I painted the light on the model both arms and on the bag which she is carrying. All these light painted using soft round brush with opacity and flow set to 30-40%.
You can see the image for reference here :
I changed the blend mode to Color Dodge and I reduced the opacity to 62%. Reducing the opacity is always depends on you as how much light you want so if you want more light then increase the opacity or may be leave it to 100% or vice versa.
Create another layer and clip it to woman layer. Now change the blending mode to Overlay and using soft round white brush paint some more lights.
If needed you can also reduce the opacity of the layer.
Here are the results :
Add the Rain Texture
Step 8
Place the rain texture to main document. If you want the rain direction according you way then you can rotate the texture to left or right using Transform Tool (CTRL + T).
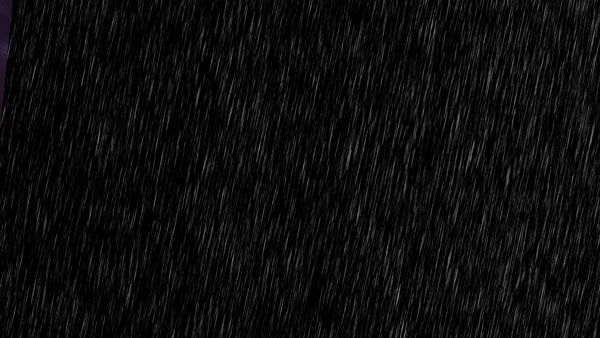
Set the blending mode of the rain texture to Screen 100%.

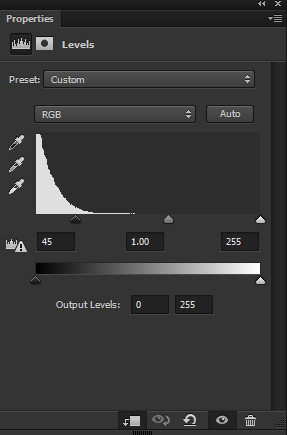
Step 9
Use the Levels adjustment layer to control visibility of rain drops and use this layer as Clipping Mask. Remember the more you drag the black slider to right the less visible rain drops.
Here are the settings :
Results :
Step 10
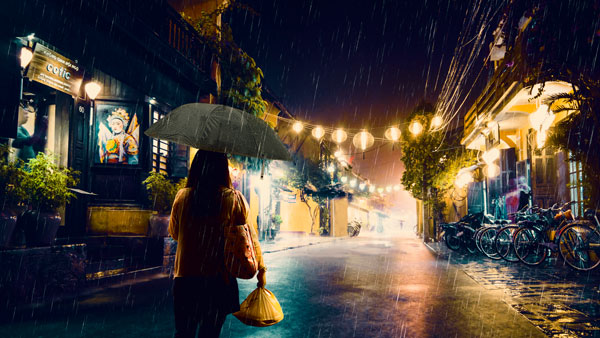
Using Color Lookup adjustment layer I changed the color and contrast of whole scene.
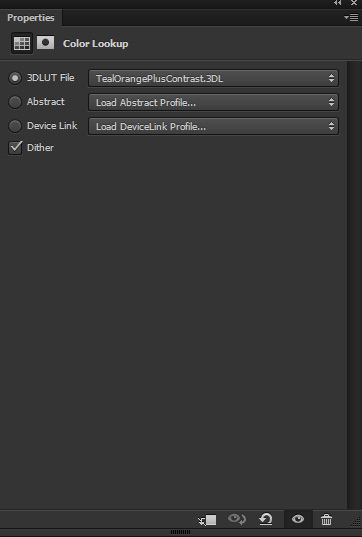
Results :
Step 11
Create a new layer and name it ‘dark umbrella’. Use a soft round brush with black color to darken the umbrella by painting over it. Don’t forget to load the selection of the woman to make sure that you are not painting on the background.
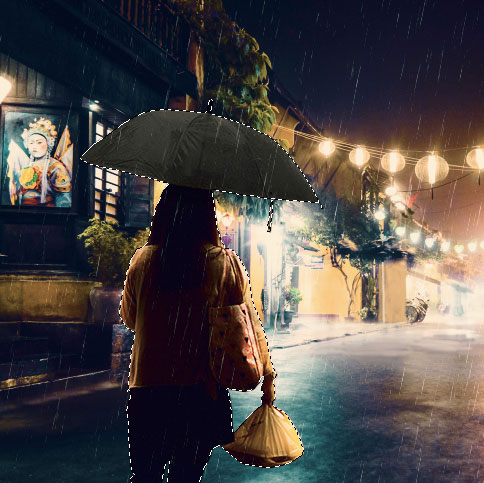
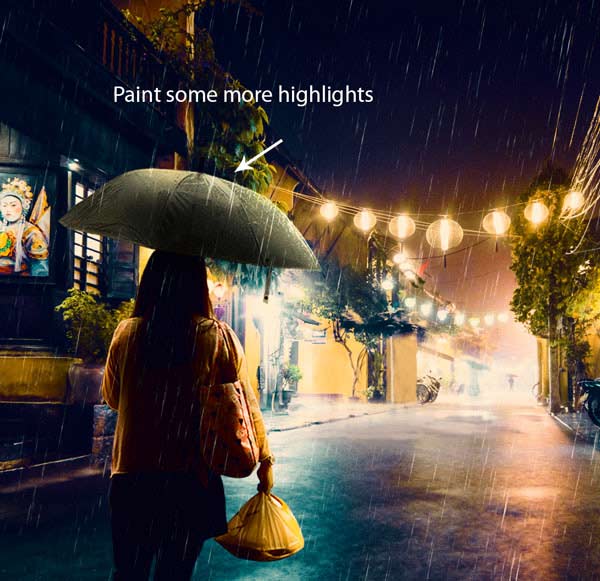
Create another layer and name it ‘bright umbrella. This time change the blend mode to Overlay and using a soft round brush paint some lights on the umbrella using white color.
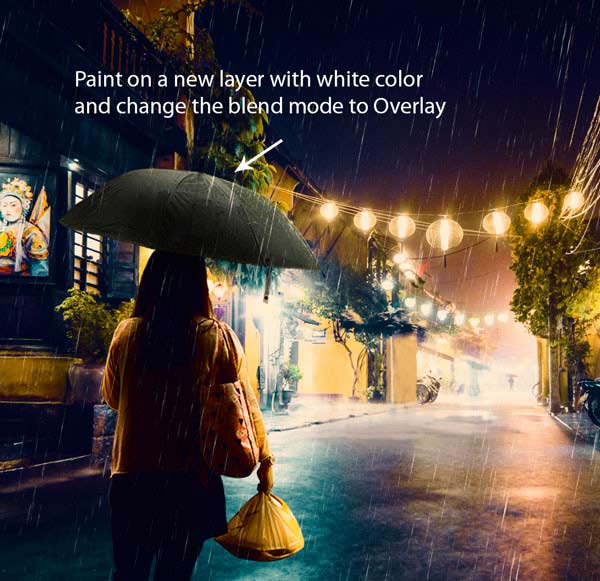
Paint some more highlights :
Step 12
Create another layer and name it ‘umbrella light’. Paint the light using white color to left side of the umbrella and using color #babo7b to right side.
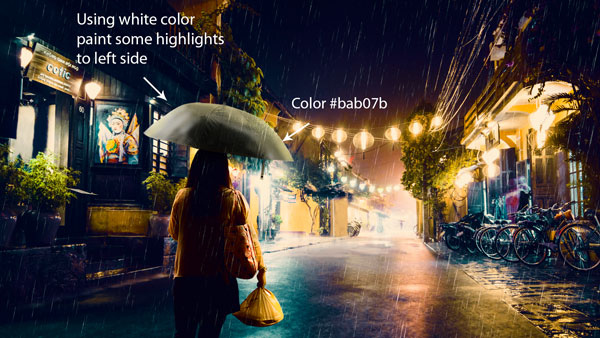
Set the blending mode to Overlay.
Step 13
Make a Curves adjustment layer and lower the brightness.

On the layer mask of this, I masked the effect on the rest of the background but I keep the effect on the selected parts to darken it. Don’t forget to use the soft round black brush for masking.
Adding Rain Drops
Step 14
Now we are going add the rain drops hitting umbrella and to make the water dripping from the bag as well. To do that, I used the rain drops image and you can see that I placed the rain drop image to main document with blend mode changed to Screen.
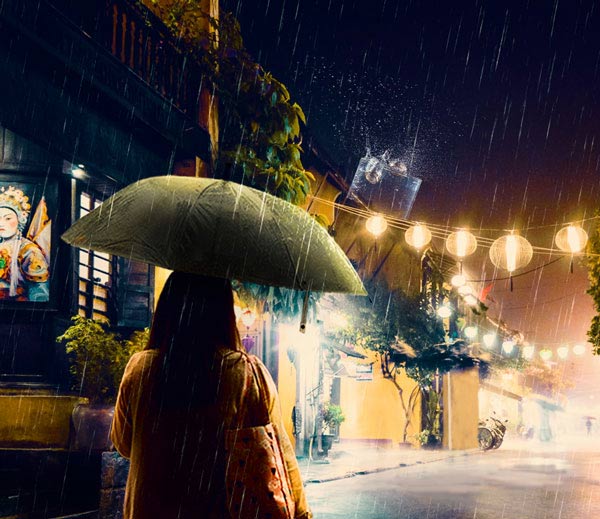
Add a mask to rain drop image by clicking on the second icon at the bottom layer panel. Now hide most of the lower parts which looks like a glass using soft round black brush.

Step 15
And now move it over the umbrella and don’t forget to adjust it using Transform Tool (CTRL + T).
Similarly duplicate the rain drop layer many times and add the rain drops around the umbrella. While adding rain drops keep in mind that you need to adjust them according the shape of umbrella and don’t add too much water drops on the left side. Also, don’t forget to use the layer mask to create a random effect and avoid having a repeated effect.
Here you can see how I did it :

Step 16
Now you’ll have many layer of the rain drops. Select all the rain drops layers and press CTRL + E to merge them. Now use a Hue/Saturation to change the color.
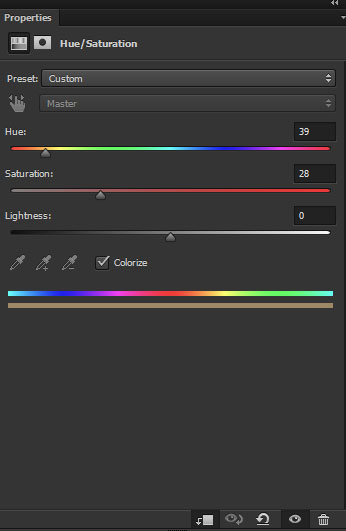
Results :
Step 17
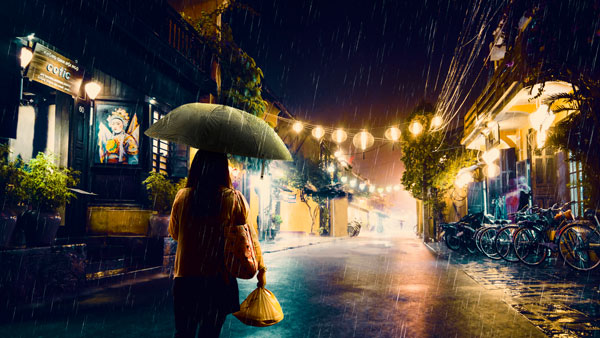
Similarly I added the water effect on the bag as well. You can see how I did it.
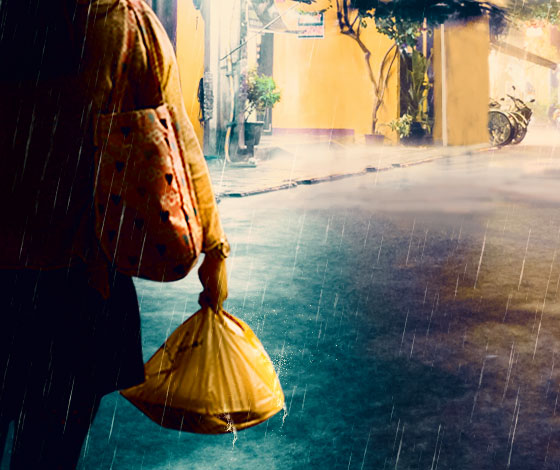
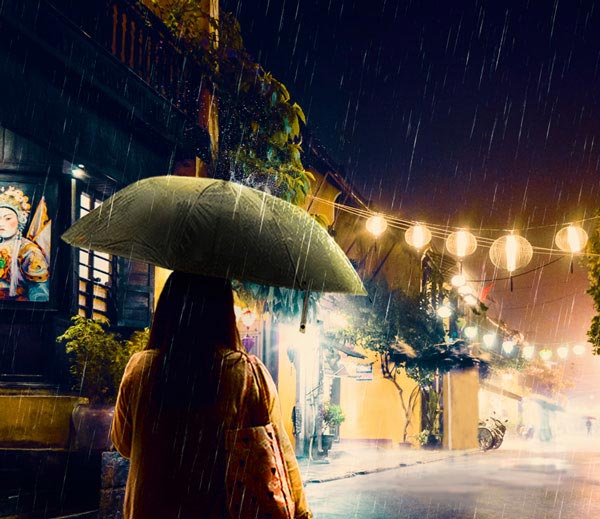
And here are the final results :

Conclusion
Thanks for following the tutorial and I hope you like it. If you need any help then do let me know. See you next time with new tutorial and till then keep creating using Photoshop!!
Need Help With Photoshop or Looking for Professional Support?
Whether you're just getting started with Photoshop or need expert-level assistance, we're here to help! Contact us for personalized Photoshop tutorials, project support, or creative services.
Get in touch today to take your skills or projects to the next level.
CONTACT US NOW📘 Want to Master Photoshop Faster?
🎁 Get Your FREE PDF E-Book "Top 10 Photoshop Tricks Every Designer Must Know" Now – Packed with expert tips, shortcuts, and techniques to boost your creativity & workflow.
👉 Download Your FREE PDF E-Book NOW!
