

In this tutorial, I’ll show you how you can create a mountains matte painting landscape in Photoshop. We’ll use only 3 stock images to create this composite. You’ll learn how to work with blend modes, layer mask, and adjustment layers to create a matte painting. At the end, we’ll change the color and then we’ll create the lighting effects.
Tutorial Resources
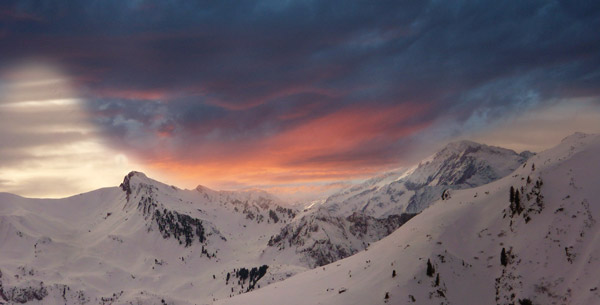
Add the Mountains
Step 1
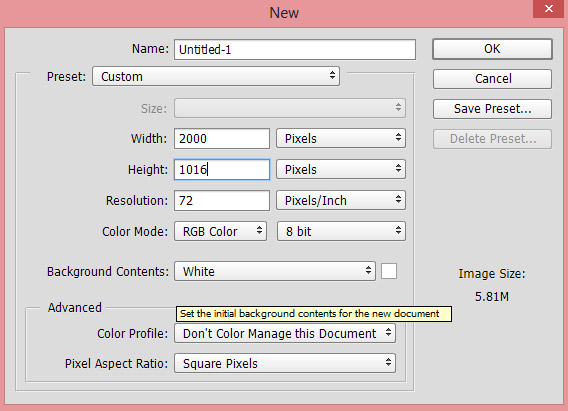
Create a new document in Photoshop with the Width 2000 pixels and Height 1016 pixels. If you want you can also go for higher settings. See the settings below.
Step 2
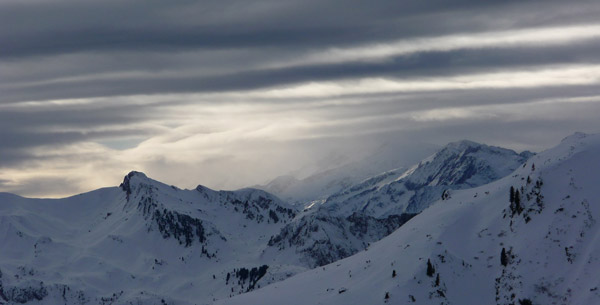
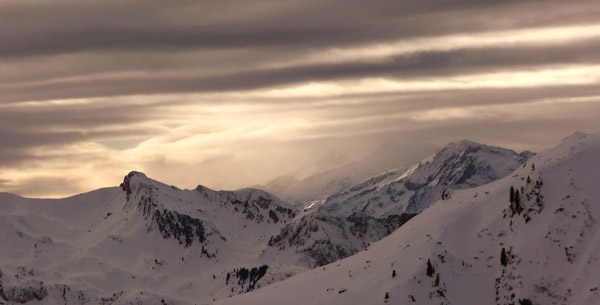
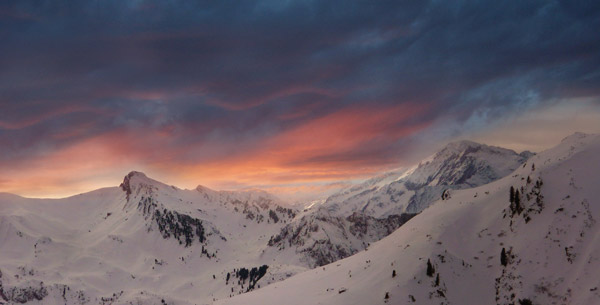
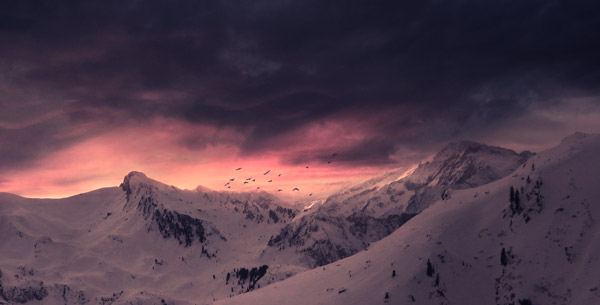
Open the mountains image in Photoshop by selecting File > Open. Use the Move Tool (V) to drag the mountain into main document. If you are working with above mentioned document then you don’t need to resize the image but if you are working on the document with different settings then you need to resize the image to make fit with your document.
Step 3
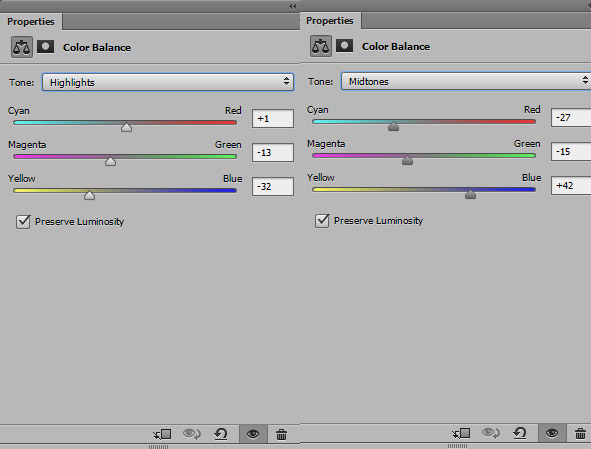
Go to Layer > New Adjustment Layer > Color Balance and change the color of the mountains. Alter the Midtones and Highlights settings.
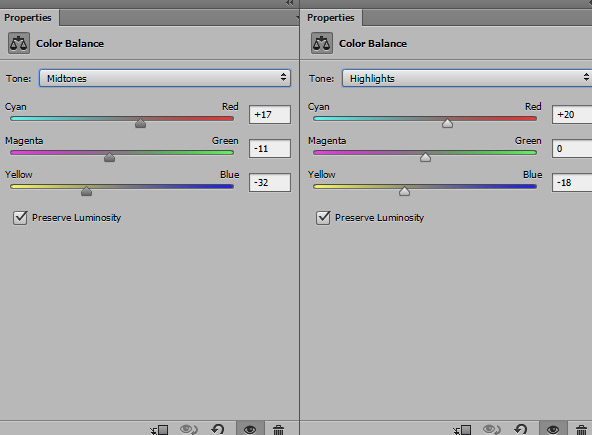
Results with added yellow tones:
Step 4
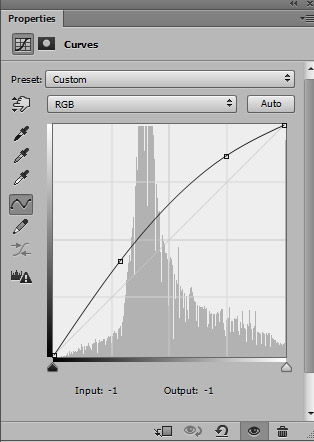
Make a Curves adjustment layer and increase the brightness using the following settings:
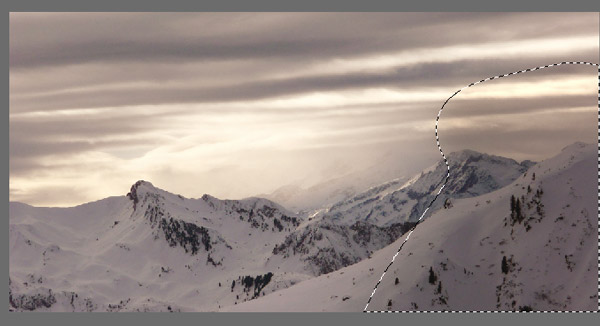
On the layer mask of Curves, I masked the effect on the right side selected area to keep that area darken and make the left side more brighten. I used soft, basic black brush for masking and remember to mask the effect on the selected parts of the mountains.
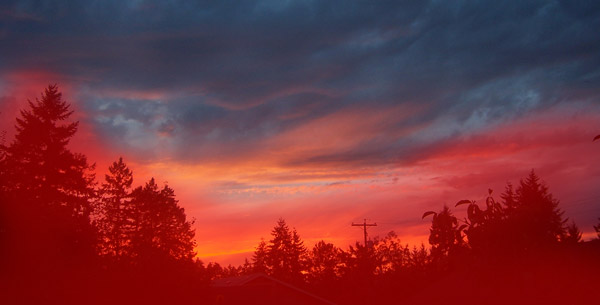
Add the Sky 1
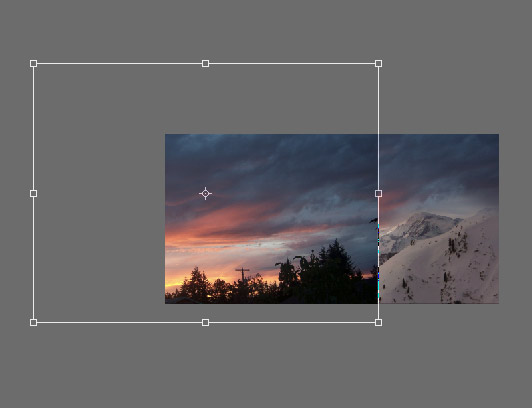
Step 5
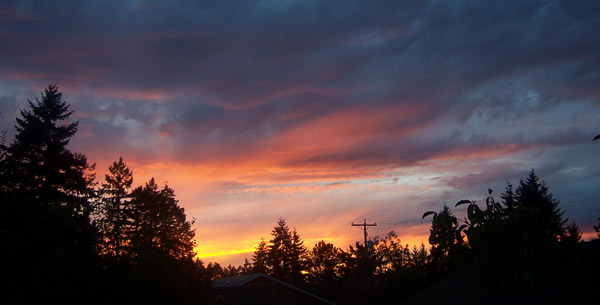
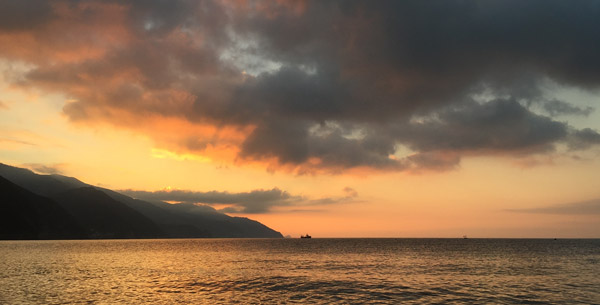
Now we’ll add the sky to main document. Place the sky 1 image to main document and if needed use the Transform Tool (CTRL + T) to resize it so it can fit the document.
Here you can see how I added the sky 1:
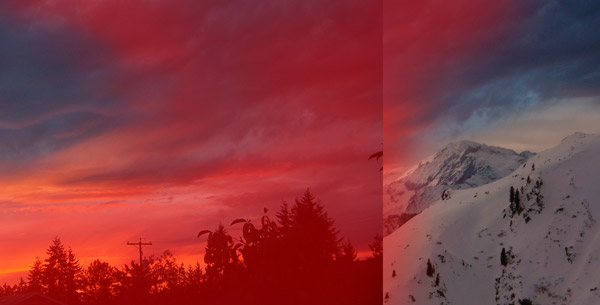
Step 6
We actually don’t need the lower parts of the sky 1 and we only need the sky parts. Add a mask to Sky 1 layer by clicking on the second icon at the bottom of layer panel. Use a soft-medium black mask to mask the unwanted parts (highlighted in red color) of the sky 2.
Here you can see the image for reference:
Here are the results:
Step 7
You can clearly notice we have an empty area on the left side as we masked the most parts of the sky 2. We need to fill that area as it doesn’t look good. To fix this, I duplicated the sky 1 layer by pressing CTRL + J and I deleted the existing layer mask as well. Now move the duplicated sky layer to the left to cover the empty area of the sky and transform it as shown below.
Add a mask and using a soft round black brush mask the highlighted red parts of the sky parts. Here you can see the image for reference.
Here are the results:
Add the Sky 2
Step 8
Place the sky 2 image to main document.
Step 9
Add a mask to Sky 2 layer and using the soft, basic black brush mask most of the lower parts. Remember to leave some sky parts over the mountains like I did it below.
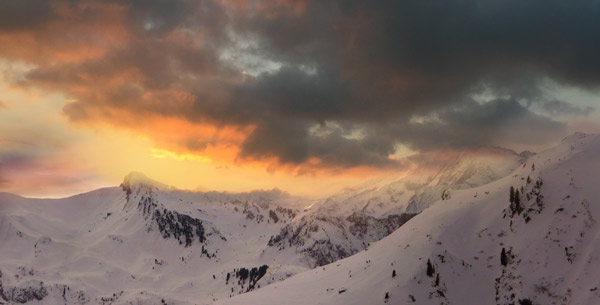
Set the blending mode of the sky 2 to Soft Light 100% to blend it with the background.

Paint the Birds
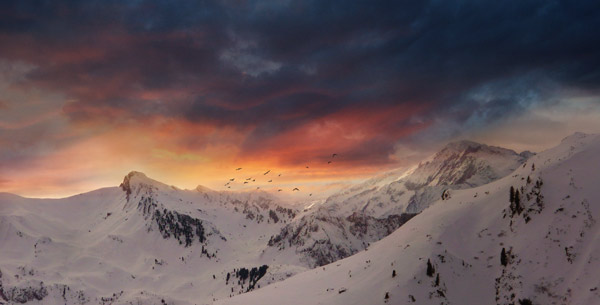
Step 10
Load the birds brushes in Photoshop and paint the birds as shown below. Feel free to paint the birds with a different brush.
Step 11
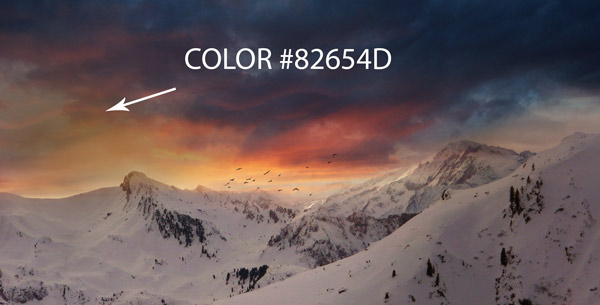
Hit CTRL + SHIFT + N to create a new layer and name it ‘light 1’. Using the color #82654D, I painted some light to left side of the document using a soft round brush.
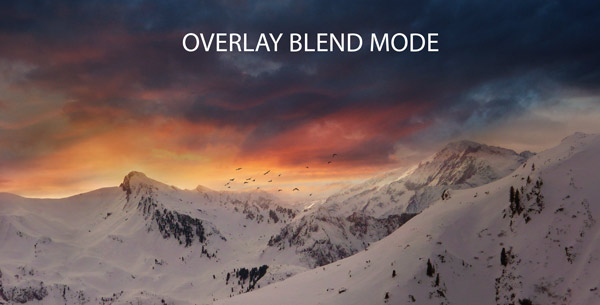
Set the light’s 1 layer blending mode to Overlay 100%.
Step 12
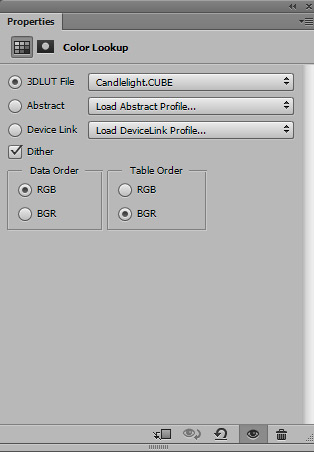
Use the Color Lookup adjustment layer to change the color of whole scene. I used the Candlelight file.
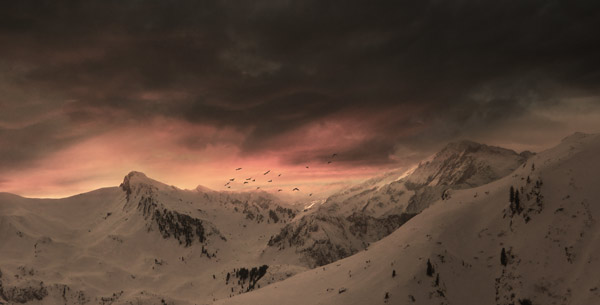
Results with changed color of whole scene:
Step 13
I used the Color Balance adjustment layer to add the combination of dark Magenta and Blue to tones to scene. In this step you can experiment with colors, I mean which color you want for the scene.
So try to choose your own settings if you want different colors. Here are the settings:
Results:
Step 14
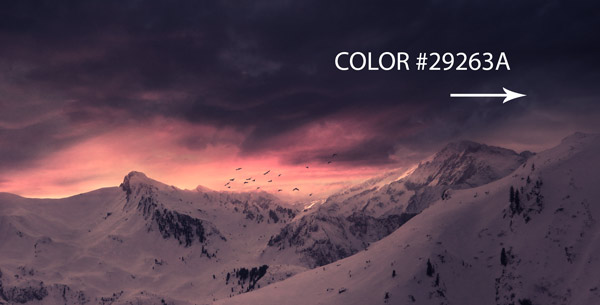
On a new layer, with color #29263A I painted on the right side of the document to darken parts.
Step 15
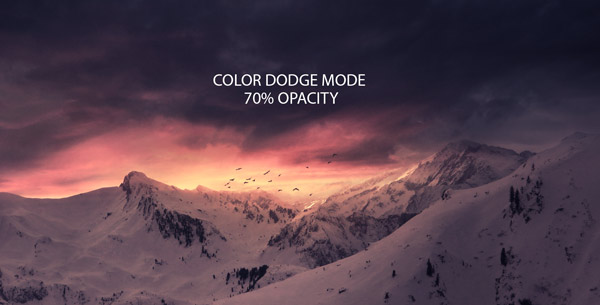
Create a new layer and name it ‘ mountains lights’. Using the color #7a5336, I painted the light in the middle of the background. Don’t forget to paint the light on the mountains as well.
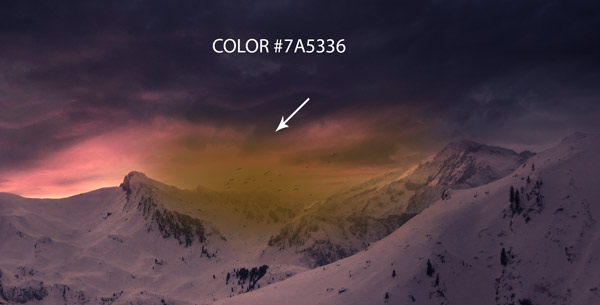
Change the blending mode to Color Dodge and lower the opacity to 70%.
Step 16
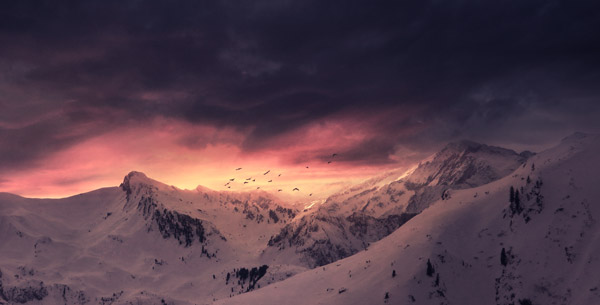
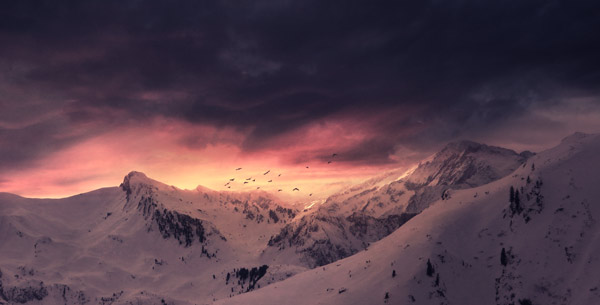
Finally, on a new layer, I painted the light reflection on the mountains. Use the same color used in the previous step and use a soft round brush for painting the lights. Here you can see where I painted the light reflection.
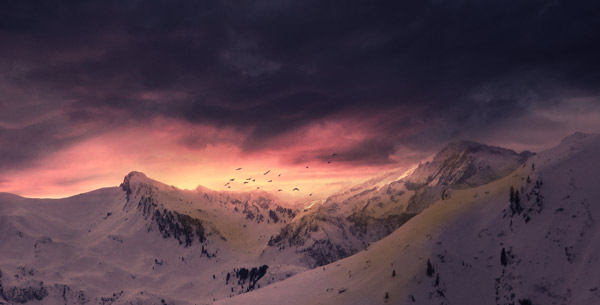
Set the blend mode to Color Dodge 70%. Here are the final results:
Conclusion
Thanks for following the tutorial and I hope you enjoyed it. If you really like the tutorial then do share it into the world. Have a great Photoshopping day!!
Need Help With Photoshop or Looking for Professional Support?
Whether you're just getting started with Photoshop or need expert-level assistance, we're here to help! Contact us for personalized Photoshop tutorials, project support, or creative services.
Get in touch today to take your skills or projects to the next level.
CONTACT US NOW📘 Want to Master Photoshop Faster?
🎁 Get Your FREE PDF E-Book "Top 10 Photoshop Tricks Every Designer Must Know" Now – Packed with expert tips, shortcuts, and techniques to boost your creativity & workflow.
👉 Download Your FREE PDF E-Book NOW!
