
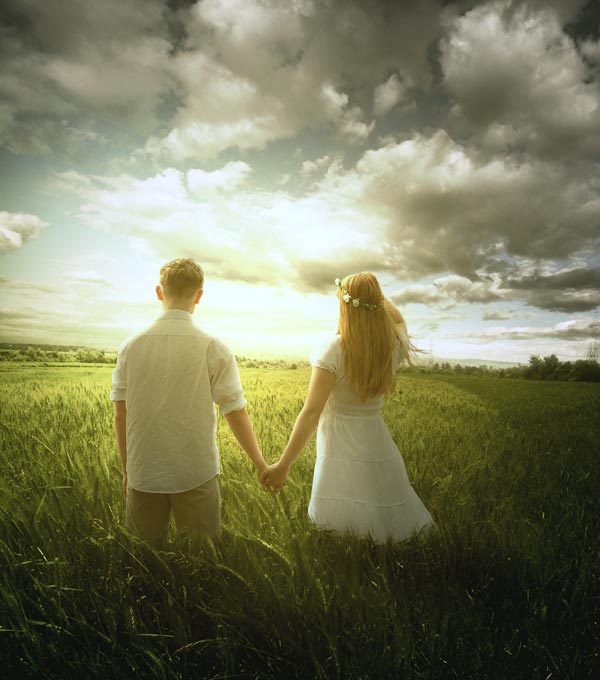

In this tutorial, I’ll show you how to create a field of love photo manipulation in Photoshop. We’ll first begin using a field stock and then we’ll create basic lighting for our artwork. After that, we’ll add the models and then we’ll blend them using blending options. At the end, we’ll have two color variations for this tutorial. Read on and enjoy!!
Tutorial Resources
Add the Field
Step 1
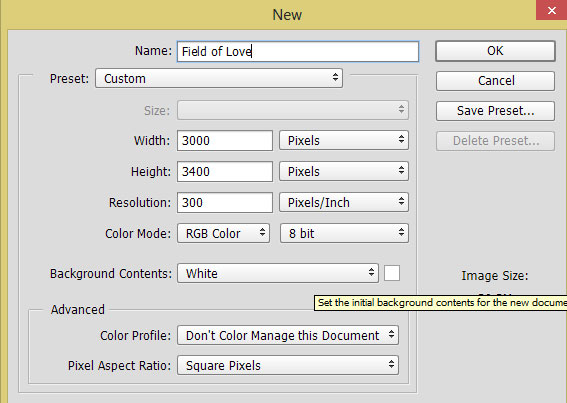
Create a new document in Photoshop by selecting File >New and use the following settings. Remember I’m working on bigger document but you can reduce the size of the document if you want.
Step 2
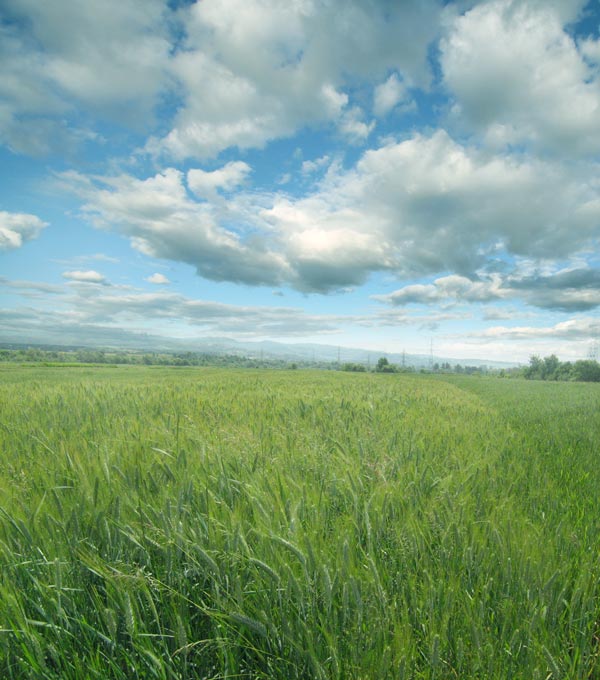
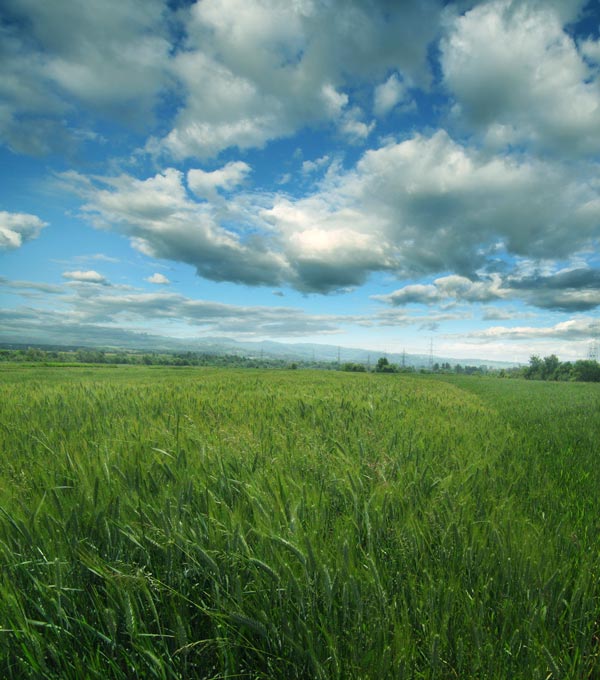
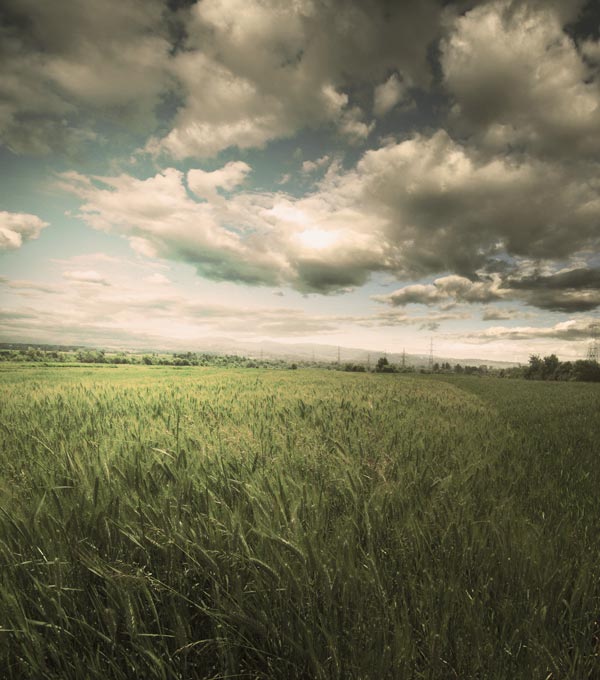
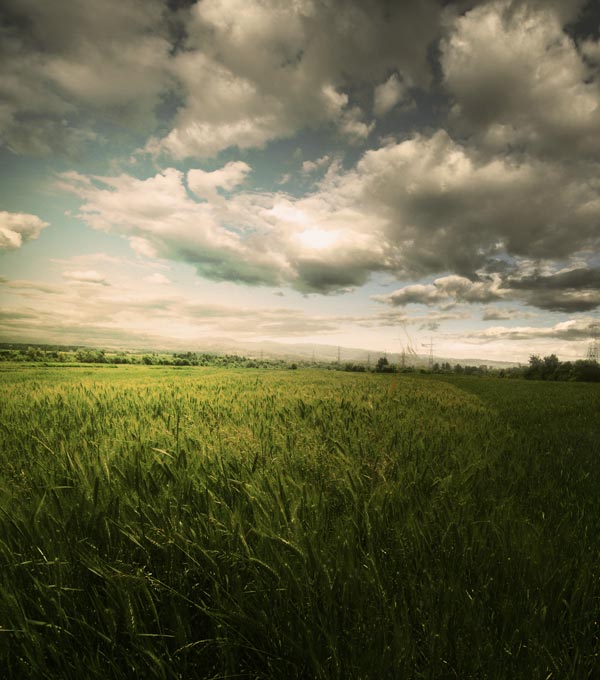
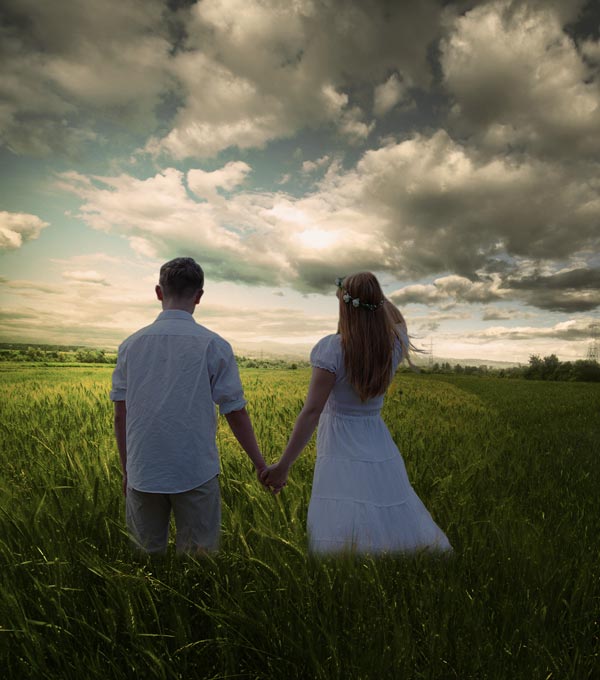
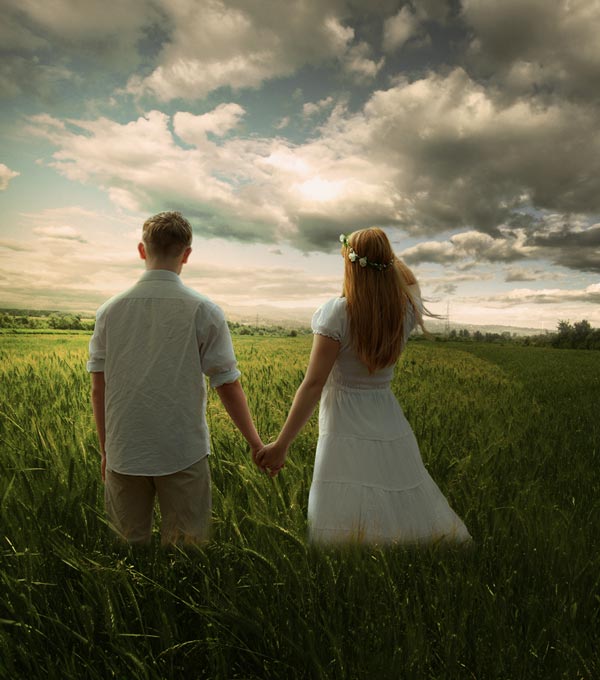
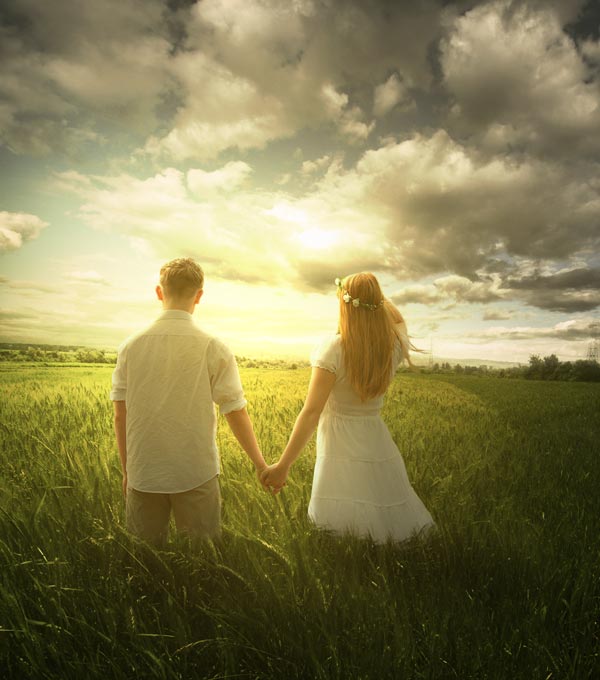
Now place the field image to main document by selecting File > Place Embedded and place the field stock.
Step 3
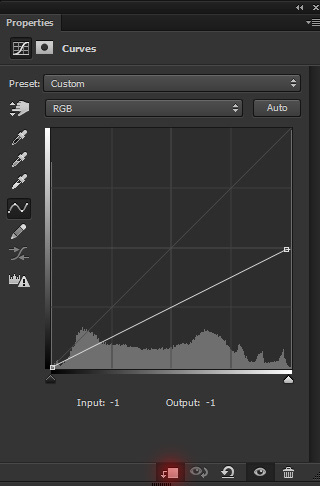
Make a Curves adjustment layer for field by clicking on third icon at the bottom of layer panel or go to Layer > New Adjustment Layer > Curves. Now darken the field using the settings below.
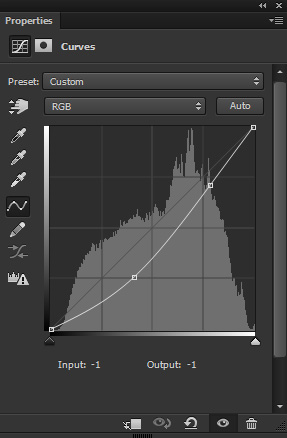
Results with darkness:
Add the Basic Lighting
Step 4
Create a new layer and name it ‘light’. Activate the Brush Tool (B). Using a soft round brush with white color, paint a bigger brush stroke to the left side of the document. The aim here is to create a light source. You can see how I did it in below image.
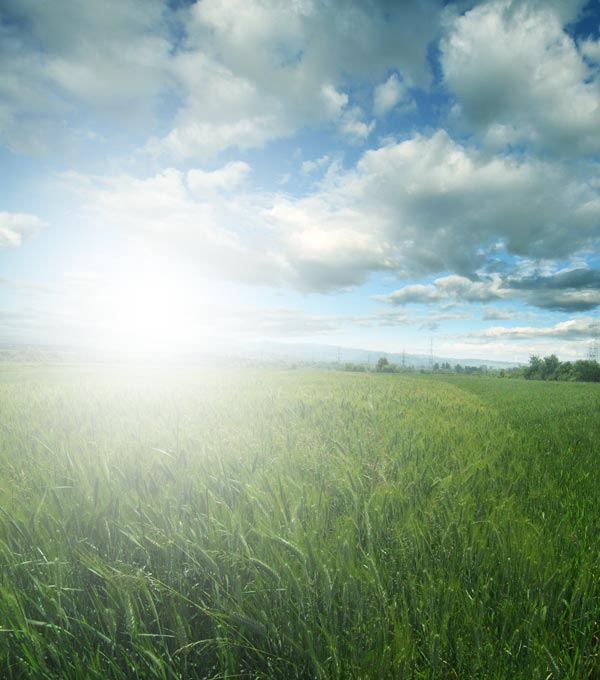
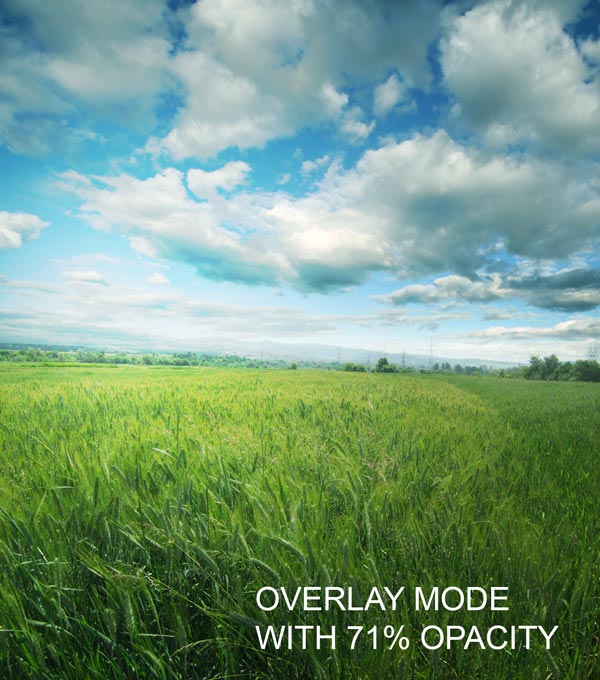
Set the blending mode of light layer to Overlay and reduce the opacity to 71%.
Step 5
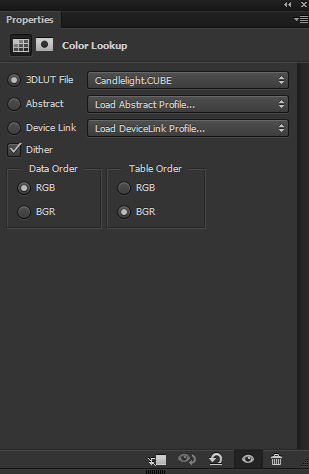
Make a Color Lookup adjustment layer. Use the Candlelight File for the scene.
Here are the results:
Step 6
Now make a Gradient Map adjustment layer. Choose the gradient color flow from #1C3105 to #60501E. You can see the color settings in below image.
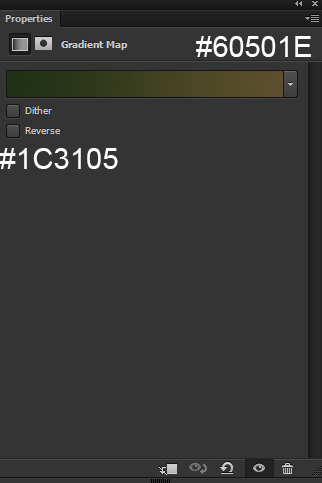
Change the blending mode of the Gradient Map to Soft Light 100%. Here are the results :
Step 7
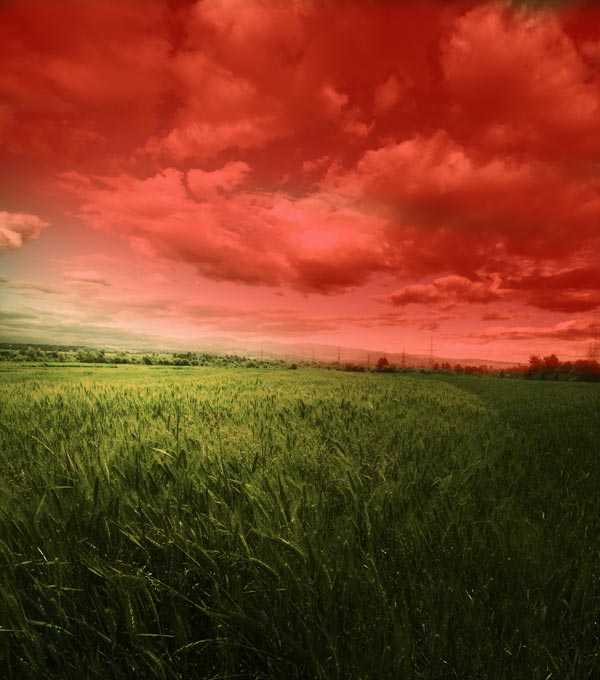
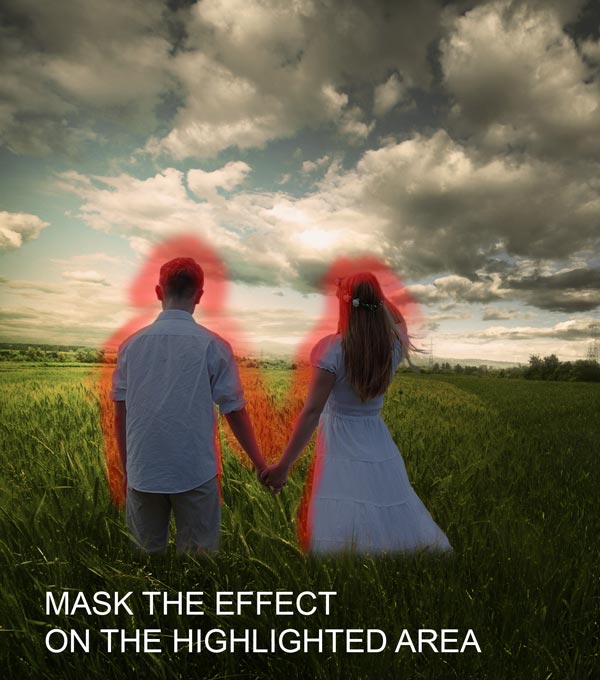
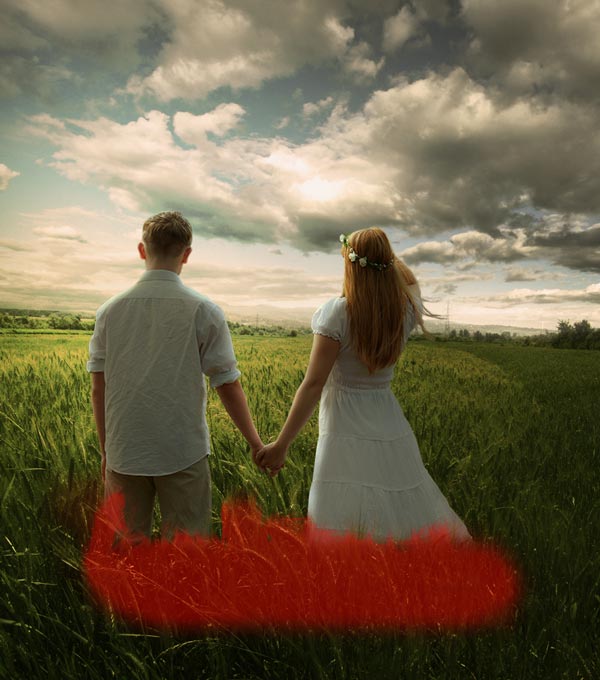
The color contrast on the field looks good but I don’t like too much darkness on the sky. On the layer mask of Gradient Map, I erased the effect on the sky and leave the effect only on the field. Use a soft, basic black brush for masking and mask the effect on the highlighted red area. See the below image for reference.
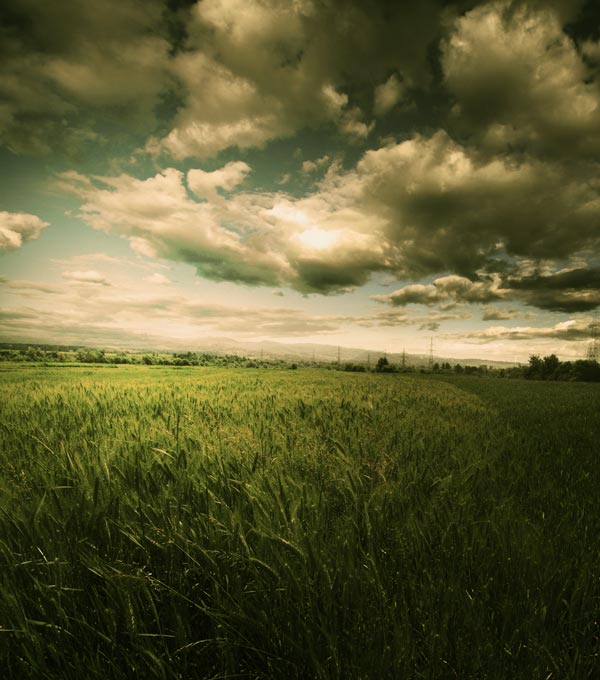
Results after masking the effect:
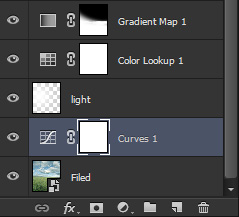
Layer panel arranged so far:
Add the Model
Step 8
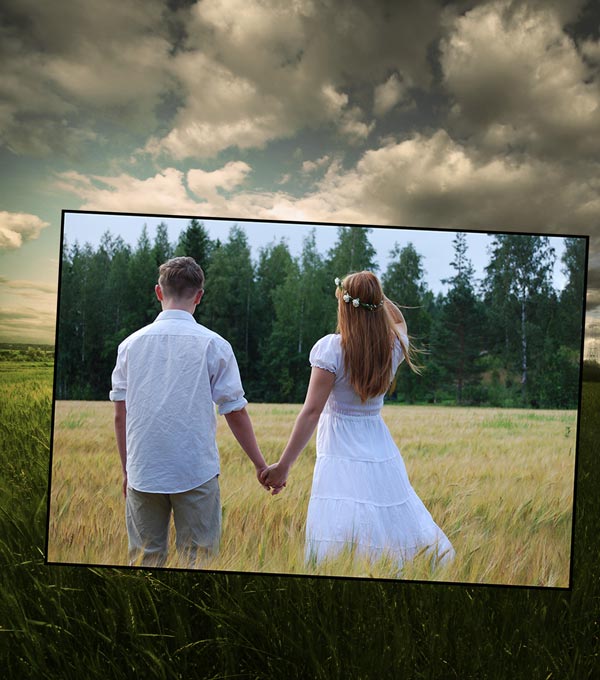
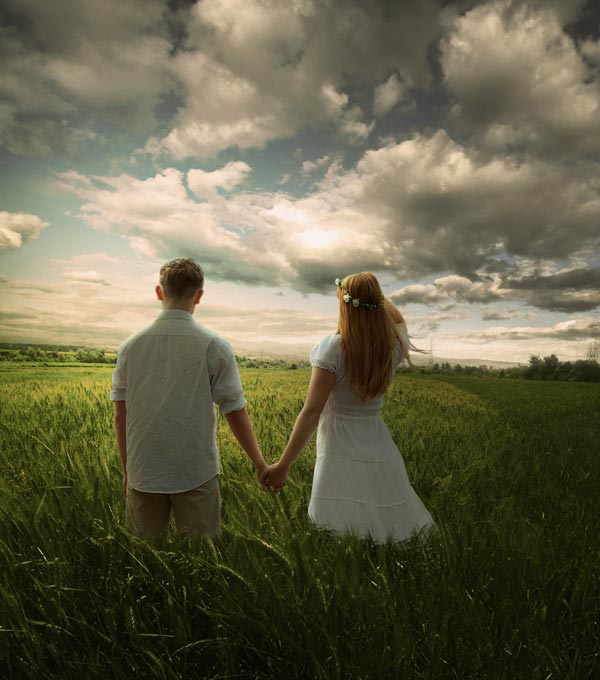
Open up the model stock and then move them to our main document using Move Tool (V). Here you can see where I placed them. You can also notice that I rotated the models little bit using Transform Tool (CTRL + T).
After adding the models, use the Pen Tool (P) and extract the models from the background. If you don’t know to how to extract hair then read this Dark and Mysterious Photo Manipulation tutorial and you’ll learn how to extract hair using Refine Edge Tool.
Here you can see how I extracted the models:
Step 9
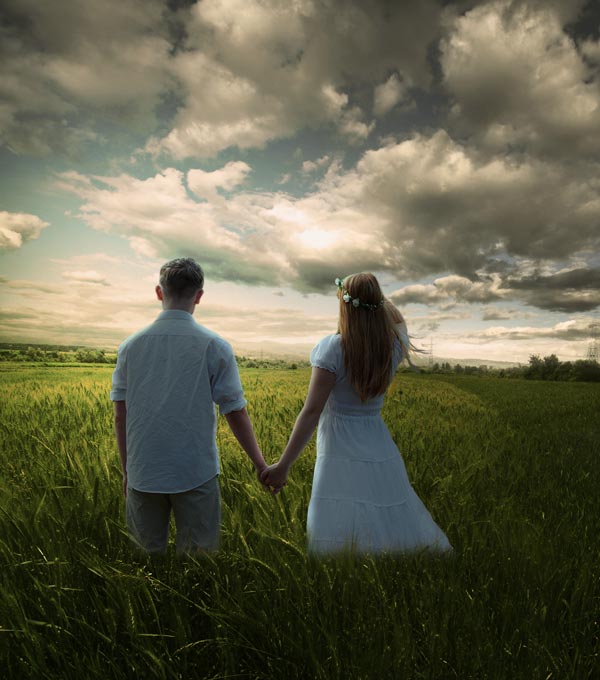
It’s time to adjust the couples with the background. Make a Curves adjustment layer and reduce the brightness of the models. Don’t forget to clip this layer to models (click on the red icon).
Results after darkening the model:
Step 10
On the layer mask of Curves, I erased the effect on the hands, shoulders, hair and mostly on the front parts of the body as on these parts light is reflecting. You can take the help of below image for masking the effect.
Here are the results after refining the light and shade on the models:
See the glowing lights hitting on the models.
Step 11
Make a Photo Filter adjustment layer and choose the color #1FC81F with Density 29%.
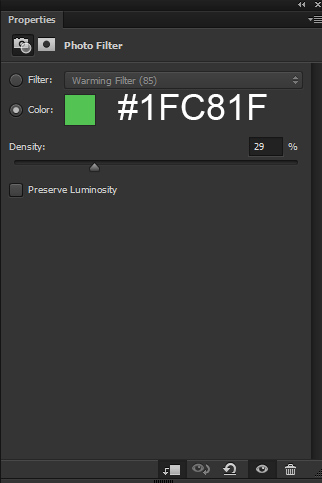
Results:
Step 12
Continue coloring the model with Color Balance adjustment layer. Only alter the Midtones and Highlights value.
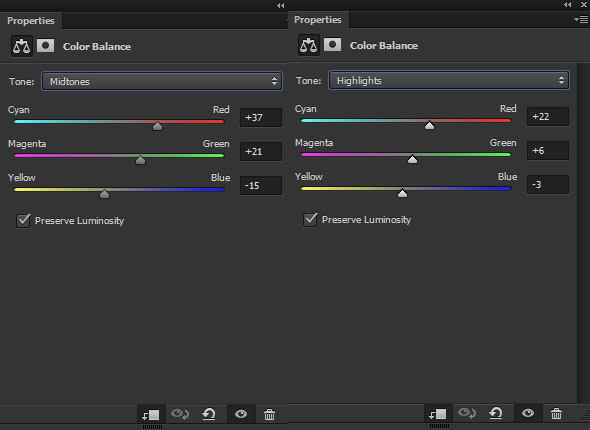
Results:
Step 13
Now we are going to fix the lower parts of the models which are covered by the grass. To do that, press ALT + CTRL + SHIFT + E to merge all layers into single layer. Now enlarge the image using Transform Tool (CTRL + T) and make the merged layer bigger than the existing scene. The aim here is to get the grass parts covering the models lower dress parts. Here you can see how I did it.
Add a mask to merged layer by pressing the second icon at the bottom of layer panel. Mask all the parts except the highlighted one. Here one thing to remember you really don’t need to use soft round black for masking, you need a grass brush or maybe bush brushes in order to mask the merged layer parts. I used my own grass brushes here but you can use any grass brush or bush brushes. You can find a lot of grass brushes on DeviantArt as well or use the grass brush that comes with all versions of Photoshop.
So download the grass brushes and using a black color mask the merged layer grass parts. Here you can see the results after masking:
Step 14
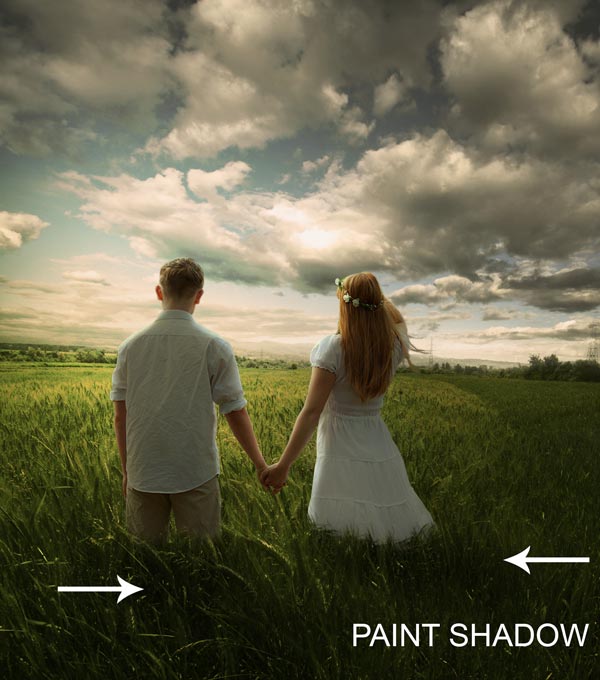
Create a new layer and name it ‘shadow’. Using a soft round black brush, paint the long shadows for models which cast by the model’s body. You can see how I painted the shadows.
Step 15
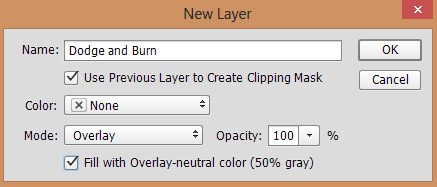
I created a new layer and fill this layer with 50% gray color and change the blending mode to Overlay 100%.
Activate the Burn Tool (O). Set the Range to Midtones, Exposure about 9%-10%. Using the above mentioned settings I added little bit shade to models back parts. You can see the results in Normal Mode.
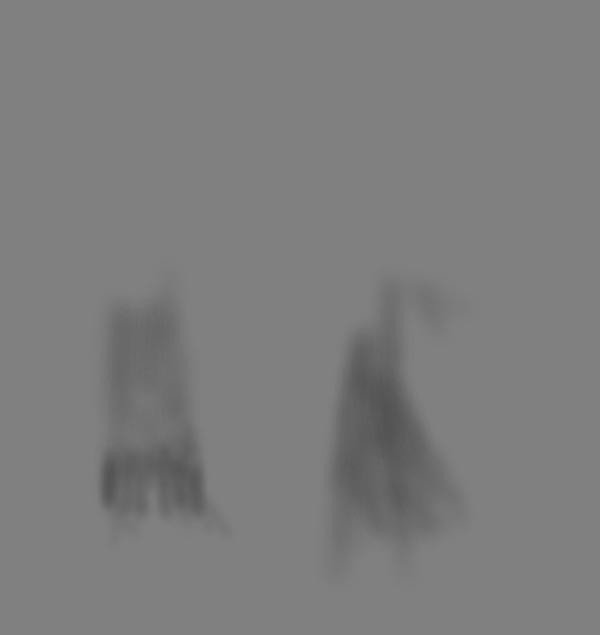
Here you can see the results in Overlay Mode.
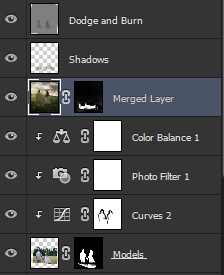
Layer panel arranged so far:
Step 16
Create a new layer and name it ‘light source’. Set the foreground color to #6a5218. Paint the light source as shown below.
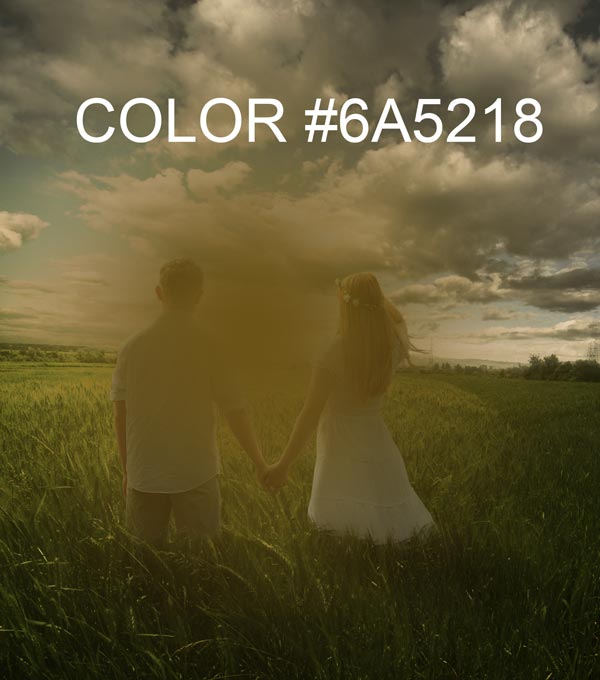
Change the blending mode of the light source layer to Linear Dodge 100%.
Final Adjustment
Step 17
It’s time for final adjustments. Make a Levels adjustment layer on top of all layers. Now increase the contrast of whole scene by dragging the black slider to right.
Here you can see the settings:
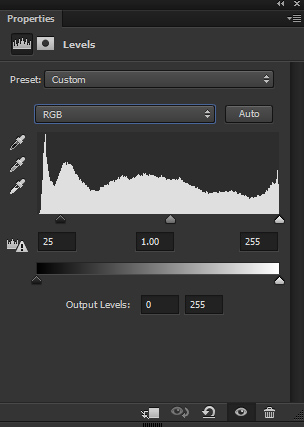
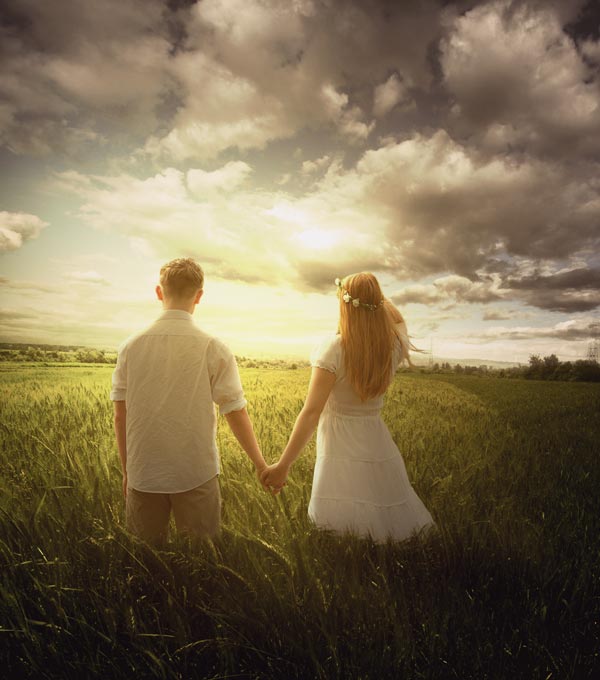
Results:
Step 18
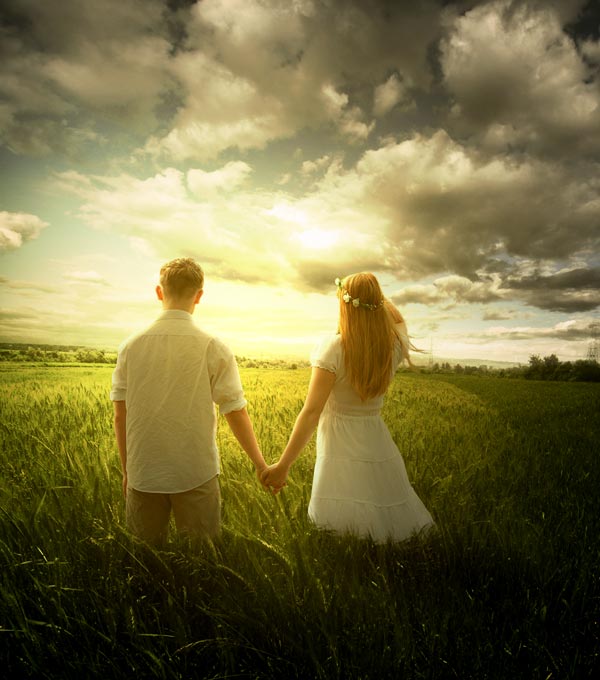
As I said we’ll have two color variations for this tutorial. First one we are going to achieve now. Make a Color Lookup adjustment layer and choose the Soft Warming lookup file.
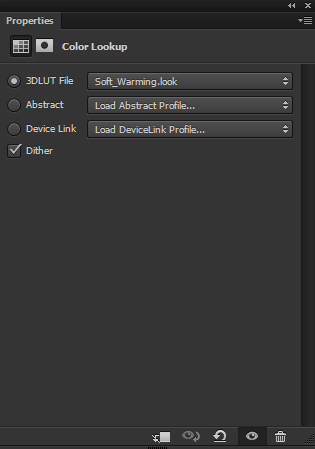
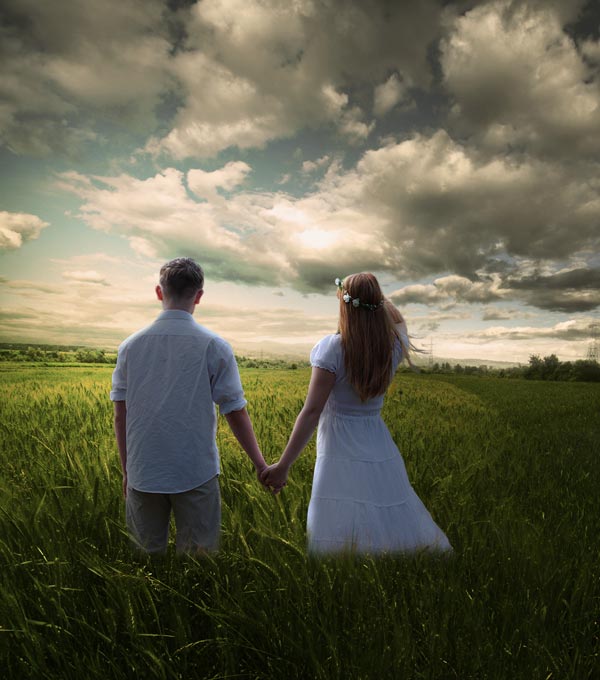
Results with soft warming look and it is the first version of this tutorial.
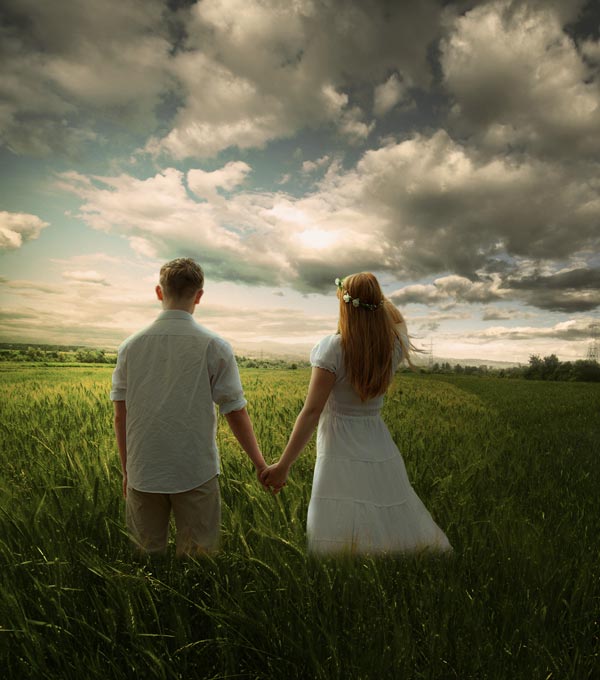
Step 19
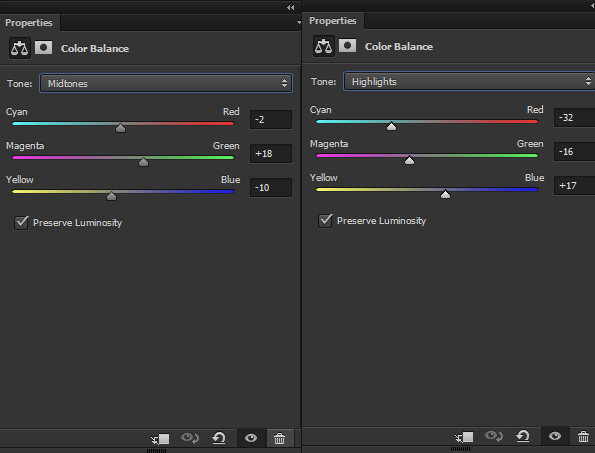
If you are happy with the results then you can quit here. In this step we are achieving the second version. Make a Color Balance adjustment layer and alter the Midtones and Highlights values.
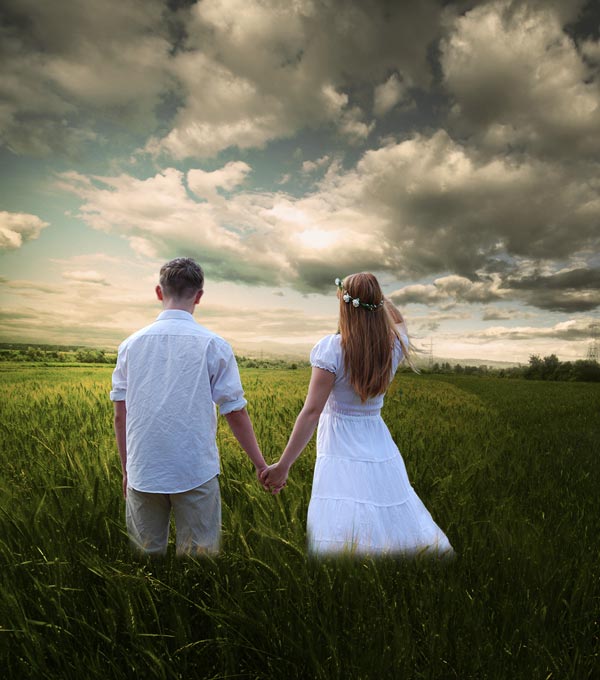
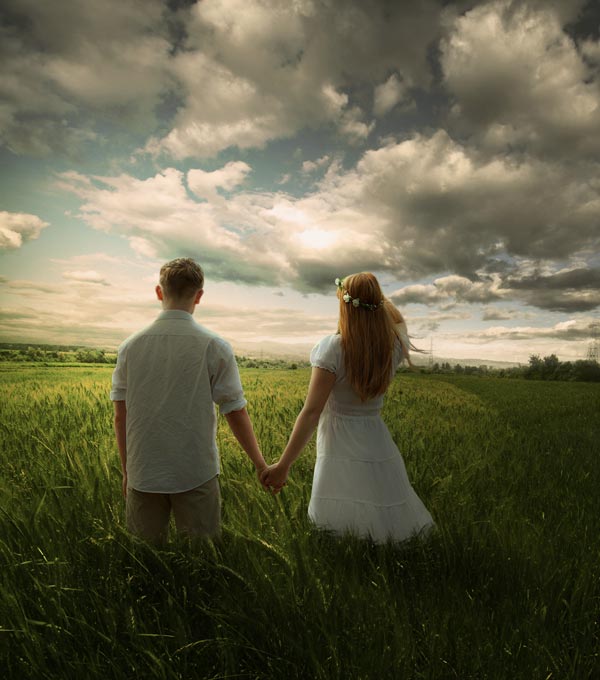
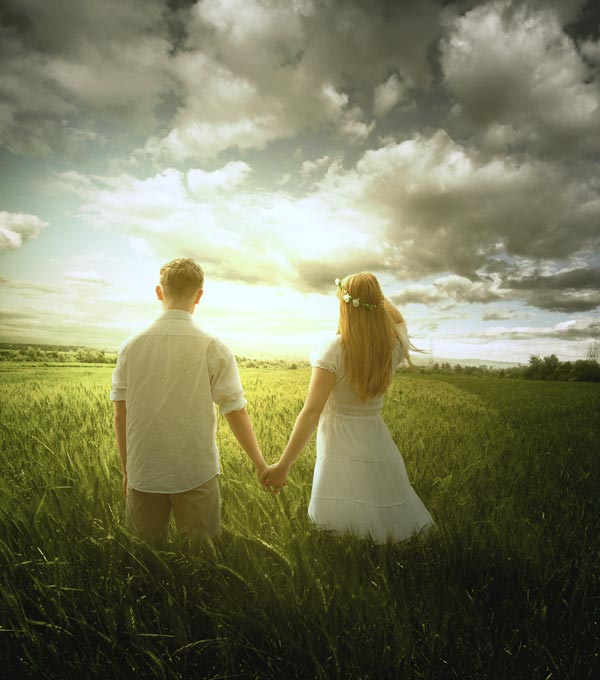
Final results with second variation:
Step 20
At the end, I painted some hair strands for the model. I sampled the color (#a18943) from the model’s hair and using a soft round 1 pixels brush, I painted the hair strands.
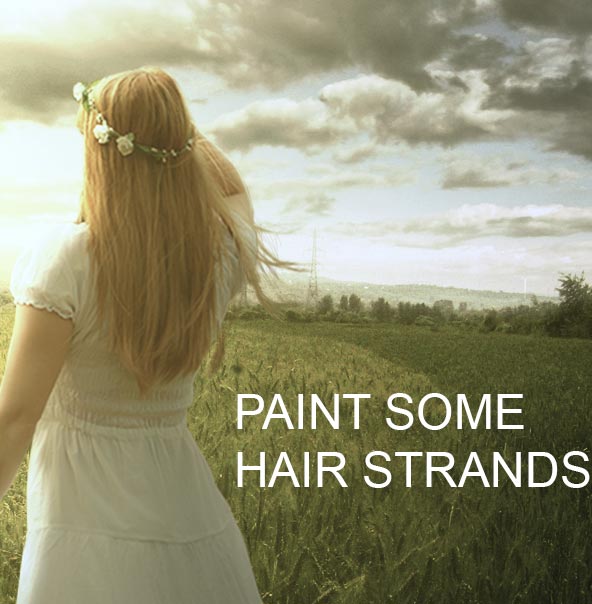
Final results:

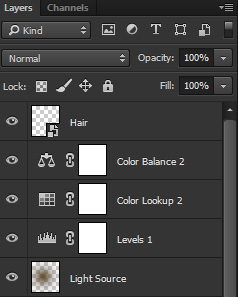
Layer panel arranged:
Conclusion
Thanks for following and I hope you enjoyed the tutorial. I apologize for slow posting here as I suffered from severe fever last week. But I’m fine now and thanks for all your love and support. Also, I tweaked the website performance and now the website is loading under 1 second. Please do share the tutorial if you really like it. Have a great day!!
Need Help With Photoshop or Looking for Professional Support?
Whether you're just getting started with Photoshop or need expert-level assistance, we're here to help! Contact us for personalized Photoshop tutorials, project support, or creative services.
Get in touch today to take your skills or projects to the next level.
CONTACT US NOW📘 Want to Master Photoshop Faster?
🎁 Get Your FREE PDF E-Book "Top 10 Photoshop Tricks Every Designer Must Know" Now – Packed with expert tips, shortcuts, and techniques to boost your creativity & workflow.
👉 Download Your FREE PDF E-Book NOW!
