


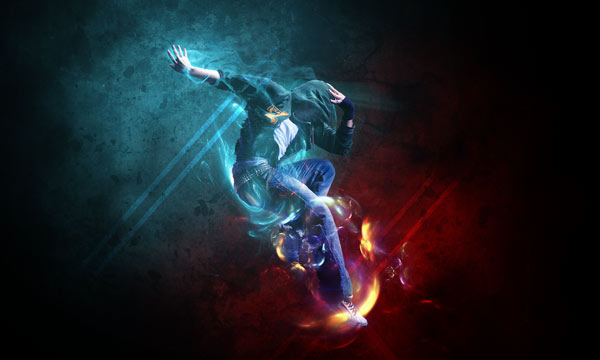
In this tutorial, I’ll show you how you can use abstract fractal images to create a stunning dance photo manipulation in Photoshop. We’ll create the lighting effects using blend modes and use default Photoshop brushes. Then we’ll use the fractal stock pack and lens flare to create a glowing lighting effect around the dancer. You’ll also learn how to use brushes, working with filters and how to make the realistic light effect.
Tutorial Resources
Create the Background
Step 1
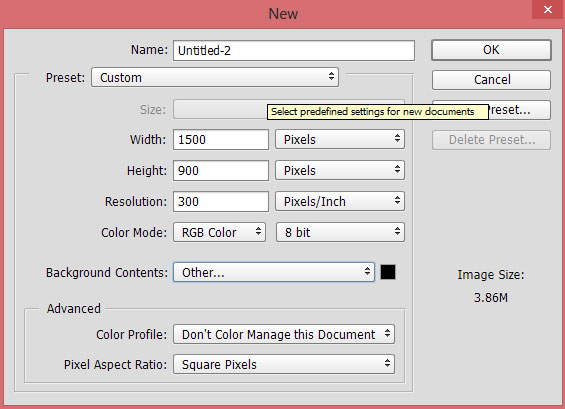
Create a new black document in Photoshop using the following settin gs:
Step 2
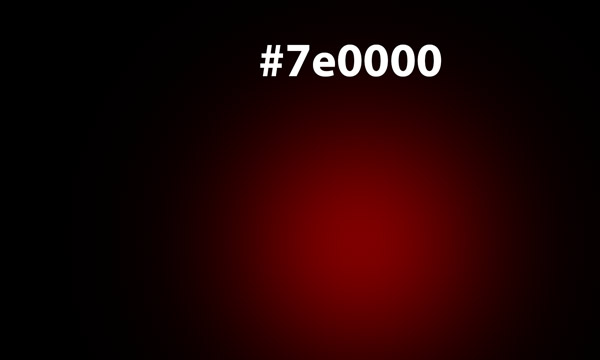
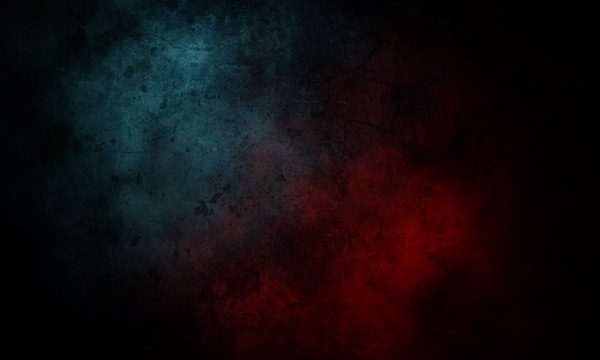
First, we’ll create a cloud effect using two color blue and red. Create a new layer and name it ‘red’. Set the foreground color to #7e0000 and paint a brush stroke as shown below. Use a soft round brush for painting the lights.
Add a layer mask to red layer by clicking on the second icon at the bottom of layer panel. While the layer mask is selected, go to Filter > Render > Clouds to apply a cloud effect to the layer mask of the red layer. Before applying cloud filter make sure foreground/background color are set to black/white (just press (D) on the keyboard to set it to default black/white color).
Here you can see the c loud effect:

Step 3
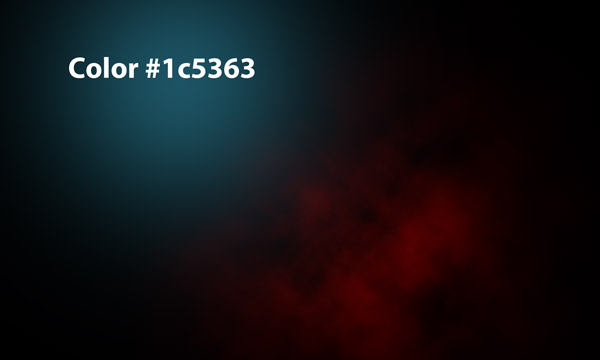
Now again paint a brush stroke at the left top of the document and use the color #1c5363. Don’t forget to create new layer and then name this ‘blue’.
Add a layer mask to the blue layer and now apply the Clouds filter to it as well.

Add the Texture
Step 4
Place the texture to main document by selecting File > Place Embedded. Now rotate the texture using Transform Tool (CTRL + T) to make it fit with existing document. Don’t forget to resize the texture.
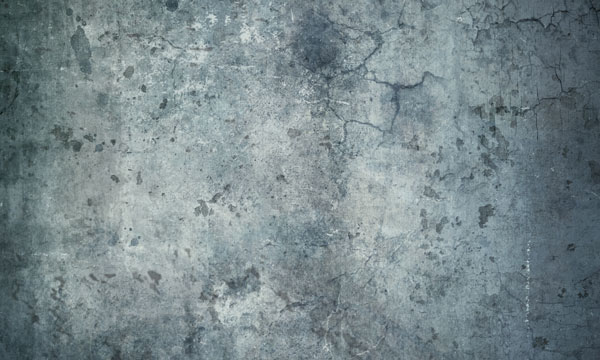
Change the blending mode of texture layer to Soft Light.
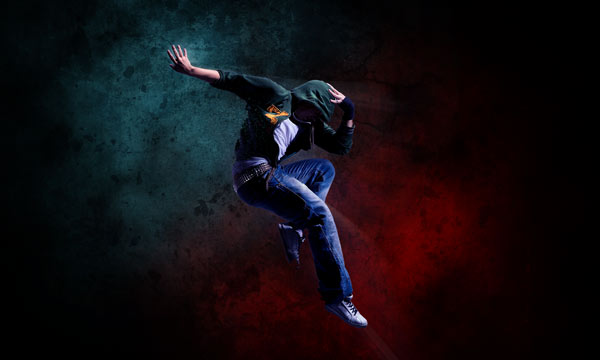
Add the Model
Step 5
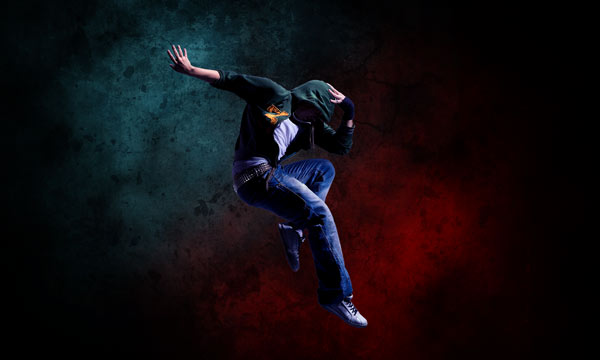
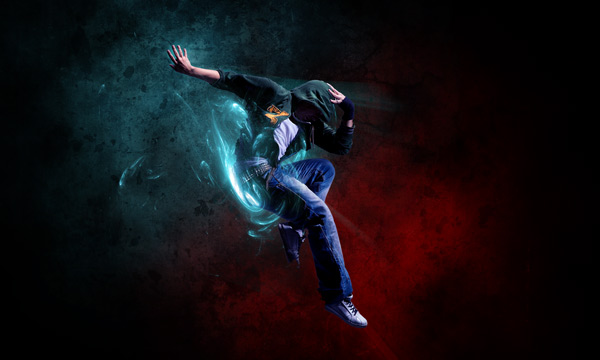
Place the dancer to main document and don’t forget to mask unwanted text from the image using layer mask.
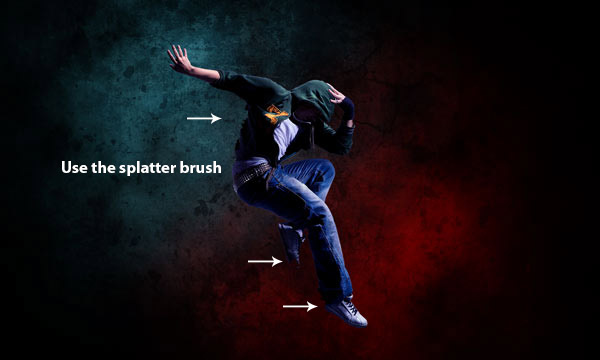
Download the splatter brushes and I use the MF splatter 4 to apply a splatter effect on the dancer. So on the layer mask of the dancer, I painted some splatter brush strokes using black color. You can see I painted on the back, and on both shoes. Feel free to apply the splatter brush wherever you want to.
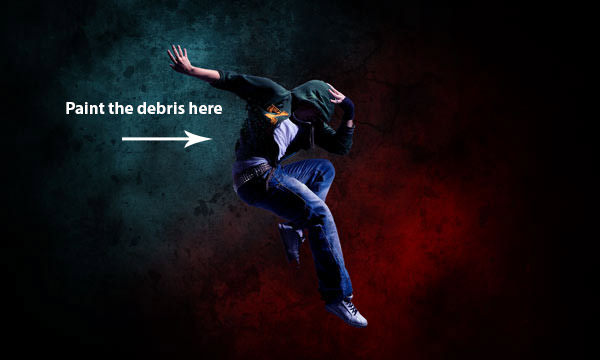
Load the debris brushes in Photoshop. Use the blue color to paint some debris on the model. Here you can where I painted the debris:
Step 6
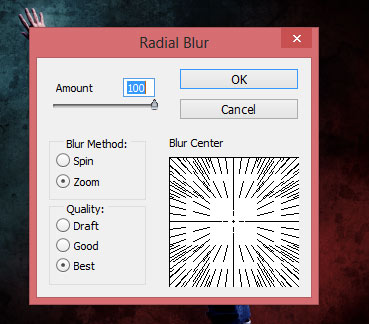
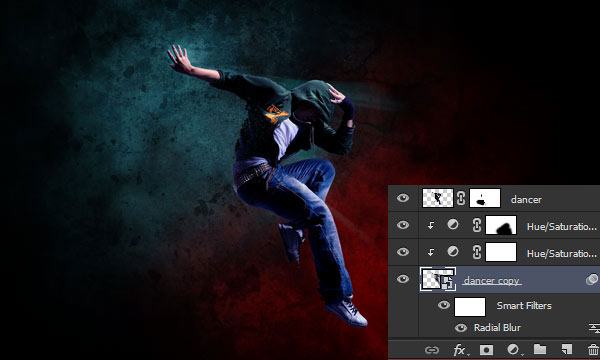
Duplicate the dancer layer by pressing CTRL + J on the keyboard. Now drag the duplicated layer below the original dancer layer. Go to Filter > Blur > Radial Blur and use the following settings to apply a Radial Blur filter on a duplicated dancer layer.
Set the blending mode of dancer copy layer to Linear Dodge and reduce the opacity to 46%.
Here are the results with light rays coming out from the dancer.
So will not to able to see the light rays until we created the light effect for the dancer. Don’t worry we’ll do it later.
Step 7
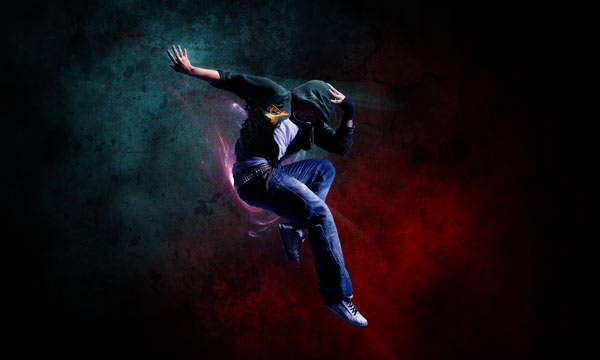
Since we are working on two colors blue and red then obviously we need to color the light rays effect according to that way. Make a Hue/Saturation adjustment layer and use the following settings to colorize the dancer copy layer with red color. Don’t forget to clip this layer to dancer copy layer (press the red icon).

You can see the light rays in red color:
Step 8
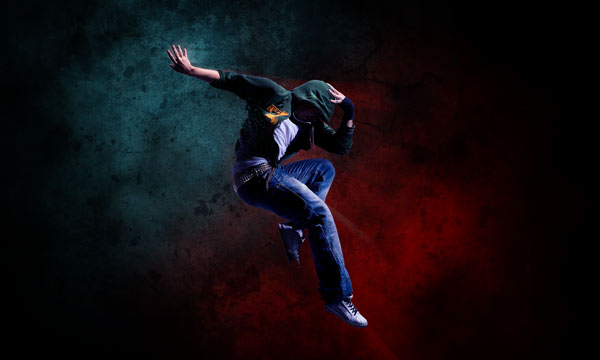
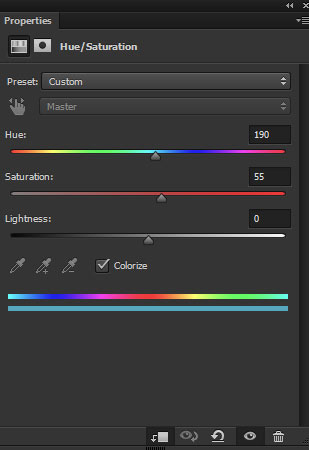
Make a another Hue/Saturation adjustment layer for dancer copy layer. This time we’ll colorize the it using the blue color. See the settings below:

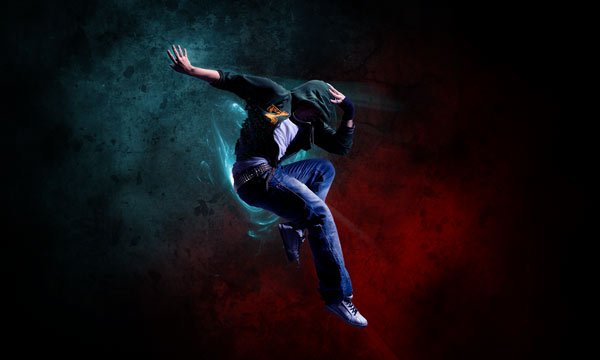
On the layer mask of this Hue/Saturation adjustment layer, I erased the effect on the red parts. Use a soft round black brush for masking and you can see the below image for reference.
Here are results:
Step 9
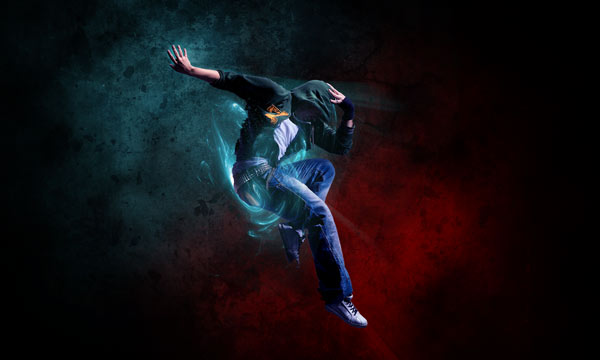
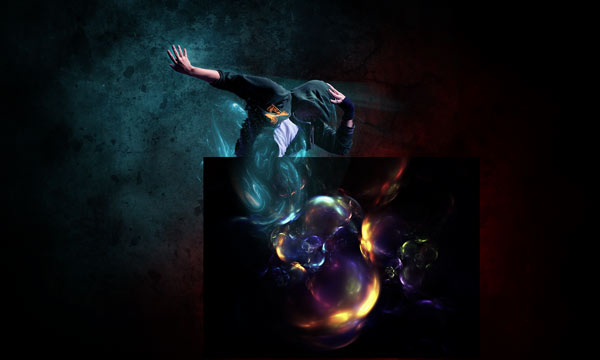
Place the fractal 1 image to the main document and drag this layer below the dancer and dancer copy layer. Change its blend mode to Screen to get rid of the black background and position it as shown below.
Step 10
Now change its color using Hue/Saturation adjustment layer.
Results:
Step 11
Duplicate the fractal 1 layer including Hue/Saturation and move it above the model layer.
Step 12
Use a layer mask to mask the parts highlighted in red color. Use a soft, basic black brush for masking.
Results:
Step 13
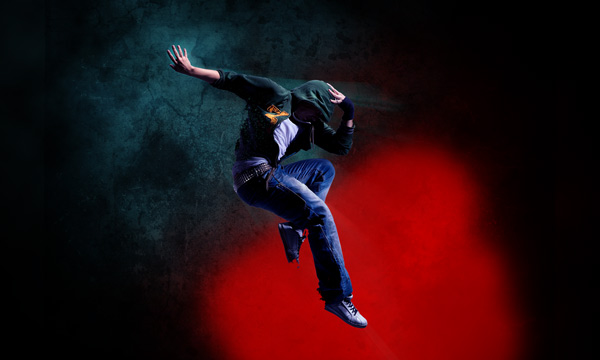
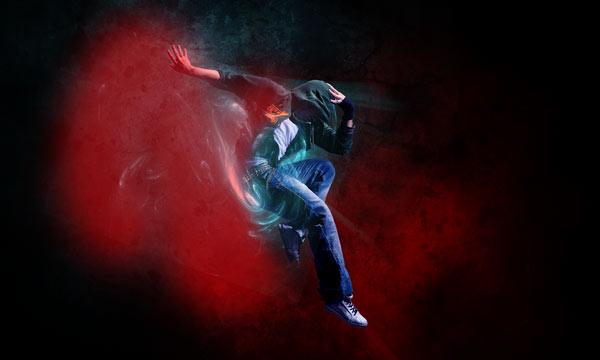
Download the fractal pack and place the fractal 4-1 image to the main document. Position it in the red parts of the document.
Change the blend mode to Screen and get rid from the black background. I also use a Hue/Saturation adjustment layer for to change its color to red like we did for dancer copy layer.

Steo 14
Activate Rectangular Marquee Tool (M) and make a rectangular selection and then fill this with blue color on new layer. Name this layer ‘rectangle shape’.
Change the blend mode to Color Dodge.

Step 15
Duplicate the rectangle shape and stronger the effect.

Similarly, I created one more shape for blue area. I also created two more shapes for the red area with red color.

Step 16
Place the smoke image to the the main document and place it on the hand of the dancer.

Change the blend mode to Screen and also don’t forget to use the layer mask to erase the effect of smoke wherever you don’t want.
Step 17
Using a Hue/Saturation adjustment layer I changed the color of smoke.
Step 18
Create a new layer and paint the light using blue color. Use a soft round brush for painting the lights.
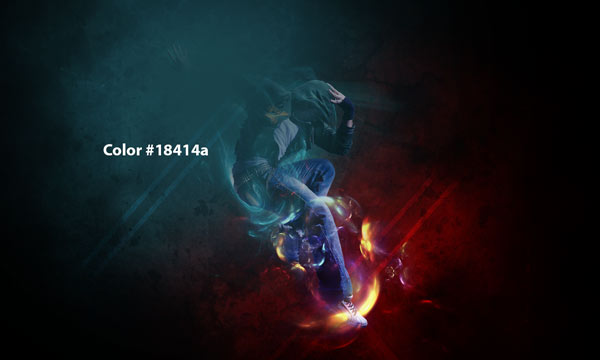
Change the blending mode to Linear Dodge and reduce the opacity to 86%.
Step 19
I painted some more light using dark orange color. You can see in the below image where I painted the lights. You can also use red color instead of orange color.
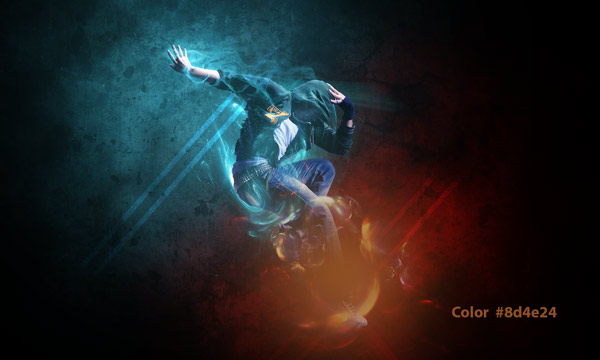
But this time I changed the blend mode to Color Dodge and don’t forget to experiment with blend modes.
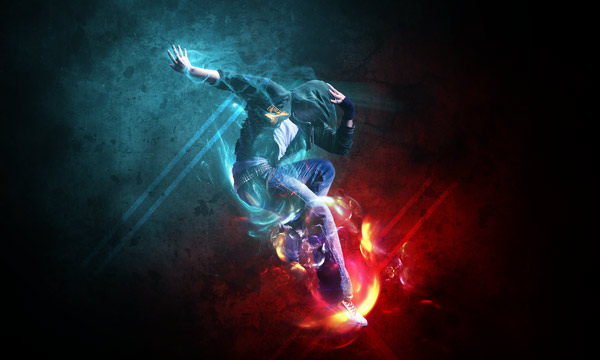
Step 20
Open up the lens flare stock pack and choose the optical flare 26 and place it above the head of the dancer. Don’t forget to change its blend mode to Screen and use the layer mask to get rid of unwanted edges.
Here you can see how I did it:
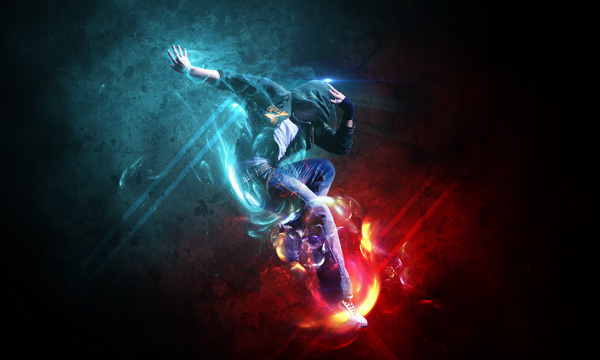
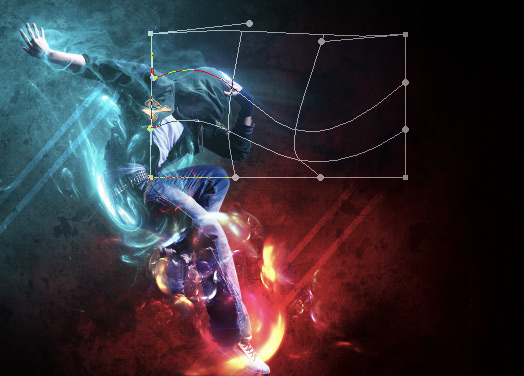
After placing the lens flare we are going to alter its shape so it can fit with head of the dancer. Now go to Edit > Free Transform > Warp alter the shape of the lens flare to make it fit with the head.
Here you can see how I did it.
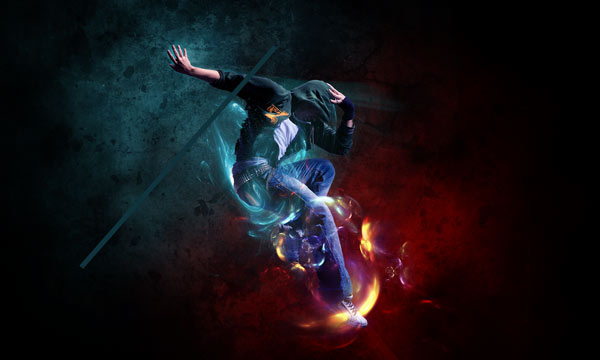
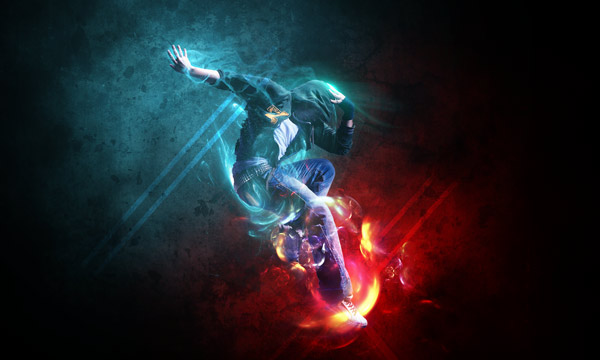
Finally I change the color of lens flare using a Hue/Saturation adjustment layer. Here are the final results:
Conclusion
Thanks for following the tutorial and I hope you enjoyed it. If you need any help then do let me know and don’t forget to share the tutorial with the world if really like it.
Need Help With Photoshop or Looking for Professional Support?
Whether you're just getting started with Photoshop or need expert-level assistance, we're here to help! Contact us for personalized Photoshop tutorials, project support, or creative services.
Get in touch today to take your skills or projects to the next level.
CONTACT US NOW📘 Want to Master Photoshop Faster?
🎁 Get Your FREE PDF E-Book "Top 10 Photoshop Tricks Every Designer Must Know" Now – Packed with expert tips, shortcuts, and techniques to boost your creativity & workflow.
👉 Download Your FREE PDF E-Book NOW!
