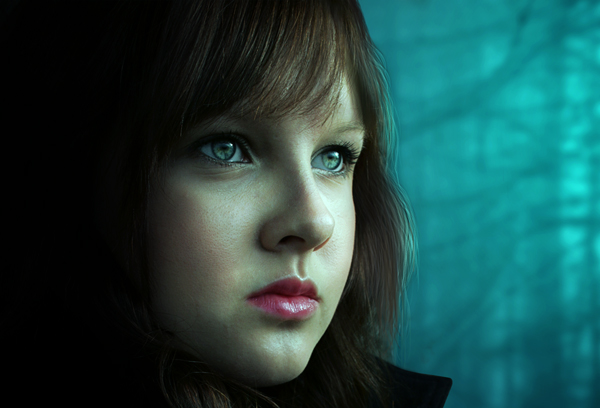
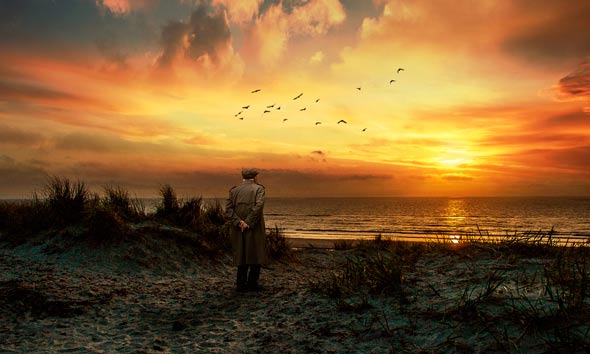
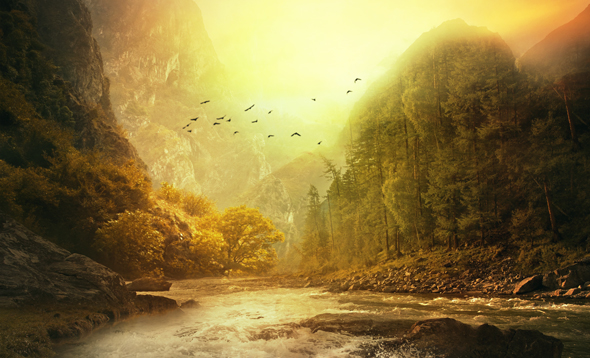
In this Photoshop tutorial, I’ll show you how to achieve a realistic and amazing light photo manipulation effect in Photoshop. You’ll learn how to determine the light direction, painting realistic lights, and then creating light effects to get the best light effect results. You’ll also learn how to digitally make up portrait in Photoshop and many other interesting techniques in a great way!
Tutorial Resources
Preparing background for Light Photo Manipulation
Step 1
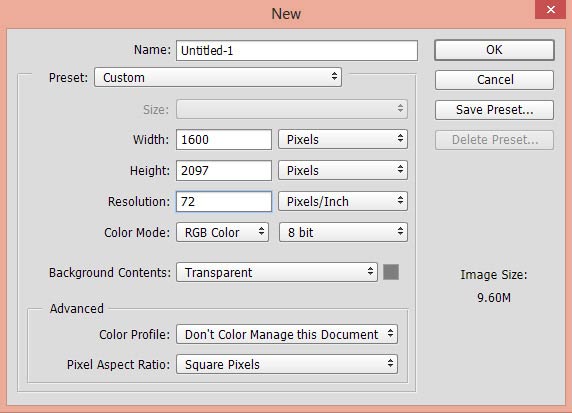
Create a new document in Photoshop by selecting File > New and give the following values or feel free to choose your own.
Step 2
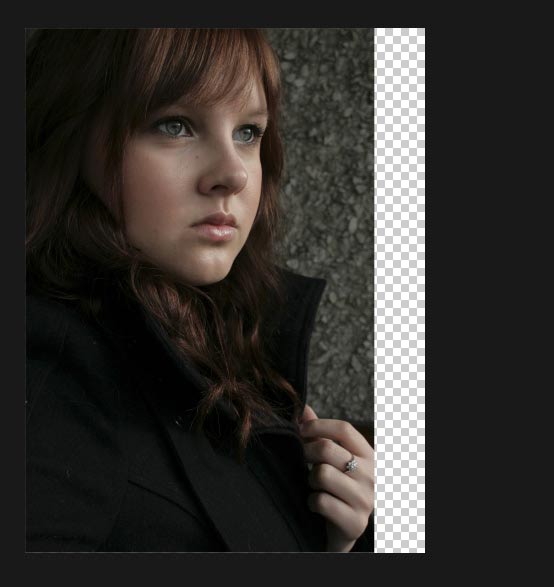
Add the model to main document by selecting File > Place Embedded and place her to main document. If you are working in above mentioned document then you’ll have some space from the right side of the document like you see in the below image. We’ll add the forest and create light effect there.
Step 3
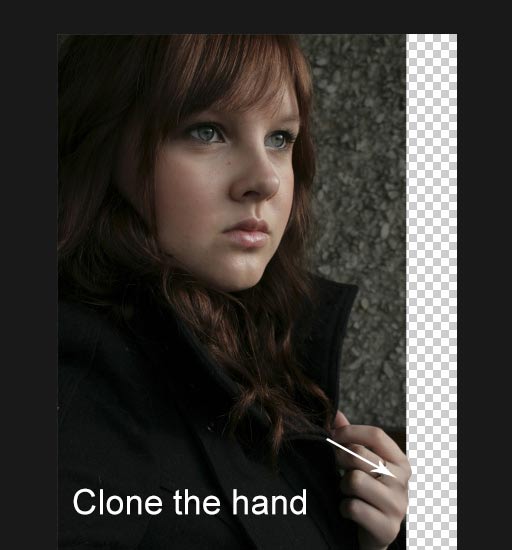
You can notice the model’s hand is incomplete. First we are going to fix it using Clone Stamp Tool (S). Create a new layer and using the Clone Stamp Tool (S), paint the model hand to complete it. If you are not good in cloning then you can also crop the image to get rid of the hand. Here you can see how I painted the hand. Be patient and take your time while cloning.
Add the Forest
Step 4
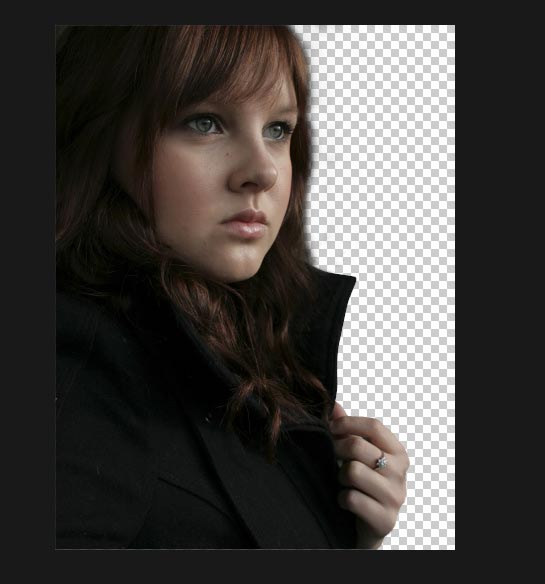
Add a mask to model by clicking on second icon at the bottom of layer panel. Now hide the background using a soft, basic black brush. Here are the results after masking :
Place the forest the main document and place the forest layer under the model.
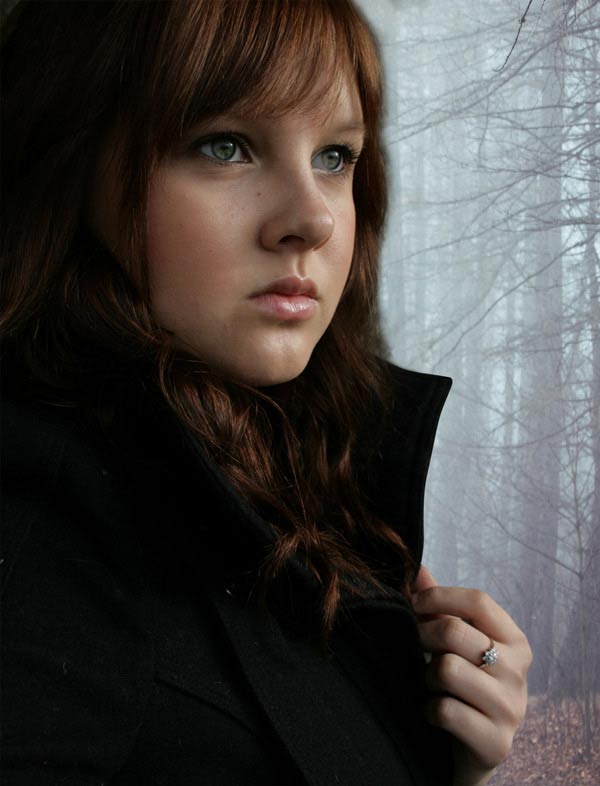
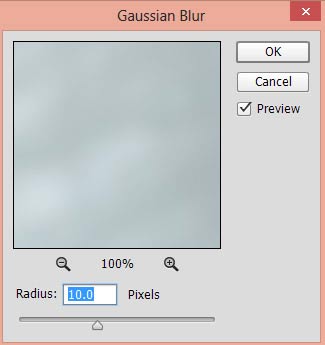
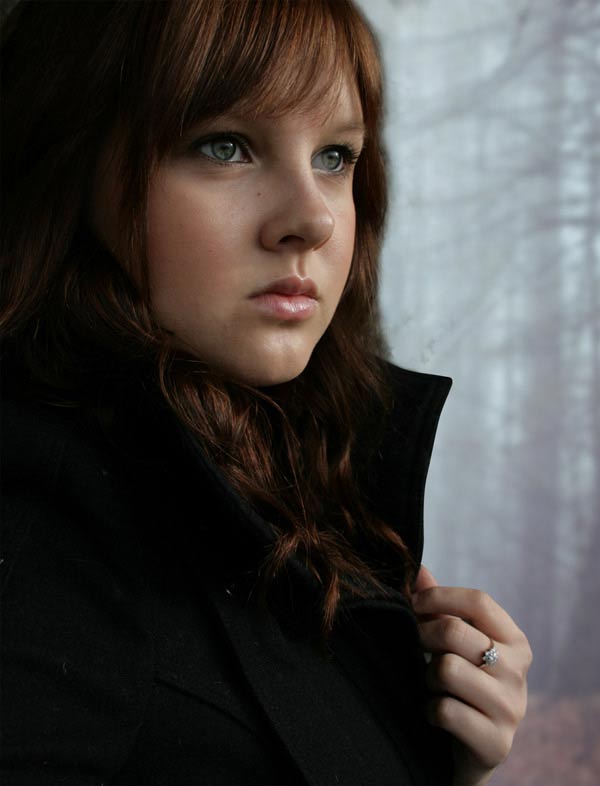
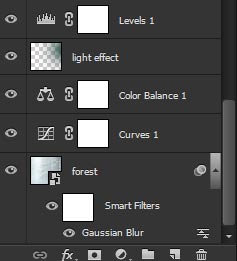
Convert the forest layer into Smart Objects. Go to Filter > Blur > Gaussian Blur and set the radius value to 10 pixels. The aim here is to add more focus on model by blurring the forest.
Results :
Step 5
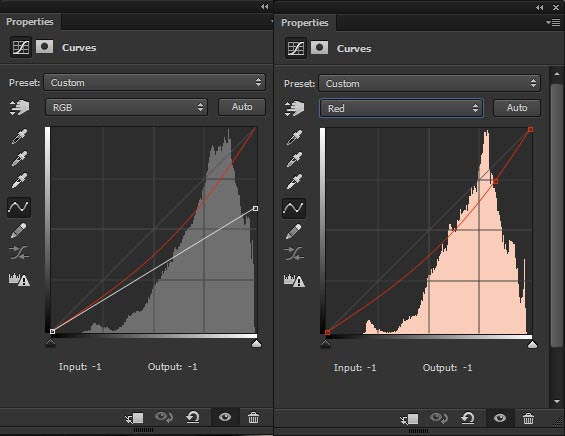
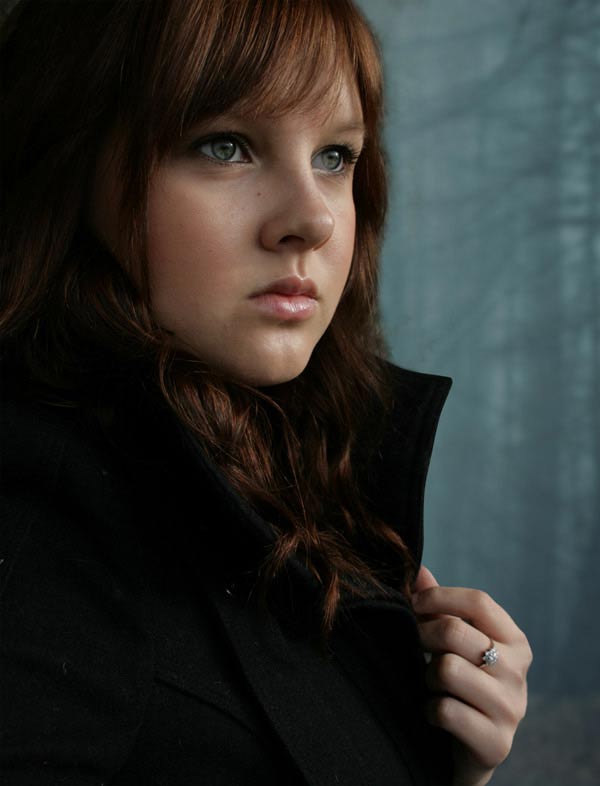
Make a Curves adjustment layer for forest. Use the RGB channel to darken the forest and Red channel to add cyan color tones to forest. You can add an adjustment layer by clicking on third icon at the bottom of layer panel.
Results:
Step 6
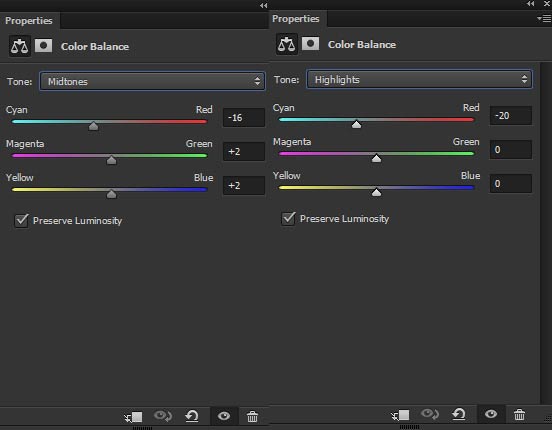
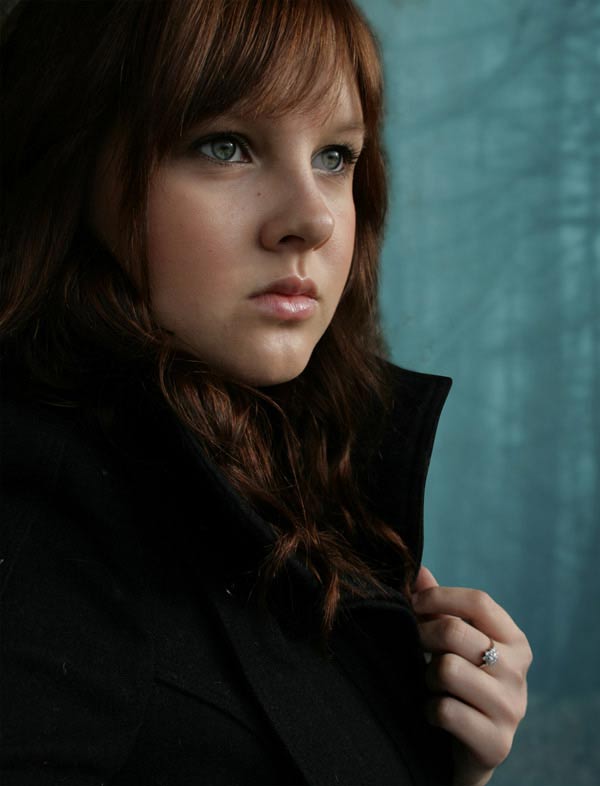
Make a Color Balance adjustment layer to forest and further enhance the color using the following settings :
Results:
Create the Light Effect
Step 7
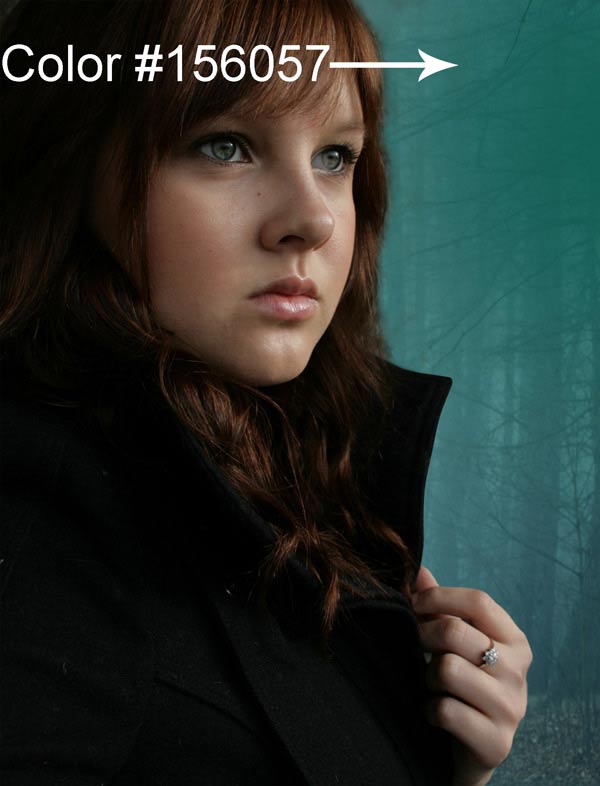
Create a new layer and name it ‘light effect’. Set the foreground color to #156057 and paint the brush stroke at the right top corner as shown below.
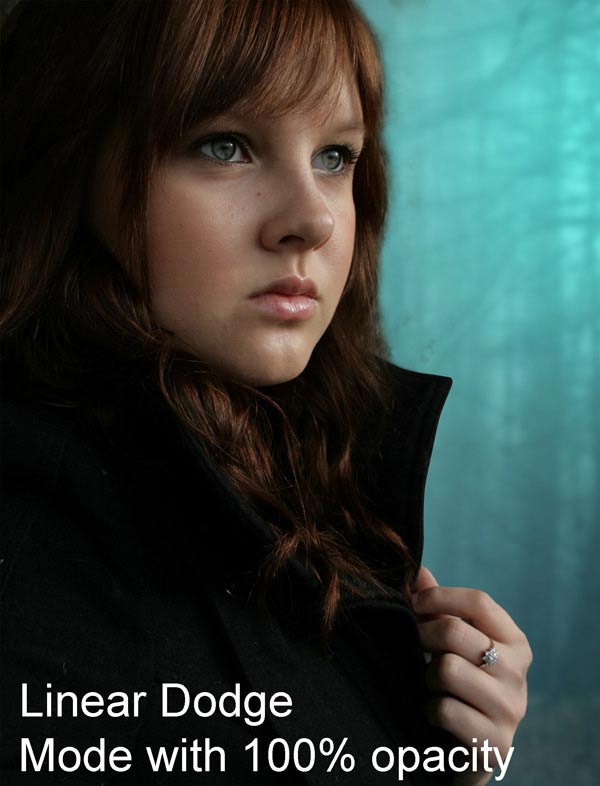
Set the blending mode to Linear Dodge to create a glowing light effect.
Step 8
Add a Level adjustment layer to darken the forest.
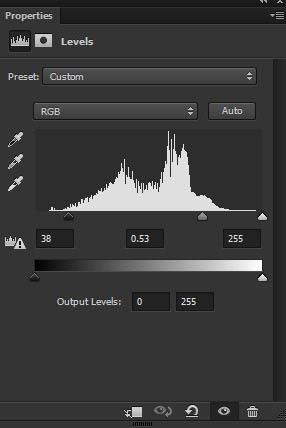
Results:
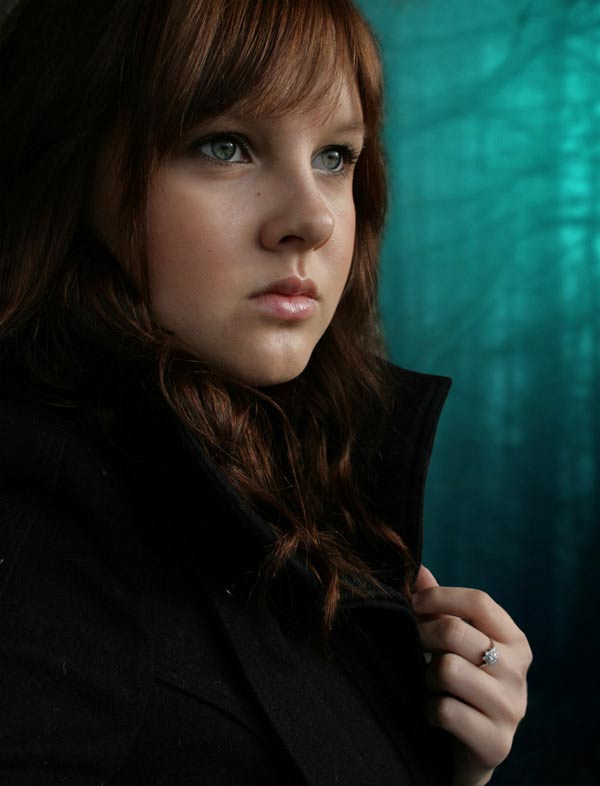
Layer Panel arranged so far:
Read our Halloween Witch Photo Manipulation tutorial to learn how to paint hair.
Fixing Hair
Step 9
Open up the hair PSD File in Photoshop. Choose the brown hair and place it below the model layer. You can also use the Transform Tool (CTRL + T) to tweak and make it fit nicely with the existing hair.
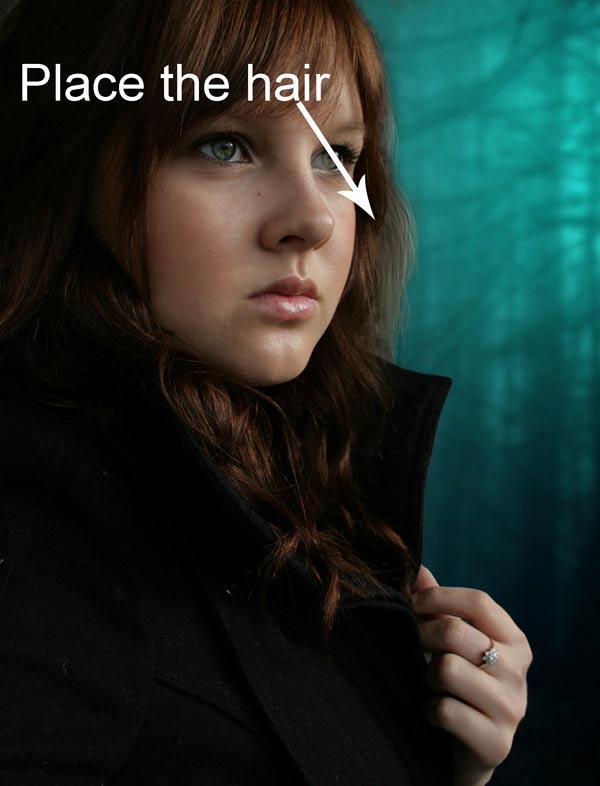
Step 10
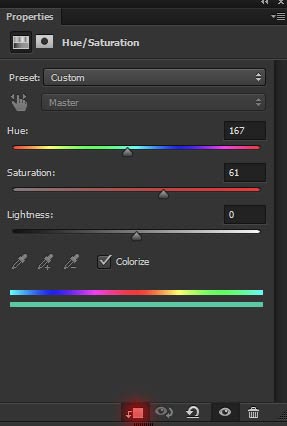
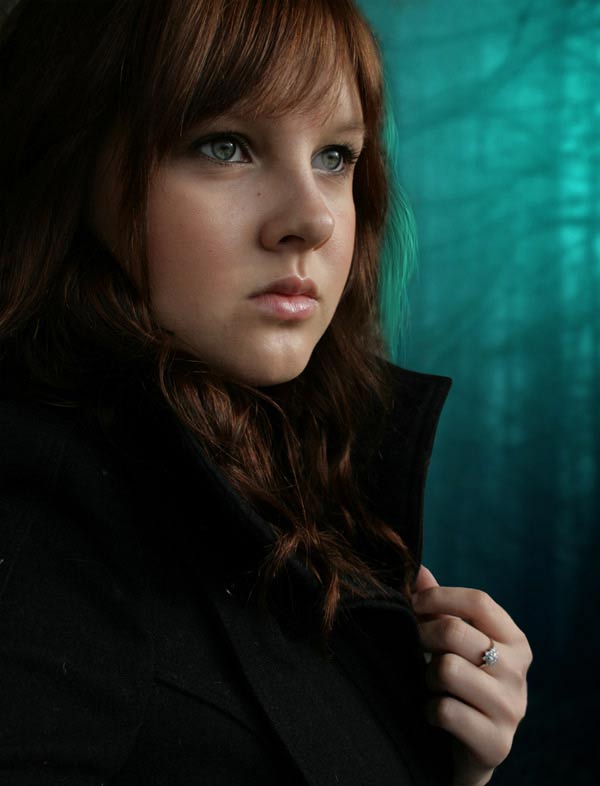
The right part of the hair will be illuminated by the light source. We need to add light to that part to create the light reflection. To do this either you can paint the light on the hair or I’ll use a Hue/Saturation adjustment layer. Use the Hue/Saturation and colorize the hair using the following settings. Don’t forget to use it as Clipping Mask (press the red icon).
Results :
Step 11
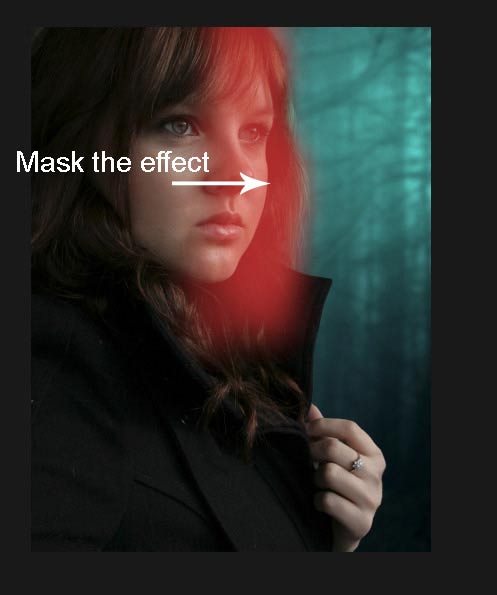
Since not all hair needed to be colorized (only the right part), then hide the effect on the highlighted part of the hair. On the layer mask of Hue/Saturation, use a soft, basic black to erase the effect on the highlighted part of the hair.
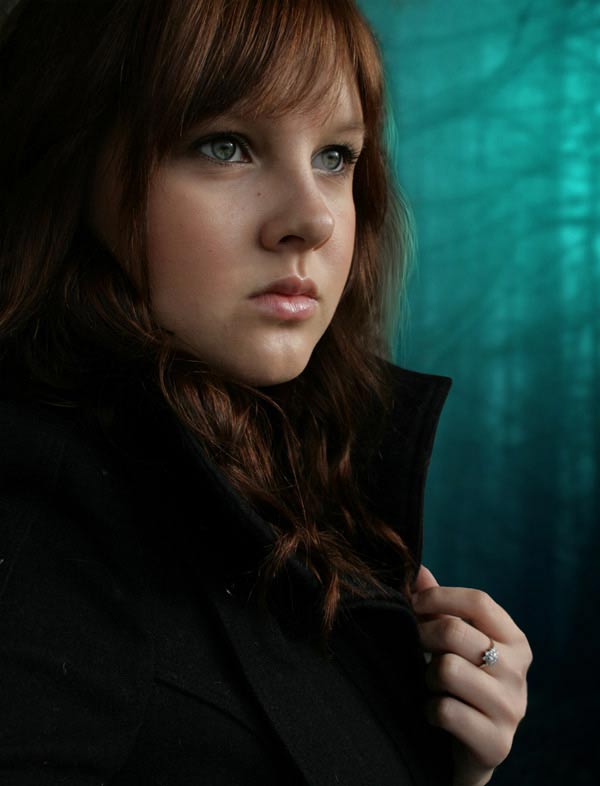
Results with added light effect on the hair:
Step 12
I used a Curves adjustment layer to darken the hair little bit.
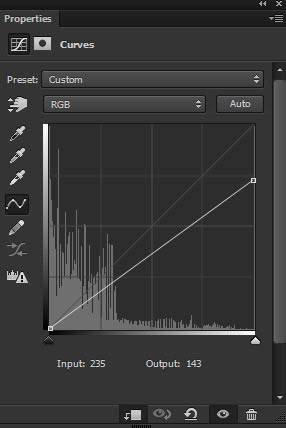
Results:
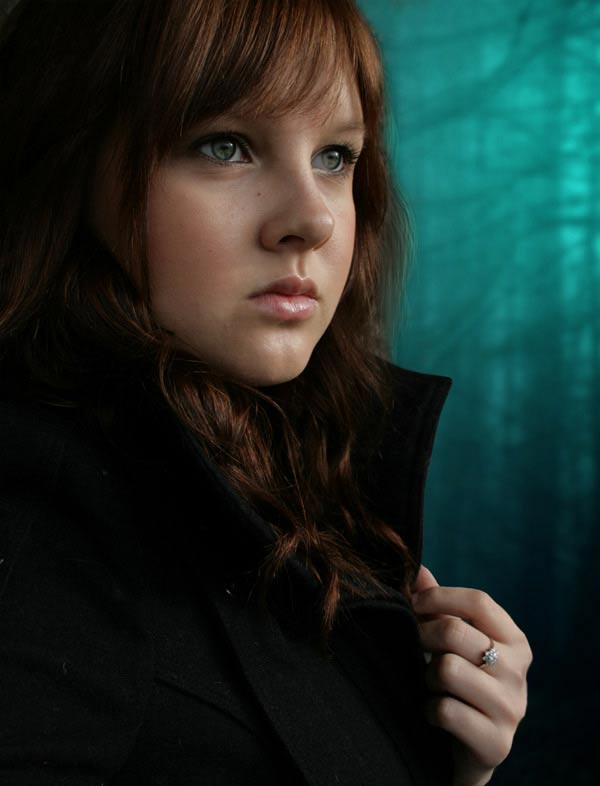
Step 13
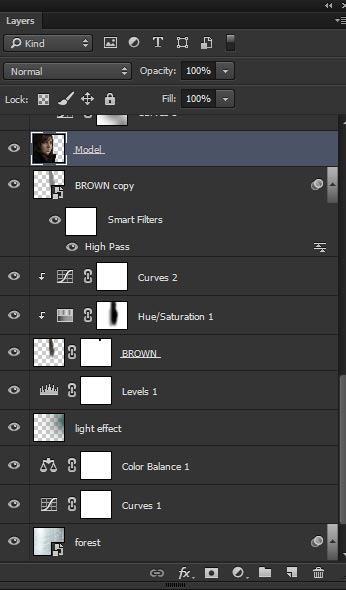
You can notice that added hair is blurred and not have enough sharpness like we see in the model hair. To add sharpness to added hair, we’ll use High Pass filter. Duplicate the brown hair layer and place it above the original one. Then go to Filter > Other > High Pass and give the following values to add sharpness to hair.
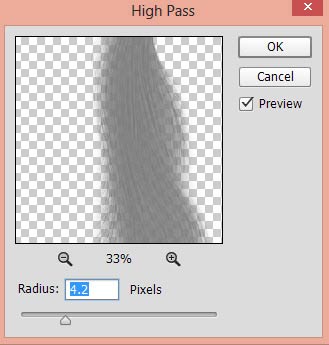
Set the duplicated hair’s layer blend mode to Overlay.
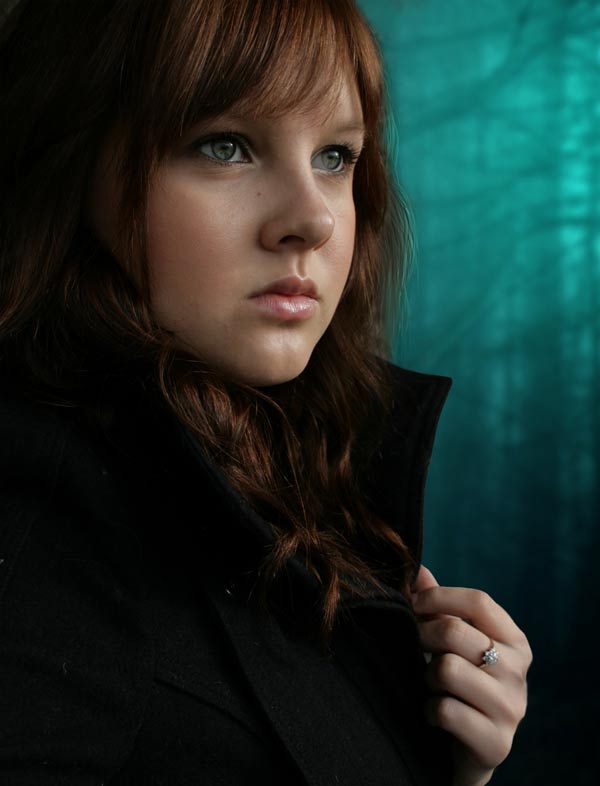
Layer panel arranged so far:
Step 14
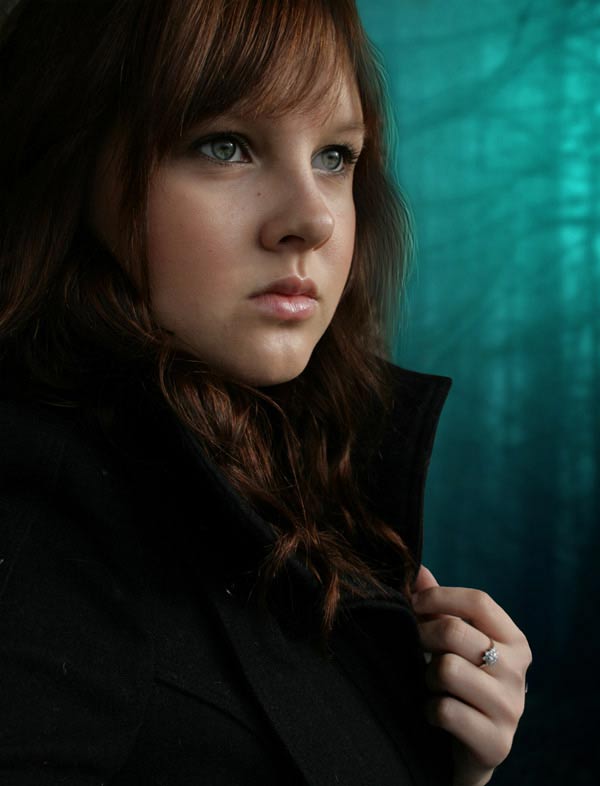
Select the model layer and add a mask to it. Mask the existing model hair to blend the hair nicely with added hair. Use a soft round black brush with lower opacity for blending the hair nicely.
Step 15
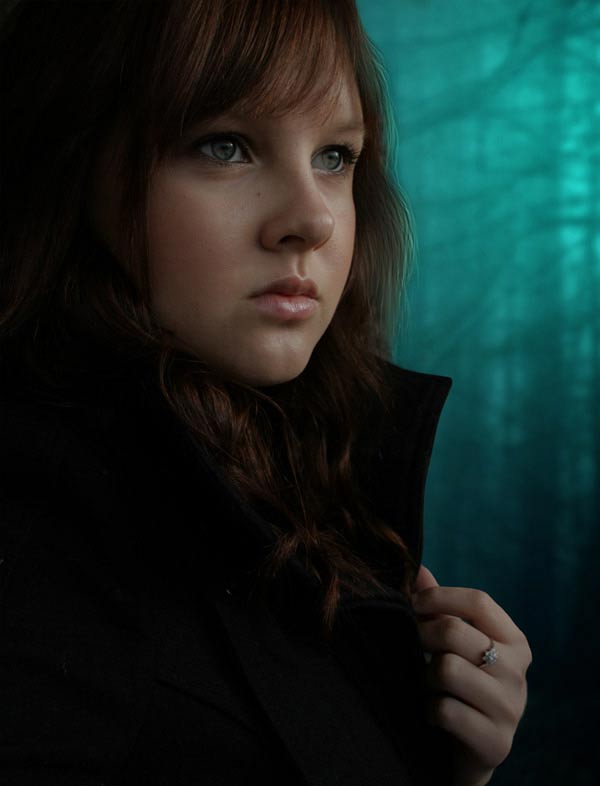
Done with everything background, hair and light. It’s time to adjust the model with the background. First, add a Curves adjustment to reduce the brightness of model.
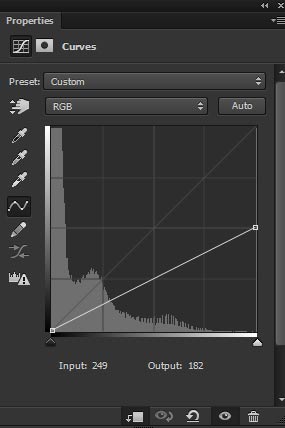
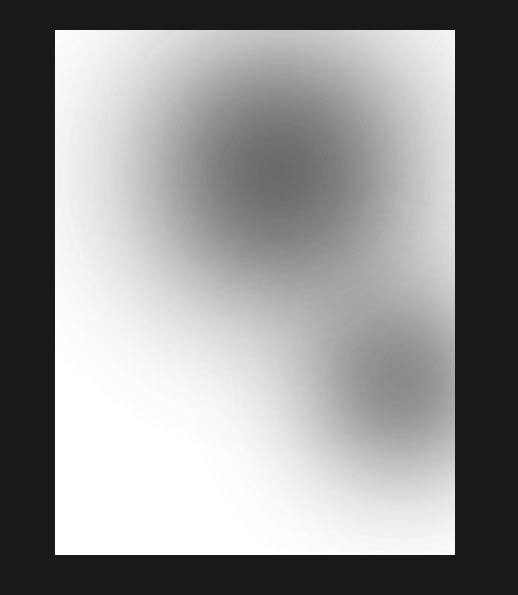
On the layer mask of Curves, erase the effect on the highlighted area to maintain light there. Use a soft round black brush to mask the effect on the face, hair, cloths and mostly on those areas that are close to the light source.
Step 16
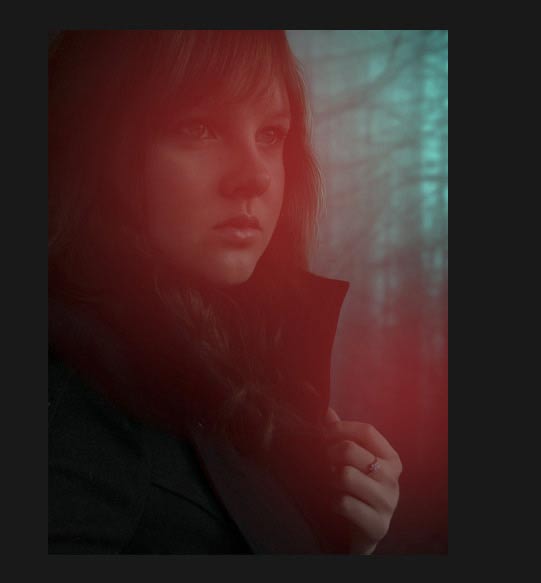
Here are the results after using Curves for model :
Here you can see the results on layer mask:
Step 17
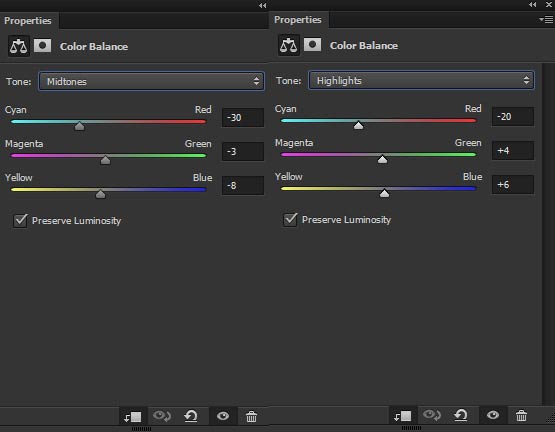
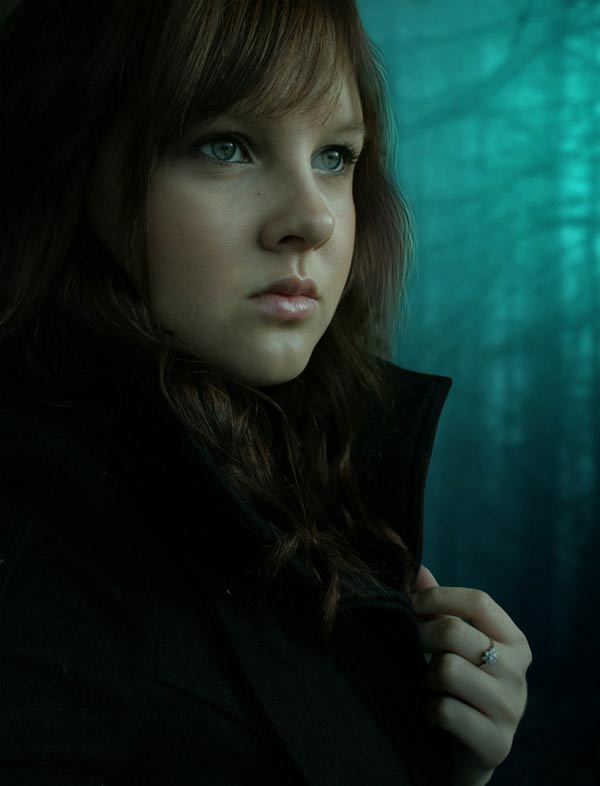
Make a Color Balance adjustment layer for model and continue matching the color with the background. Only change the values of Highlight and Midtones.
Results :
Step 18
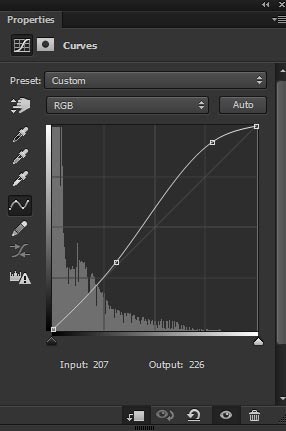
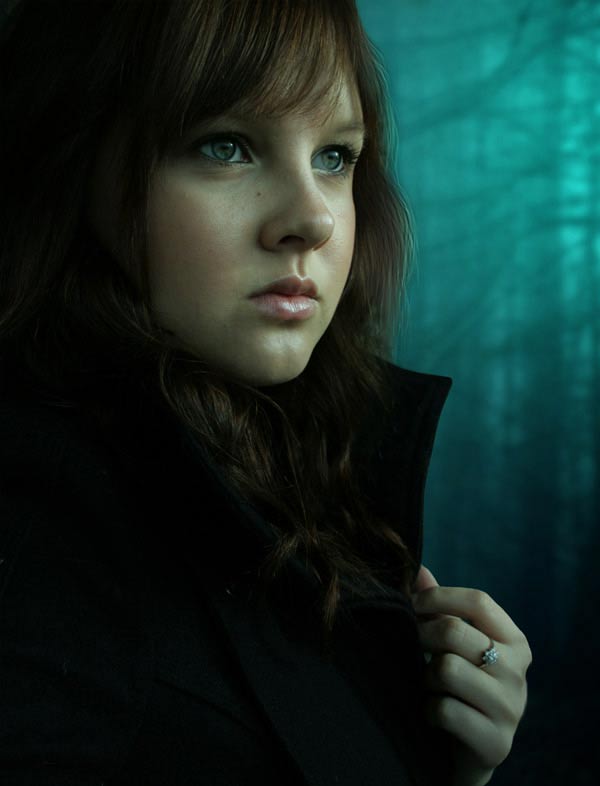
I used a Curves adjustment layer again to increase the contrast on the brighten parts of the model (mostly on the model’s face).
Results:
Step 19
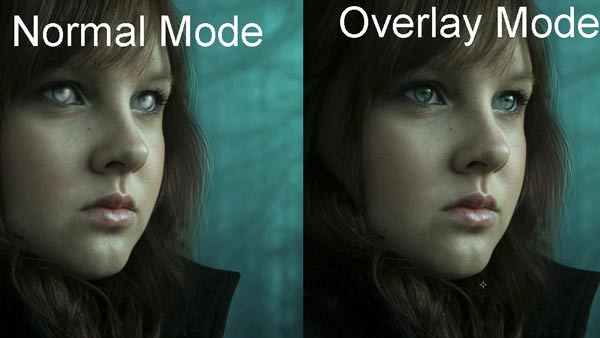
On a new layer with blend mode changed to Overlay, I painted the lights on the model’s eyes using a soft white brush. Use the white brush with lower opacity and flow around 40-50%.
You can compare the before and after results :
Step 20
Create a new layer and name it ‘lips lights’. Change the foreground color to #955369 and paint the lights on the model’s lips. You can also paint lights on the model’s chick using the same color.
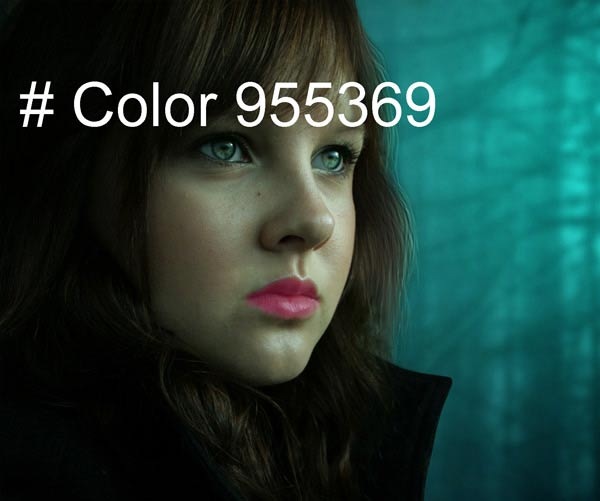
Change the blend mode to Soft Light.
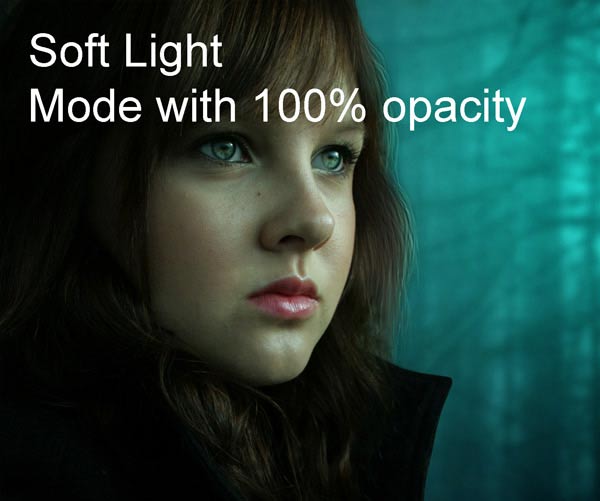
Step 21
I duplicated the lips light layer to stronger the effect on lips. But this time I reduced the opacity to 50%.
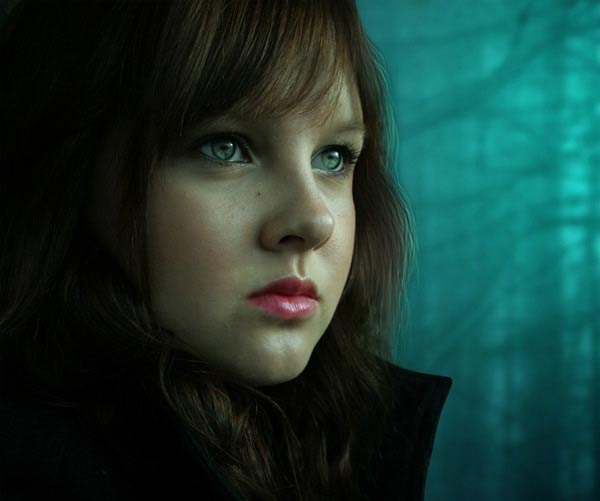
Step 22
I notice unwanted details on the model’s hair and it can mess later while refining the shade and light on the model.
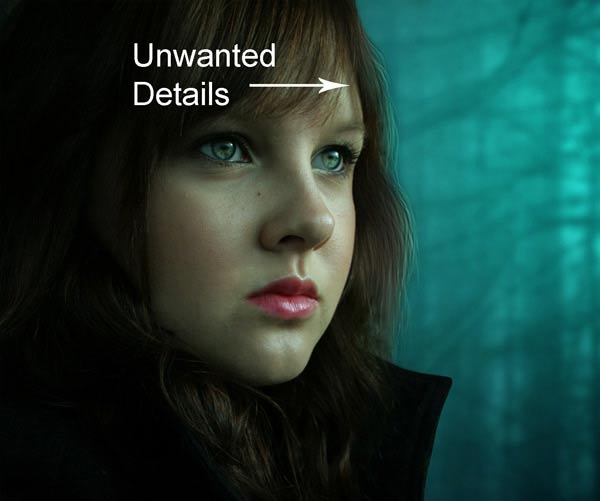
I created the new layer and using the soft black brush, I darken this part. I name this layer ‘hair fix’.
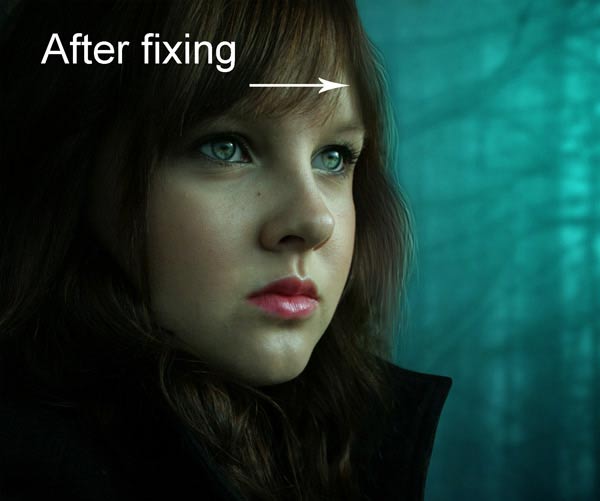
Step 23
Create a new layer and name it ‘hair light’. Now gradually paint the light illumination on the hair using a soft round white brush.
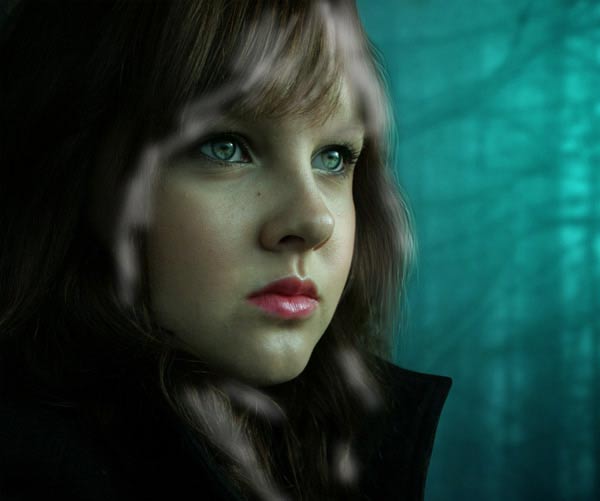
Change the blending mode to Overlay.
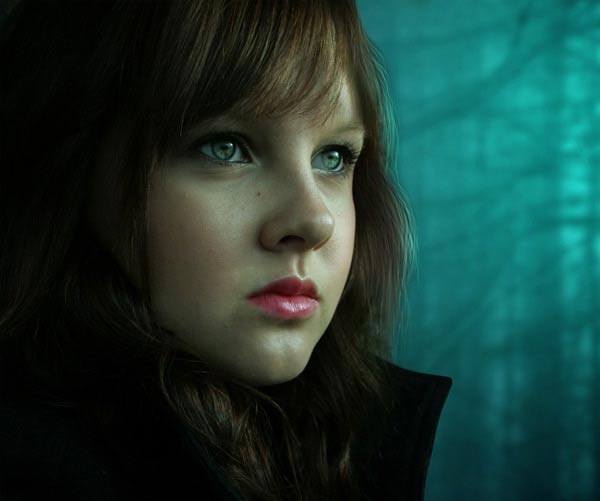
Step 24
Create a new layer and name it ‘hair’. Set the foreground color to #704625. Now using the 1-2 pixels soft brush paint the hair as shown below.
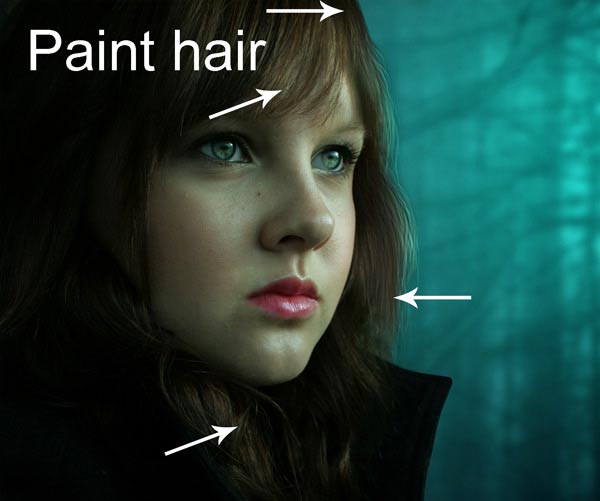
Results so far:
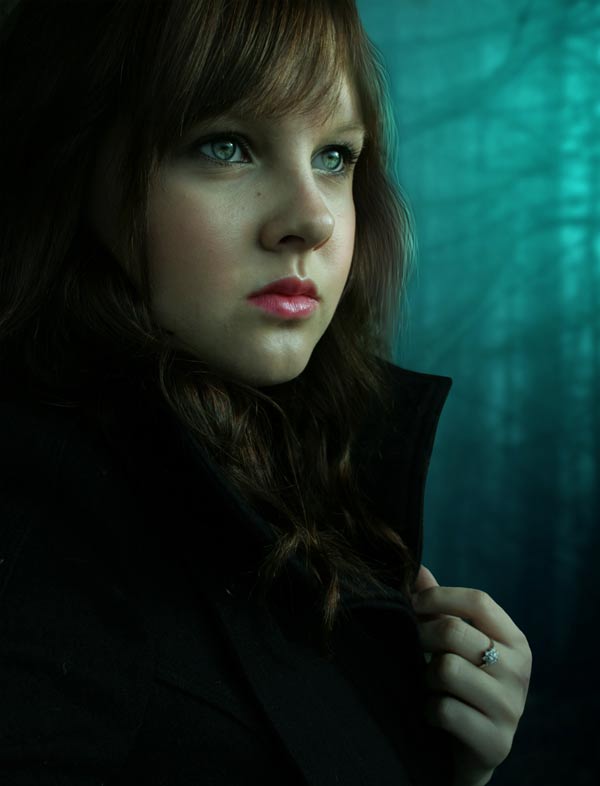
Step 25
Create a new layer and fill this layer with 50% gray color, change the blending mode to Overlay.
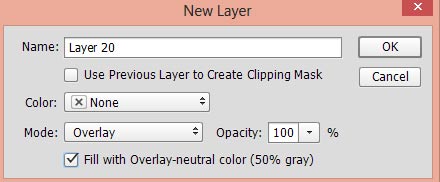
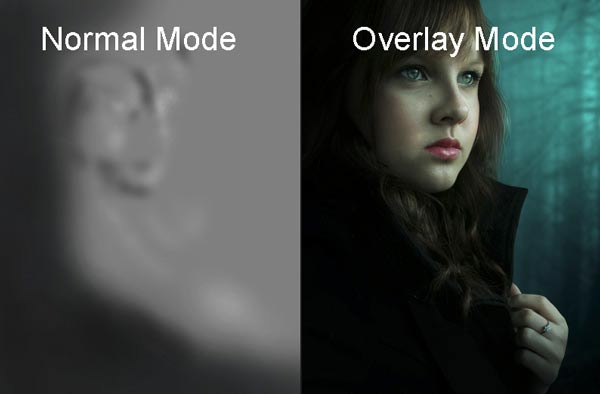
Activate the Dodge Tool (O) with Midtones Range, Exposure about 9-12% to refine the light and shade on the model. Use the Dodge Tool (O) to bring more light on face, hair, hand and to cloths. Similarly use the Burn Tool (O) to strengthen shade to those parts which are less illuminated by the light source like the back parts, behind the nose and left chick, little bit under the eyes, chin and eye brows (left).
You can see how I did it in both modes.
Step 26
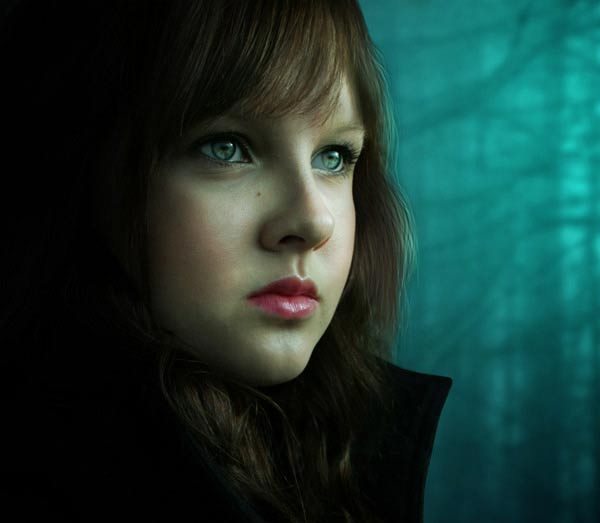
After dodging and burning I painted details of lights on the model’s skin using the same technique as we did for hair. I used the white color with Overlay layer blend mode. I named this layer ‘face lights’.
Here are the results on skin:
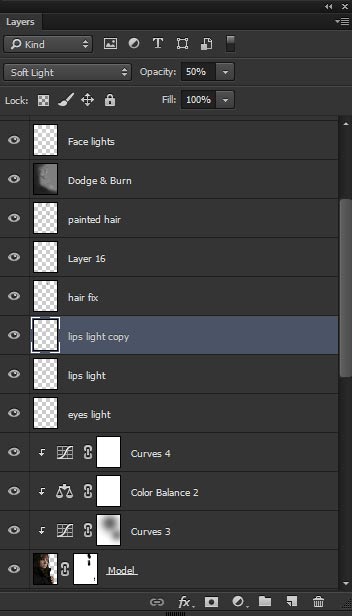
Layer Panel Arranged so far:
Step 27
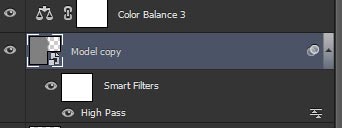
Duplicate the model layer and place it above all layers. Use the High Pass filter with the following values to add sharpness to skin.
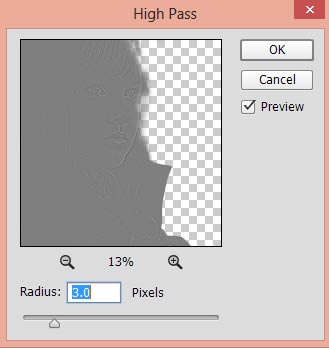
Change the blend mode to Overlay and reduce the opacity to 51%.
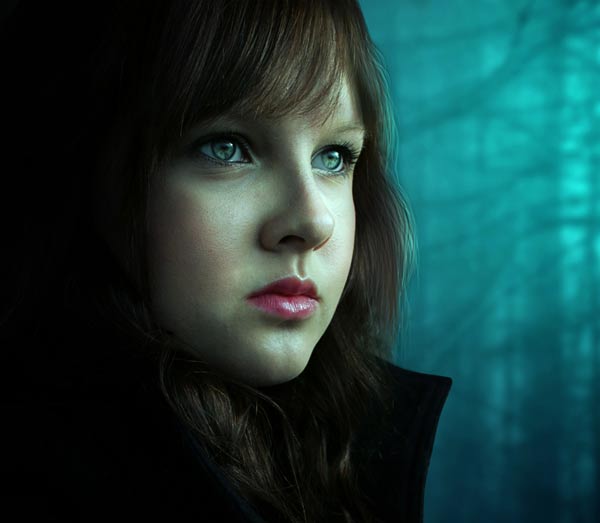
Step 28
Finally, make a Color Balance adjustment to enhance the overall colors.
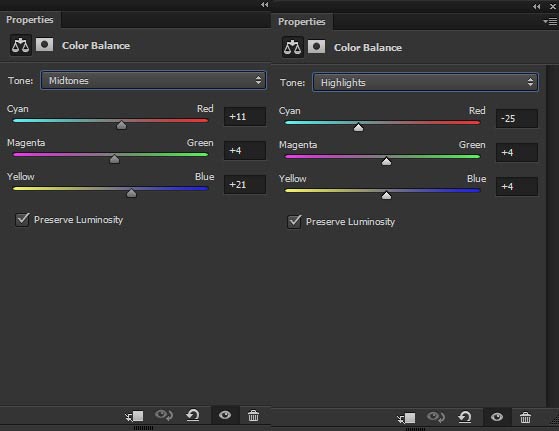
Results:
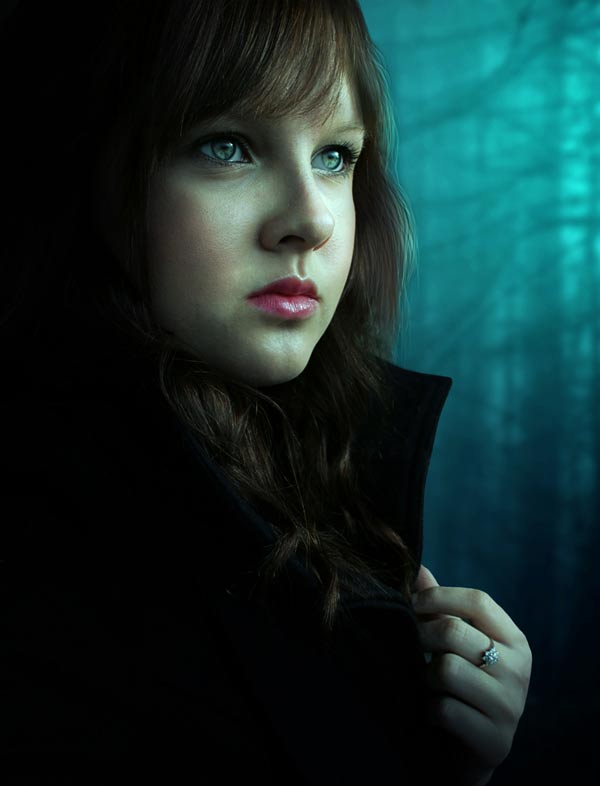
Layer Panel arranged:
Conclusion
Thanks for following the tutorial. Hope you like it and if you have any question then just drop a comment. If you like the tutorial then don’t forget to share it with the world. Just press social media icon on your screen. Have a great day!
Need Help With Photoshop or Looking for Professional Support?
Whether you're just getting started with Photoshop or need expert-level assistance, we're here to help! Contact us for personalized Photoshop tutorials, project support, or creative services.
Get in touch today to take your skills or projects to the next level.
CONTACT US NOW
