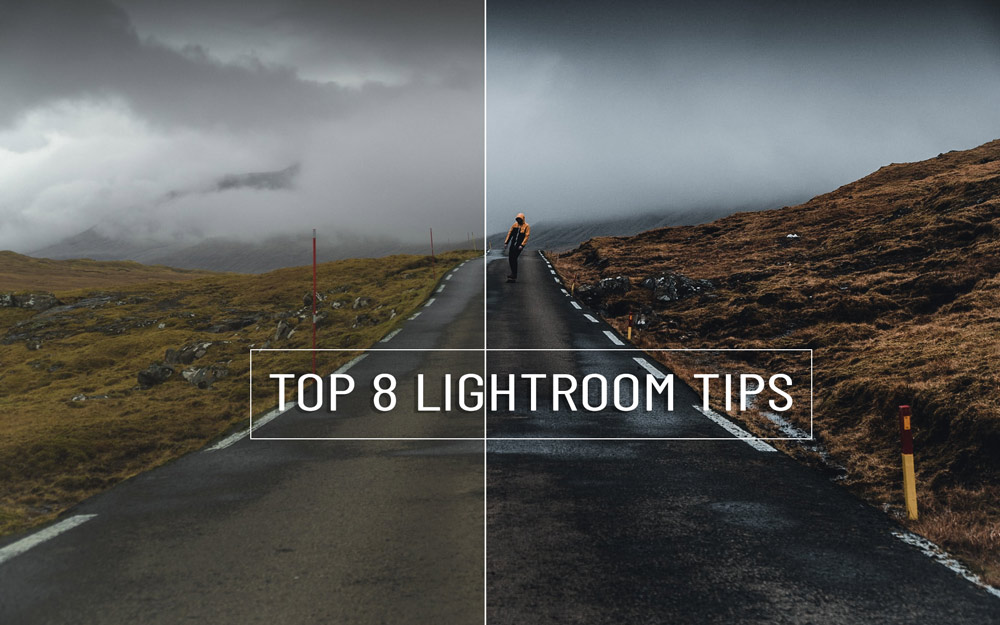

Lightroom is one of the most popular photo editing programs among photographers. 95% of photographers can get the job done only using Lightroom and they don’t even need to open Photoshop. That shows how versatile and popular Lightroom is in the photography community.
In this tutorial, you’ll learn the top 10 tips that will help you expedite your editing workflow in Lightroom. These are the tips that you might not be using during your post-production process but I highly recommend using them to save the time and effort that you are making to level up your photography.
Tip #1 – Auto Tone
Auto Tone is one of the most underrated features of Lightroom but for beginners, it can serve as a good starting point. If you are just getting started with Lightroom, this feature can save you loads of time. What it does is fix the exposure of the photo by adjusting Highlights, Shadows, Blacks & Whites. The algorithm tries to determine the best possible results for your photo and then you can tweak it to suit your image.
You can find this option under the Basic Panel:

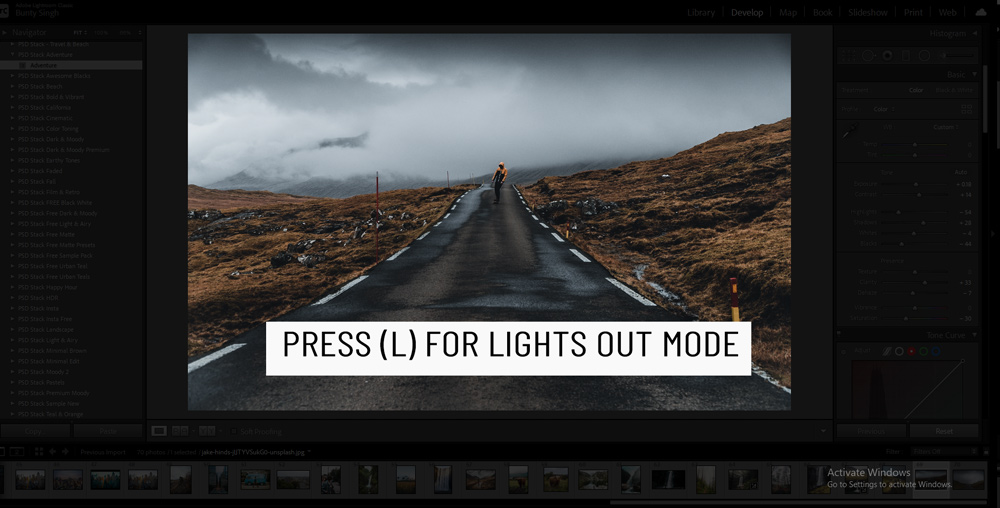
Tip #2 – Lights Out Mode
Lights out mode can help you see your edit without any distractions. You can press (L) Key to activate the Lights Out Mode and it will black out your screen allows you to see the image without any distractions. You can press (L) key once to Lights Dim Mode and twice for full screen Lights Out mode. Yet another press of (L) will take you out of the Lights Out mode.
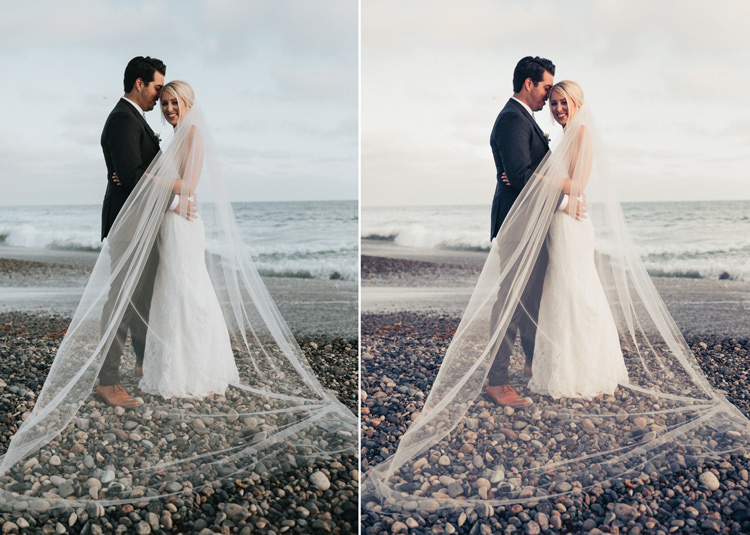
Tip #3 – Before/After Comparison View
It is always a good idea to see the before/after view of your image that you are working on. It helps keep track of your progress and helps you see the things that you can’t while working on single view mode. With Before/After view, you can see on which details the changes are being made, does the original look better, how the colors are looking, and lots of other stuff.
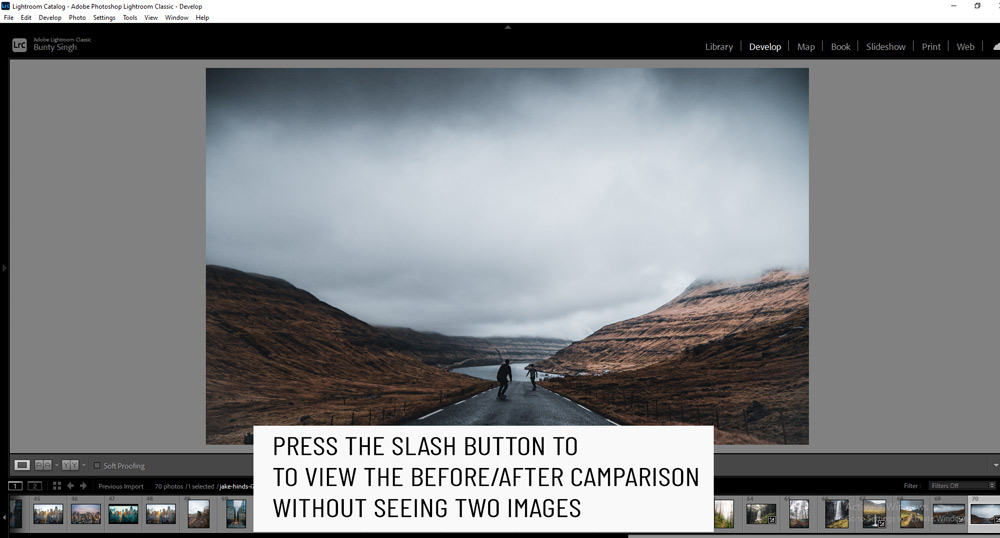
Press (Y) key to activate the Before/After Comparison View Mode, you can also set how you’d like to see comparison view such as left/right, top/bottom all can be selected by clicking the (Y|Y) icon at the left bottom of the editing screen.

If you just want to switch between before/after views without seeing two images, simply press the Slash Button (\). This will give you a before/after comparison in one image and you don’t have to look at two images.
Tip #4 – Clipping
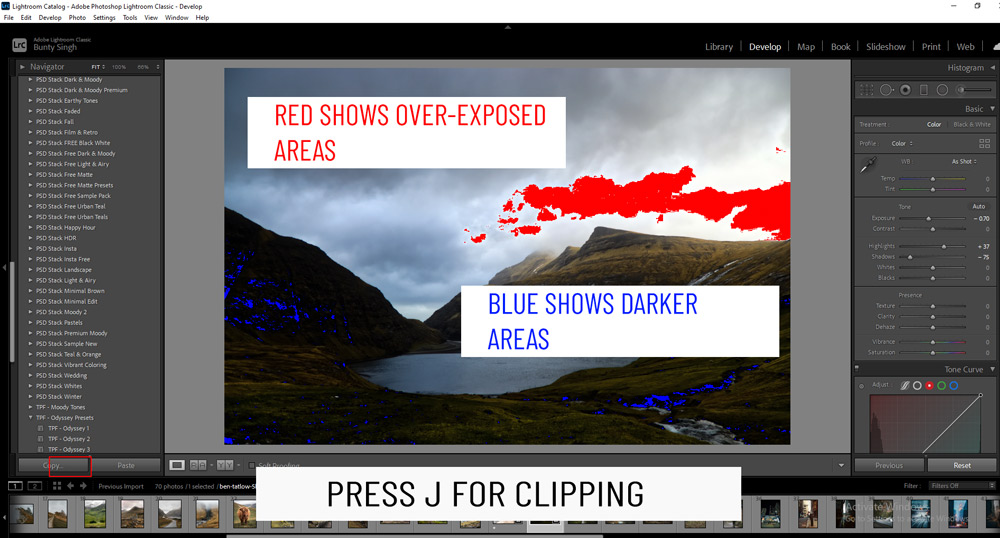
Highlighting clipping is a way to identify darker (way too darker) and brighter (way too brighter) areas in images. Usually, you can’t see where things are way too darker or brighter that’s why Clipping can help you identify these areas.
Press (J) key to activate clipping:

When you press the (J) key, you’ll see areas in two colors, only if your image has clipping, Red shows overexposed areas and Blue shows darker areas of the image. These are the areas where you might be losing a lot of details and clipping can help you pull information from these areas by identifying them if you want to recover details from your photos.
Tip #5 – Crop Mode
To enter Crop Mode, press the (R) button and you’ll see crop handles surround your images.

You can cycle through different crop modes by pressing (O). Once you made the changes, press the (R) button again to exit crop mode.

Tip #6 – Ratings
If you want to rate or classify your photos into different groups, Star Ratings and Color Ratings can help you. You can apply star ratings by pressing keys 1 through 5. Color ratings are applied with keys from 6 through 9.
Make sure to turn on Caps Key as this tells Lightroom to jump to the next rated or color labeled photo without having to advance to the next photo with the arrow keys or mouse.

Tip #7 – Radial & Graduated Filter
A radial filter helps you apply local effects to only a part of the image. It creates a circle, applies local effects only inside the circle and it’s feathered so the remainder of the image remains untouched.
Press Shift + (M) to activate it and create a circle by dragging the mouse and then apply the local effects from the right side of the screen. For a perfectly round circle, hold down Shift Key and draw the circle in any direction.

The Graduated filter applies local effects in a transition. Press (M) to activate this tool, place the cursor at the point of the image where you want the effect of the filter to begin, then drag it in any direction. So basically, you can create a starting point and fading point to apply this filter. You can hold down the Shift Key to keep the filter horizontal.

Tip #8 – Black/White Mode
If you want to quickly convert your image into Black/White, press the (V) key. It will quickly switch between black/white mode.

I hope you enjoyed these tips. I hope these tips will help you to speed up the Lightroom editing workflow. If you have questions please comment below.
Need Help With Photoshop or Looking for Professional Support?
Whether you're just getting started with Photoshop or need expert-level assistance, we're here to help! Contact us for personalized Photoshop tutorials, project support, or creative services.
Get in touch today to take your skills or projects to the next level.
CONTACT US NOW📘 Want to Master Photoshop Faster?
🎁 Get Your FREE PDF E-Book "Top 10 Photoshop Tricks Every Designer Must Know" Now – Packed with expert tips, shortcuts, and techniques to boost your creativity & workflow.
👉 Download Your FREE PDF E-Book NOW!