


In this tutorial I’ll show you how you can add fantasy soft light effect to your photos in Photoshop. You will learn how you can soften skin without blurring it, reducing skin flaws and blemishes and working with beautiful soft light effects. You’ll also learn how you can use adjustment layers to make your ordinary photos more beautiful.
Tutorial Resources
Step 1
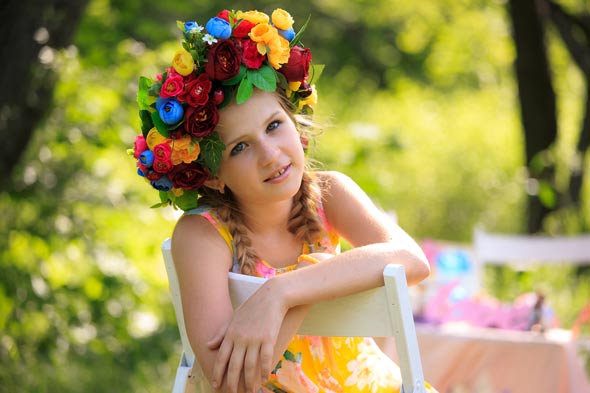
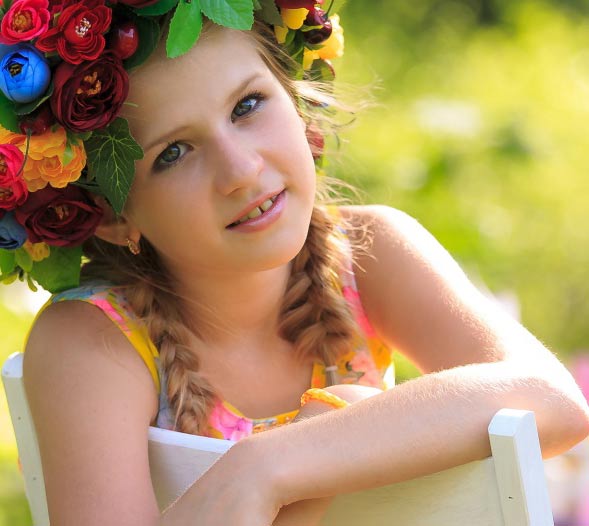
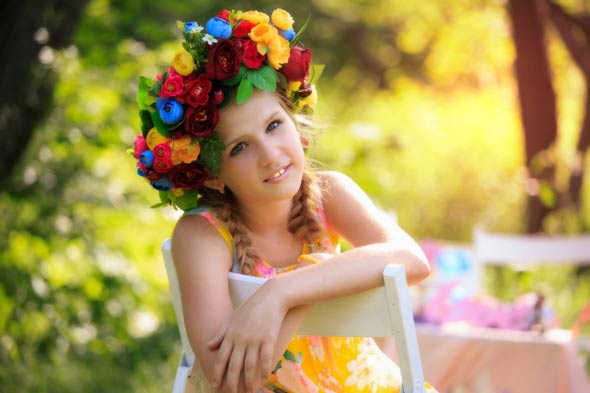
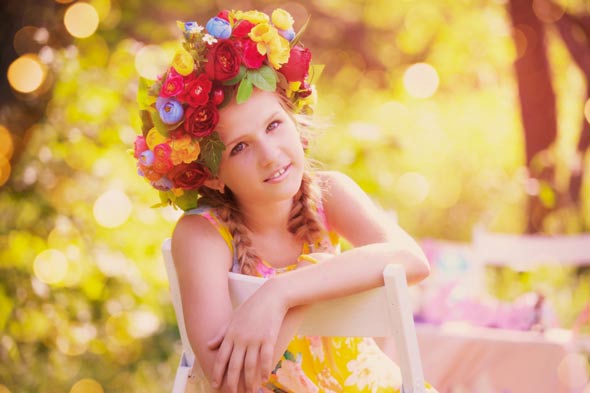
Let’s start by opening up your photos in Photoshop. I am using girl image for this tutorial and but you can use any photos to get started.
Here we have the image of girl opened in Photoshop.
Step 2
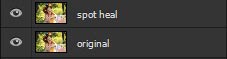
We’ll first retouch the skin and we’ll clean up all the spot from the skin using Spot Healing Brush Tool (J). But before we do that, I recommend you to duplicate the girl layer and it’ll help you to keep the backup of original layer (in the case of anything goes wrong). So duplicate the girl layer and name it ‘Spot Heal’.
Step 3
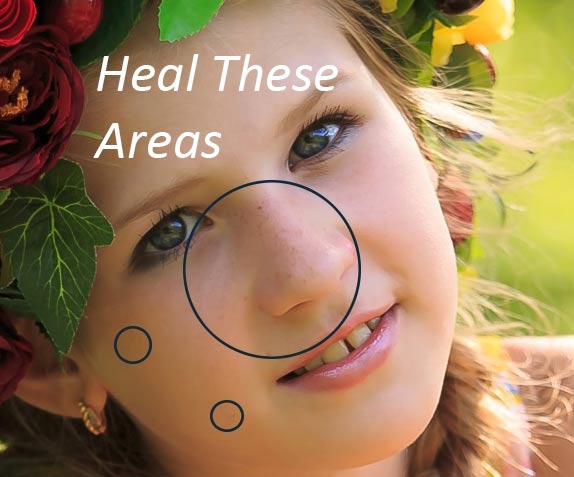
Now activate the Spot Healing Brush tool by pressing (J) on the keyboard. If you are not familiar with this tool and then you can read our Photoshop Basic level tutorial to get used to it.
In the below image blue circle indicating blemishes and spots on the skin. We should use Spot Healing tool exactly on these parts to heal the spots. To heal the spot just simply click on it and heal it.
Step 4
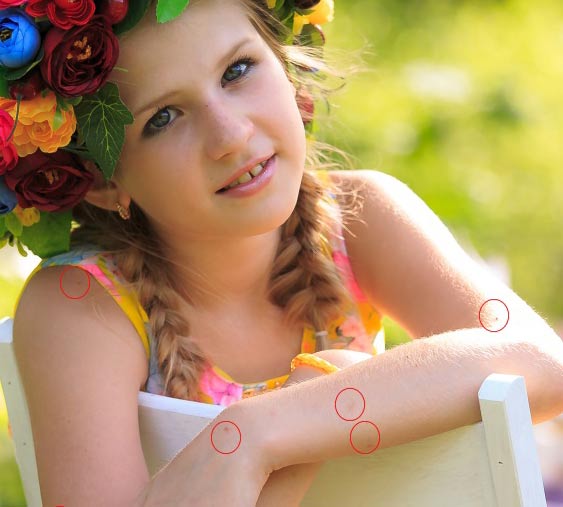
You may notice there is also unwanted spot on the hand and arm of the girl as indicated by red circle. Use the Spot Heal brush as well here to heal the spot. You can also use the Clone Stamp tool (S) to retouch skin. Have some patience while retouching the skin.
Step 5
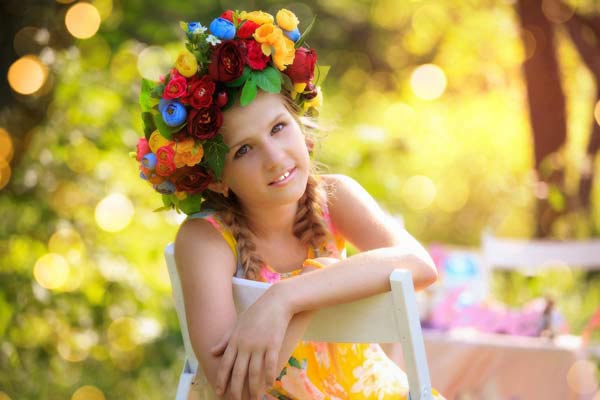
Here are the results on the girl with healed spot and reduced skin flaws.
Here are the overall results.

Softening the Skin
Step 6
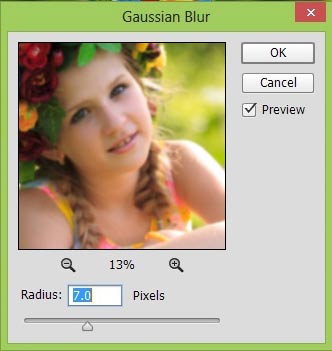
The girl skin looks perfect and now we are going to soften it using Gaussian Blur filter. So first duplicate the ‘Spot Heal’ layer and rename it ‘Blur’. Now select Filter > Blur > Gaussian Blur and then set the radius value to 7px. The radius value is not fixed to use, you can alter the radius value according your needs.
Step 7
Here is the blur layer with 100% opacity.

Now reduce the opacity to 30% and here are the results with the softening effects. You can also play with opacity to determine that how much blur you needed on the photo.

Step 8
Using the Gaussian Blur filter we have got the soften skin but there are some parts of the girl that needed to soften. We’ll soften all the parts of girl where it should be, by manually applying Gaussian Blur filter to each portion of skin. We’ll do that using Lasso Tool (L) . So activate the Lasso Tool (L) and set the feather value to 20px on the option bar.

Step 9
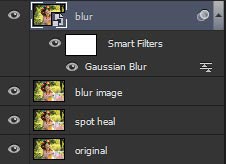
Now duplicate the ‘Blur’ layer and name it ‘blur image’. Drag it below the ‘Blur’ layer using Move Tool (V).
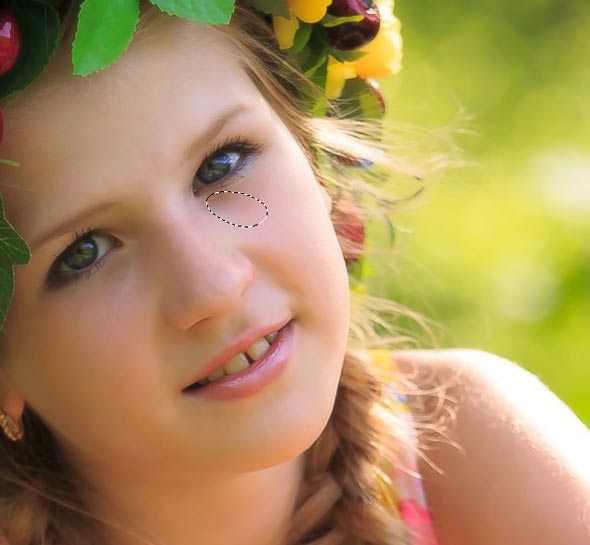
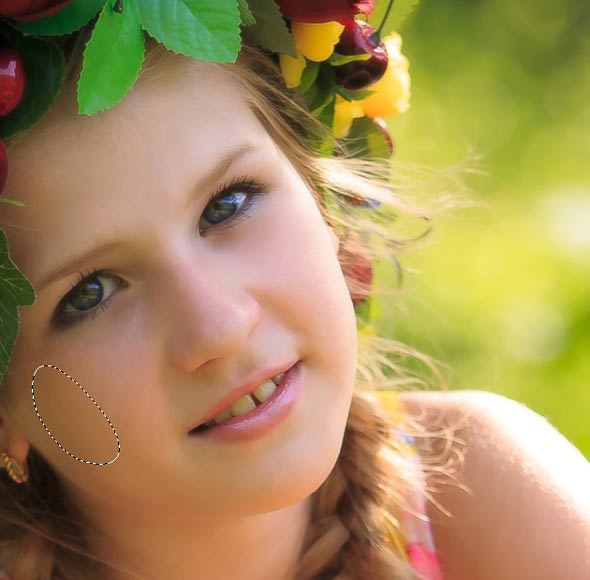
Now make the selection of those parts of the skin, where you think that there skin needed to soften (make sure you’ve selected the ‘Blur Image’ layer). Like I found it under the right eye and then I selected that portion using Lasso Tool (L) . After that go to Filter > Blur > Gaussian Blur and set the radius value to 5px (feel free to set it according to your needs) and then soften that area.
Here are the results with soften skin portion.
Step 10
Use the same techniques to soften the parts on chicks, forehead, hands and arm of the the girl. Remember that use the same amount of Gaussian Blur value.
Here I soften the chicks.
Step 11
Here I used the blur on forehead.
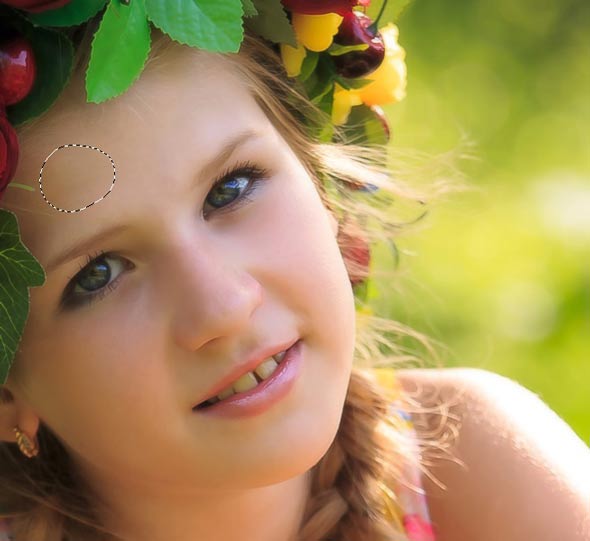
Similarly, I applied the blur wherever I want the soften effect. Here we’ve have the image after applying Gaussian Blur filter.

Adding Light Effects
Step 12
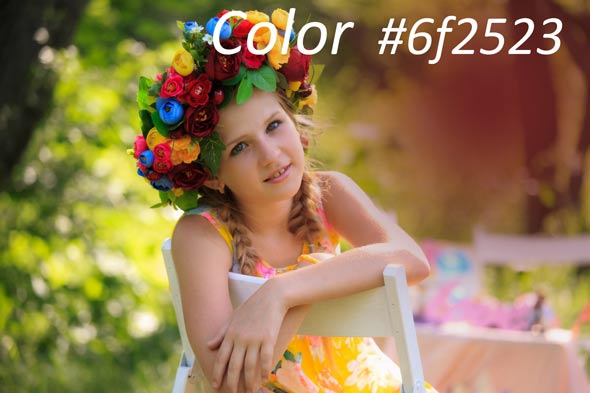
Time to create a beautiful glowing light effect for the girl. Create a new layer by pressing (CTRL + ALT + SHIFT + N) on the keyboard. Activate the Brush (B) tool and change your foreground color to #6f2523 .
Using soft round brush to make a brush stroke as shown in the image below.
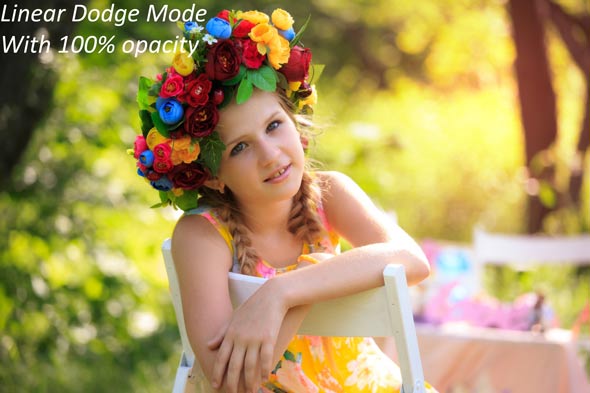
Change the blend mode to Linear Dodge and here are the results with soft glowing light effects.
Refining the Lights and Shade
Step 13
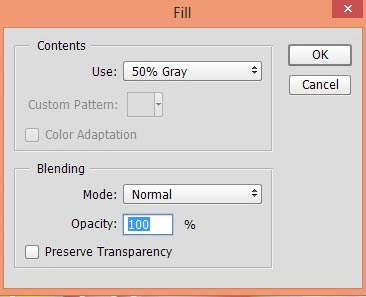
Now we’ll refine the shades and lights on girl non-destructively. Create a new layer again and then go to Edit > Fill > and then fill this layer with 50% gray color. Set the setting as shown in the image below. Name this layer ‘Dodge & Burn’. After that change the blend mode of this layer to Overlay.
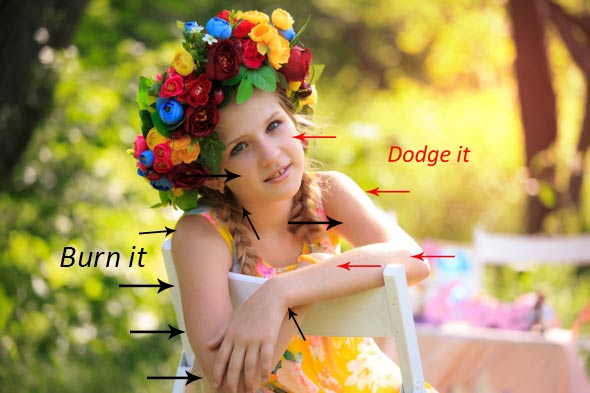
Activate the Dodge Tool (O) by pressing (O) on the keyboard. Set the range to midtones (on the options bar) and exposure to 5%. Now dodge (brighten) the highlights parts (brighten parts) of the girl using Dodge tool and burn the shadow parts using Burn tool (there are not enough shadow parts on girl, therefore, use burn tool little bit). You can also take help of arrow indication.
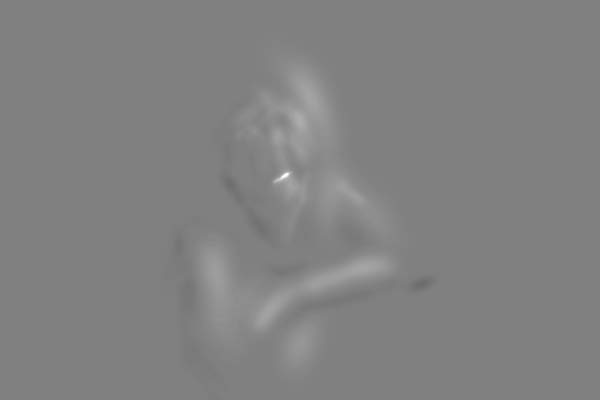
Here are the results on normal mode. You can clearly see how I did it.
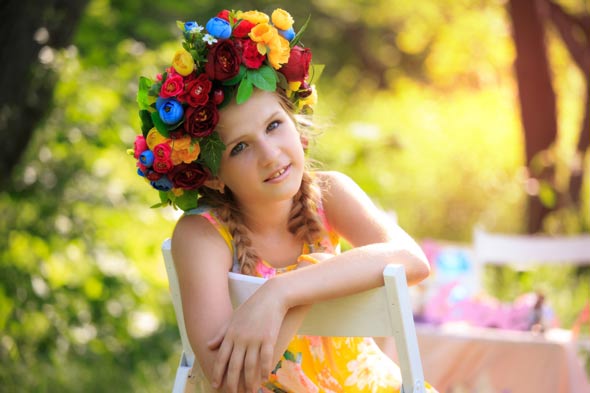
Here are the results on Overlay Mode.
Step 14
Teeth of the girl look yellow and I don’t want that. Use a soft round white brush to paint some white color on teeth to whiten them.
Create a new layer and name it ‘teeth color’, then paint some white color on teeth as shown in the image below.

Here are the results and you can also duplicate it for stronger effects. I also painted some lights on lips, eyelids using the same color in step 12 with Color Dodge blend mode.
Adding Bokeh
Step 15
Place the bokeh image to the main document.

Change the blend mode of bokeh layer to Screen. Use a layer mask to mask bokeh parts which are over the model.
Step 16
Create a new layer and set your foreground color to #6b2121. Grab the Brush Tool (B) and using a soft round brush paint some lights on flower crown.
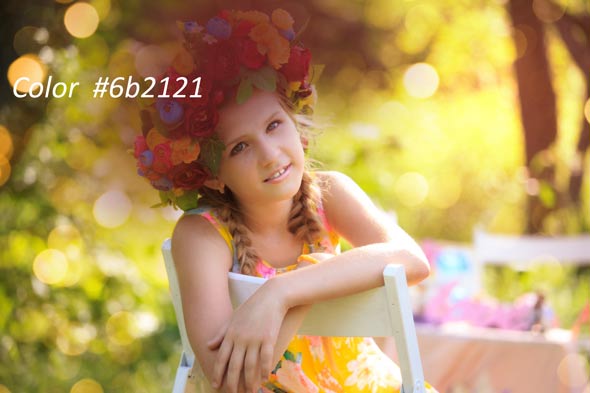
Change the blend mode to Linear Dodge and reduce the opacity to 70%.
Final Adjustments
Step 17
We are almost done but still lacking Final Adjustments for the tutorial. We’ll add adjustment layer to make your ordinary photo beautiful and fantastic. Here we go and add the Curves (select Layer > Adjustment Layer >Curves ) to increase the brightness.
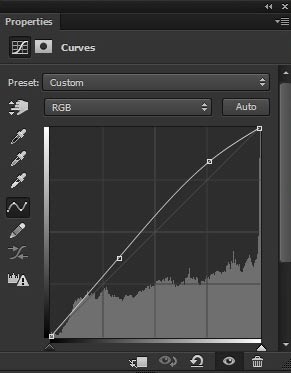
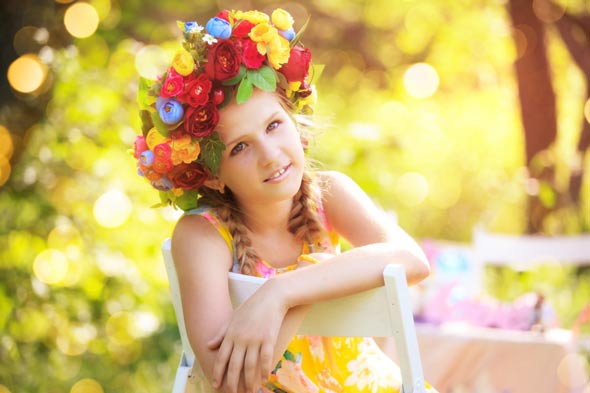
Here are the results.
Step 18
Make again a Curves Adjustment layer to add red and blue tones. Here are the settings.
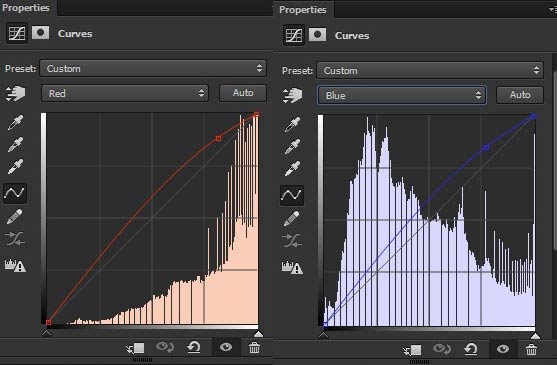
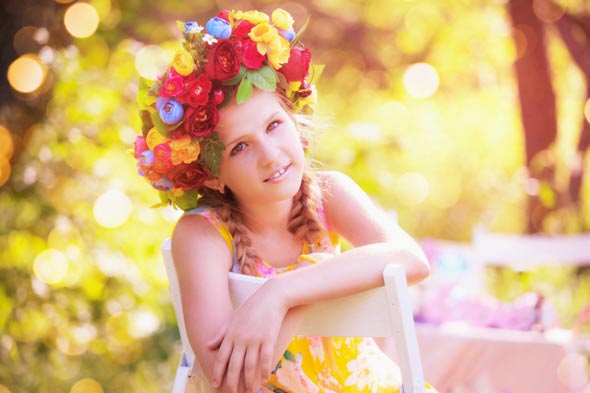
Here are the results.
Step 19
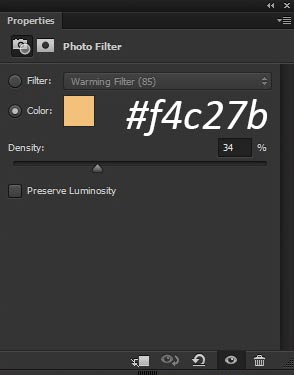
Add a Photo Filter and choose the color as shown in the image below.
Results :
Step 20
Continue coloring it using Color Balance adjustment layer.
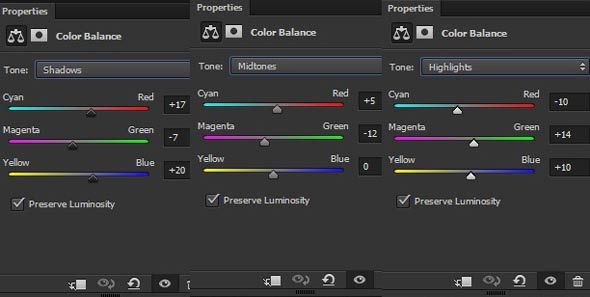
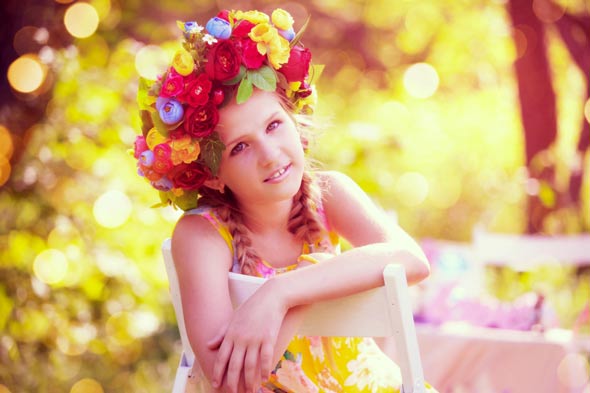
Here are the results.
Step 21
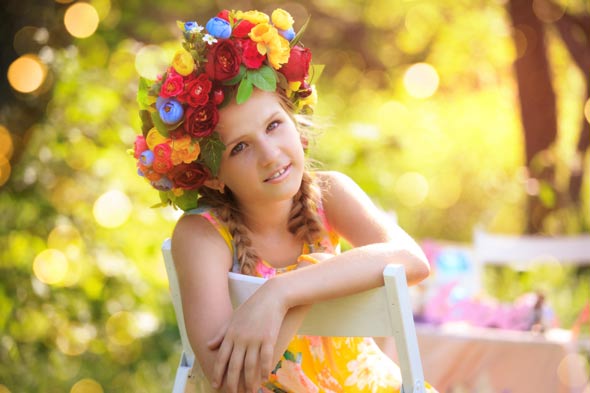
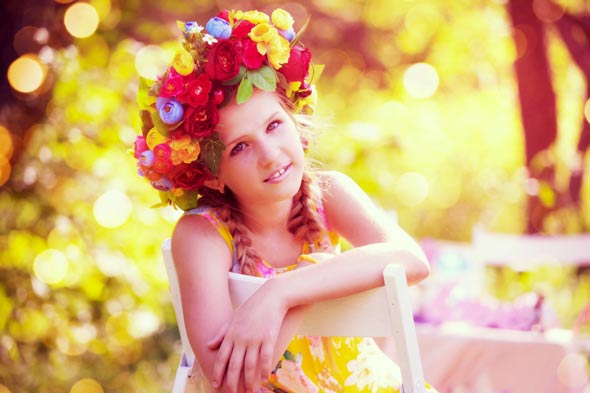
Finally add a Brightness/Contrast adjustment layer to increase the contrast.
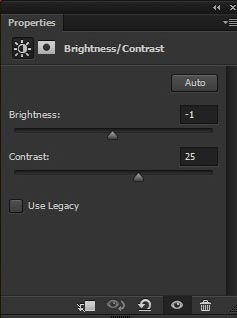
Here are the final results.
Conclusion
Thanks for following the tutorial and I hope that you’ve learned something new today. If you have any question regarding tutorial, then do let me know through comments and I’ll happy to help you.
Need Help With Photoshop or Looking for Professional Support?
Whether you're just getting started with Photoshop or need expert-level assistance, we're here to help! Contact us for personalized Photoshop tutorials, project support, or creative services.
Get in touch today to take your skills or projects to the next level.
CONTACT US NOW📘 Want to Master Photoshop Faster?
🎁 Get Your FREE PDF E-Book "Top 10 Photoshop Tricks Every Designer Must Know" Now – Packed with expert tips, shortcuts, and techniques to boost your creativity & workflow.
👉 Download Your FREE PDF E-Book NOW!
