

In this tutorial, you’ll learn how to replace a sky in Photoshop using A.I. technology used by Adobe. This tutorial is perfect for adding and changing the sky of your photos without spending hours. These days one-click sky replacement is popular and it can select sky with just one click.
This tutorial is all about how to use the sky replacement feature to its full potential. What to do after using the Sky replacement, how to enhance colors, light, and what to consider before picking a photo for sky replacement.
A Word of Advice
Leaving everything to technology is not a great choice and technology should make your task easier not to take over. The same thing applies to Photoshop Sky replacement, picking the right images should be considered before you start editing in Photoshop. The best images for sky replacement are where you clearly distinguish the sky from the background and your subject. A bit blown-out sky is a great choice to start with. A sky horizon that is cutting off from the background is another good choice.
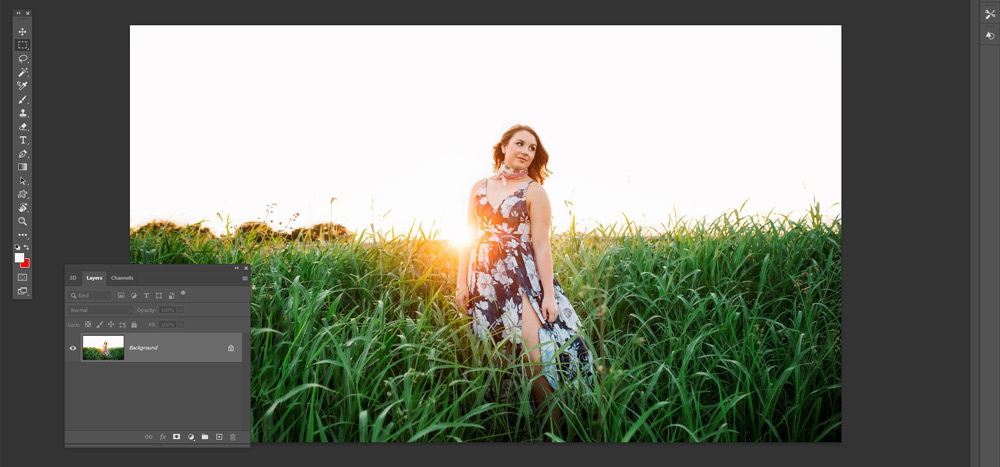
The image, I am using in this tutorial, has no details in the sky and it is completely isolated. These types of images make the job easy and this is where you can use the Sky replacement feature. I know it promises to replace a sky in any condition but just a word of advice. Also, I have covered the Sky Replacement on my website already, you can read this tutorial for full explanation.
Step 1 – Open The Sample Image
I opened the image in Photoshop as you can see in the image below. It’s perfect for sky replacement as we don’t have any details in the sky. It should be easy-peasy for Adobe A.I. to change the sky here.
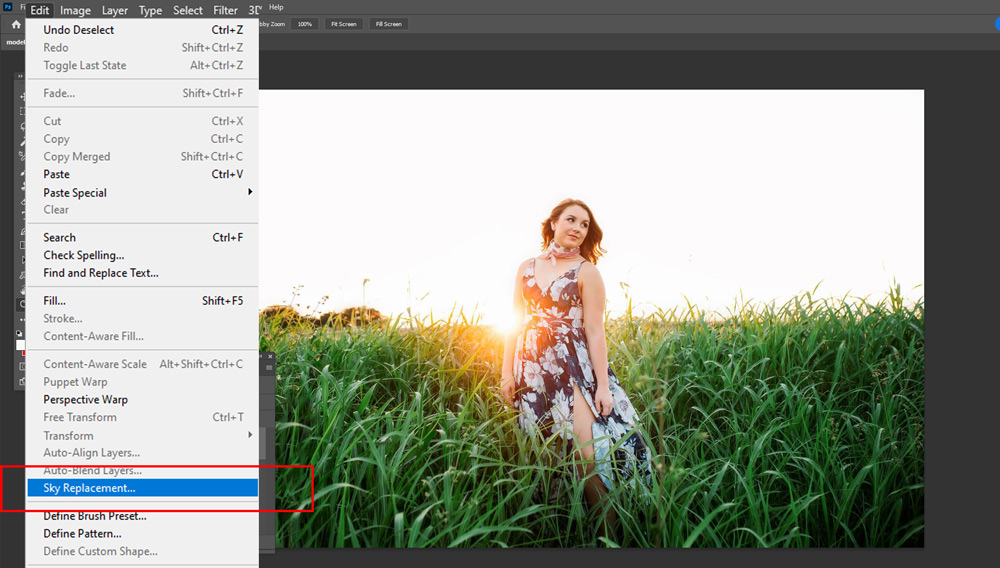
Step 2 – Sky Replacement
Go to Edit > Sky Replacement to bring the Sky Replacement dialog box.
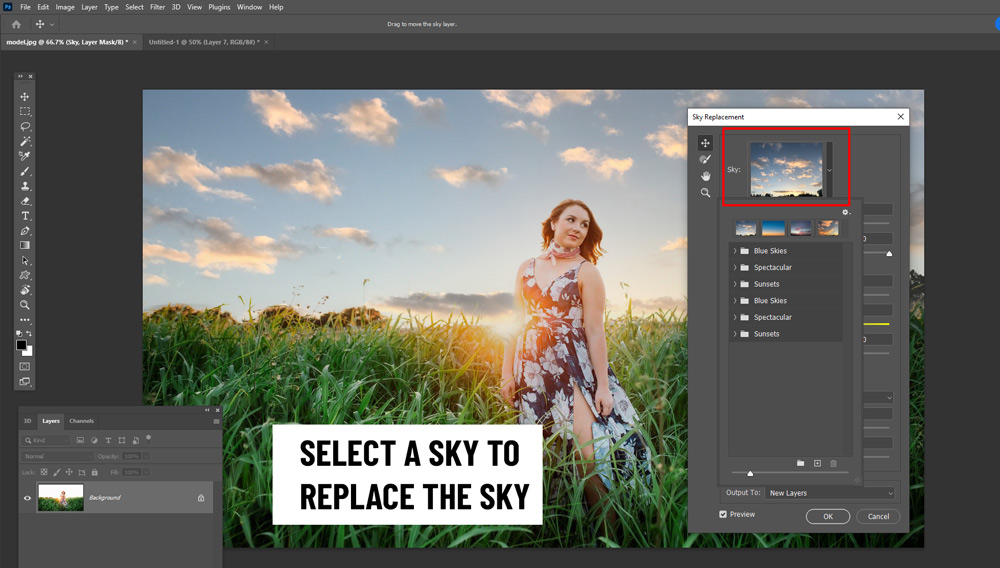
To replace the sky, select a default sky that can be selected from the existing sky list. Pick the one that goes well with the photo that you are working on. I chose a golden hour sky and later I’ll adjust it according to the background of the image.
Step 3 – Make Adjustments
The sky overlay looks a bit dark and the brightness is not matching with the rest of the image. If you take a close look at the image the bright colors in the image indicate that the image is shot in bright daylight. In good lighting conditions, the sky always has a good amount of brightness or at least the light is neutral.
To keep that in my mind, I increased the Brightness to 65 to give a boost of light to the sky. You can see the settings below.
Also, by dragging the temperature slider to left (adding cool tones), I added cool tones to the sky and it turns the sky a bit close to a bright blue sky. See the image below. You can move it to the right to add warm tones.
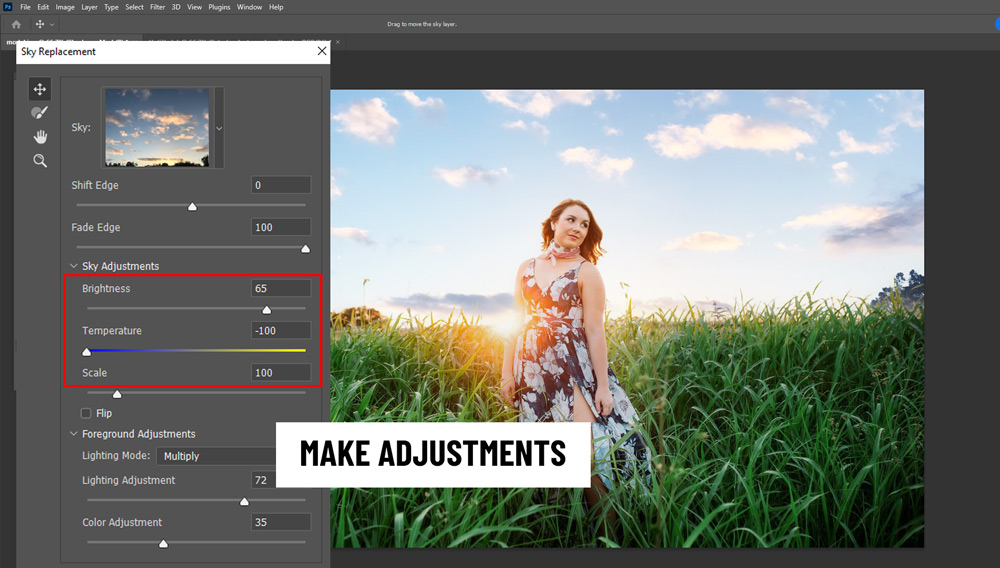
There are two blend modes available in the Foreground Adjustments: Multiple & Screen. By default, the Multiple Blend was selected, and this blend mode darken the image (foreground) and I want the image a bit bright. Instead of changing the blending mode, I moved the Lighting Adjustment slider to the left to eliminate any lighting adjustments to the image. I don’t want it as it already looks great.

Once you are done with everything, Hit Ok and every layer that is used to replace sky will be exported to the Layer Panel. From there, we can make further adjustments if needed.
Step 4 – Further Adjustments
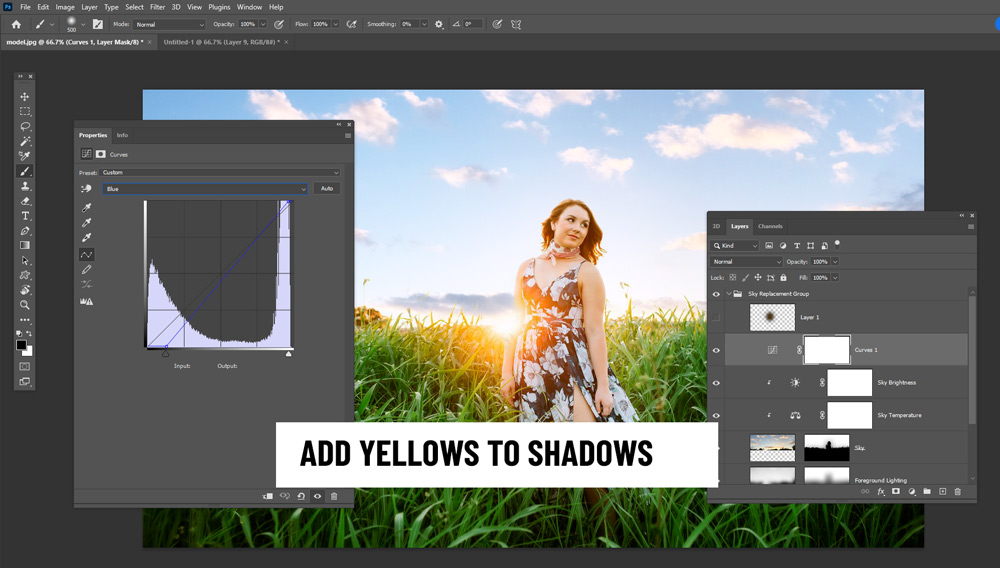
If you are happy with the results then you can stop here but I found some things that are a little off such as the blue tones in the shadows don’t match with the greens of the field, sunlight needs a boost of light, and the colors in the image a bit muted. I am gonna work on this starting by adding yellow tones to the shadows of the image using the Curves adjustment.
Go to Layers > New Adjustment Layer > Curves and in the Blue channel, drag the black slider to the right to add yellow tones to the shadows of the image. This will add a little bit of warmth to the shadows of the image.
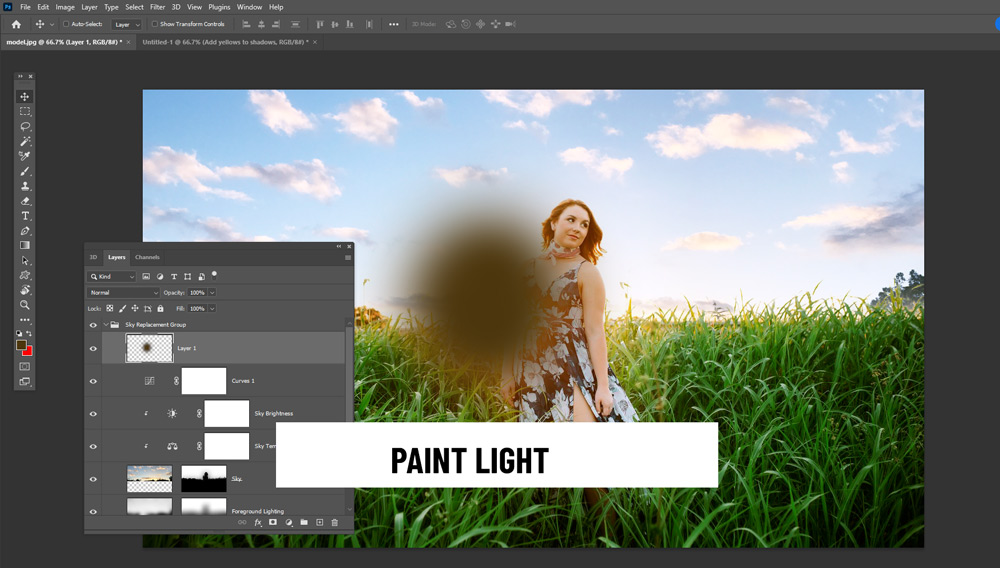
I am gonna go ahead and paint the light on right over the sun. I want the sun to shine a bit more than it already is. Use a soft round brush (B), pick a dark orange color, and paint it over the sun as shown in the image below.
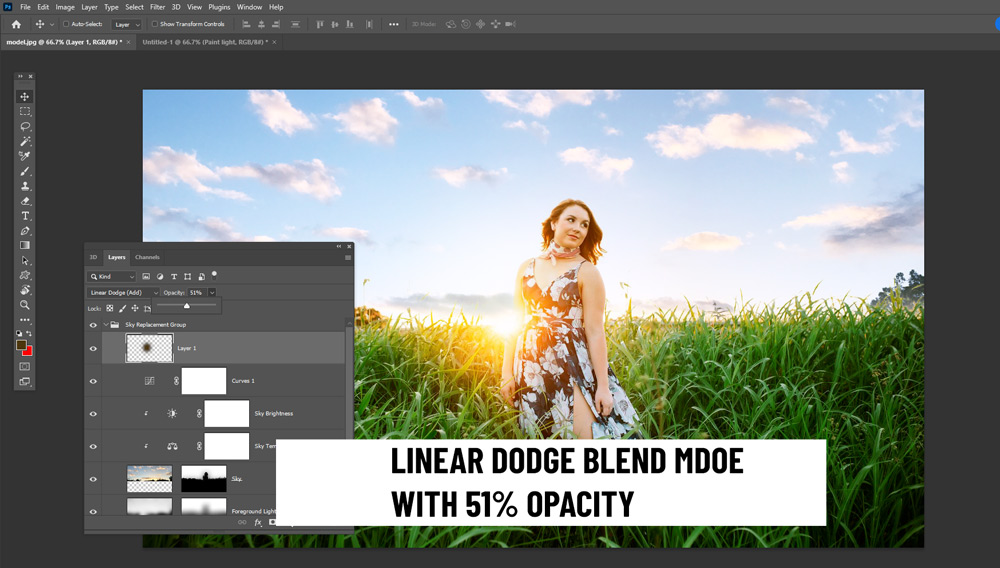
Change the blending mode to Linear Dodge and reduce the opacity to 51% (just to make sure you are not overdoing the light glow).
Step 5 – Pump Colors
Lastly, I am gonna pump colors to the image and make it a bit vibrant. The best way to do this is using the Vibrance Adjustment layer. Go to Layer > New Adjustment Layer > Vibrance and move the slider to right. See the settings below.

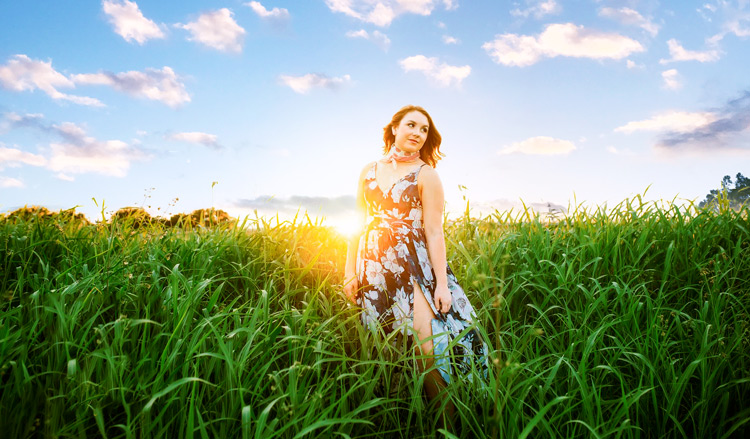
Here you can see the final results:
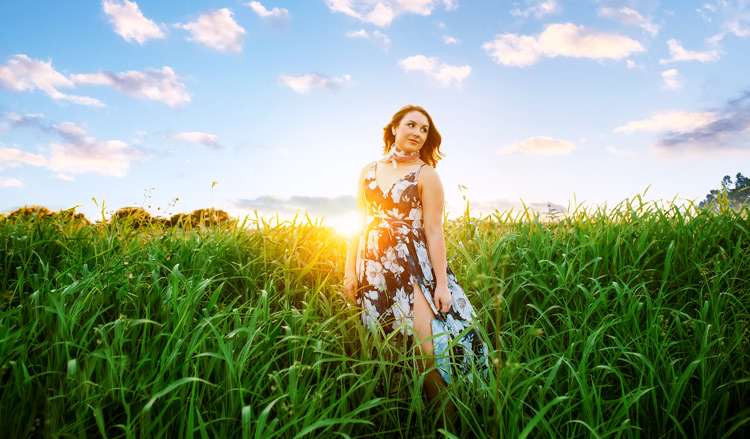
And we are done. We just learned how to replace the sky in just 5 Steps. Bear in mind, that it could have taken longer if you are working with a sky image that has details such as mist in the background, light flares around the horizon, and where it is difficult to distinguish between the sky and background.
Always do the work before you start in Photoshop and that will definitely help you become a better photo editor. I hope you enjoyed the tutorial. Let me know if you have questions below.
Need Help With Photoshop or Looking for Professional Support?
Whether you're just getting started with Photoshop or need expert-level assistance, we're here to help! Contact us for personalized Photoshop tutorials, project support, or creative services.
Get in touch today to take your skills or projects to the next level.
CONTACT US NOW📘 Want to Master Photoshop Faster?
🎁 Get Your FREE PDF E-Book "Top 10 Photoshop Tricks Every Designer Must Know" Now – Packed with expert tips, shortcuts, and techniques to boost your creativity & workflow.
👉 Download Your FREE PDF E-Book NOW!
