
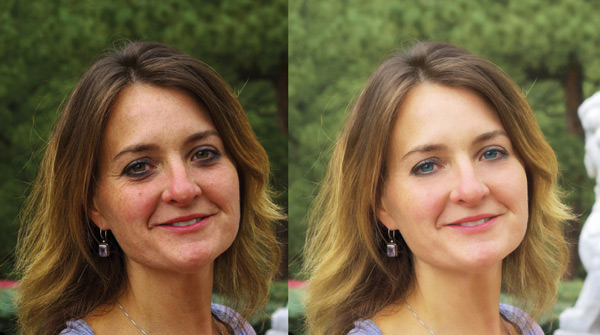

In this Photoshop tutorial, I’ll show you how to retouch skin professionally in Photoshop. You’ll learn how to reduce skin flaws, blemishes like a pro using non-destructive techniques in Photoshop. You’ll also learn how to quickly reduce skin flaws, healing the spots, cloning wrinkles and using filters to preserve the skin details without blurring it.
Tutorial Resources
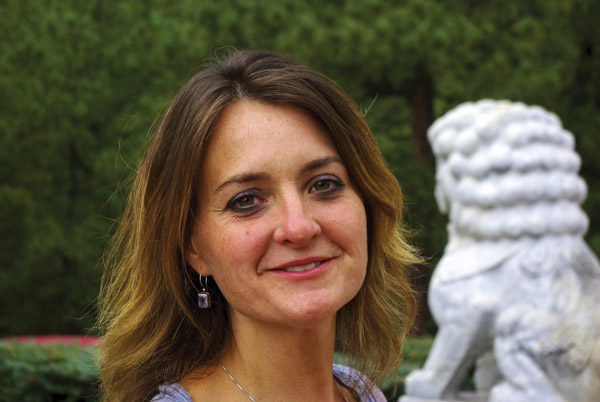
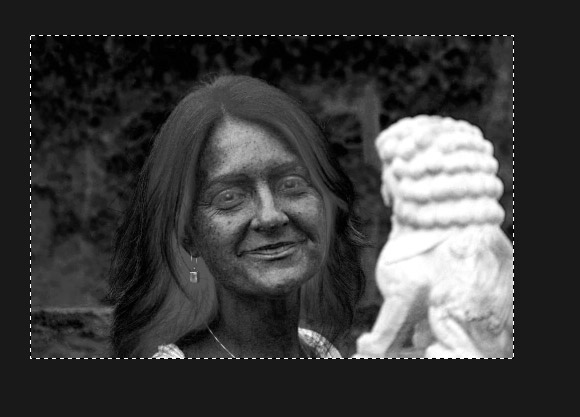
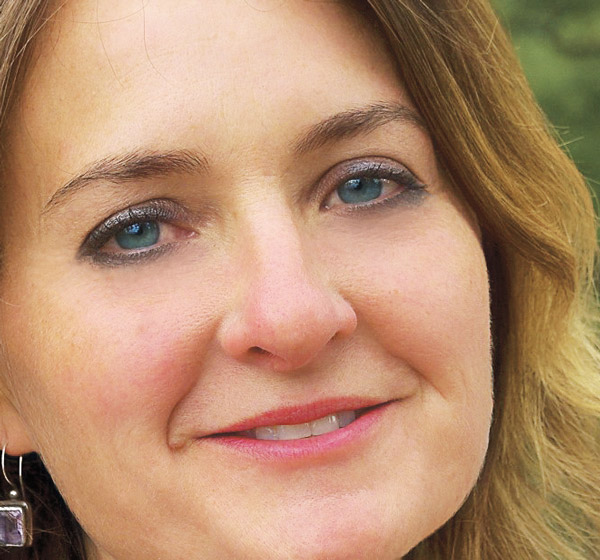
Opening image
Step 1
Open up the woman image in Photoshop by selecting File > Open. Here we’ve the woman image open in Photoshop.
Step 2
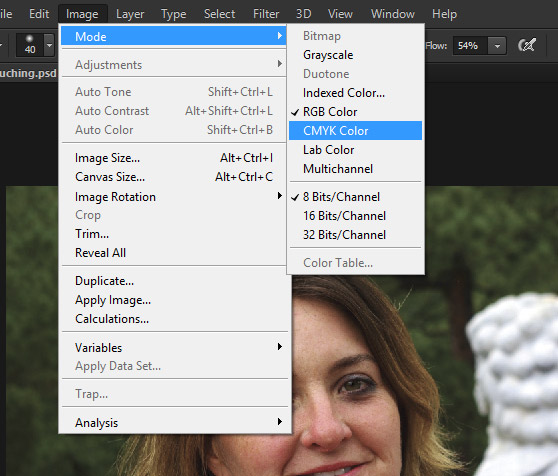
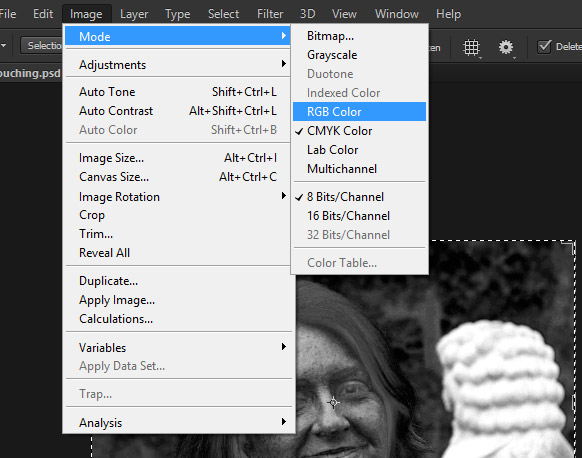
Go to Image > Mode > CMYK and convert the image in CMYK mode.
Step 3
Now to go to Channel Panel and click on Yellow channel to select it. If you don’t see the Channel Tab go to Windows > Channels to bring it up.
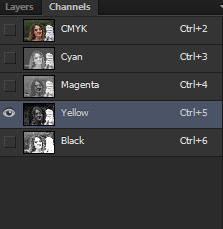
Now copy this channel by pressing CTRL/CMD + A and then press CTRL/CMD + C to copy it. The aim here is to copy yellow channel as the yellow channel has more skin details than other channels. That’s why I converted the image into CMYK mode because it wouldn’t be possible in RGB mode. Feel free to experiment with other channels.
Step 4
Once you copied the Yellow channel, go back to Image > Mode > RGB and get back in RGB mode.
Step 5
Once you in the RGB mode then press CTRL + V to paste the copied yellow channel into new layer. Name this layer ‘yellow’.
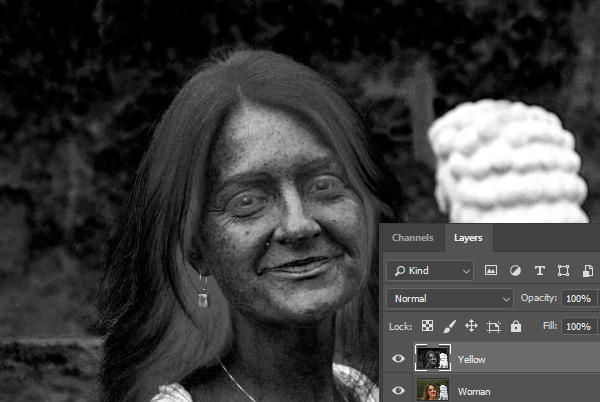
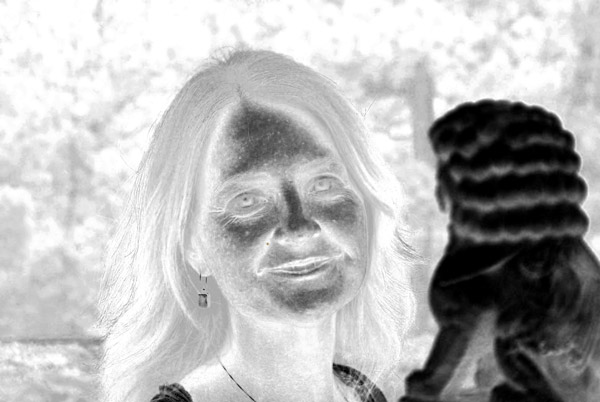
Press CTRL + I to Invert yellow layer.
Step 6
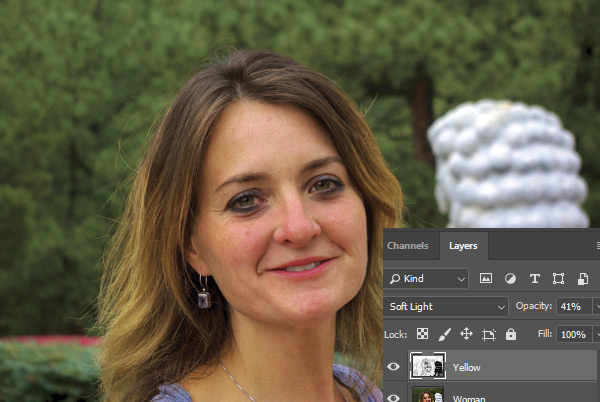
Now change the yellow’s layer blend mode to Soft Light and reduce the opacity to 41%. 41% opacity works best for me but if you want to decrease or increase the opacity to get the results of your taste then feel free to alter the values.
Here you can see the improvement on the skin but we can do a lot more to improve the results.
Step 7
Duplicate the woman layer and place it above all layers.
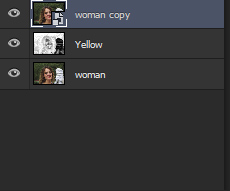
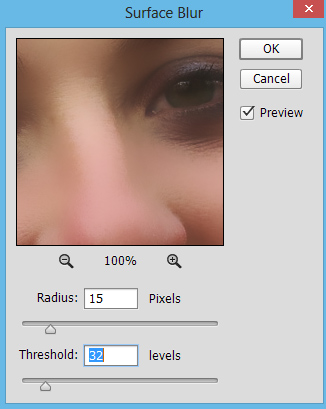
Convert this layer into Smart Object. Go to Filter > Blur > Surface Blur and give the following values to add smoothness to skin. You can also alter the values according to your way as how much skin smoothness you want. Feel free to experiment. Name this layer ‘Surface Blur’.
Set the blending mode of surface blur layer to Screen and reduce the opacity to 70%.

You can see lot more improvement on the skin as it looks brighten and smooth as well. Not only the skin but the entire image lighten up due to Screen blend mode and with Surface Blur, we got smooth skin. If you are satisfied with the results then you can quit but you can further improve the skin by giving little bit more time.
Note: in my case the image is under-exposed to fix it I used the Screen Blend Mode but if you are working on portrait that doesn’t has any underexposed areas then don’t change the blending mode to Screen. Just use the Surface Blur blur with Normal Mode, later (like you can see in the Step 13) you can add High Pass filter to bring back the lost skin details.
Step 9
Press CTRL + SHIFT + ALT + E and merge all layers into single layer. Name this layer ‘spot healing’.
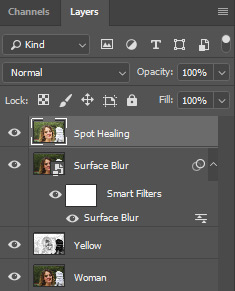
Activate the Spot Healing Brush Tool (J) and start healing the spots on the skin. Set the Type: Content Aware and don’t check the Sample All Layers in the option bar as we only want to sample the skin parts from the merged layer that we named it “Spot healing”.
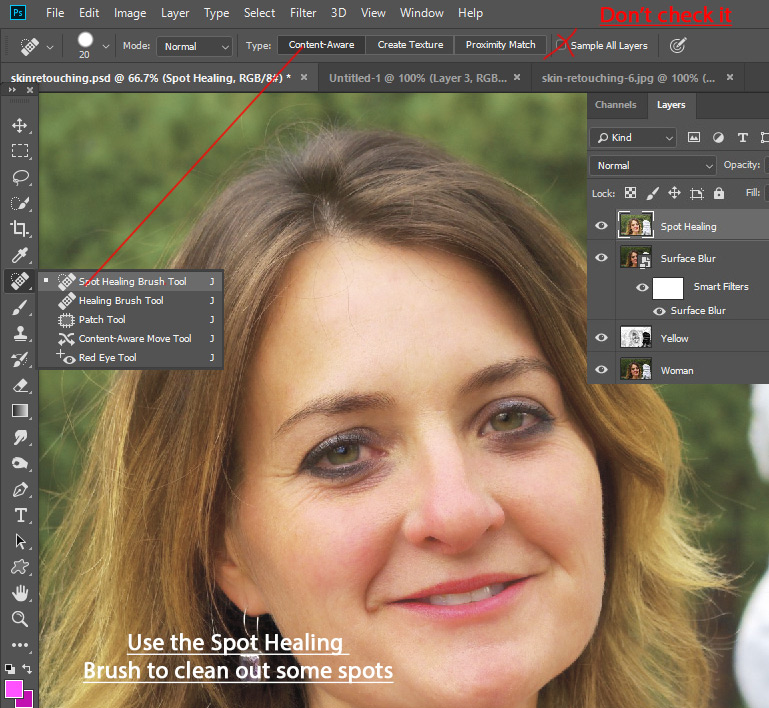
See the below image for reference and for before and after results.
Step 10
I used a Hue/Saturation adjustment layer with the following settings to turn eyes color into blue. If you don’t want to change the color then skip the step.
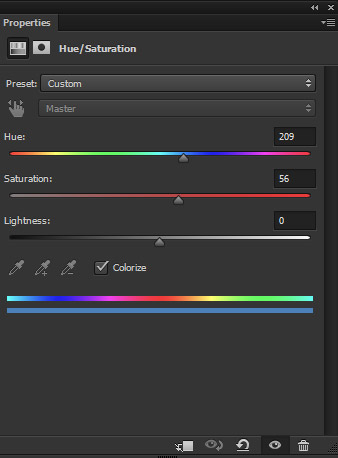
On the layer mask of Hue/Saturation adjustment layer, only keep the effect on the eyes and hide the rest. Use a soft round black brush to hide the effect on the rest of the woman’s face.

Step 11
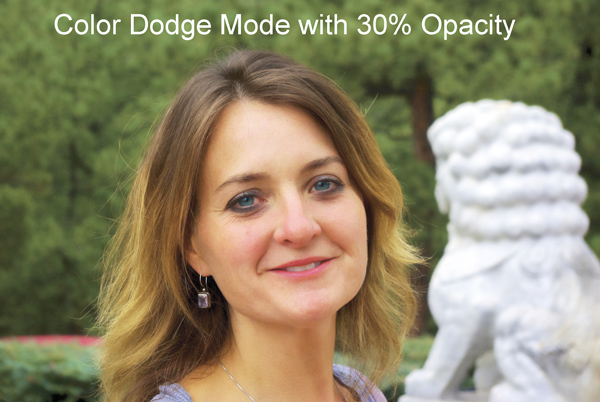
Create a new layer and name it ‘eyes light’. Set the foreground color to #316467. Paint the light on the eyes using soft round brush tool as shown below.
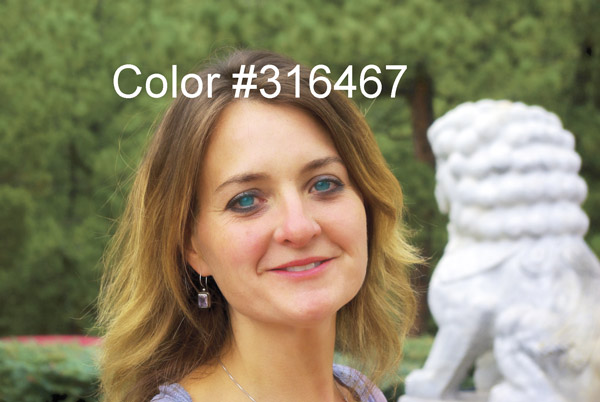
Change the blend mode to Color Dodge and reduce the opacity to 30%.
Step 12
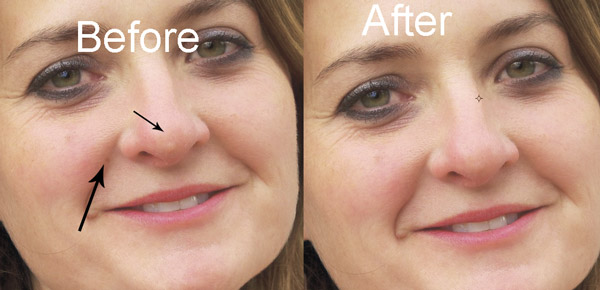
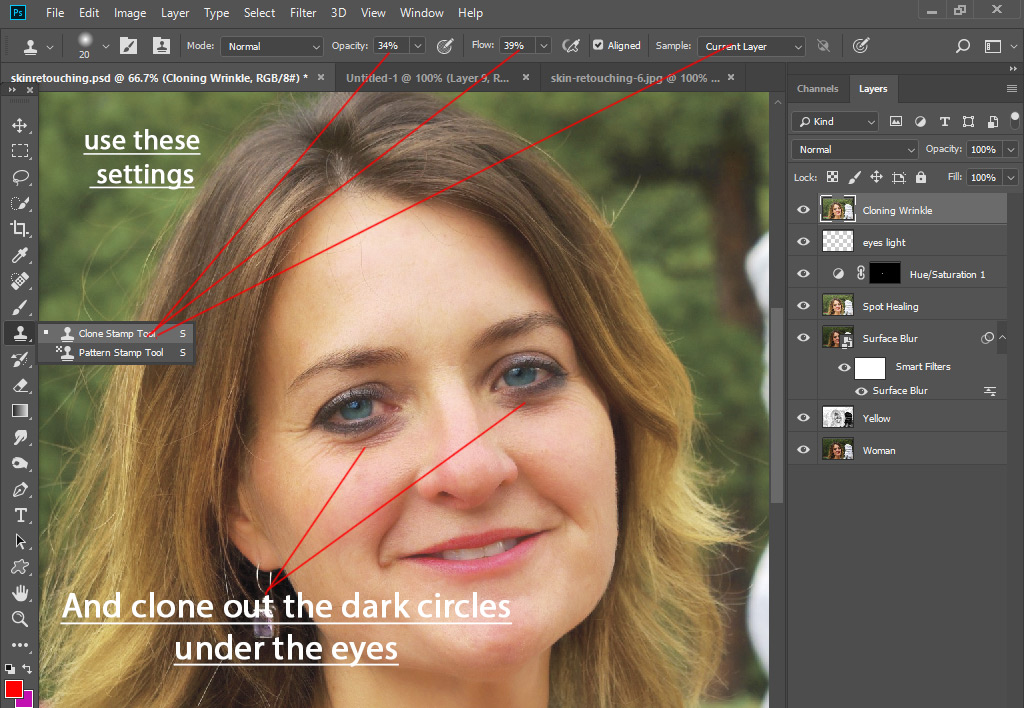
Press CTRL + SHIFT + ALT + E and again merge all layers into single layer. Name this layer ‘Cloning Wrinkles’. Activate the Clone Stamp Tool (S) and reduce the dark circles under the eyes indicated by white arrows. For better cloning results reduce the brush opacity and flow to 30-35%.
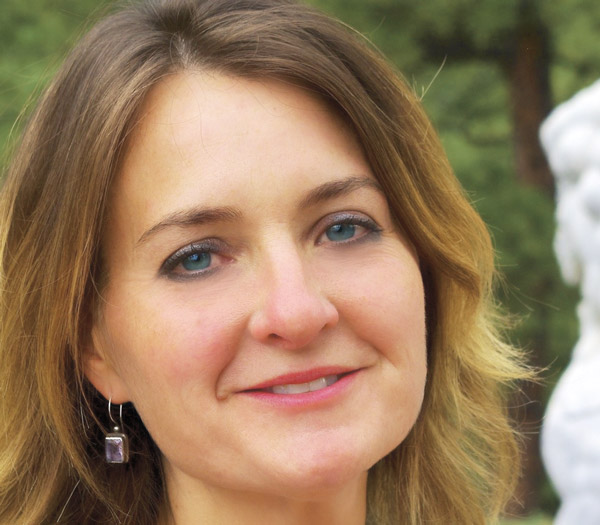
Results after cloning:
Read this Basic level tutorial for detail explanation on Tools.
Step 13
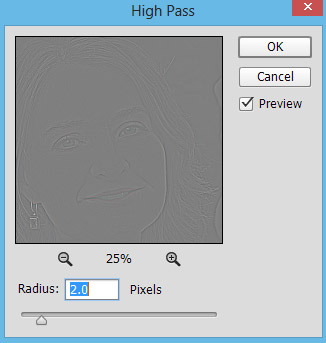
Merge all layers into single layer one more time and name this layer ‘high pass’. Go to Filter > Other > High Pass and set the radius value to 2 pixels or drag it right until you start seeing the skin details. This is step which you can use to bring back the lost skin details after the use of Surface Blur in step 7.
Set the blend mode to Overlay and add sharpness to entire image. You can see the sharpness on the skin.
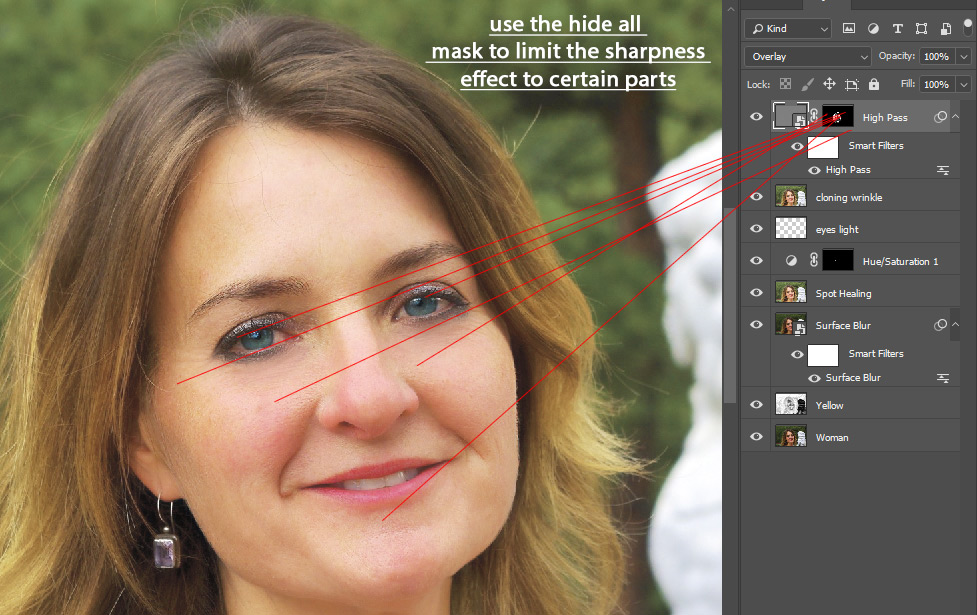
Step 14
Add a reverse layer mask (go to Layer > Layer Mask > Hide All) to High Pass layer, I kept the effect on the chick, nose, forehead and under the eyes to add sharpness there. You can also keep the effect in many areas wherever you want to by painting on the layer mask with basic white brush. The High Pass filter restored the lost skin details in Step 7, where we’ve used the Surface Blur.
This filter also works to avoid fake and blurring skin because it adds sharpness. To add more sharpness feel free to increase the radius value.
Final Results:

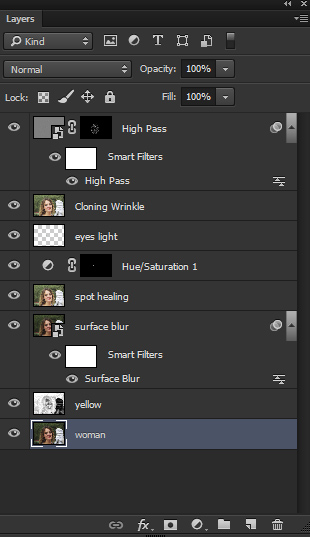
Layer panel arranged:
Conclusion
Thanks for following and hope you liked it. If you like it then share the tutorial with the world just press the social media icon on your screen. Have a great day!
Need Help With Photoshop or Looking for Professional Support?
Whether you're just getting started with Photoshop or need expert-level assistance, we're here to help! Contact us for personalized Photoshop tutorials, project support, or creative services.
Get in touch today to take your skills or projects to the next level.
CONTACT US NOW📘 Want to Master Photoshop Faster?
🎁 Get Your FREE PDF E-Book "Top 10 Photoshop Tricks Every Designer Must Know" Now – Packed with expert tips, shortcuts, and techniques to boost your creativity & workflow.
👉 Download Your FREE PDF E-Book NOW!

