

In this tutorial, I’ll show you how to cut out hair using select and mask. It’s a very basic tutorial to do any kind of hair extraction so if you are a beginner struggling with hair extraction this tutorial may help you. Without any further ado, let’s get into it!
Step 1 – Select Subject
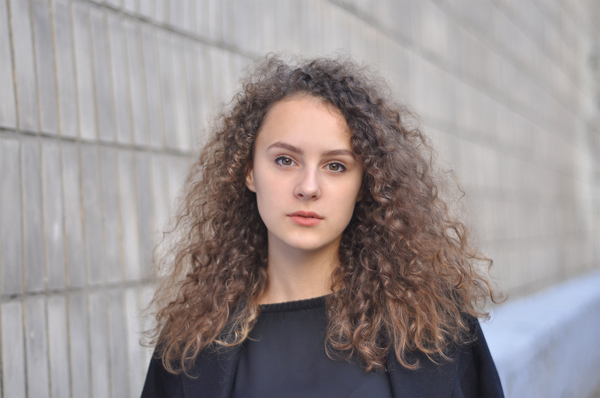
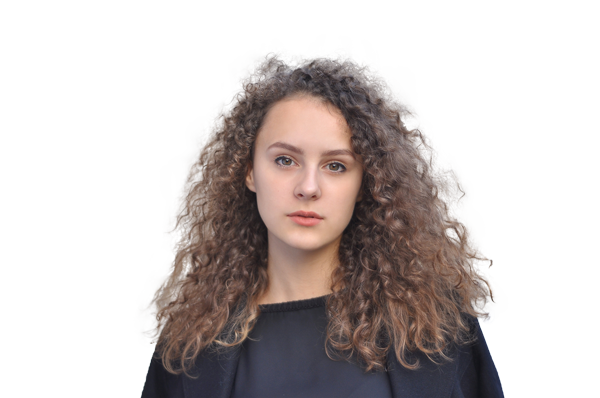
I am using this image of a girl with curly hair on a difficult background and you can download the same here. Open the image in Photoshop by selecting File > Open.
Step 2 – Make Selection of Hair
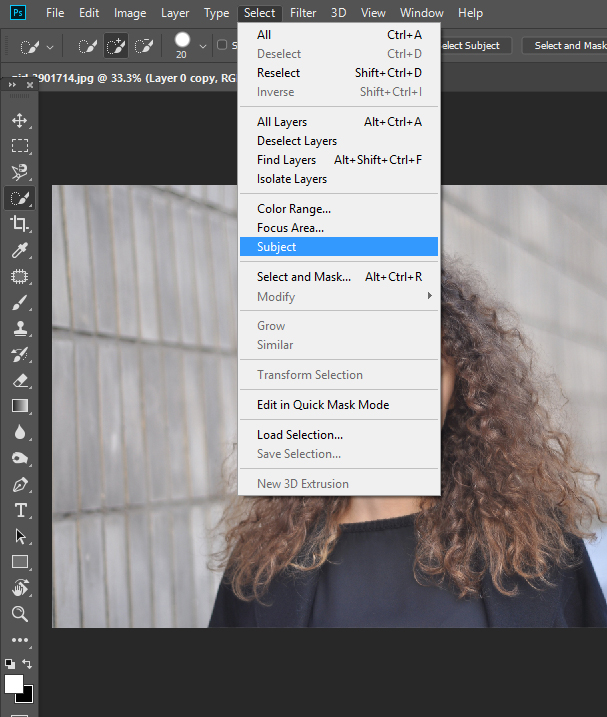
First and foremost thing is we need basic or rough selection and it doesn’t have to perfect. You can make selection using Quick Selection Tool or using Pen Tool (P) but I am using Select Subject Feature .
Go to Select > Subject to make a selection.
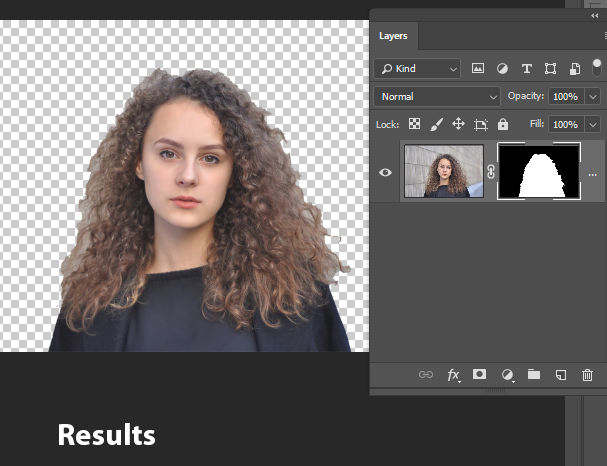
Here is the selection that Select Subject has made and also but if the selection is not perfect on solid edges you can always use Quick Selection to add & minus the selection.

Now Add Layer Mask to add a mask and extract the background:

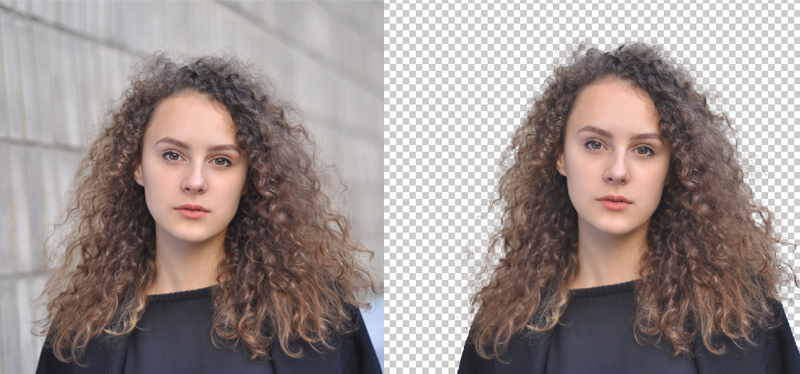
Results are not perfect as we have very hard edges of hair but don’t worry we’ll fix them asap.
Step 3 – Refine Hair Selection
We need to refine the hair selection in order to make it perfect. We’ll do it using Select & Mask so if you are not familiar with this tool, I urge you to check out our Select & Mask Tutorial.
Go to Select > Select & Mask or you can also press CTRL + ALT + R to bring up the Select and Mask dialog box.

Now select the Refine Edge Brush Tool, this tool is gonna help to extract the hair it will do some sort of algorithmic calculation on determining what is background and hair then it will extract the background.
Select it and it works basically like a brush tool.

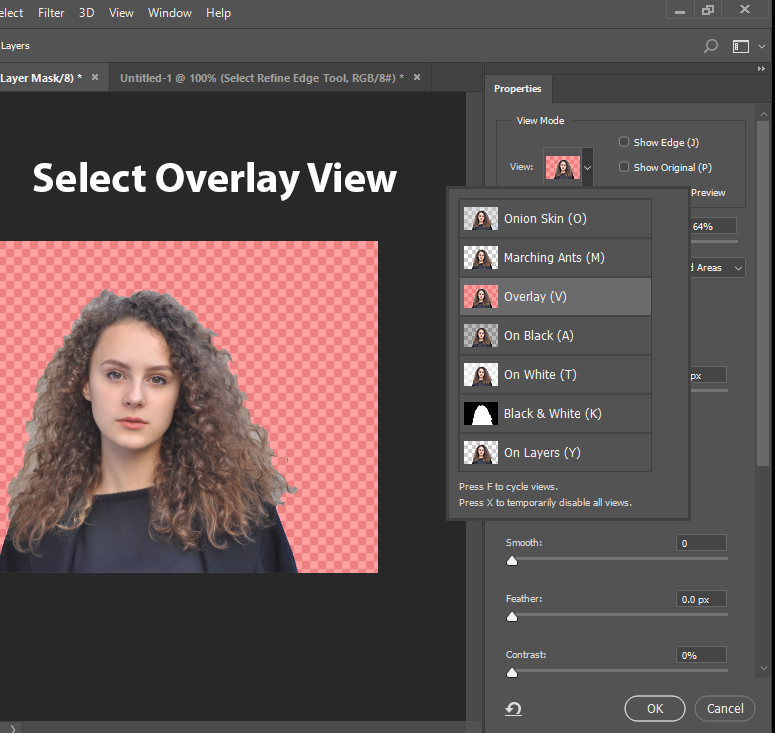
On the very right, select Overlay Mode as your view mode, so everything is in the Red color is background and rest of it is your subject. It just personal preferences, you can select different view modes depends on whatever you prefer.
Step 4 – Use Refine Edge Brush Tool
Once everything is set, it’s time to use Refine Edge Brush Tool, use the tool on the hair to extract hair from the background.
Here you can see how I did on the left side:

Here you can see how I did it on the right side:

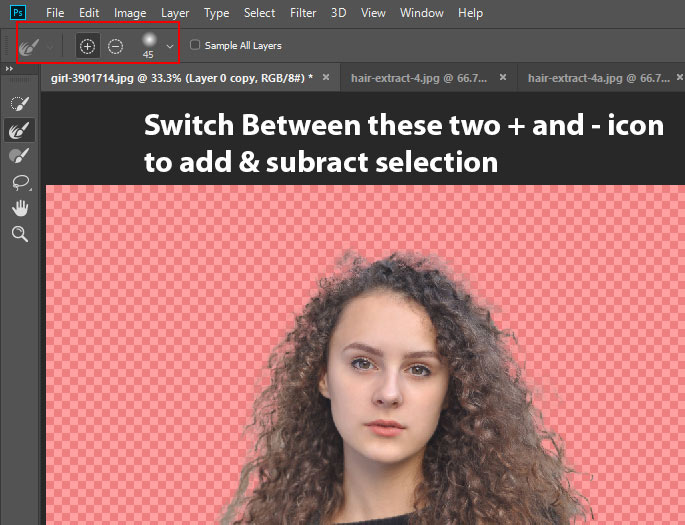
If you are happy with the results then you can proceed further if you are not then what you can do is that switch between (+) and (-) icon to add & subtract selection.
Now in the output settings select Layer Mask:
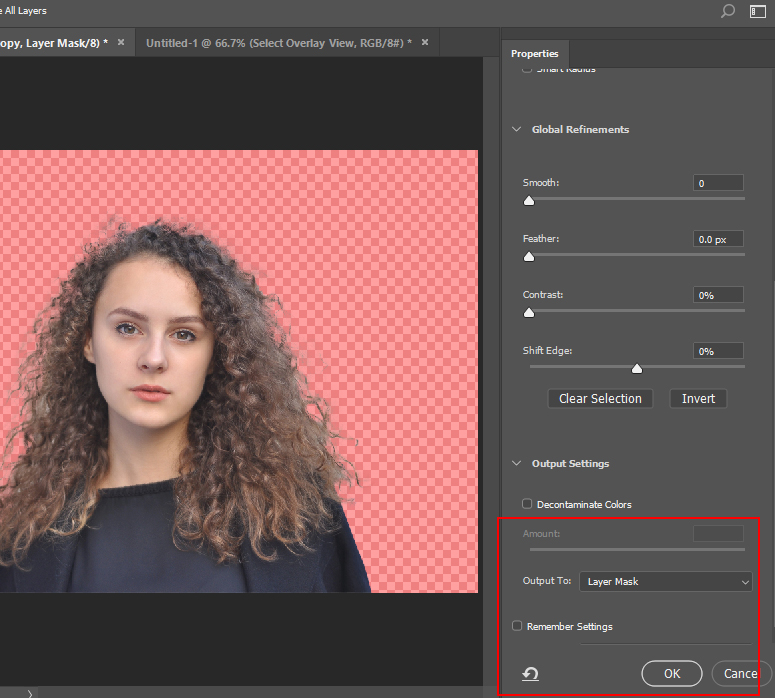
Here you can see the results:
Step 5 – Edit Layer Mask
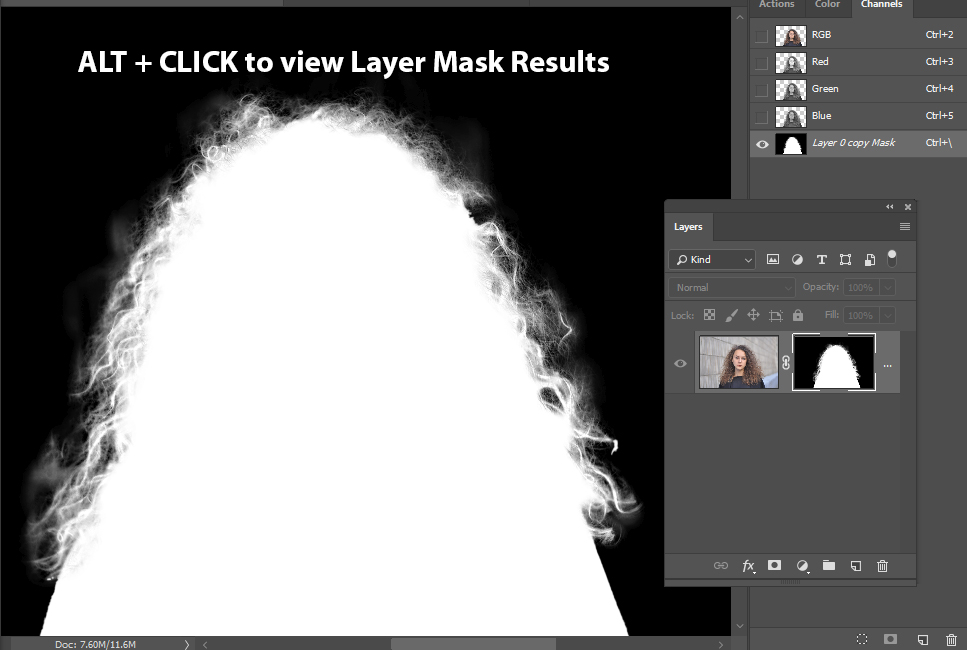
Although the selection looks decent but if you take a look at the layer mask results you may find a lot of background parts are still visible. To view layer mask results, press ALT + CLICK and in that, you can directly edit layer mask results.
In a Layer Mask, selected areas are filled with white which means these areas will remain visible and unselected parts are filled with black which is the background and they will remain invisible.
Now select the brush tool and change its blending mode to Overlay.

Now pick a soft round brush with black color paint along any edges that you want to clean up. You can also paint on any areas with white color that you want to keep, such as model hairs or any parts which you think isn’t the background.

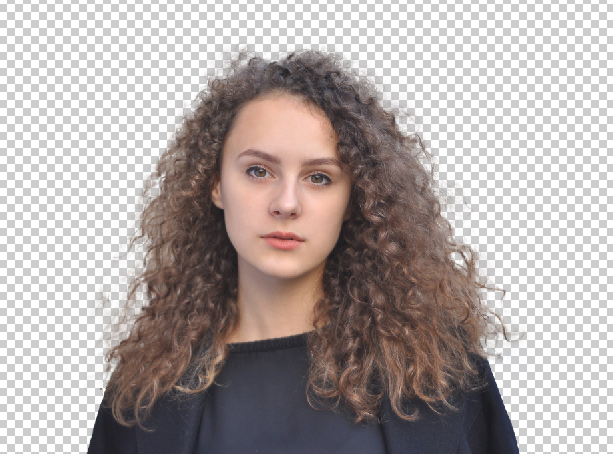
Here are the final results in PNG Format:
Remember guys this is just a basic tutorial on hair extraction and we have a very detailed tutorial on how to remove background in Photoshop with busy hair, complex background where I used all sort of techniques that can help you achieve much better results than this. Check it out and don’t forget to leave a comment when you finish reading this tutorial.
Need Help With Photoshop or Looking for Professional Support?
Whether you're just getting started with Photoshop or need expert-level assistance, we're here to help! Contact us for personalized Photoshop tutorials, project support, or creative services.
Get in touch today to take your skills or projects to the next level.
CONTACT US NOW📘 Want to Master Photoshop Faster?
🎁 Get Your FREE PDF E-Book "Top 10 Photoshop Tricks Every Designer Must Know" Now – Packed with expert tips, shortcuts, and techniques to boost your creativity & workflow.
👉 Download Your FREE PDF E-Book NOW!

