


In this tutorial I’ll show you how you can add a nice soft photo effects to your photos. This tutorial is dedicated for those who are willing to know that how they can add beautiful soft photo effects to their photos. At the end of the tutorial I’ll show a trick to enhance the soft effects more preciously.
Tutorial Resources
Opening Photo to Add Soft Photo Effects
Step 1
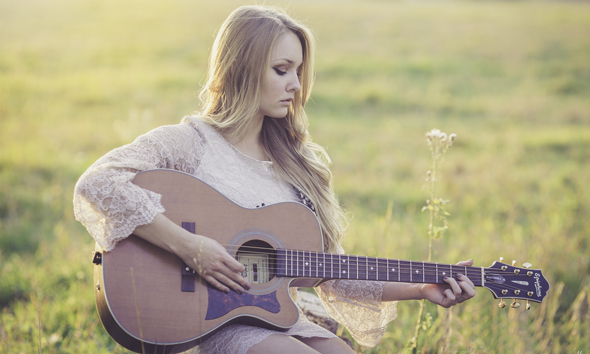
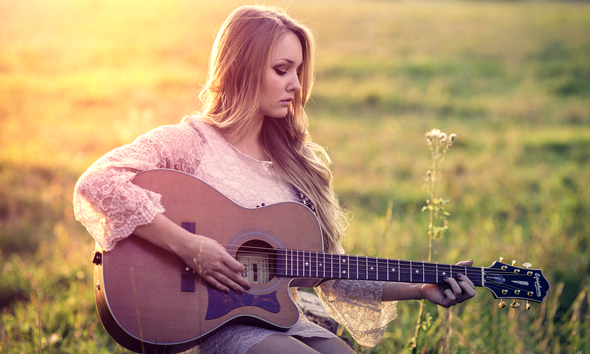
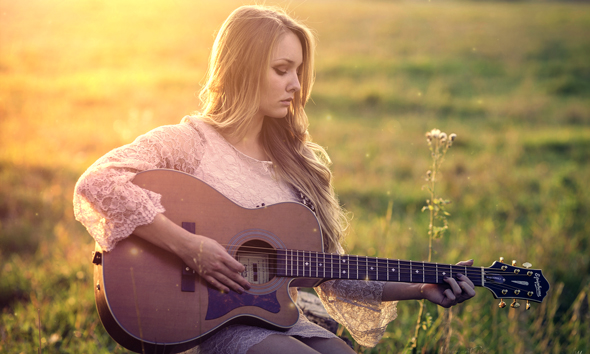
Open up any photo in Photoshop, I am using this woman image for this tutorial but feel free to choose your own. To open any image in Photoshop select File > Open and open up the image.
Here we have the image opened in Photoshop.
Step 2
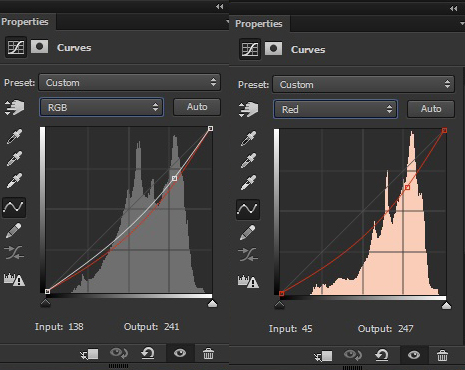
First I’ll reduce the lightness on woman using Curves (Layer > New Adjustment Layer > Curves) adjustment layer and then I added Cyan tone as well.
Here are the values for Curves .
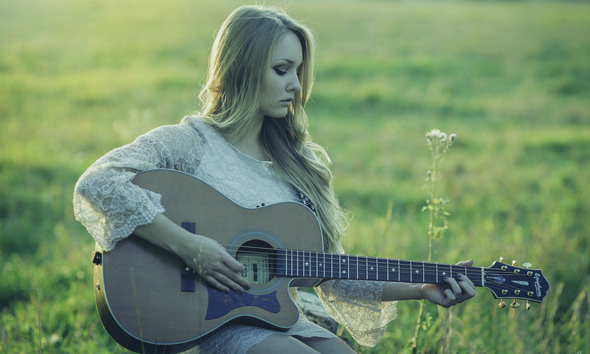
Results :
Enhancing Light Effects
Step 3
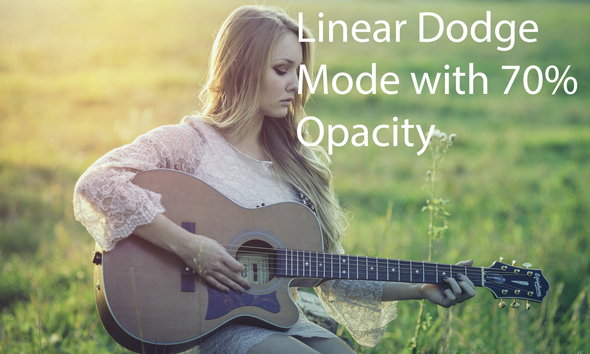
Now we are going to create a lights effects for enhancing the lights. Create a new layer and name it ‘Light’. Set your foreground to #772524. Grab the Brush Tool (B) and then use a soft round brush to make a big stroke on the top left corner.
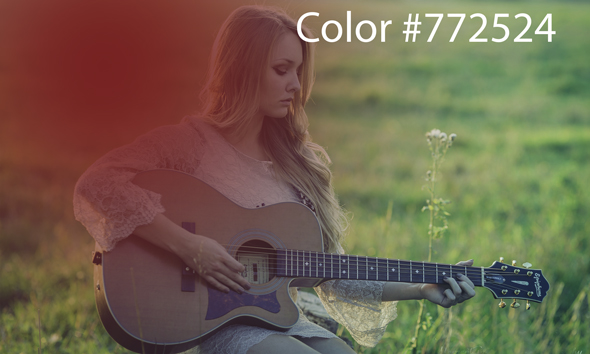
Change the blend mode of this layer to Linear Dodge and reduce the opacity to 70%.
Results with more glowing light effects.
Step 4
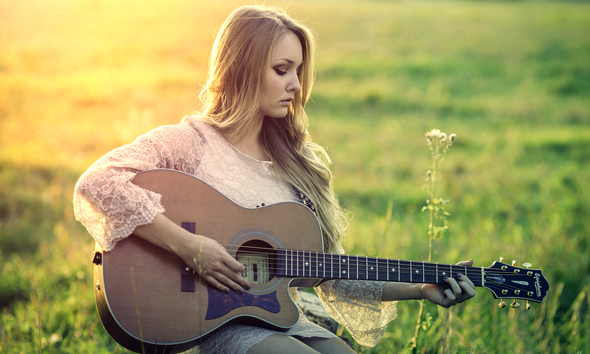
Now add a Color Lookup and I used a Crispy Warm filter to add crispy warm tone to photo.
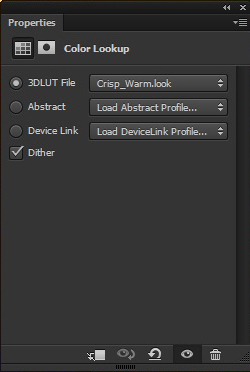
Results:
Step 5
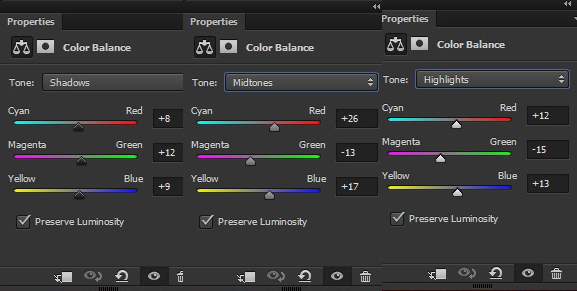
Add a Color Balance adjustment layer to add more colors to photos. I am aiming to add Magenta color tones to photo but you can use any color which you’d like to prefer. Just increase the value of that color but I’ve changed the value only for Midtones and Highlights.
You can go for Shadows as well if needed.
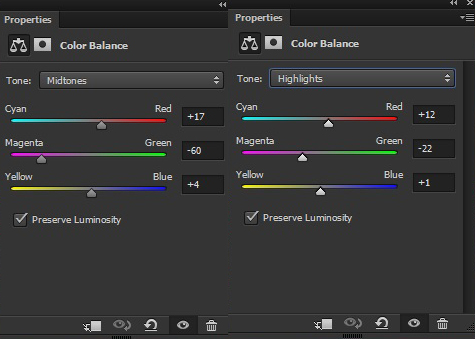
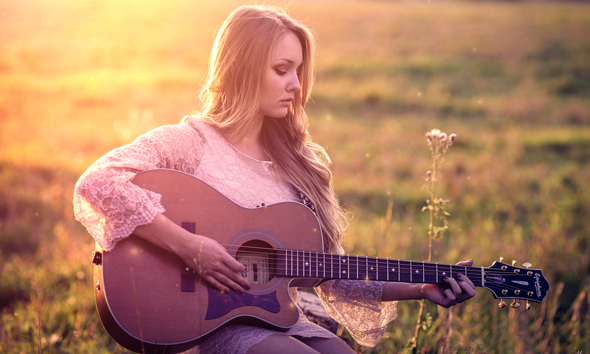
Reduce the opacity of Color Balance to 50% . Here are the results with added Magenta color tones.
Step 6
Open the Starry texture and place the starry4 to the main document. Place it as shown in the image below. If needed resize it using Transform Tool (CTRL + T).
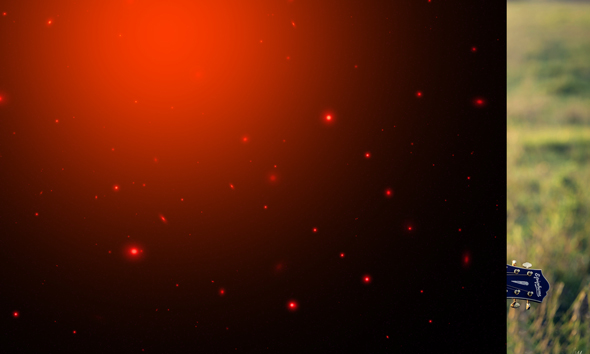
Change the blend mode of starry4 to Screen and reduce the opacity to 70%.

Step 7
I used a Hue/Saturation adjustment layer to starry4 as clipping mask (press the red button for clipping mask). Colorize it using the following setting.
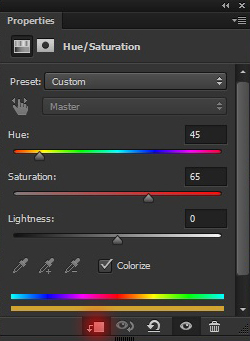
Results with matched colors of starry4 with the background.

Final Adjustments
Step 8
It’s a quick tip tutorial, so it’s needed to be end quickly rather than taking more time. So add a Brightness/Contrast to our model photo to reduce the brightness and increase the contrast.
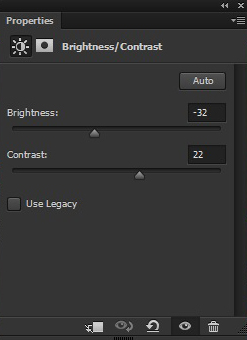
Results with decreased brightness and increased contrast.
Step 9
Add a Color Balance adjustment layer to entire scene. Here are the values.
Reduce the opacity of Color Balance to 70% . Results:
Little Trick to Make Soft Effects More Beautiful
Step 10
As said earlier in this tutorial that I’ll give you a little trick to add soft effects more preciously. It’s time to implement it. First press (CTRL + ALT + SHIFT + E) to stamp all layer into a single layer. Convert this layer into Smart Object . Now add a Radial Blur to photo by selecting Filter > Blur > Radial Blur. Set the setting as shown in the image below.
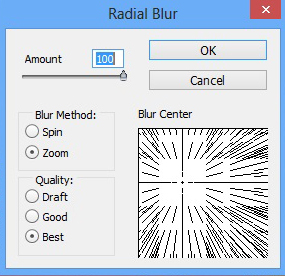
You may notice that I am aiming to add Radial Blur from left middle section but you can aim it as you want. But try to add it from the left side.
Change the blend mode of this stamped layer to Soft Light and reduce the opacity to 70% . Feel free to set the opacity according to your needs but remember to reduce it otherwise you’ll get the darker area on the bottom and right side of the photo.
Here are the final results:

Conclusion
Thanks for following the tutorial and these are the quick tips in just simple 10 steps to add nice soft photo effects. If you like the tutorial or found the techniques, used in this tutorial, useful then do like, share and comment on it. Do let me know if you baffled at any step.
Need Help With Photoshop or Looking for Professional Support?
Whether you're just getting started with Photoshop or need expert-level assistance, we're here to help! Contact us for personalized Photoshop tutorials, project support, or creative services.
Get in touch today to take your skills or projects to the next level.
CONTACT US NOW📘 Want to Master Photoshop Faster?
🎁 Get Your FREE PDF E-Book "Top 10 Photoshop Tricks Every Designer Must Know" Now – Packed with expert tips, shortcuts, and techniques to boost your creativity & workflow.
👉 Download Your FREE PDF E-Book NOW!

