

Pokemon go is a very famous game and people all around the world are crazy about it. The text style of Pokemon that appears in the title looks so cool and very easy to replicate in Photoshop. In today’s tutorial, I’ll show you how to create a Pokemon text effect in Photoshop. We’ll use Pokemon font to achieve this style and after that, we’ll make the font exactly like we see in the Pokemon title using Blending Options.
After reading this tutorial you’ll be able to make your own Pokemon text effect and you can add it your title as well. The tutorial can be followed in any version of Photoshop so let’s dive right in!
Tutorial Resources
Step 1
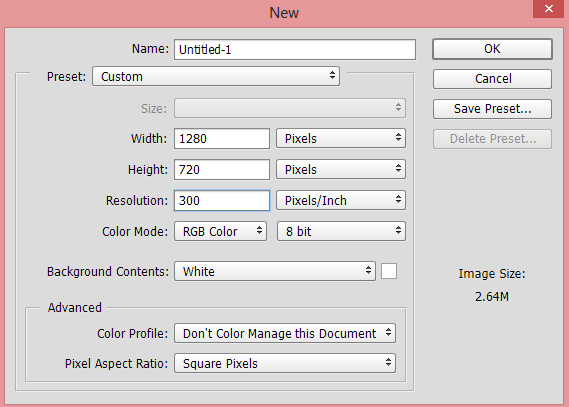
Create a new document in Photoshop. Go to File > New and set the width to 1280 Pixels and height to 720 pixel.
Here are the settings:
Step 2
Set the foreground color to #b9e09c. Now go to Edit > Fill and in the use drop down list choose the Foreground Color . This will fill the background layer with #b9e09c color. You can also press ALT + BACKSPACE to fill the background with above mentioned color.
Here is the document filled with green color :

Step 3
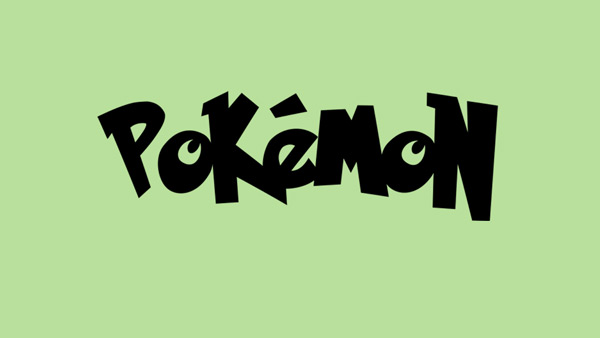
Download the Pokemon Solid font and install it to your PC. Activate the Type Tool (P) and select the installed Pokemon Solid font. Now type the text like I type ‘Pokemon’ using black color. Feel free to type your own title and name or may be text in which you want to apply this text style. Name this layer ‘text-shadow’.

On the option bar (see the below image) of the Type tool (T), set the size to 237.05 Pt. Right side of the options click the Center Text options to align the text in the center of the background. You can also use the Transform Tool (CTRL + T) to enlarge and to make it fit nicely in the middle of the background.

Here are the results so far:
Step 4
Now we’ll apply the Blending Options to text and we’ll turn it into Pokemon text style. Right click on the text and choose ‘Blending Options’. Check the Stroke options and enter the following settings.
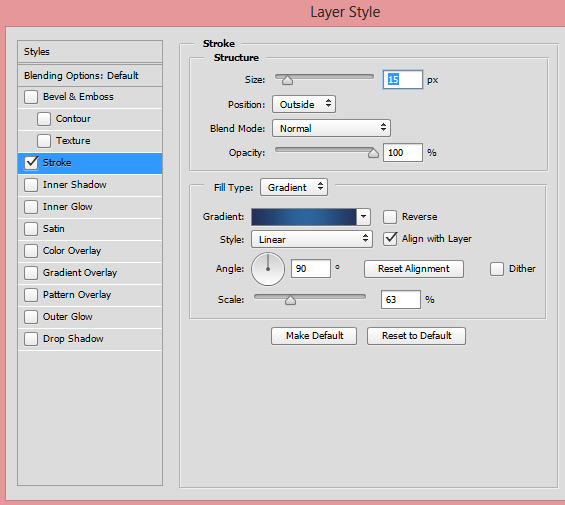
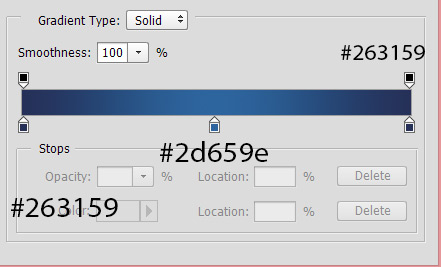
In the above settings you can notice that I didn’t used the color in Fill Type. Instead of color I used the Gradient. I chose the gradient flow from dark blue #263159 to a mid blue #2d659e to #263159. You can see the gradient color flow settings in the below image.
Here you can see the results:

Step 5
The effect we’ve achieved so far is going to work like a drop shadows for our original text. Now type the same text one more but this time above all layer. Don’t forget to use the same size and color for the text. You can also duplicate the text if you want and then right click on it choose ‘clear layer style’ to clear the applied effects.
Here you can see I typed the text again.

Step 6
Now apply the Stroke to this text with color #395faa. Rest of the setting you can see in the below image.
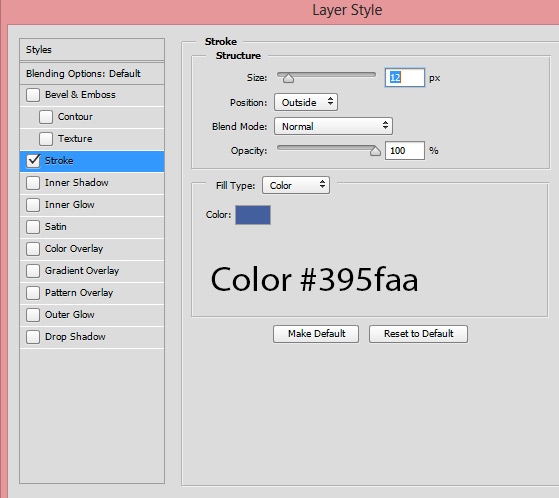
Here are results so far:

Step 7
Now use the Inner Shadow effect using #395faa.
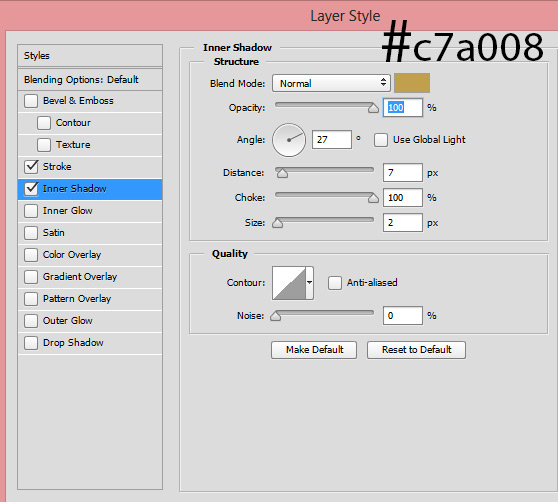
Results with yellow added inner shadows:

Step 8
Finally, we’ll change the color of text using Color Overlay options. So check on this options and use the color #ffcb05.
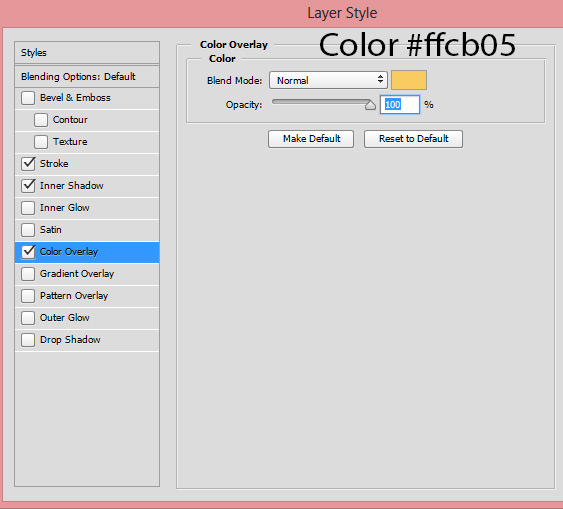
Here are the final results:

Conclusion
Thanks for following the tutorial. I hope you enjoyed the tutorial and now you’ll able to make your Pokemon style text in Photoshop. If you have any question then do let me know through comments. Have a great day ahead
Need Help With Photoshop or Looking for Professional Support?
Whether you're just getting started with Photoshop or need expert-level assistance, we're here to help! Contact us for personalized Photoshop tutorials, project support, or creative services.
Get in touch today to take your skills or projects to the next level.
CONTACT US NOW📘 Want to Master Photoshop Faster?
🎁 Get Your FREE PDF E-Book "Top 10 Photoshop Tricks Every Designer Must Know" Now – Packed with expert tips, shortcuts, and techniques to boost your creativity & workflow.
👉 Download Your FREE PDF E-Book NOW!