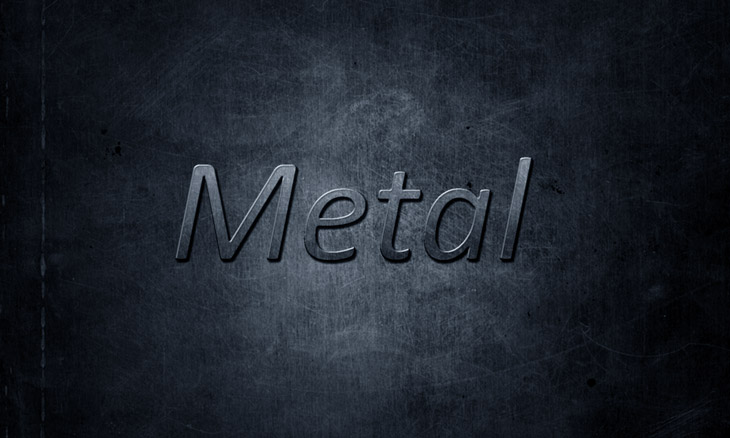

In this Photoshop tutorial, I’ll show you how to create a metal text effect in Photoshop. You’ll learn how to use blending options to convert an ordinary text into the metal one. You’ll also learn how to use a clipping mask, blend modes, textures and adjustment layers.
Tutorial Resources
Preparing Background
Step 1
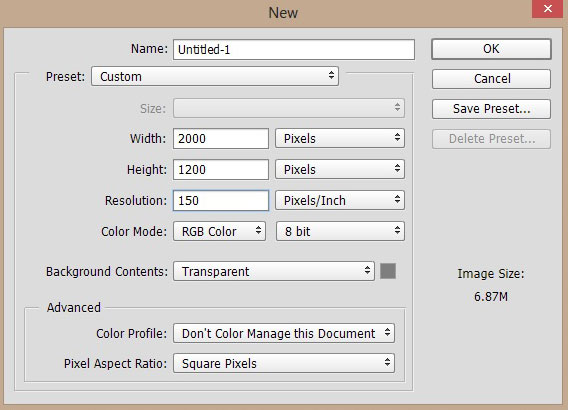
Create a new document in Photoshop with the following settings:
Step 2
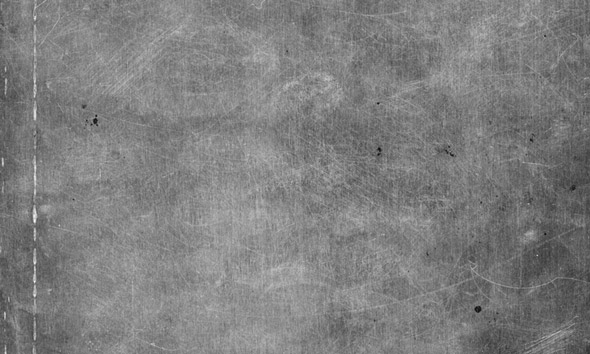
Place the metal texture to main document and place it as shown below. Try to resize it using Transform Tool (CTRL + T) to make it fit nicely to main document.
Step 3
Make a Curves adjustment layer and darken the texture. Go to Layer > New Adjustment > Curves and use the following settings to darken the texture.
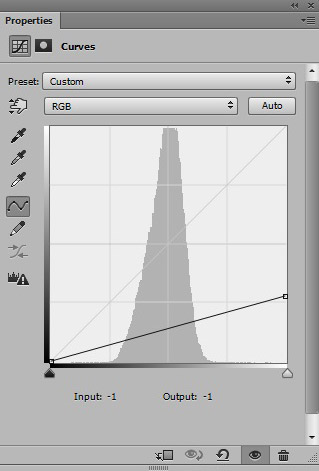
Results:

Step 4
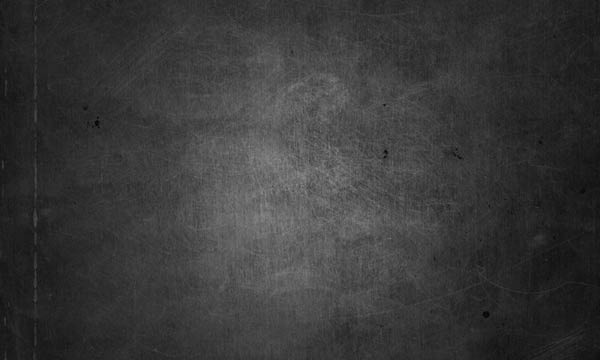
On the layer mask of Curves, use a soft round black brush to erase the effect on the middle of it. Try to make middle section brighter.
Results:
Step 5
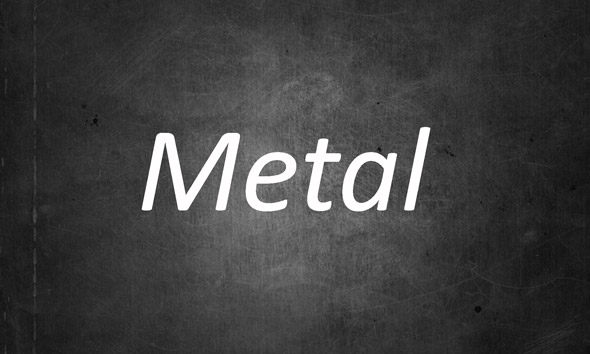
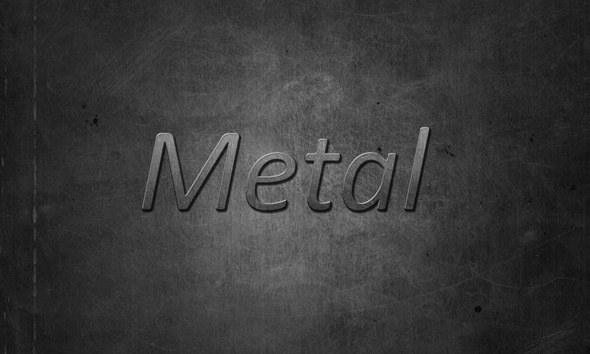
Now type the text using Type Tool (T) and I typed ‘Metal’, feel free to use any font which you like most. I am using Calibri Italic font and it’s a default font in Photoshop. Here is the text that I typed:
Step 6
Now we are going to apply blending options effect to our text. Right click on text layer and choose ‘Blending Options’.
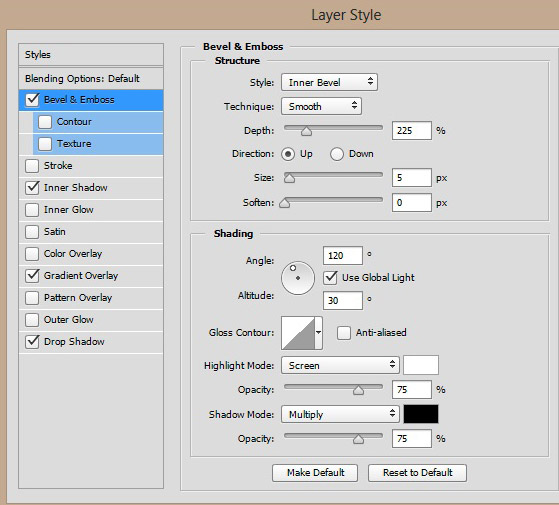
First, use the Bevel & Emboss styles and here are the values:
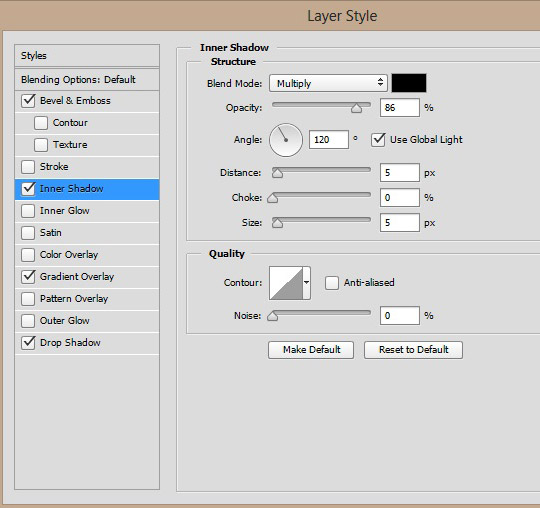
Next, use Inner Shadow style:
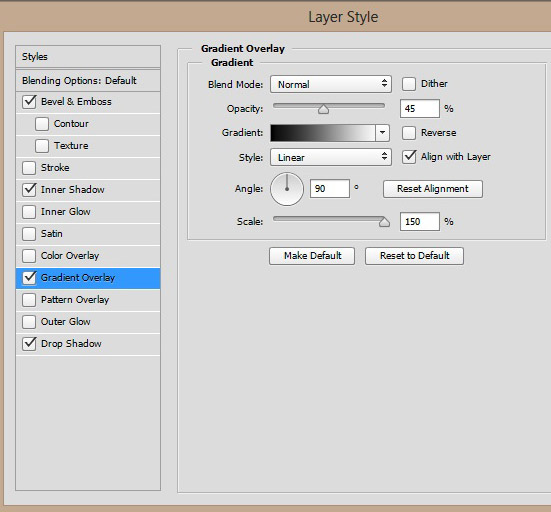
Gradient Overlay:
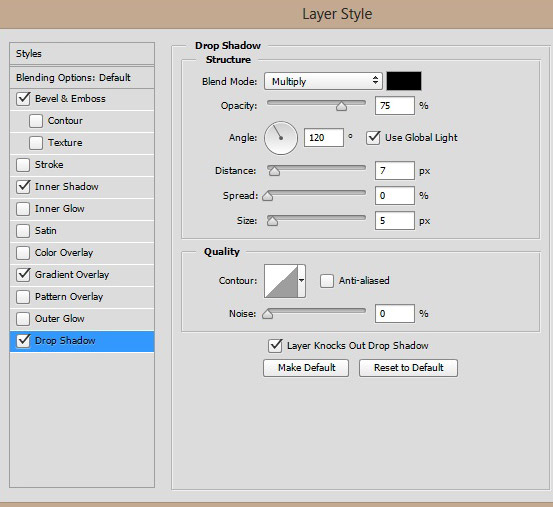
Drop Shadow:
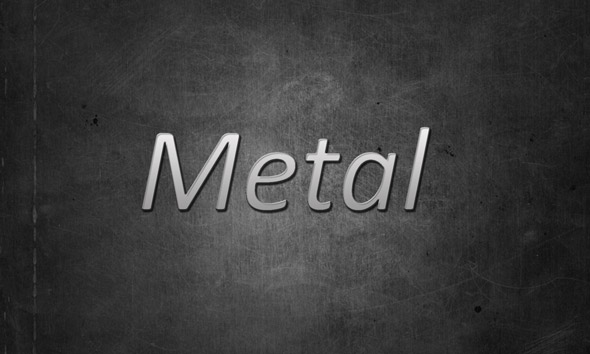
Result with metallic finish:
Step 7
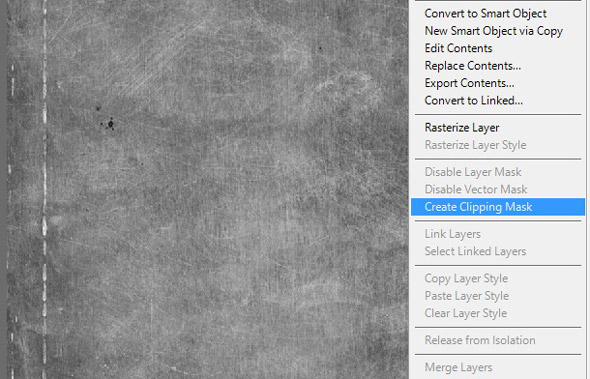
Place the metal texture one more time and this time place it above the text layer. Now right click on texture layer and choose Create Clipping Mask and this will apply the metal texture to our text.
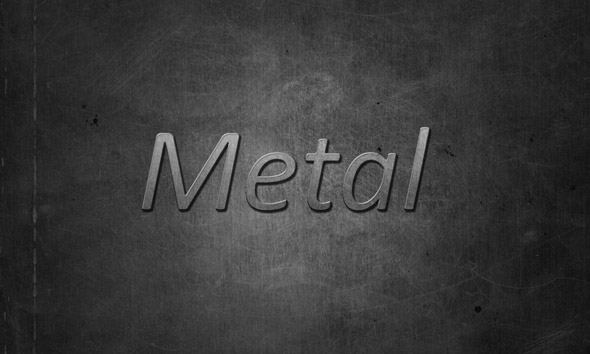
Results after applying metal texture to text:

Step 8
Duplicate this metal texture layer one more time but set it as a clipping mask.
Change the blend mode of duplicated metal texture layer to Multiply and reduce its opacity to 70%. This will stronger the metal effect on the text.
Final Adjustments
Step 9
Use the Levels adjustment layer to increase the contrast. Use it with following settings:
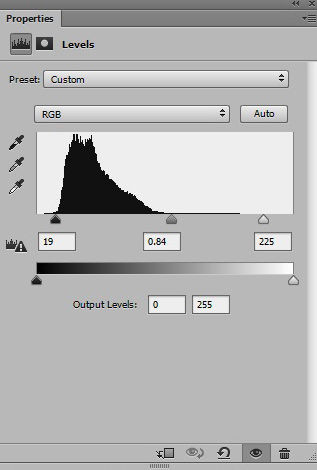
Results after increasing contrast:

Step 10
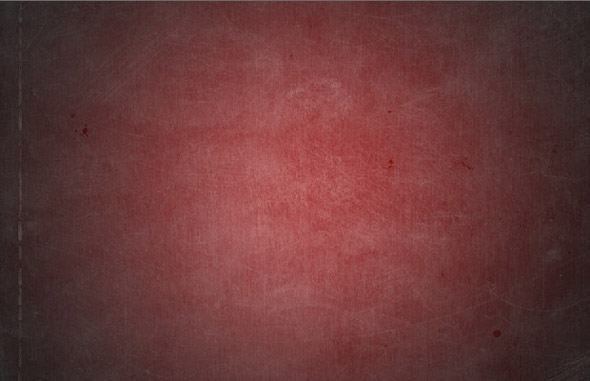
Finally, use the Color Balance adjustment layer to give it blue metal colors. Use it with following settings :’
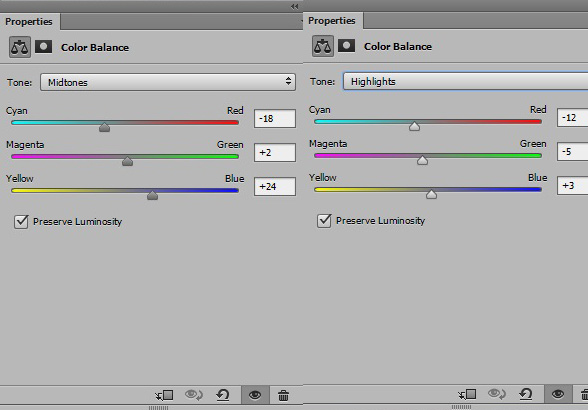
Final Results:

Conclusion
Thanks for following the tutorial and I hope that you’ve learned some techniques to create a metal text effect. If need any help then just let me know.
Need Help With Photoshop or Looking for Professional Support?
Whether you're just getting started with Photoshop or need expert-level assistance, we're here to help! Contact us for personalized Photoshop tutorials, project support, or creative services.
Get in touch today to take your skills or projects to the next level.
CONTACT US NOW📘 Want to Master Photoshop Faster?
🎁 Get Your FREE PDF E-Book "Top 10 Photoshop Tricks Every Designer Must Know" Now – Packed with expert tips, shortcuts, and techniques to boost your creativity & workflow.
👉 Download Your FREE PDF E-Book NOW!