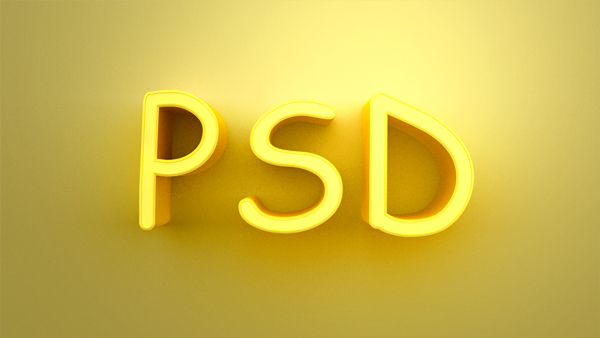

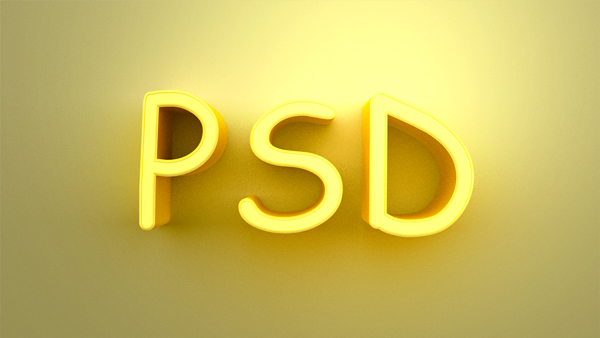
In this Photoshop tutorial, I’ll show how to create a gold 3D text using Photoshop 3D layers. We are going to create shiny gold text effect using Photoshop’s 3D layers. You’ll learn how to work with 3D layers, adjusting 3D materials properties, adding light effect to 3D text and much more. At the end, we’ll create a glowing light for our text and finally, we’ll finish it up using adjustment layers.
Preparing Background
Step 1
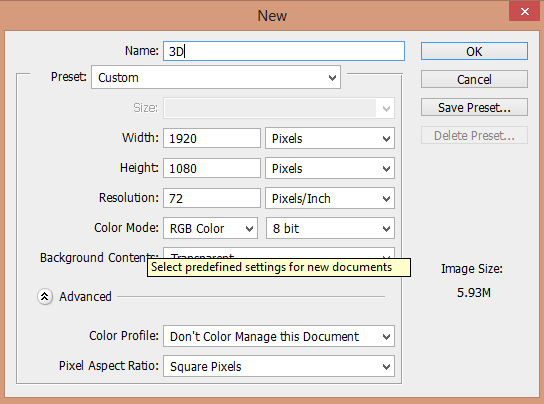
Create new document in Photoshop by selecting File > New and give the following values:
Step 2
Fill this document with white color. Press CTRL + BACKSPACE to fill the document with white color but make sure background color is set to white. Press D to set the foreground/background color to default (black and white). Name this layer Background.
Step 3
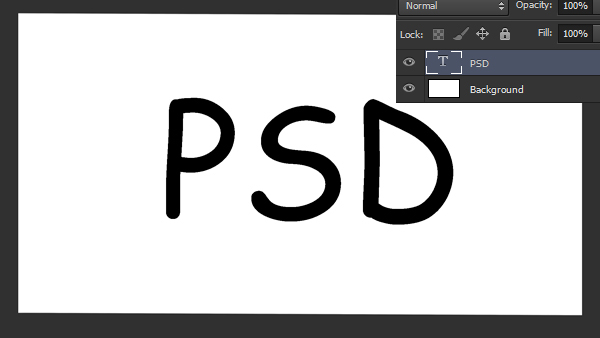
Press (T) to activate the Type Tool (T). Now Type the Text in Photoshop and I typed PSD. I am using Cosmic Sans MS font and it’s a default font in Photoshop. Once you typed the text, you can scale it using Transform Tool CTRL + T to make the text bigger. Feel free to scale the text or set the size according to your way.
Step 4
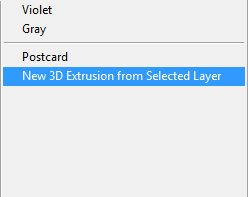
Select the background layer and right click on it and choose ‘Postcard’ to convert the background layer into 3D.
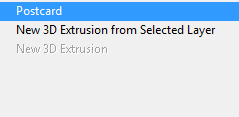
Now select the text layer and right-click on it then choose ‘New 3D Extrusion Layer from Selected Layer’. This will turn the text layer into 3D text and Photoshop will switch you to 3D interface automatically.
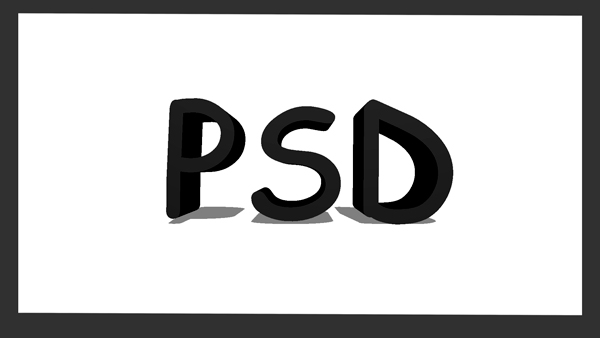
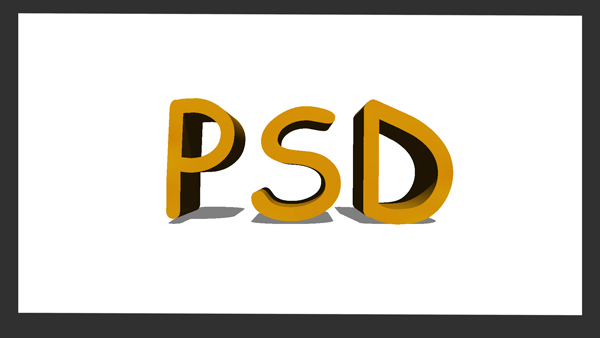
After turning both layers into 3D, you should have the following results:
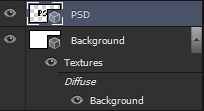
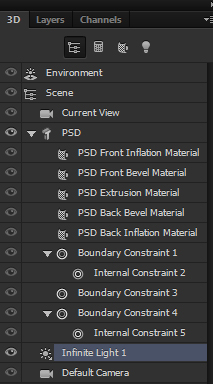
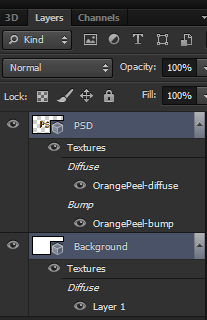
Here is the layer panel arrange so far:
Step 5
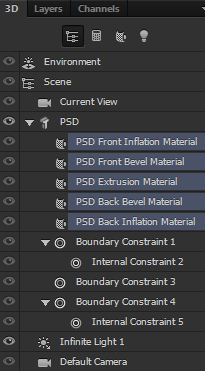
Now we’ll work with our 3D text layer. Select the 3D text layer and switch to 3D panel. If you don’t see the 3D panel go to Window > 3D and you’ll have the 3D layer panel right beside the layer panel. Now we are going to adjust the materials setting for text so it looks gold. Select all the materials layer’s of 3D text effect (shown below) and your properties panel will switch to materials settings.
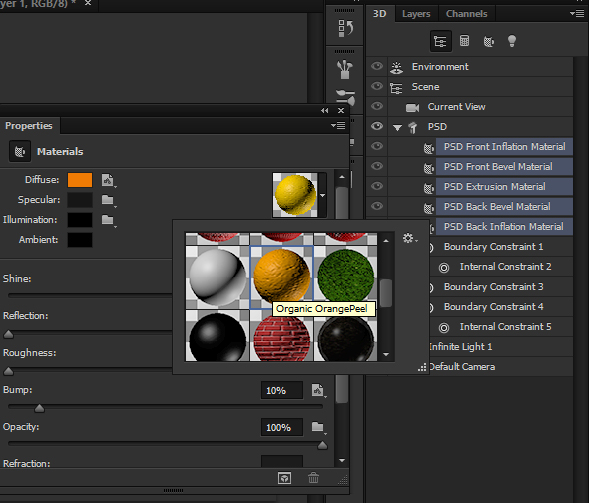
After selecting all the material layer you’ll have the materials properties panel as shown below. Under the material thumbnail, select Organic Orange Peel material.
Step 6
After selecting the material, enter the following setting as shown below. Set the Shine to 60%, Reflection to 40%, Bump to 0% and leave everything as it is.

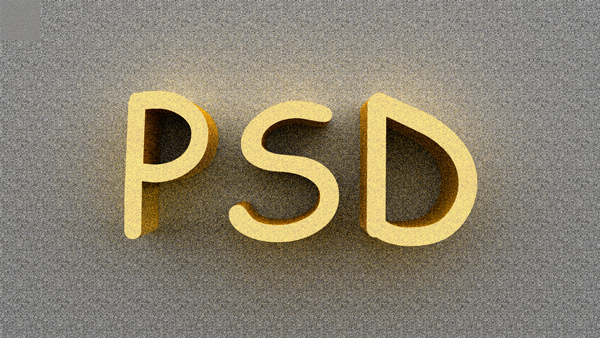
Here are the results with added gold color to our text:
Step 7
Now we’ll adjust the light for our text. Under the 3D text properties, select Infinite Light 1.
Under the lights properties panel, choose the Point in the Type options. Set the color intensity to 89% and check the Light Fall Off option. This will adjust the light coming from middle top of the text as you’ve seen in final results.
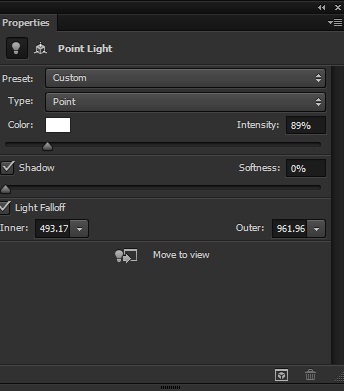
You can see only the top area is highlighted.
Step 8
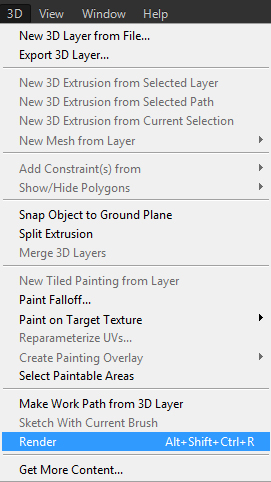
It’s time to Render the 3D Text. Switch to layer panel and select both 3D layers. After selecting, press CTRL + E to merge both 3D layers into single 3D layer.
Now go to 3D > Render and do a quick render of our text to see the results so far.
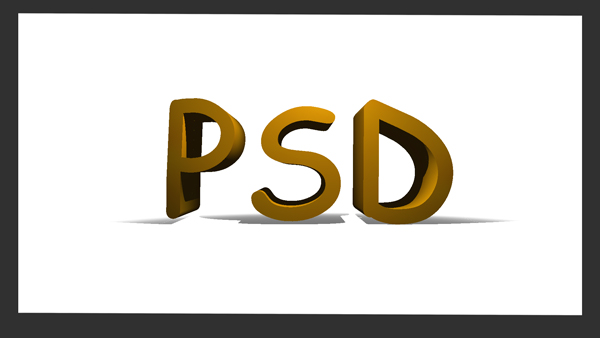
Results after quick rendering:
Step 9
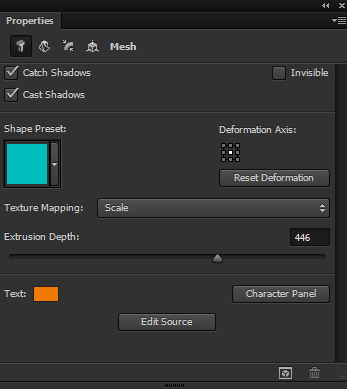
Now switch to 3D panel again and select the 3D text layer.
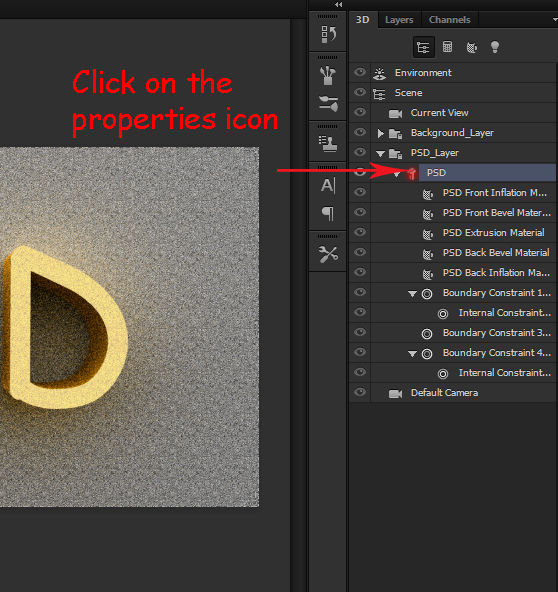
Click on the red icon to open the properties. You’ll have the properties panel as shown below.
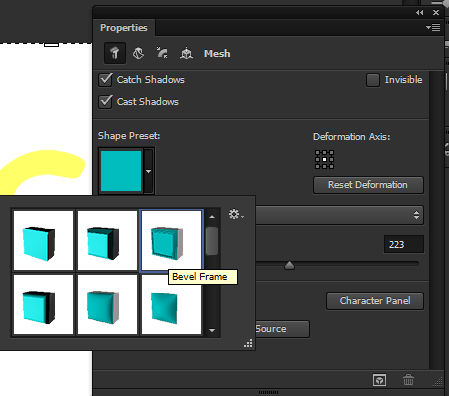
Step 10
Under the shape presets, select the third preset to add bevel frame to the edges of the text.
Render the 3D text to see the results. Results after adding bevel frame:
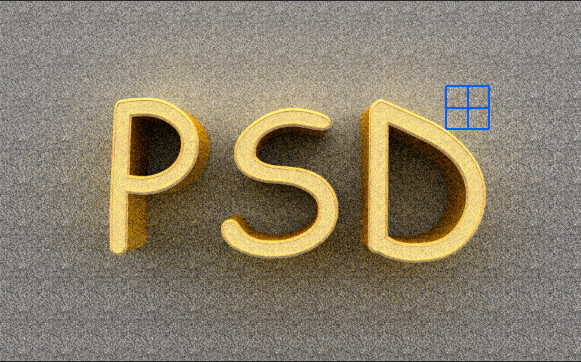
Step 11
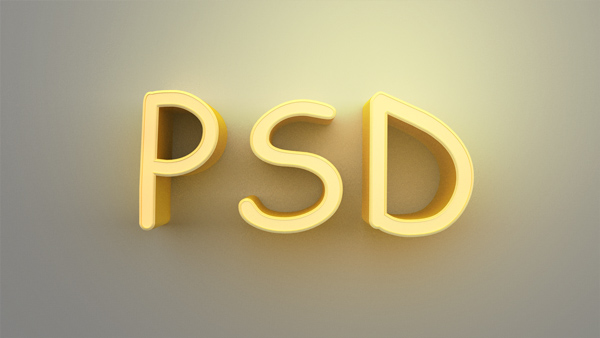
If you are happy with the results then you can render the 3D text to get the 3D results as shown below. Below results take 50 minutes to render. Otherwise you can make some changes for your 3D text but I am satisfied with results and finally, I rendered the 3D text.

Step 12
Create a new layer and change the foreground color to #94763f. Paint the light on top of the text using Brush Tool (B) as shown below.
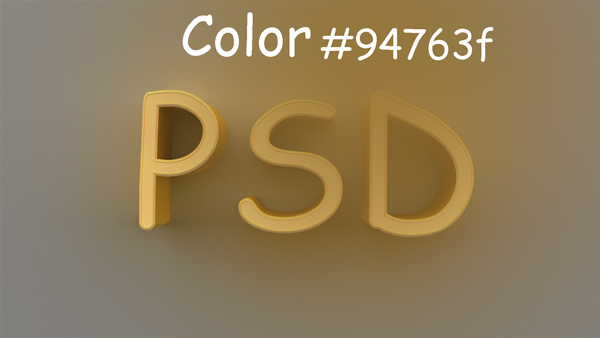
Set the belnd mode to Linear Dodge and reduce the opacity to 80%.
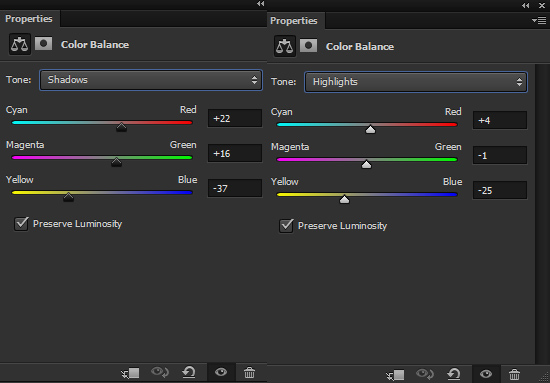
Step 13
Add a Color Balance adjustment layer and using the following settings, add yellow gold color to entire document.
You can add an adjustment layer by clicking on the second icon at the bottom of layer panel.
Results:
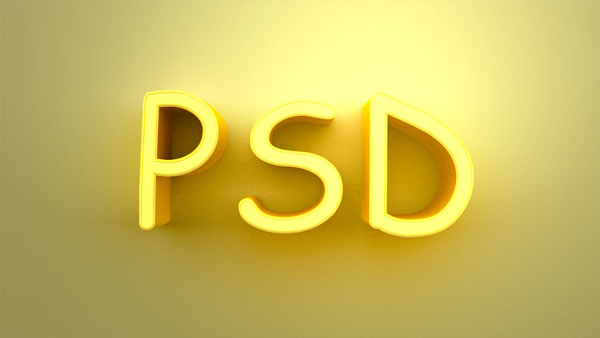
Step 14
Finally, I adjusted the brightness a bit using Levels adjustment layer.
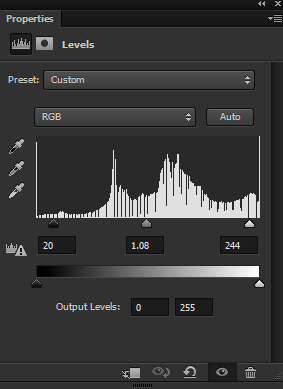
Results:
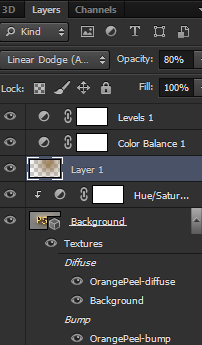
Layer panel arranged:
Conclusion
Thanks for following the tutorial. Hope you enjoyed the lesson. If you like it please share the tutorial with the world, just click on the social media icon on your screen. Have a great day!
Need Help With Photoshop or Looking for Professional Support?
Whether you're just getting started with Photoshop or need expert-level assistance, we're here to help! Contact us for personalized Photoshop tutorials, project support, or creative services.
Get in touch today to take your skills or projects to the next level.
CONTACT US NOW📘 Want to Master Photoshop Faster?
🎁 Get Your FREE PDF E-Book "Top 10 Photoshop Tricks Every Designer Must Know" Now – Packed with expert tips, shortcuts, and techniques to boost your creativity & workflow.
👉 Download Your FREE PDF E-Book NOW!