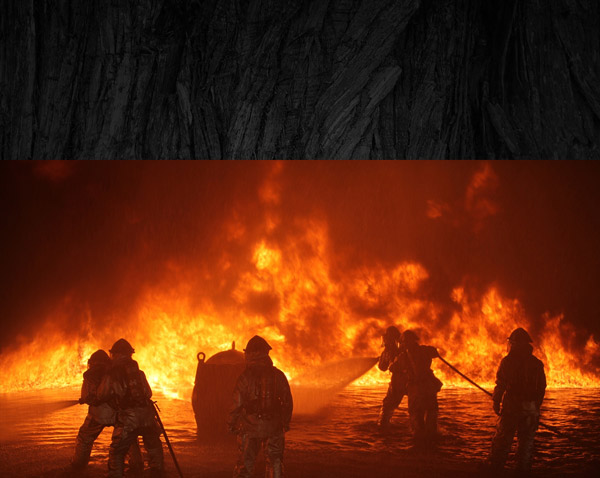
In this Photoshop tutorial, I’ll show you how to create burning fire text effect in Photoshop. You’ll learn how to use fire texture to achieve a fire effect in Photoshop. You’ll also learn how to use layer’s blending options to achieve fiery burning effects. Follow along with the tutorial and find out how easy this is!
Tutorial Resources
Setting up Background
Step 1
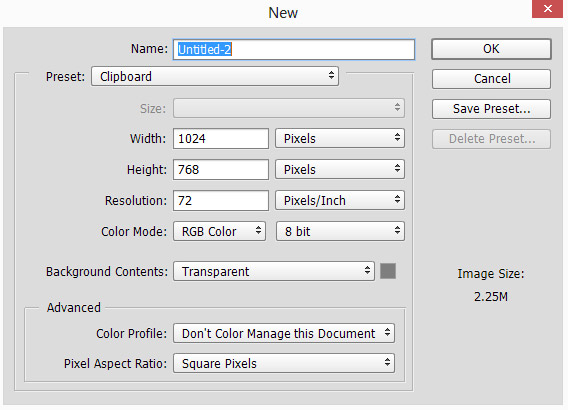
Create a new document in Photoshop with following settings :
Step 2
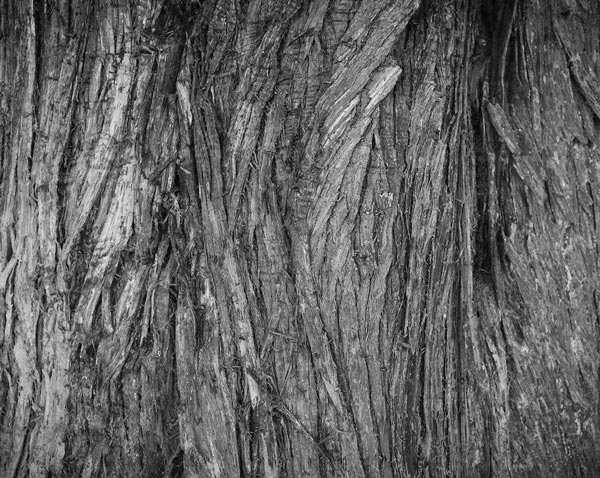
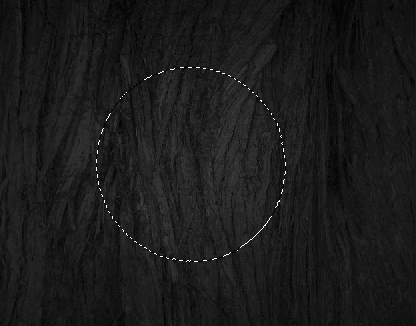
Open up the tree bark texture in Photoshop and then place it to main document by selecting File > Place Embedded
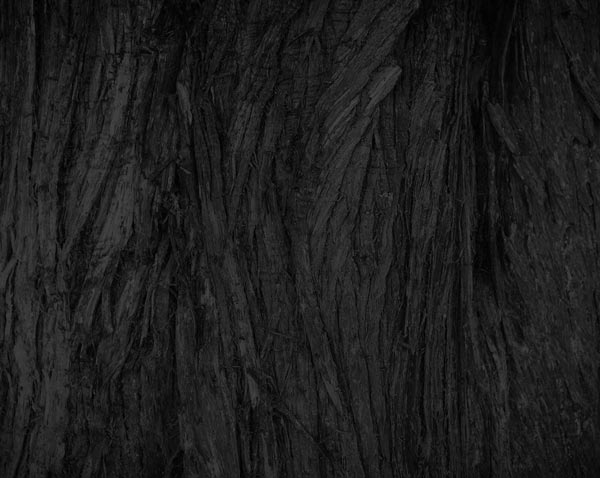
Reduce the texture layer’s opacity to 30%. Results with darker effect:
Step 3
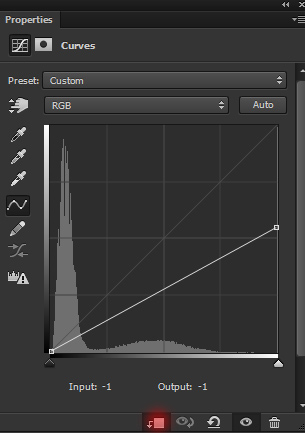
Make a Curves adjustment layer and reduce the brightness one more time. Go to Layer > New Adjustment Layer > Curves or click the third icon at the bottom of layer panel to add an adjustment layer.
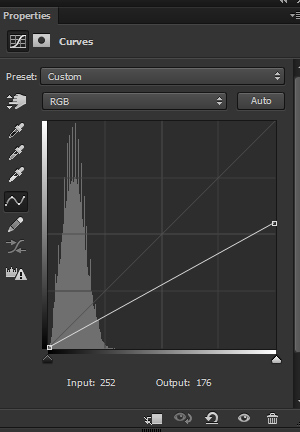
On the layer mask of Curves, mask the effect on the middle selected area and maintain light there. Use a soft, basic black for masking the effect.
Step 4
Activate the Type Tool (T) and type A as shown below. I am using Arial Regular font and it’s default font in Photoshop.

Step 5
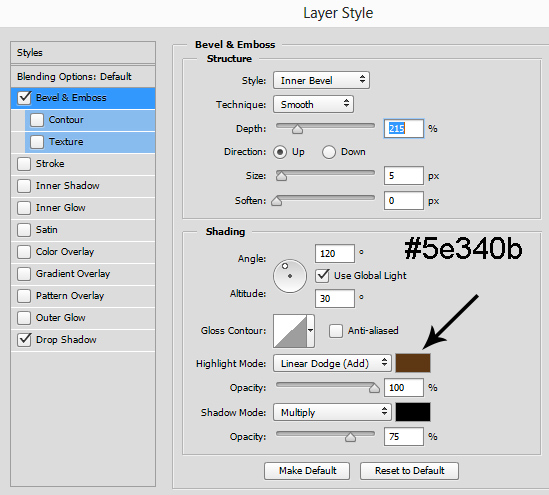
Now we’ll add some shades and shadow to text using Blending Options. Right click on text layer and choose ‘Blending Options’. In the blending options, I used Bevel & Emboss and Drop Shadow.
Here are the values for Bevel & Emboss:
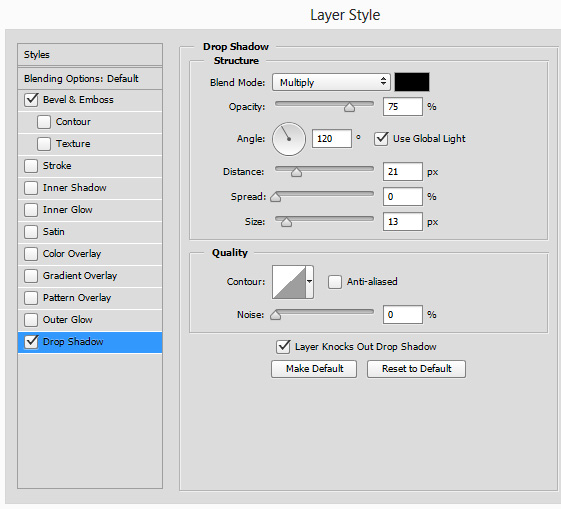
Here is the settings for Drop Shadow :
Results:

Step 6
Duplicate the tree texture and place it above the text layer. Now right click on texture layer and choose ‘create clipping mask’, and then clip the bark texture to text.

Step 7
Add a Curves adjustment layer to text and set it is as Clipping Mask (click the red icon). Reduce the brightness of text and texture to match it with the rest of the background.
Results:

Step 8
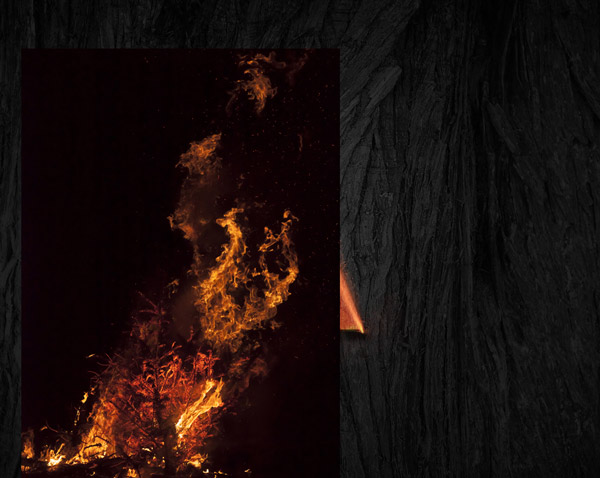
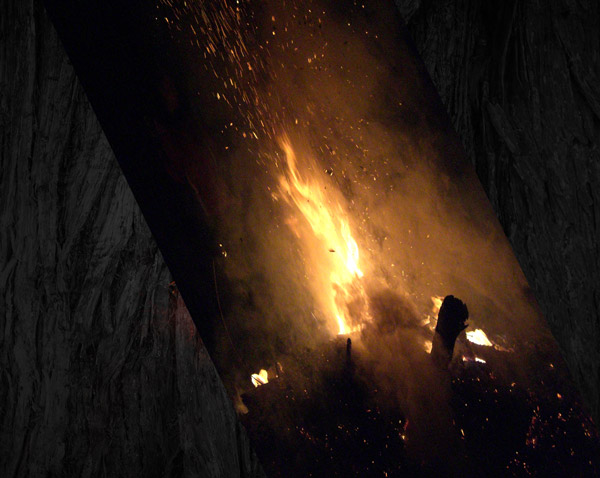
Place the fire 1 stock to the main document and place it shown below to get its only fire parts.
Clip the fire 1 layer to text and here are the results :

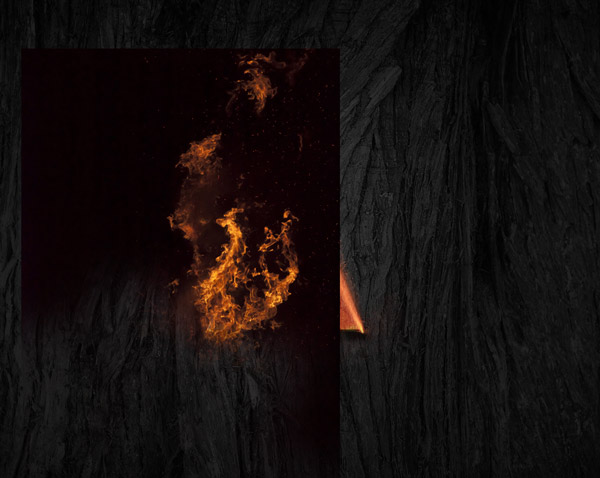
Step 9
Change the fire 1 layer’s blend mode to Hard Light and reduce the opacity to 54%.

Step 10
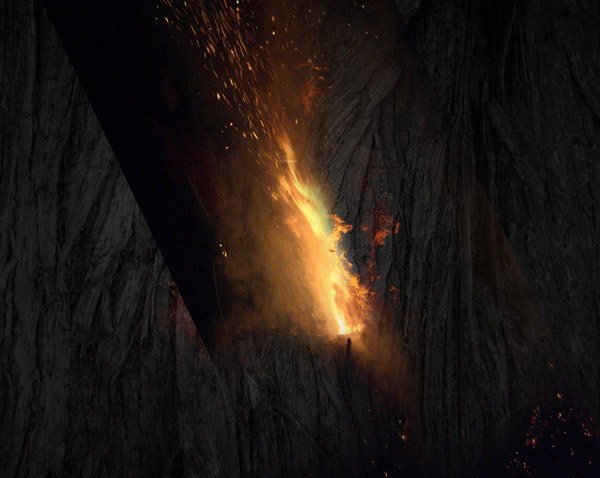
Place the fire 2 stock image to main document and if needed use the Transform Tool (CTRL + T) to rotate it, and position it as shown below.

Set the blending mode to Screen.

Step 11
Duplicate the fire 2 layer and this time place it to the right side of the text. Press CTRL + J to duplicate the layer.

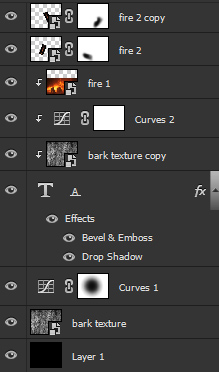
Layer Panel arranged so far:
Step 12
Place the fire 3 stock to main document and place it shown below.
Step 13
Add a Layer Mask to fire 3 layer and mask its lower parts using a soft basic black brush. To add a layer mask go to Layer > Layer Mask > Reveal All or click the second icon at the bottom of layer panel.
Set the blend mode to Screen.

Step 14
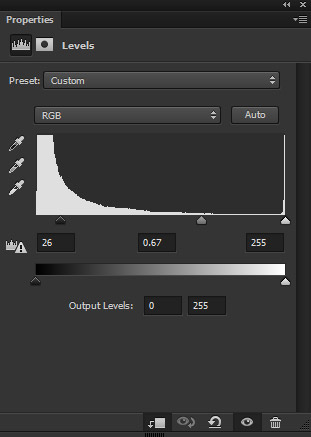
I used a Level adjustment layer to increase the contrast on the fire 3 and to get rid of the unwanted edges. Remember to set it as clipping mask.
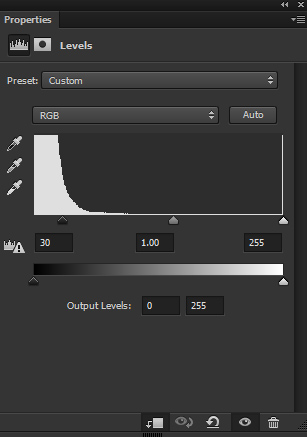
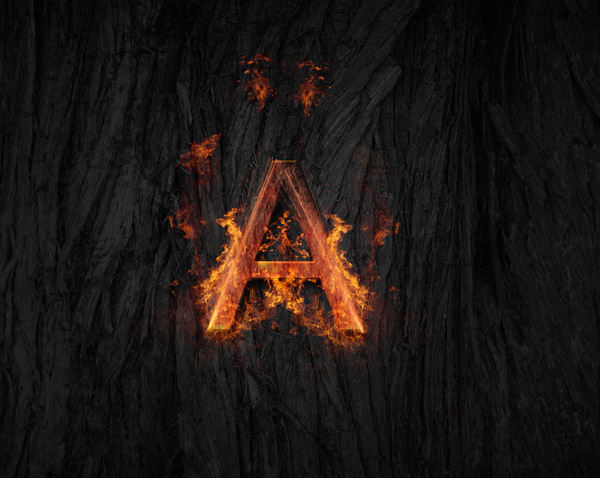
Results :

Step 15
I duplicated the fire 3 layer and placed it to another side of the text as I did for fire 2.
Step 16
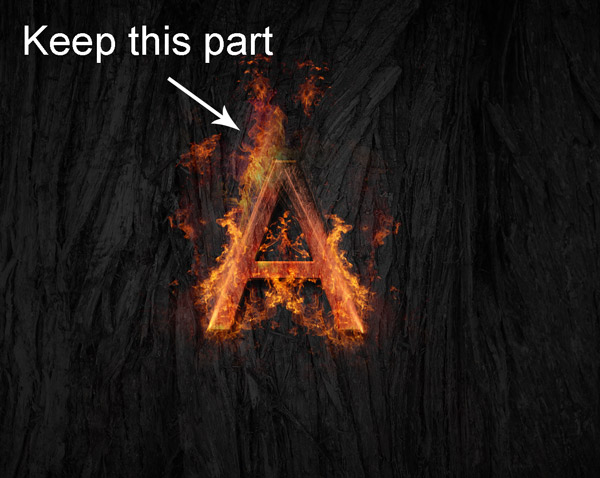
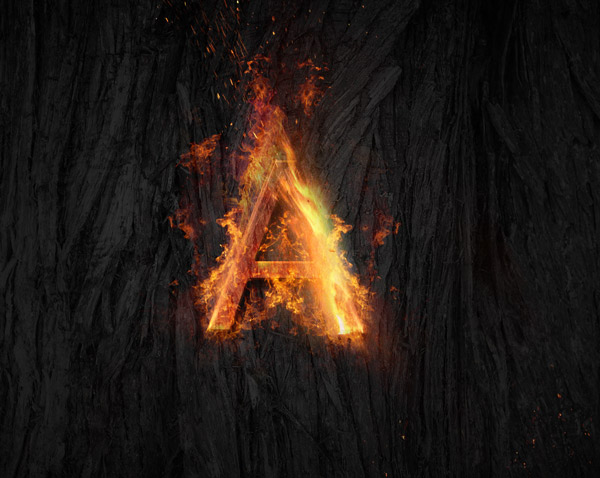
Add the fire 4 and place it as shown below.
Add a Layer Mask to fire 4. Mask all the parts but the keep the parts indicated by white arrow. Also, set the blend mode to Screen.
Step 17
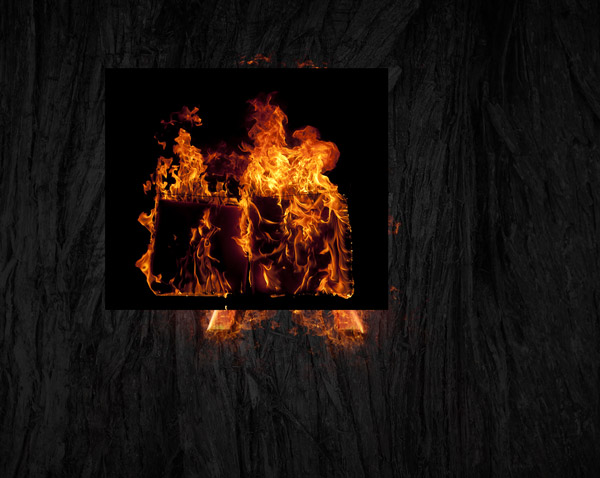
Add the Fire 5 to the main document and place it as shown below. Use the free transform tool to position it as shown below.
Step 18
Add a Layer Mask to fire 5. Mask the parts as shown below but remember to keep the fire sparks of the fire 5 (at the bottom right corner).
Set the blending mode to Screen.
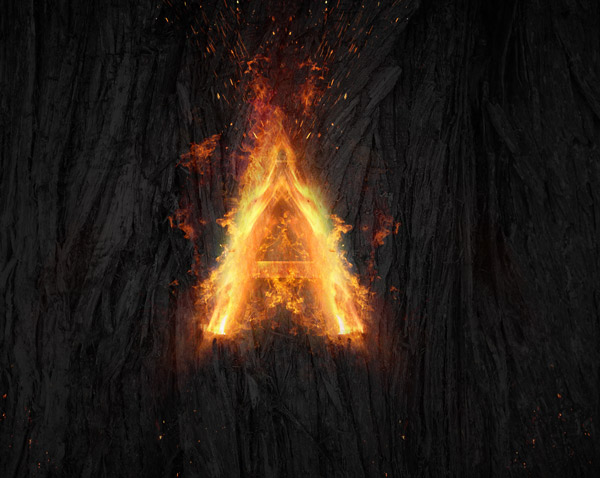
Step 19
I used a Level adjustment layer to increase the contrast of fire 5.
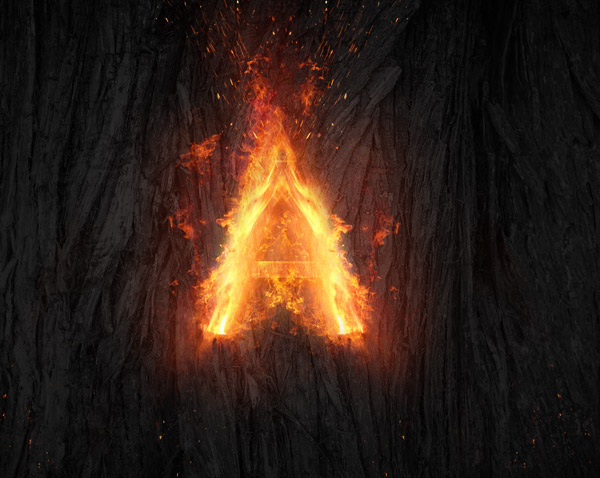
Results:
Step 20
Duplicate the fire 5 layer and place it to left side of the text as shown below.
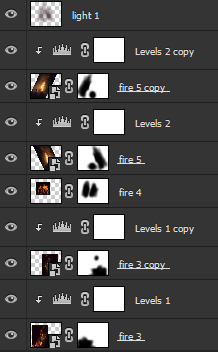
Step 21
Create a new layer and name it ‘light 1’. Set the foreground color #4e1c0e. Use a soft round brush to paint the light on the text.
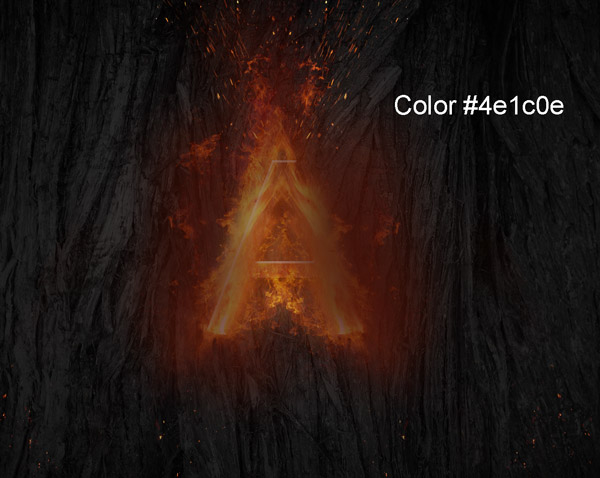
Change the light 1 layer’s blending mode to Linear Dodge.
Layer panel arrange so far:
Step 22
Create a new layer and name it ‘light 2’. Use the same color to paint some more light as shown below.

Set the blend mode to Color Dodge.
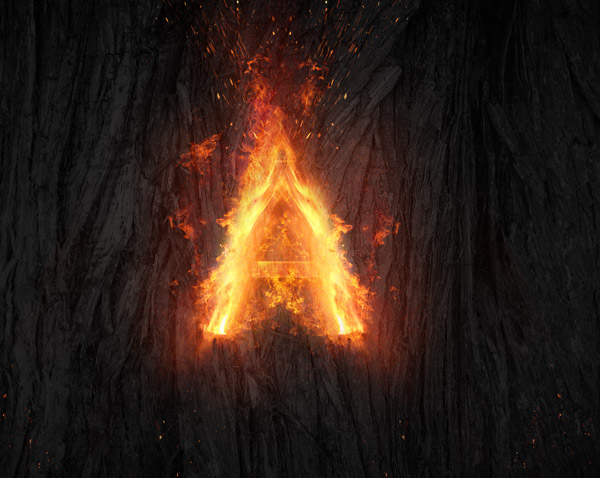
Step 23
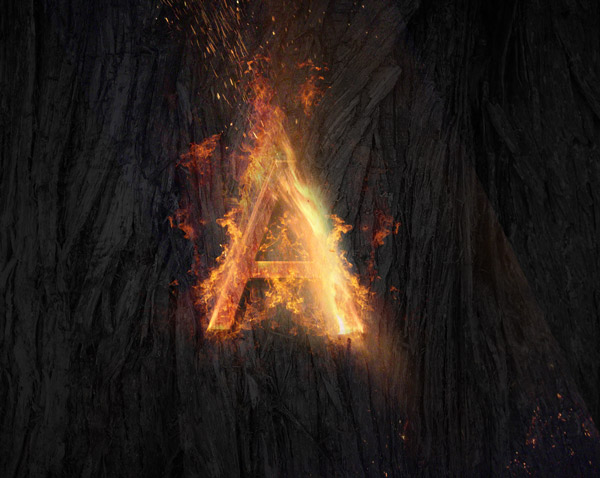
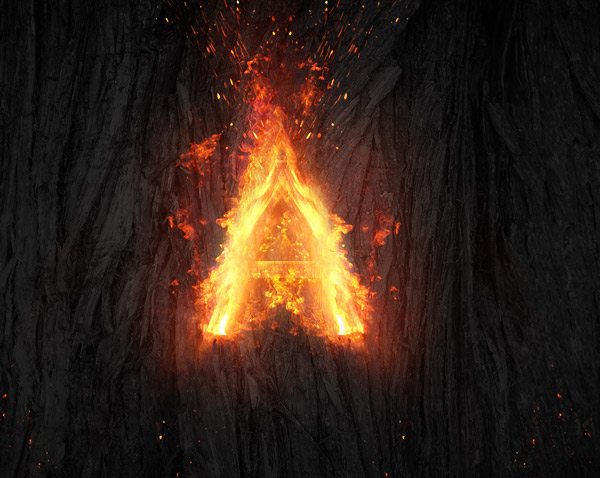
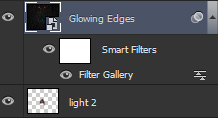
Merge all the layer into a single layer by pressing CTRL + SHIFT + ALT + E. Go to Filter > Filter Gallery and choose the Glowing Edges filter, and give the following values:

Set the blend mode of the merged layer to Color Dodge. Final Results:
Layer Panel Arranged:
Conclusion
Thanks for following the tutorial. Hope you liked it and please do share, tweet, pin on social media. Just click the social media icon on your screen to share the tutorial with the world. Have a great day!
Need Help With Photoshop or Looking for Professional Support?
Whether you're just getting started with Photoshop or need expert-level assistance, we're here to help! Contact us for personalized Photoshop tutorials, project support, or creative services.
Get in touch today to take your skills or projects to the next level.
CONTACT US NOW📘 Want to Master Photoshop Faster?
🎁 Get Your FREE PDF E-Book "Top 10 Photoshop Tricks Every Designer Must Know" Now – Packed with expert tips, shortcuts, and techniques to boost your creativity & workflow.
👉 Download Your FREE PDF E-Book NOW!