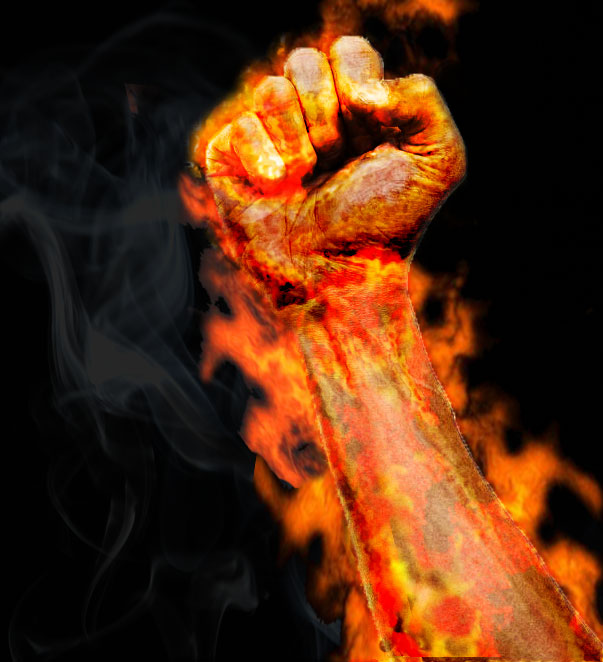
Create an awesome flame-in-hand effect for some Street Fighter action! This tutorial was done by a volunteer from Russia, so the screenshots UI are in Russian. But you shouldn’t have any trouble with following the steps!
Preparation:
Make sure you have photos of a hand/fist, flame, and smoke. If not, don’t worry, you can just use the ones provided! As this tutorial is not written by me, but a volunteer, there won’t be the normal ‘step-by-step’ diagrams in the screenshots, and less explaining as you are required to have some Photoshop knowledge for this tutorial. Apologies for any inconveniences caused!
Step 1:
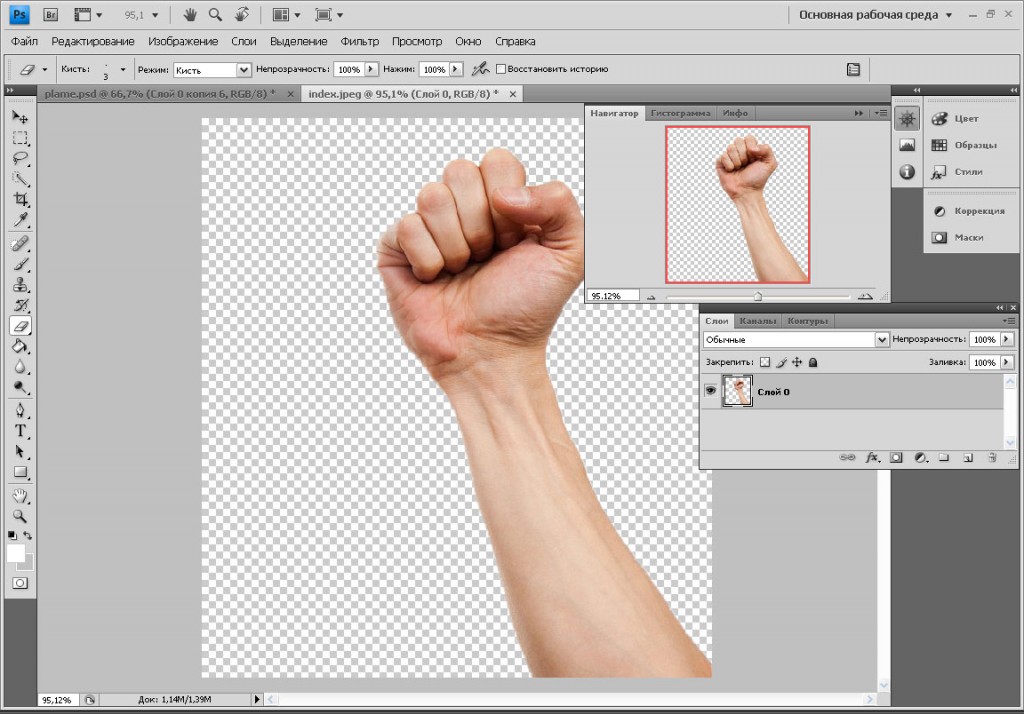
Open a photo with a hand/fist that you want, and make sure to delete the background. Or you can simply use the one I have provided here.
Step 2:
Create a new layer under the layer with a hand, then fill this layer with black.
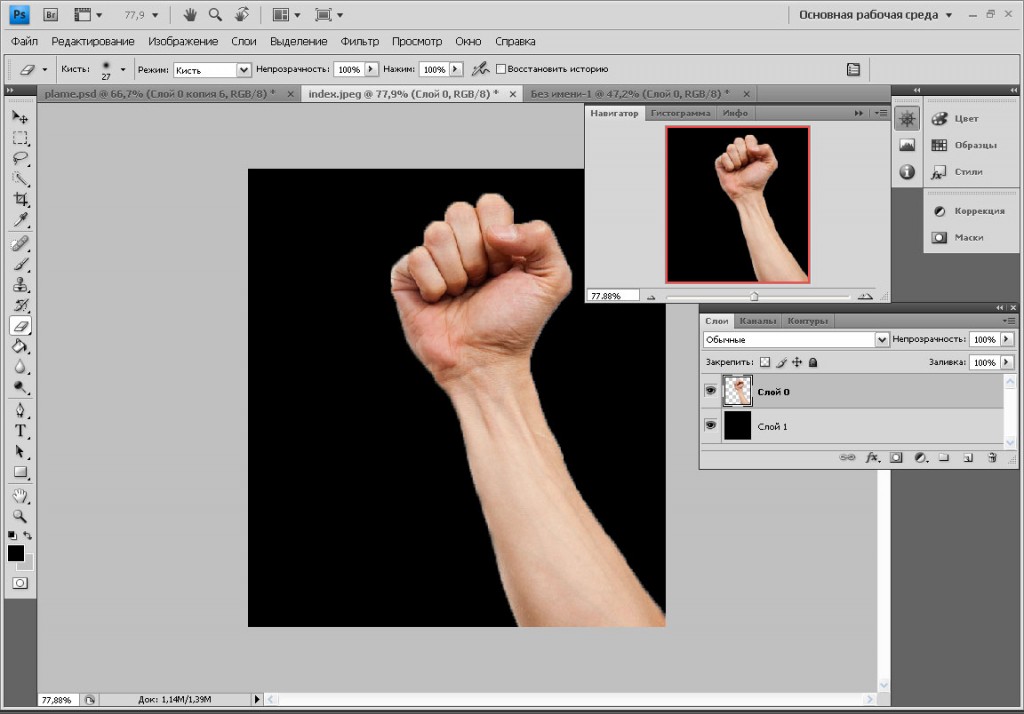
Step 3:
Duplicate the hand layer twice, so that there are now 3 layers of hand in total.
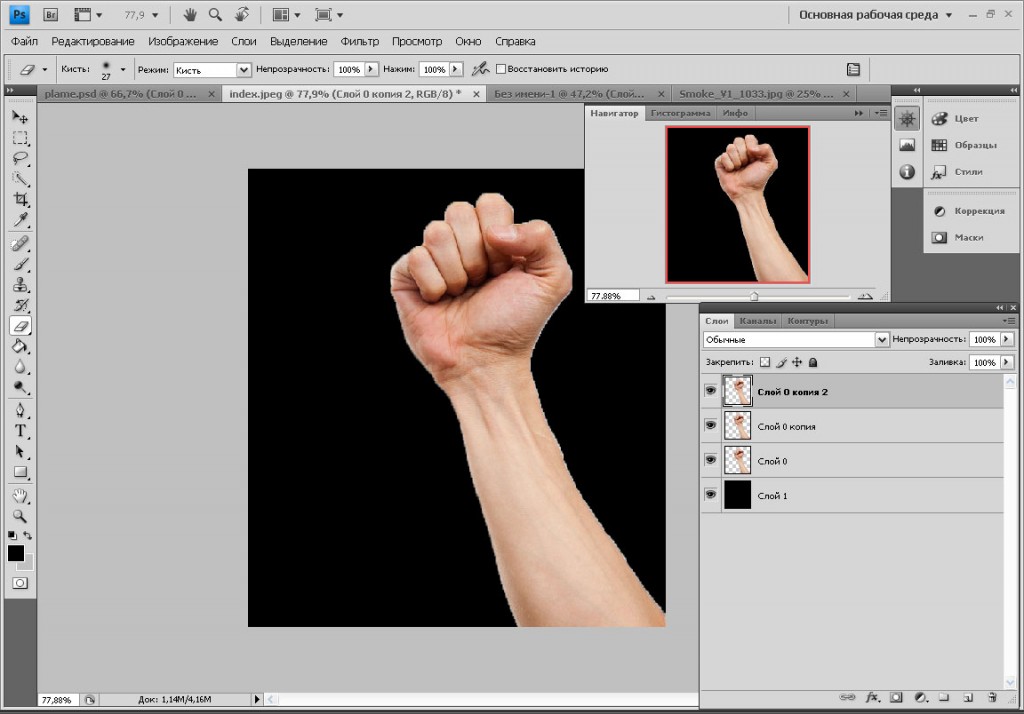
Step 4:
Choose the second layer of the hand and open Image > Adjustment > Hue/Saturation and change saturation to -100
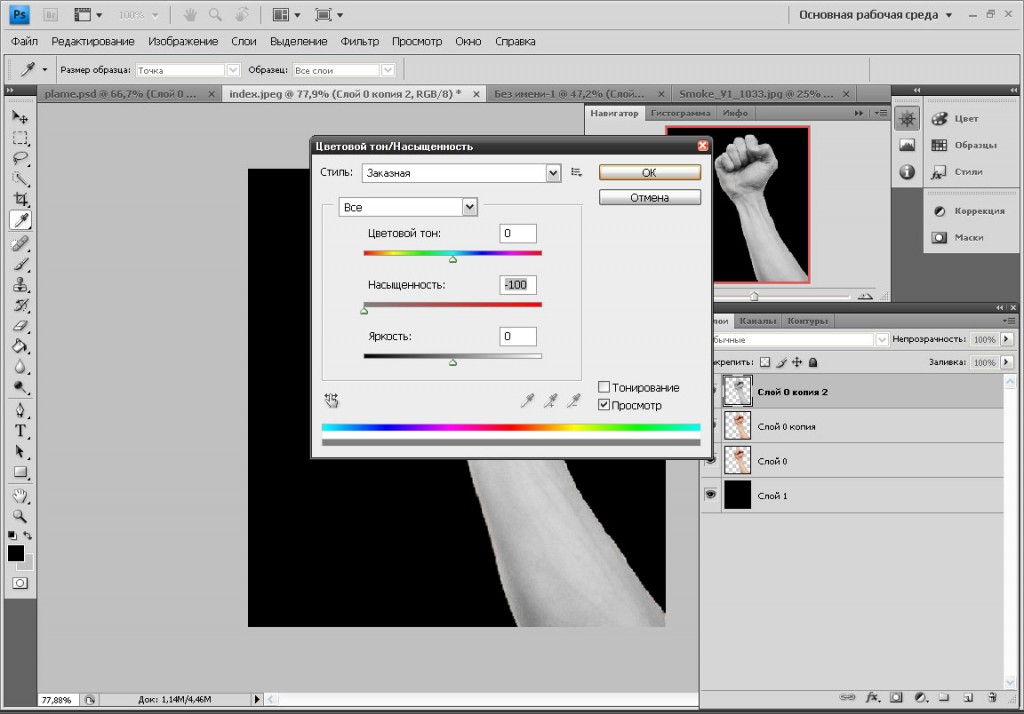
Step 5:
Then change layer style from Normal to Overlay.
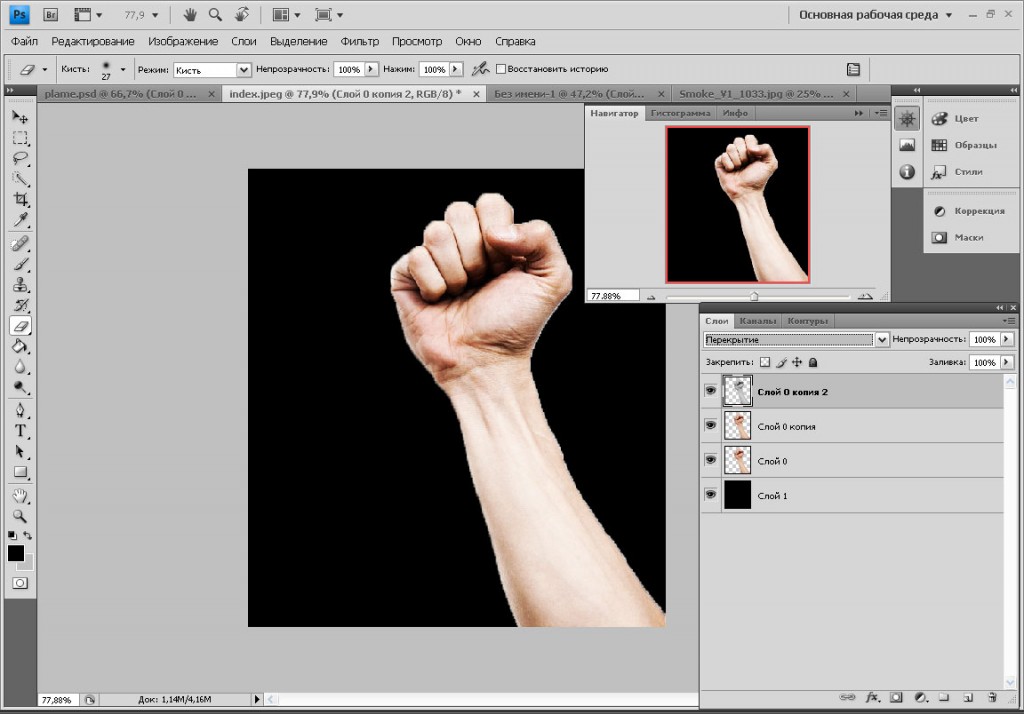
Step 6:
Next, select the third layer and go to Filter > Blur > Gaussian blur. Radius is 4.2 pixels.
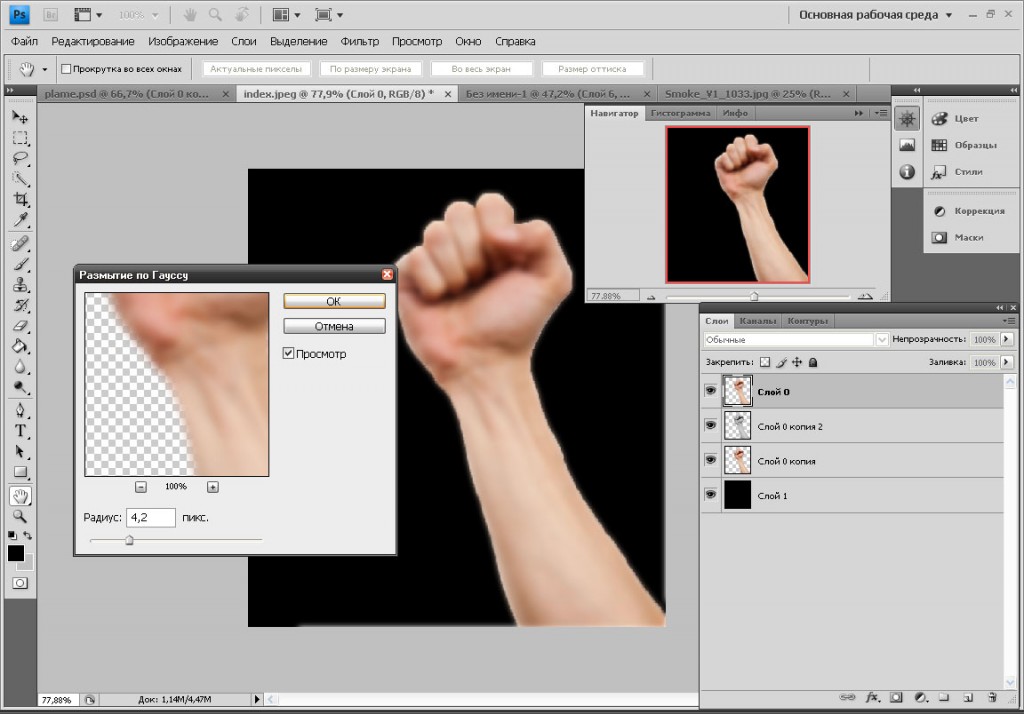
Step 7:
Then go to Filter > Stylize > Glowing Edges with these settings:
Glowing Edges = 2
Poster Edges = 20
Softening = 1
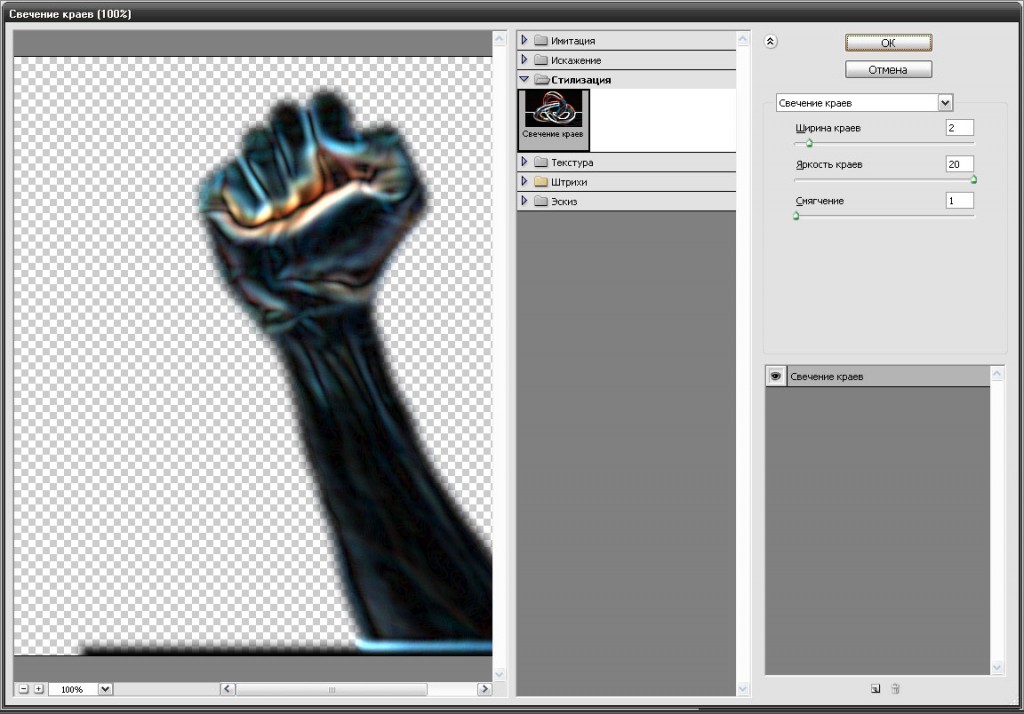
Step 8:
Then go to Filter > Distort > Ocean Ripple
Ripple size- 6
Ripple strength – 6
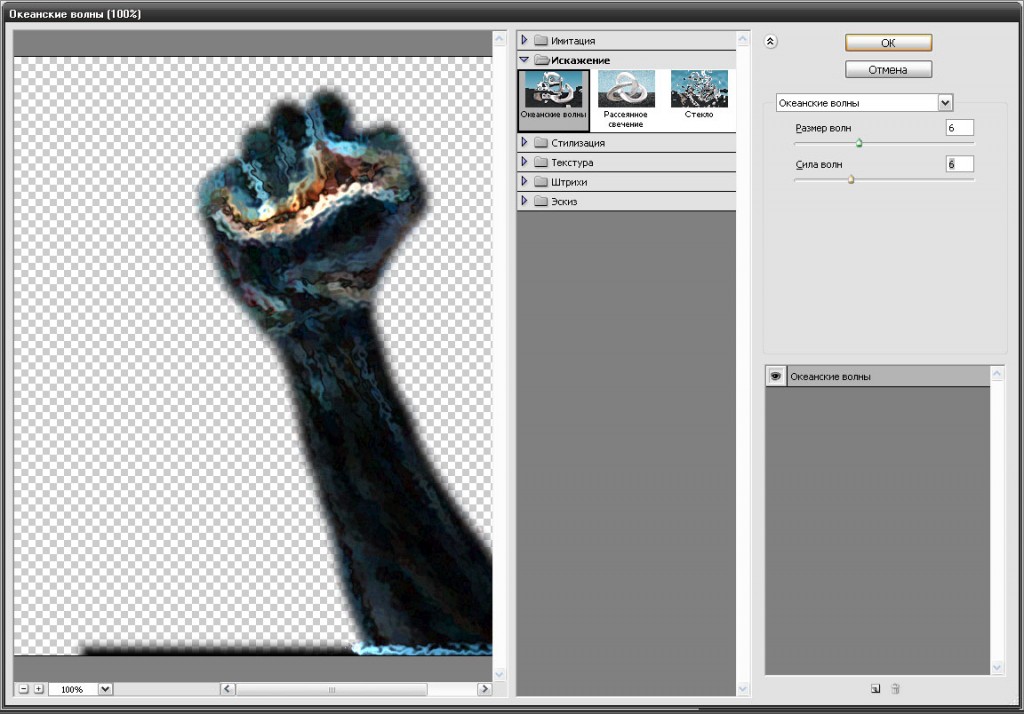
Step 9:
Go to Image > Adjustment > Hue/Saturation and change the following settings:
Hue: 49
Saturation: 75
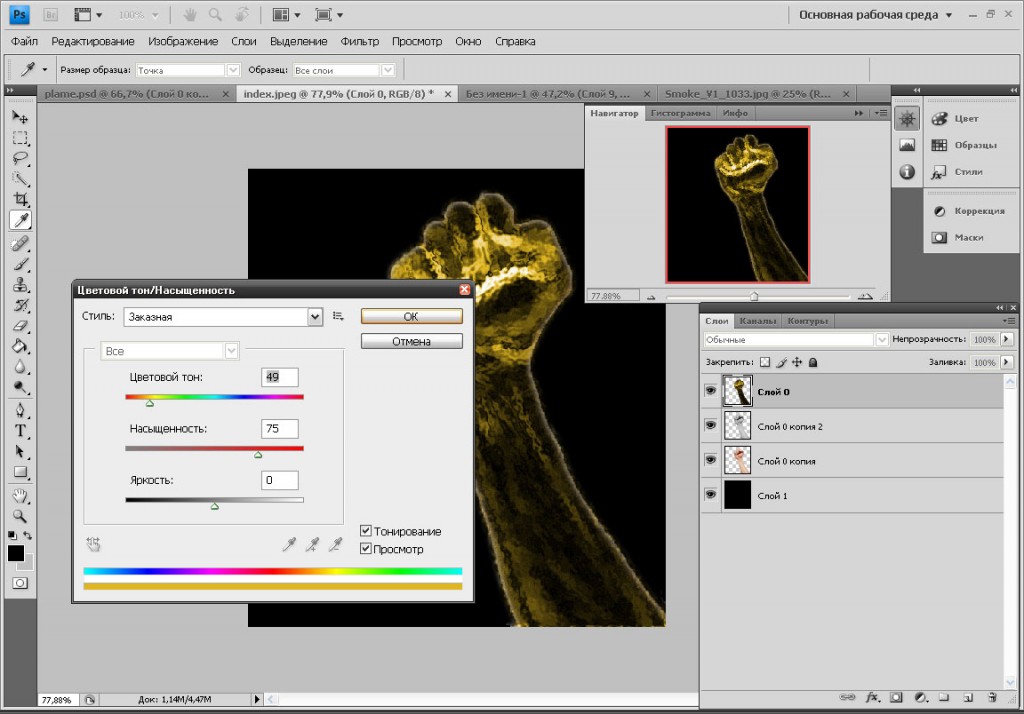
Step 10:
Select the third layer with hand, and change the blending mode to Overlay, with Fill: 75%
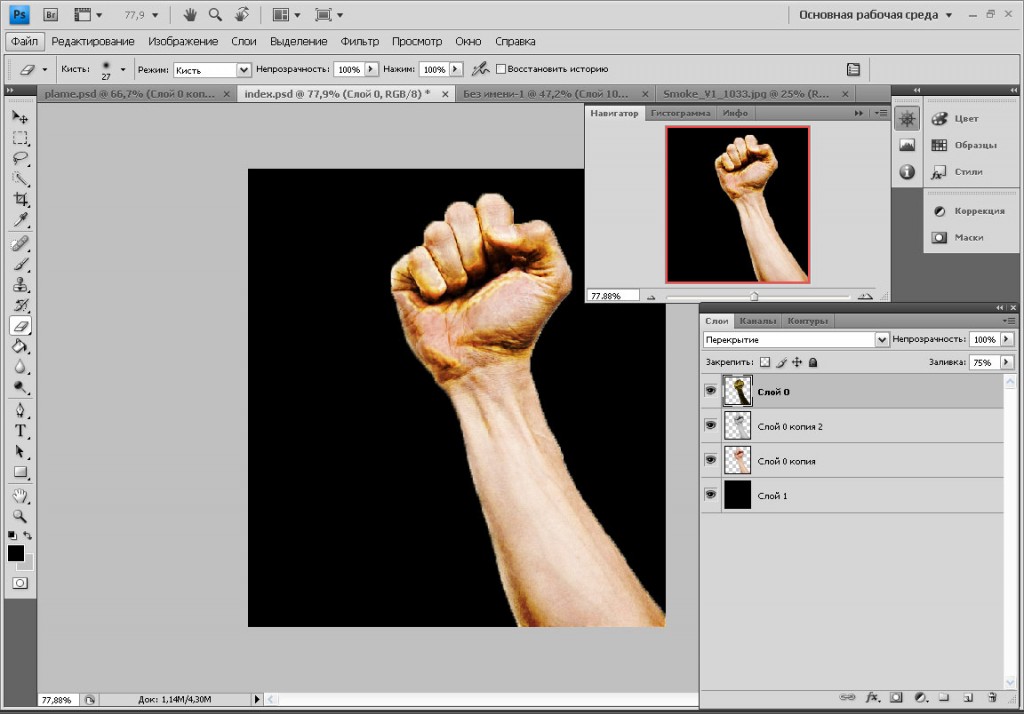
Step 11:
Copy this layer and delete the piece with fist. Change blending mode to Overlay for Soft light on this layer.
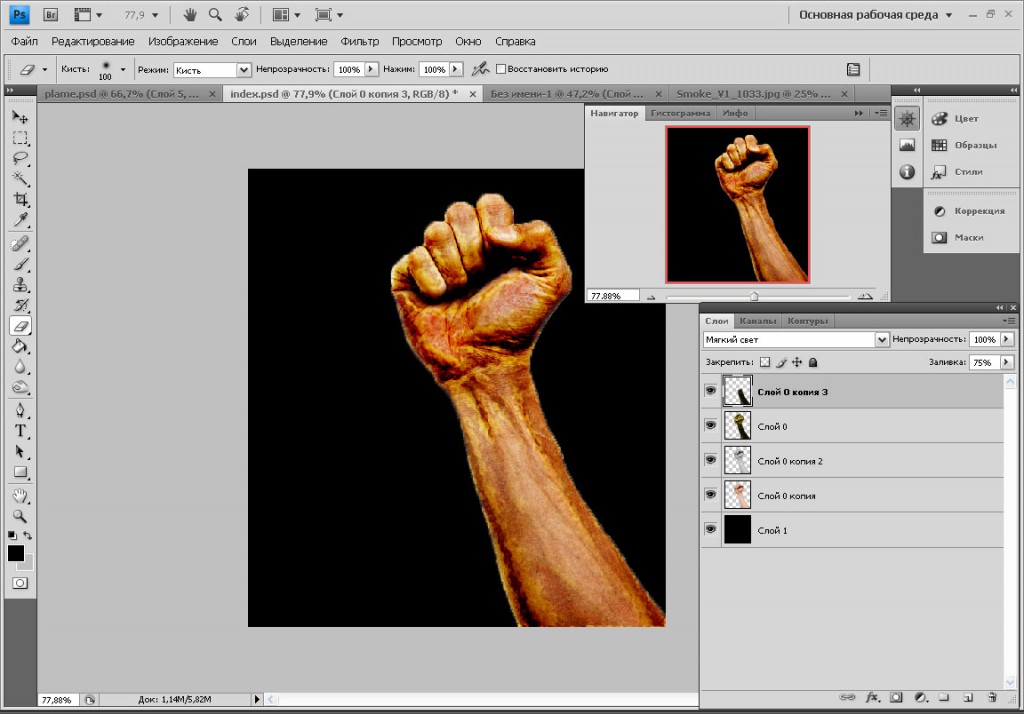
Step 12:
Open image with smoke. Use (Ctrl + A) and then copy this layer. Insert this image to the document with hand. You can use my smoke image here.
Use (Ctrl + t) – Deformation and change size of the layer with smoke.
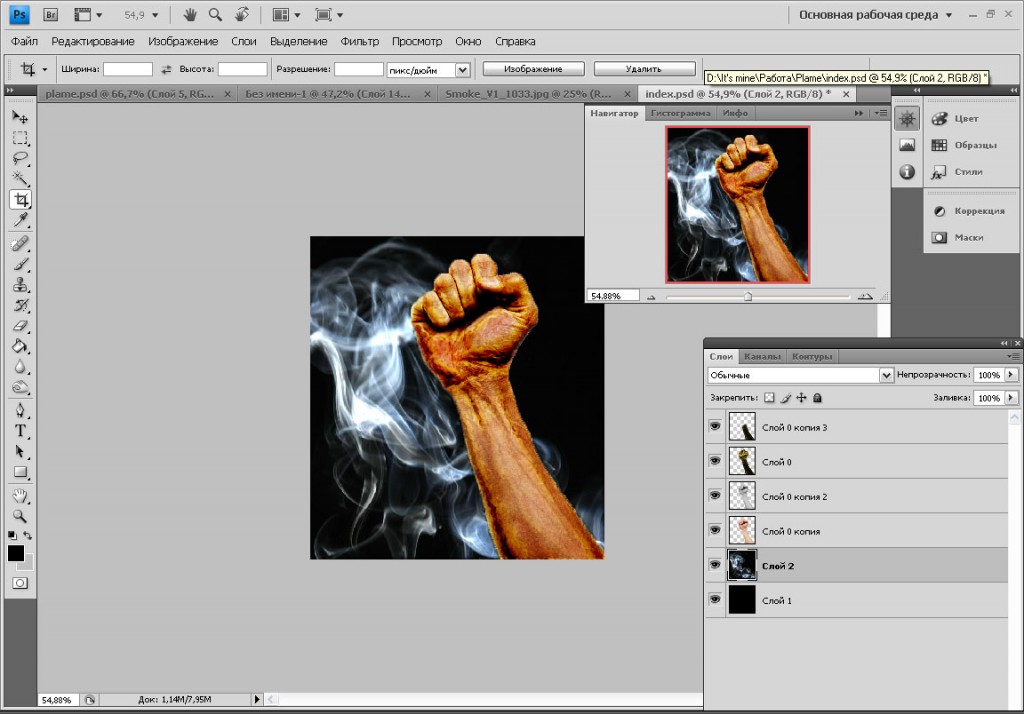
Step 13:
Change settings of the layer with smoke for Difference and optically:15%
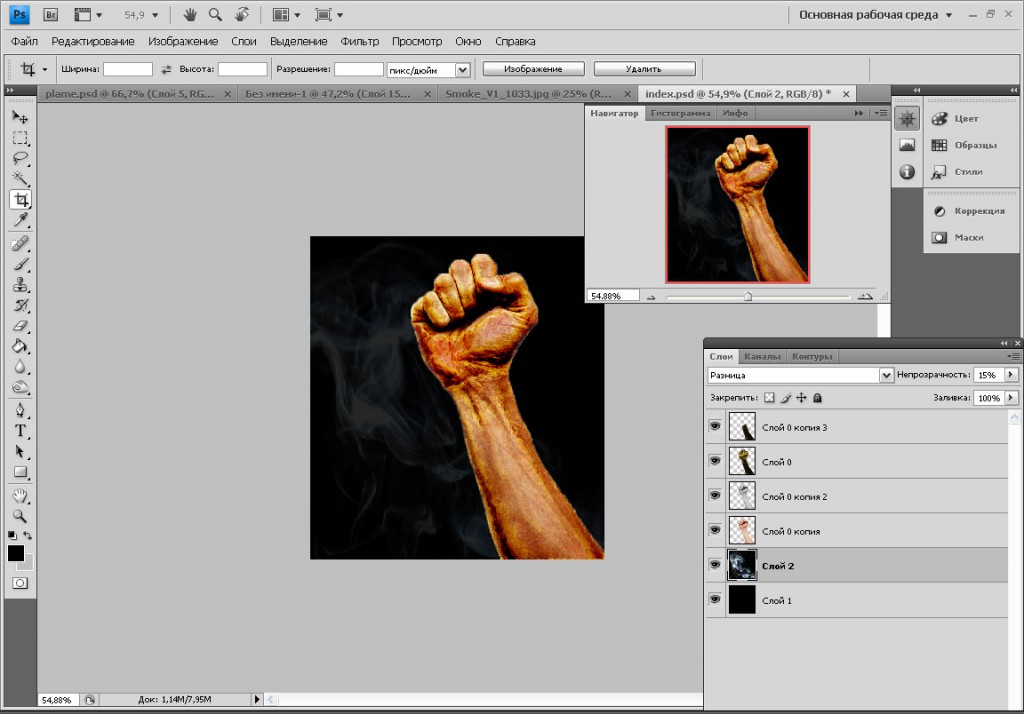
Step 14:
Make copy of the layer with yellow and black hand. Select black color with Magic Wand, then delete that area, so that it looks like the example.
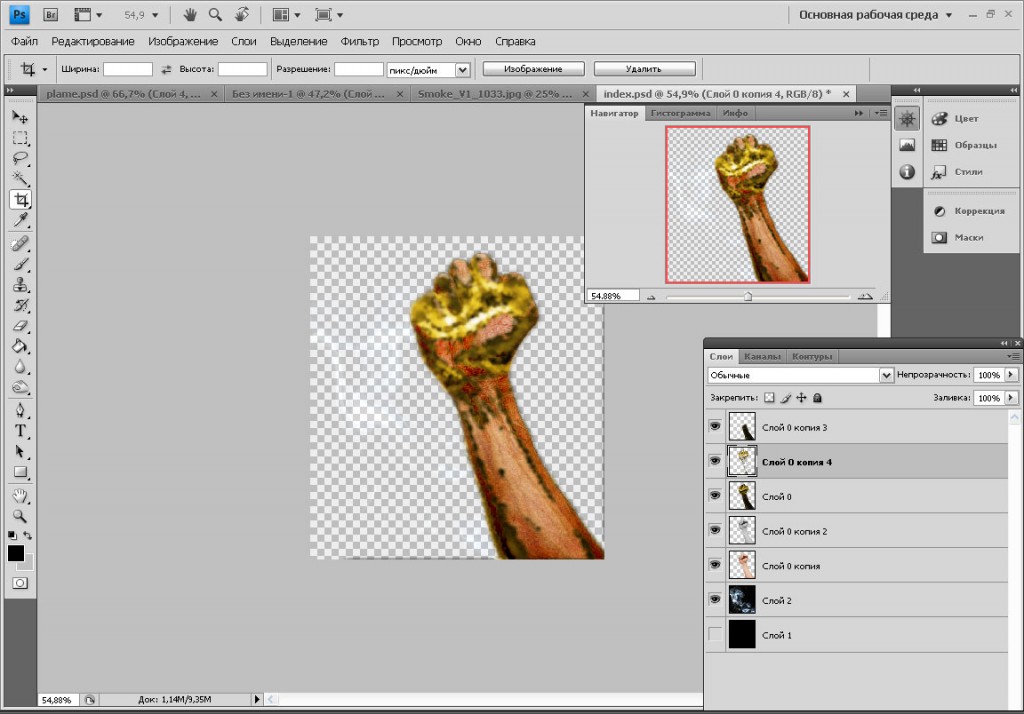
Step 15:
Go to Image > Adjustment > Hue/Saturation and change settings to the layer become orange.
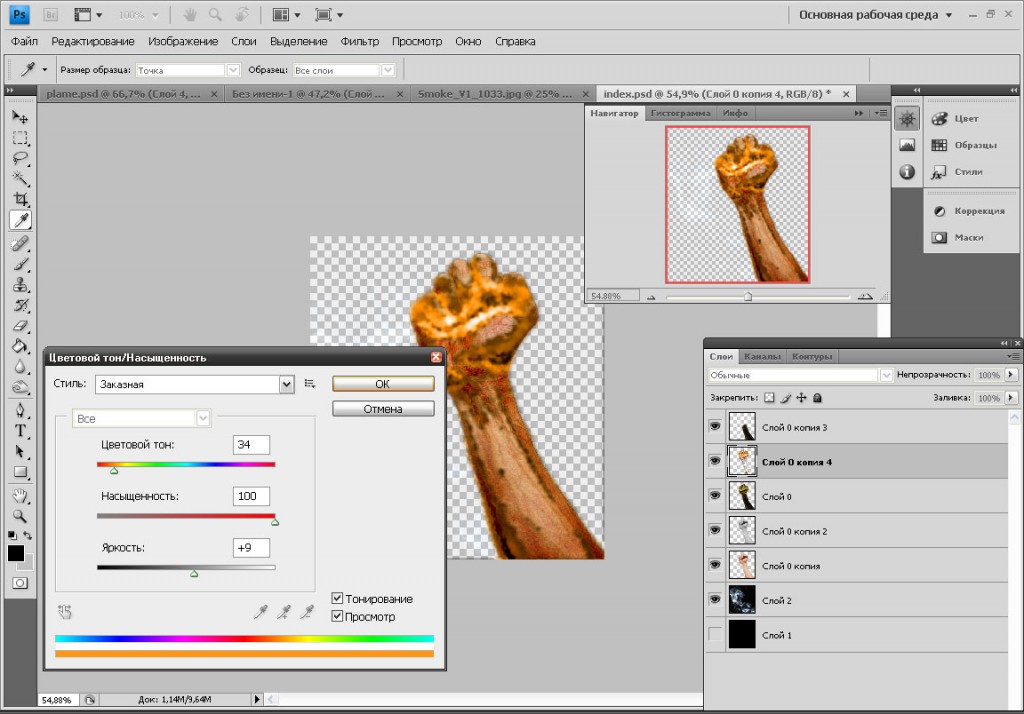
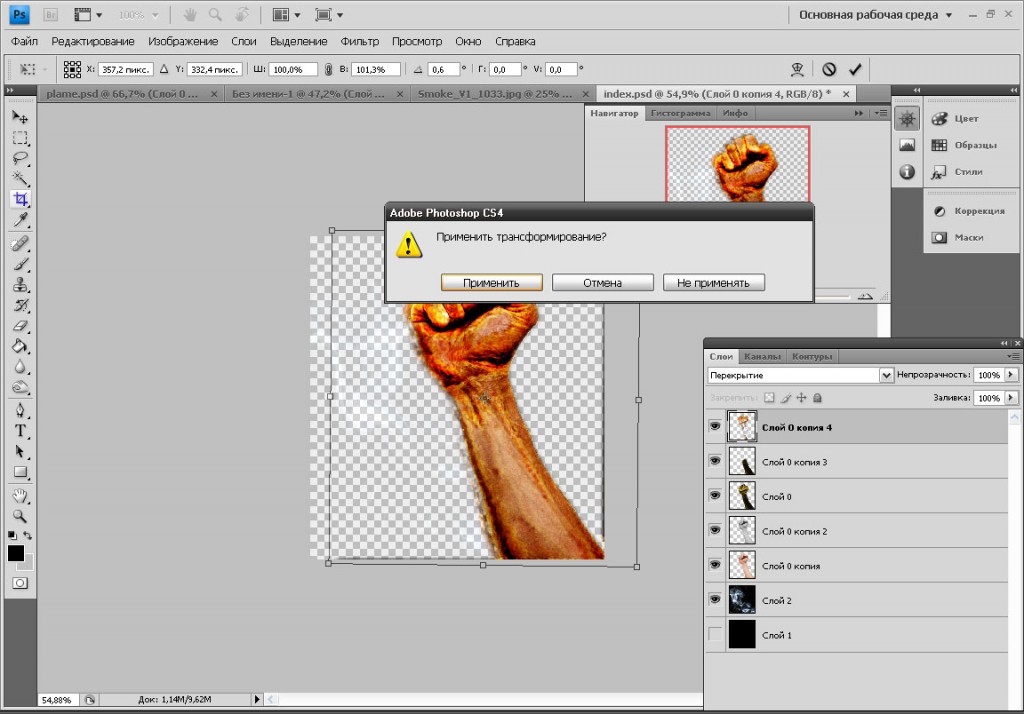
Step 16:
Transform layer like this. It will flame near the edges.
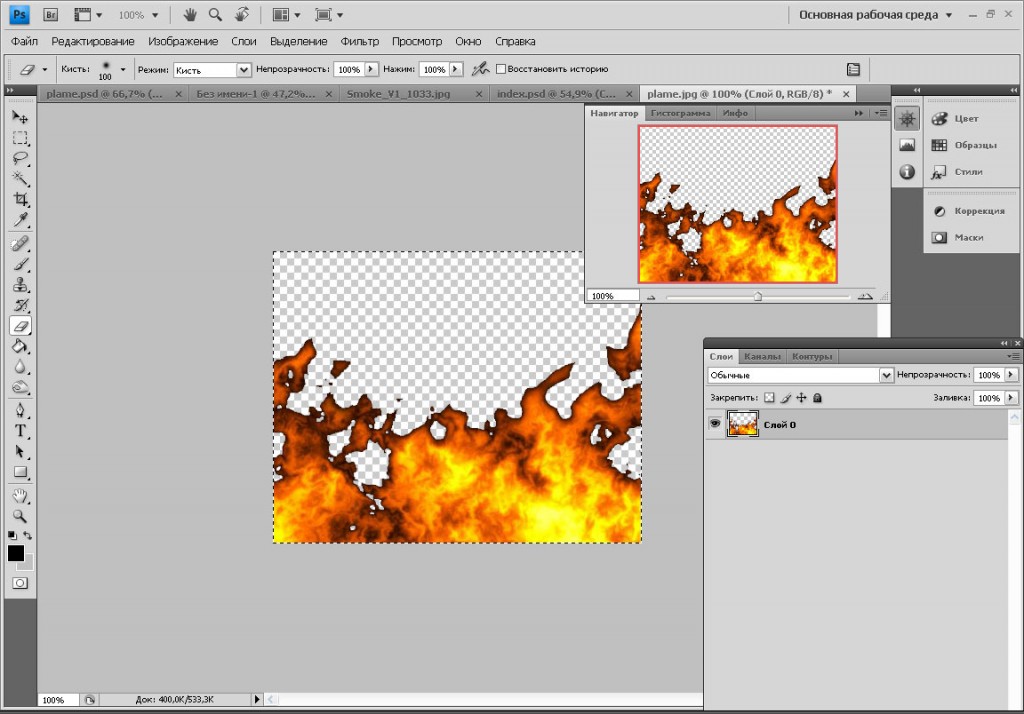
Step 17:
Open image with flame and delete black background. Then use Ctrl + A and Ctrl + C (Copy). You may use my flame image here.
Step 18:
Insert and transform image with flame.
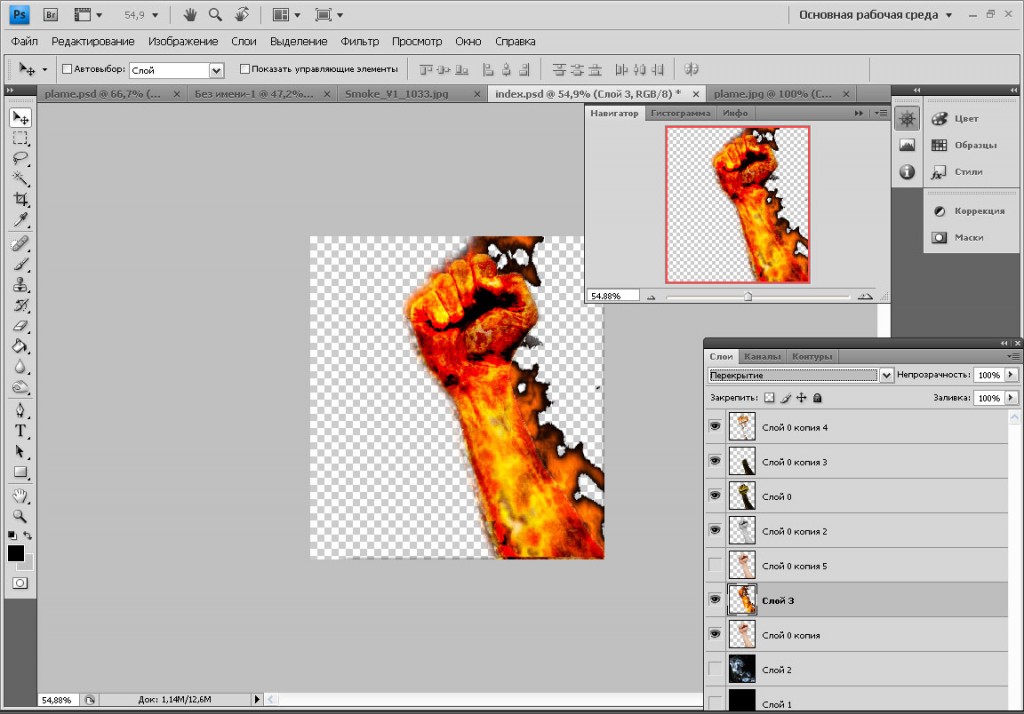
Step 19:
Put this layer under layers with hands. Make copy of the first layer with hand. And put it under the layer with flame. Then change blending mode of the layer above the flame from Normal to Lighten.
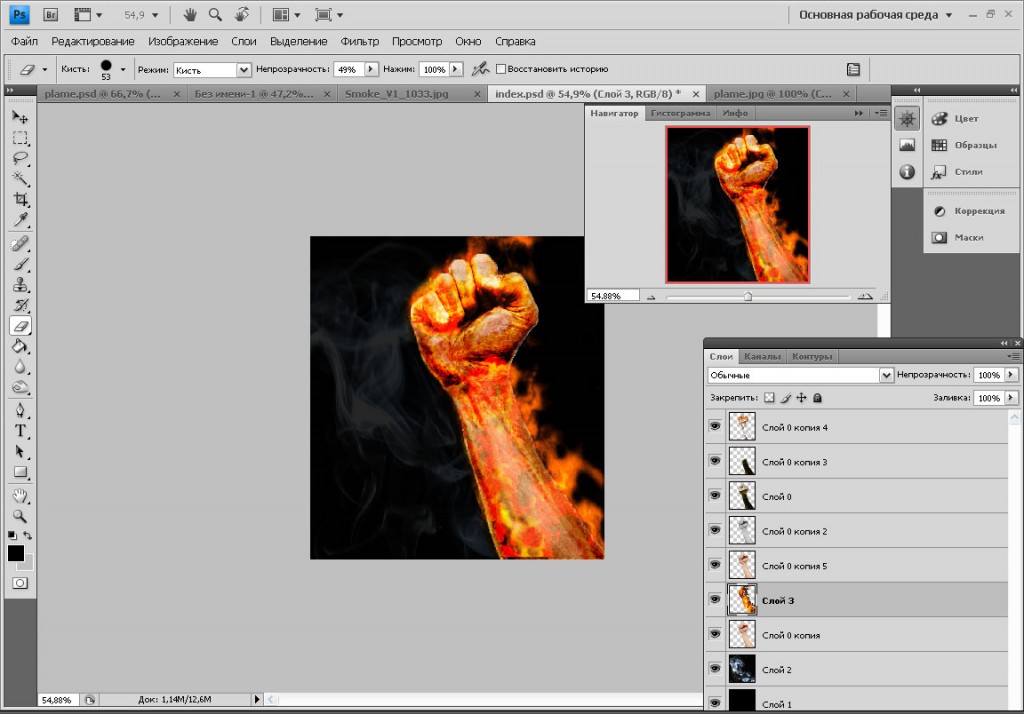
Step 20:
Select piece of the layer with flame.
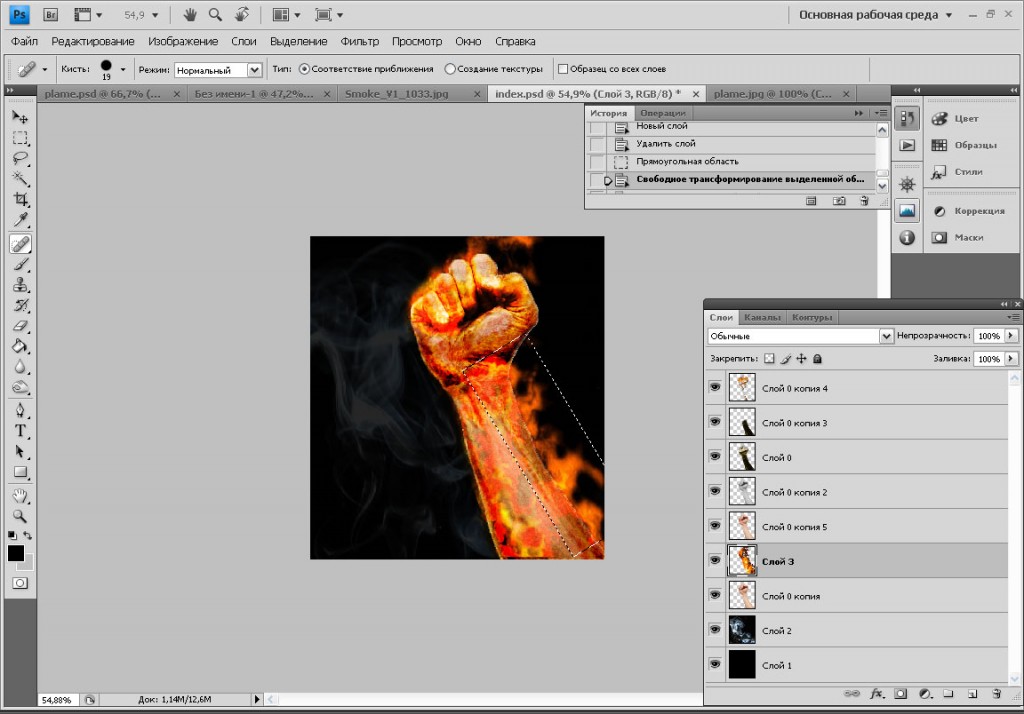
Step 21:
Copy this piece on a new layer. Put it to the left of the hand and transform this. ( This layer must be under the layer with flame and above the layer with hand). Look at the picture.
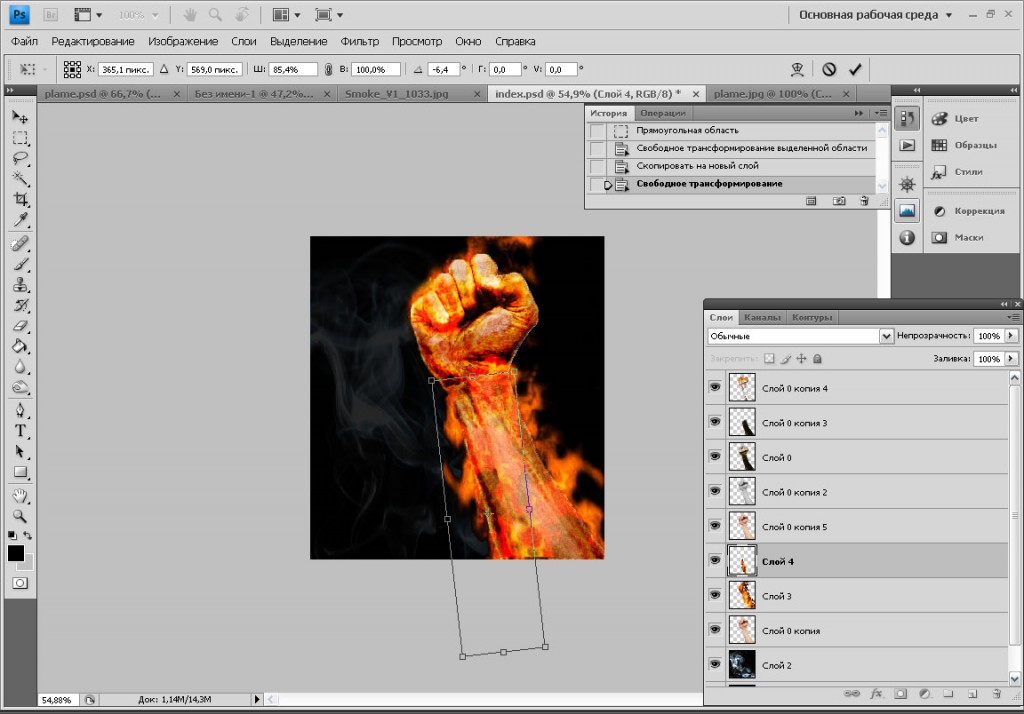
Step 22:
Repeat it again.
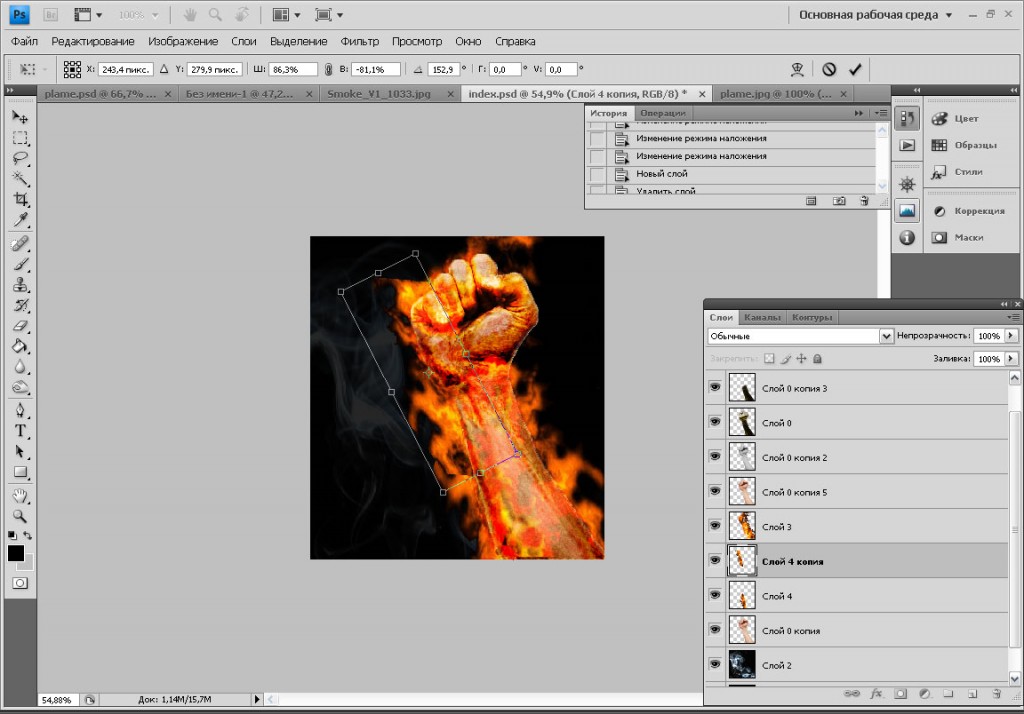
Step 23:
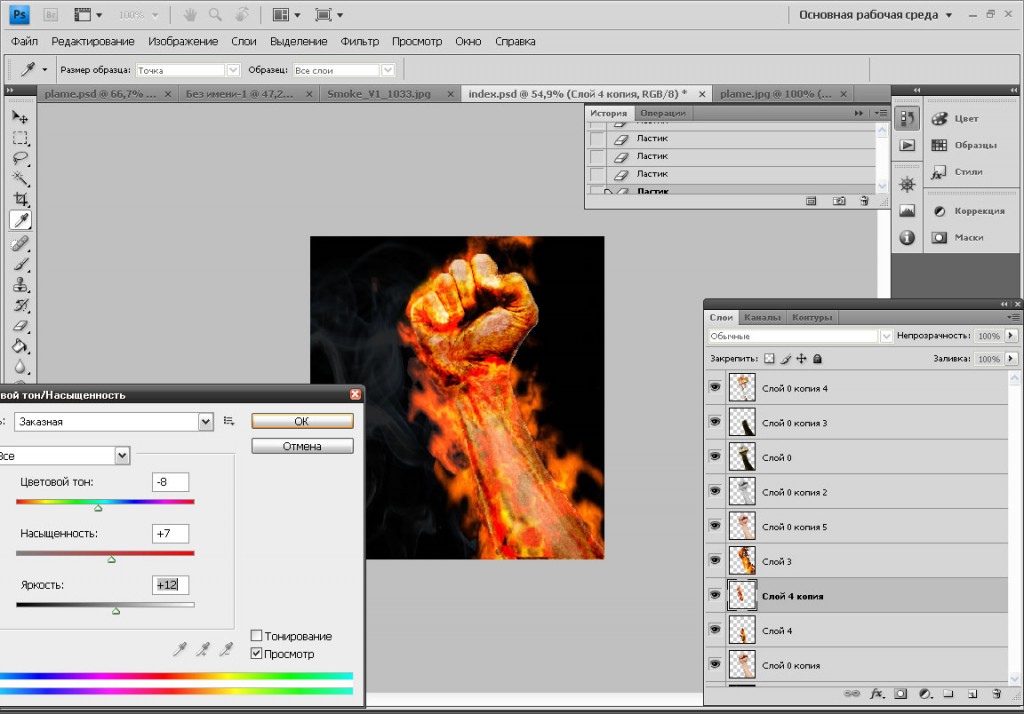
Go to Image > Adjustment > Hue/Saturation. And change the settings like this.
Hue: -8
Saturation: 7
Lightness: 12
Final result:

Need Help With Photoshop or Looking for Professional Support?
Whether you're just getting started with Photoshop or need expert-level assistance, we're here to help! Contact us for personalized Photoshop tutorials, project support, or creative services.
Get in touch today to take your skills or projects to the next level.
CONTACT US NOW📘 Want to Master Photoshop Faster?
🎁 Get Your FREE PDF E-Book "Top 10 Photoshop Tricks Every Designer Must Know" Now – Packed with expert tips, shortcuts, and techniques to boost your creativity & workflow.
👉 Download Your FREE PDF E-Book NOW!

