

When it comes to pop art, you can’t forget the king “Roy Lichtenstein”. He was a famous American artist in 1960s and started a new art movement which we know today with the name of Pop Art. His famous creations include “Drowning Girl”, “Look Mickey”, “Whaam”, and the numbers are just countless.
In this tutorial, I’ll show you how to create a vintage style pop art effect using Photoshop. We’ll try to achieve the Roy Lichtenstein style to some extent. We’ll use some adjustments, filters, and colors to replicate this effect.
Step 1 – Open the Sample Image
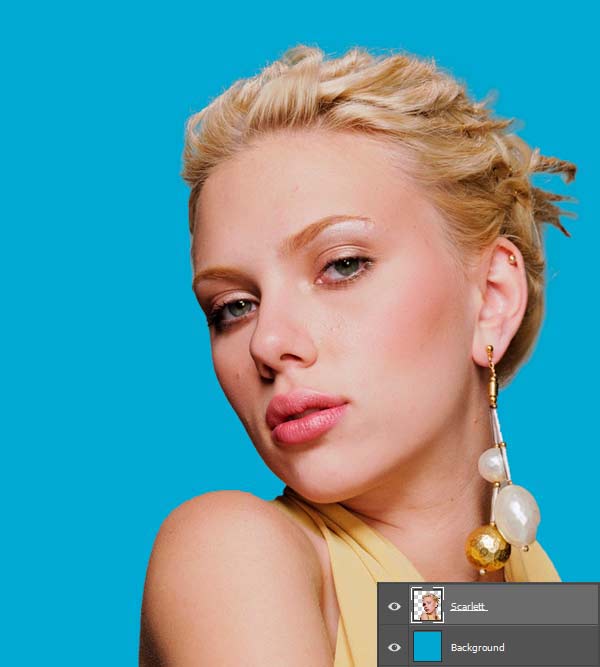
Open a photo to replicate pop art. I am using the Scarlett Johansson image for this tutorial but feel free to use your own image. Go to File > Open and open the image.

Step 2 – Fill The Background
Use the Pen Tool (P) to remove the background and then create a new layer underneath it by pressing CTRL + SHIFT + N. Fill this layer with blue color. First, set the foreground color to blue and then press ALT + BACKSPACE to fill the layer.
Step 3 – Desaturate The Image
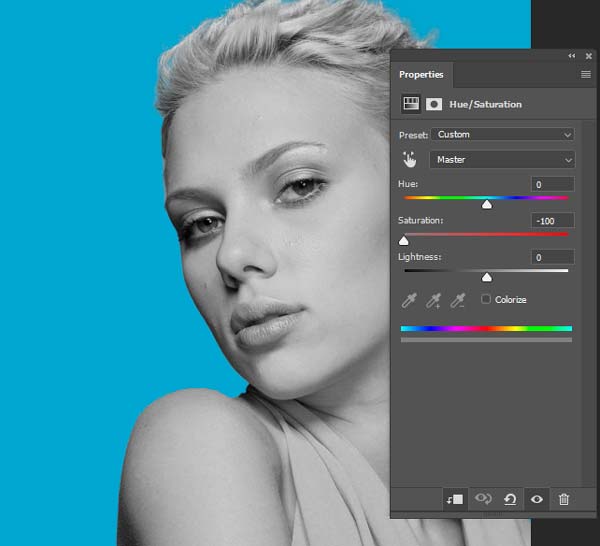
Go to Layer > New Adjustment Layer > Hue/Saturation and then desaturate the image by dragging the Saturation slider all the way to left. Remember to use this layer as Clipping Mask so it won’t affect the background layer filled with blue color.
Step 4 – Remove Details
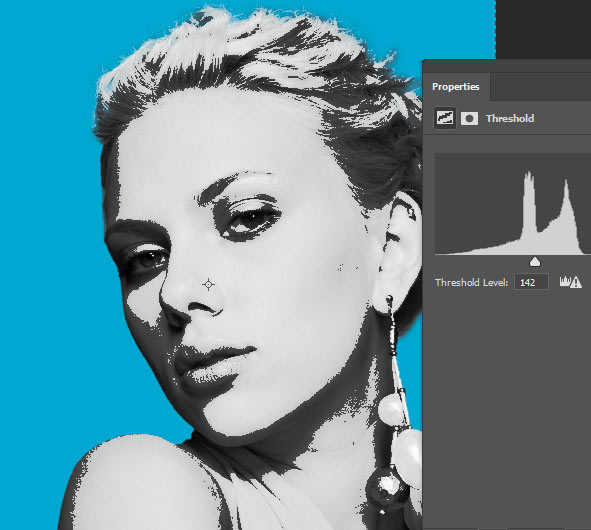
Create a Threshold adjustment layer and enter the Threshold Level to 142. Also, try to remove the most of the details with this adjustment but make sure to leave enough to make out the main areas.
Also, I reduced the opacity of Threshold to 50%.
Step 5 – Create Halftone Patterns
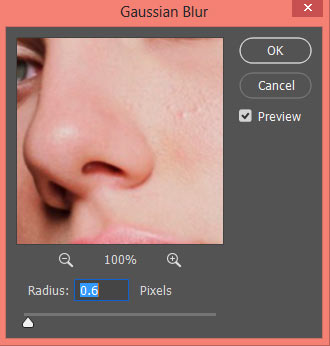
Convert the image into Smart Object, right click on the image and then choose “Convert to Smart Objects”. Go to Filter > Blur > Gaussian Blur and then enter the value of the Radius to 0.6px.
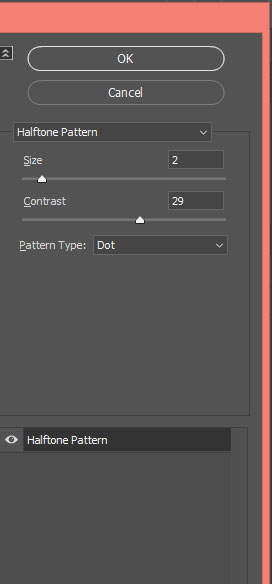
To create a halftone pattern on the image we’ll use the Filter Gallery. Go to Filter > Filter Gallery and then choose the Halftone Pattern.
Set the Size to 2, Contrast to 29 and Pattern type to Dot.
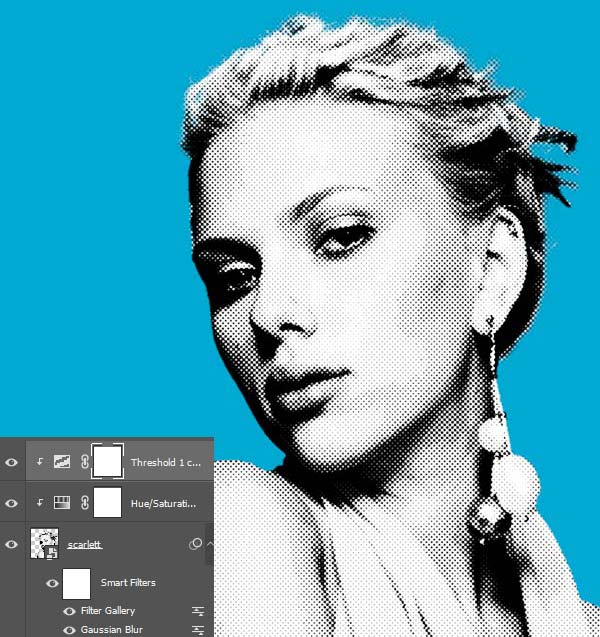
Here you can see the halftone pattern and remember if you are getting the halftone pattern effect too sharp then add more Gaussian Blur to fix it.
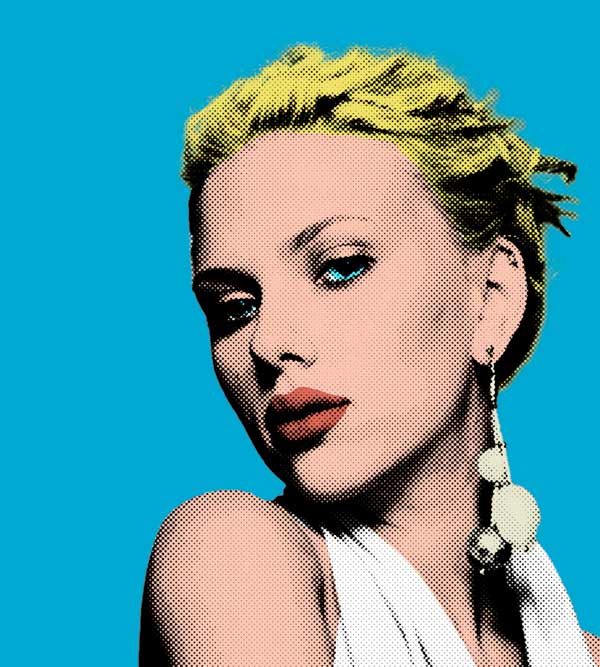
Step 6 – Start Coloring The Image
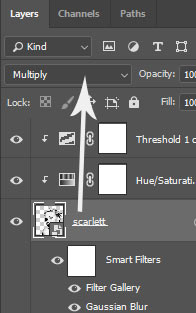
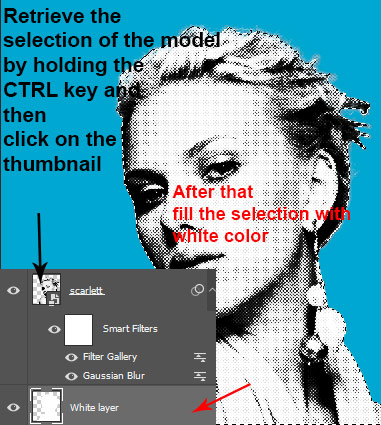
Now we’ll colorize the image. First set the blending mode of the Scarlett layer to Multiply.
Now retrieve the selection of the Scarlett by holding down the CTRL key and then click on the layer thumbnail. With the selection active, create a new layer underneath the Scarlett layer by pressing CTRL + SHIFT + N and then drag this layer underneath the Scarlett layer using the Move Tool. While the selection is still active, fill the layer with white color and name it ‘white layer’.
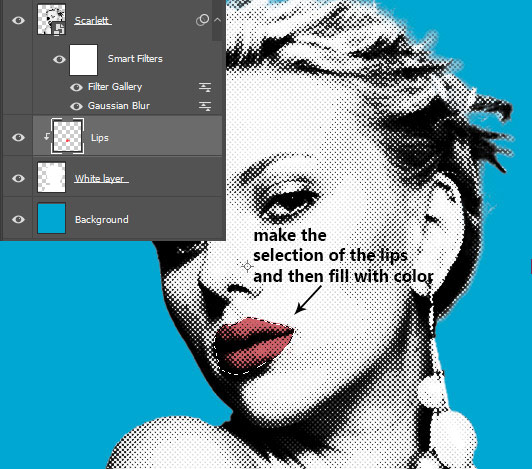
Create a new layer above the white layer and then clip this newly created layer to white layer. Make the selection of the lips using the Pen Tool (P), and then fill the selection with red color or use a hard round brush with red color to colorize the lips. Name this layer something meaningful since I painted on the lips I named this layer ‘lips’.
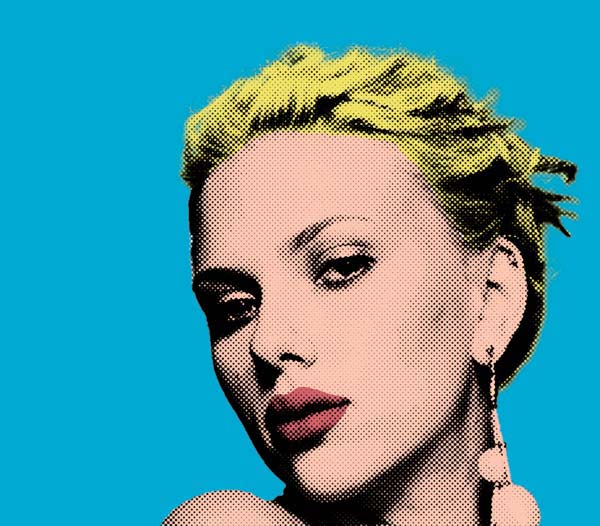
Now again create a new layer and use this as clipping mask. Similarly, paint on the face on a new layer with hard round brush using a color that matches with any face. You can retrieve the selection of the lips to make sure that you don’t paint over them.

Now paint on the hair using the yellow color:
Finally, complete the coloring by painting on the dress and on her earrings.
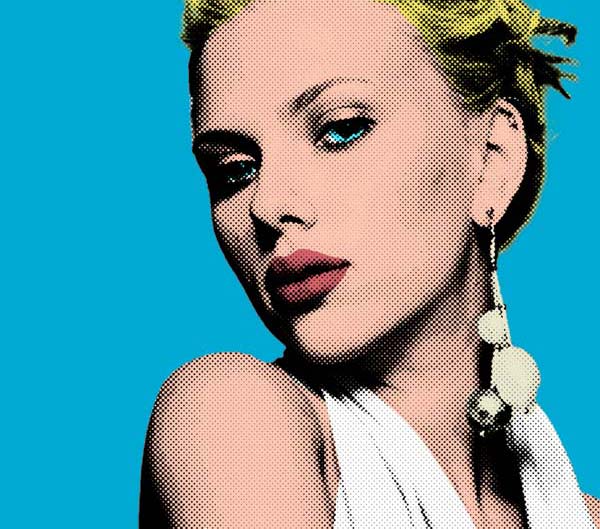
You are almost done!
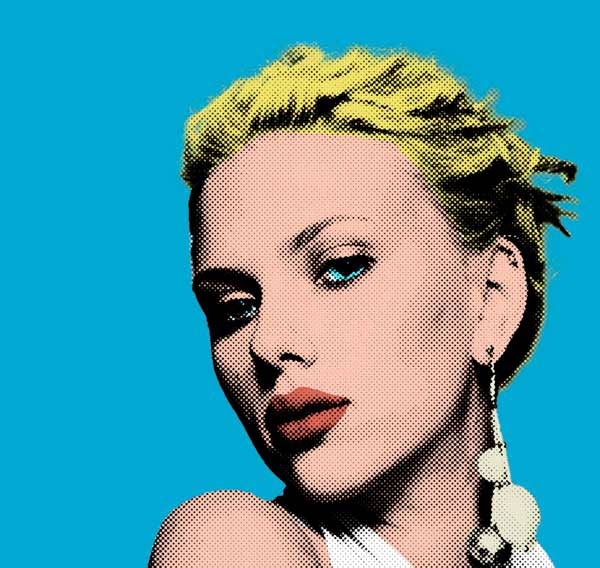
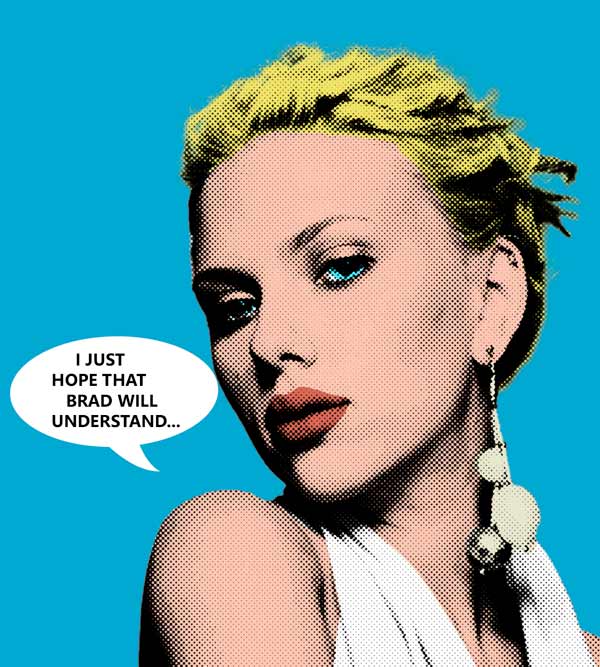
Finally, I added some speech!! So this is how you can replicate a pop art effect inspired by Roy Lichtenstein
Here is the final outcome:
Need Help With Photoshop or Looking for Professional Support?
Whether you're just getting started with Photoshop or need expert-level assistance, we're here to help! Contact us for personalized Photoshop tutorials, project support, or creative services.
Get in touch today to take your skills or projects to the next level.
CONTACT US NOW📘 Want to Master Photoshop Faster?
🎁 Get Your FREE PDF E-Book "Top 10 Photoshop Tricks Every Designer Must Know" Now – Packed with expert tips, shortcuts, and techniques to boost your creativity & workflow.
👉 Download Your FREE PDF E-Book NOW!
