

In this Photoshop tutorial, I’ll show you how to light up even a black/white image using lighting techniques in Photoshop. We’ll learn how to use an adjustment layer to achieve realistic and believable light effect in Photoshop. You’ll also learn how to enhance lights by painting them, adjust the light and contrast and much more. Read on and enjoy!
Tutorial Resources
Open the Street image
Step 1
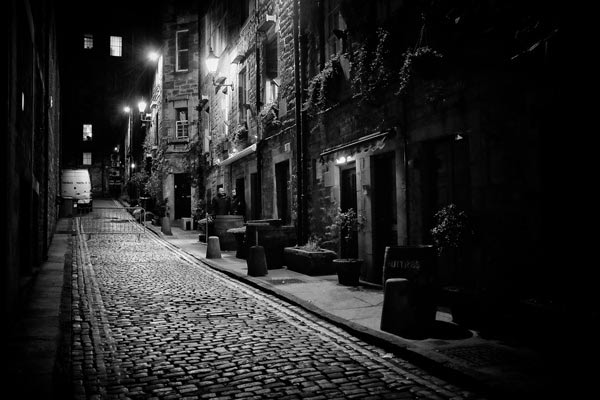
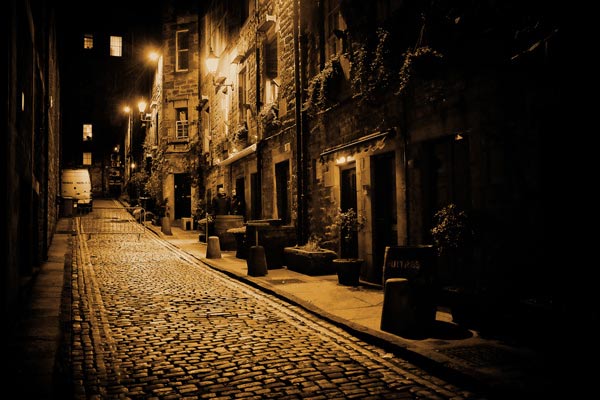
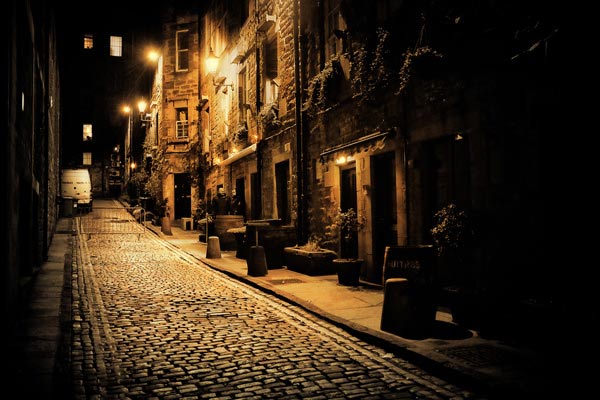
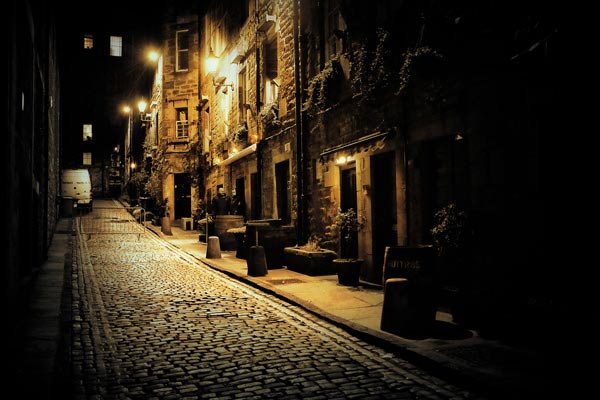
Open the city image in Photoshop. Go to File > Open and open the street image and you can see that the image is totally desaturated or has no color. Here we’ve the street image opened in Photoshop:
Step 2
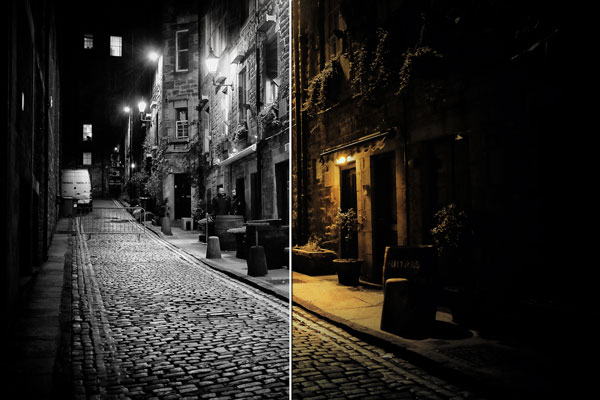
Before I start colorizing the photo let me tell you that I want yellow colors on the street and the same lights over the lamp as well like you often see on the streets in the night.
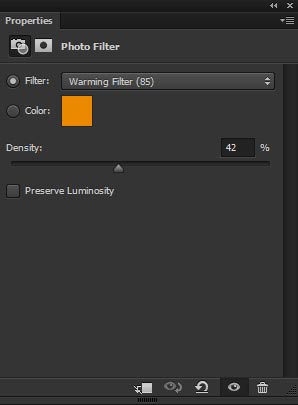
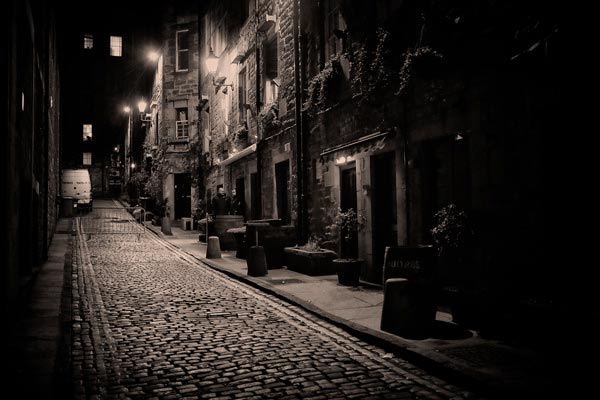
Add a Photo Filter adjustment layer to street image. Go to Layer > New Adjustment Layer > Photo Filter or click the third icon at the bottom of the layer panel. Use the Warming Filter (85) with density 42% and add warm tones to city image. Using Photo Filter adjustment layer, you can say that we’ve laid the foundation of colors on the street. We’ll enhance the colors in next steps.
Results:
Step 3
So we’ve the basic colors on the image using Photo Filter and now we’ll colorize the image to make the colors pop out nicely. Make a Hue/Saturation adjustment layer for city. Colorize the city using the following settings:

So we’ve added colors to the street as we mostly see in the nights and street started to light up.

Step 4
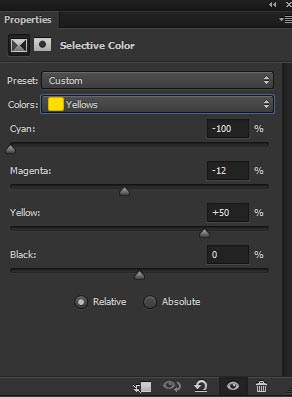
Use the Selective Color adjustment layer to enhance the colors. This will add more yellow and darken them a bit. Below values works best for the street image but it depends on which image you are using. So try to play around with the settings to get the results of your taste.
Results:
Step 5
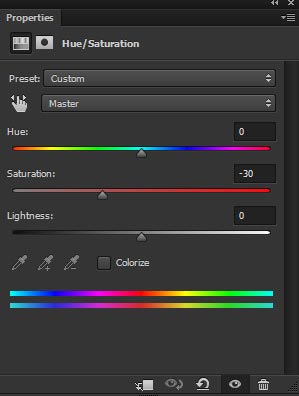
To much yellowness on the street and I don’t want that. I want to keep this effect on those areas which are close to street light lamps such as the wall not on the street road. First, I’ll desaturate the color little bit using Hue/Saturation. Add Hue/Saturation adjustment layer and desaturate the colors using the following settings:
\
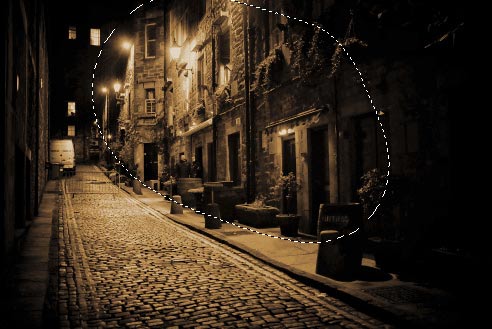
On the layer mask of Hue/Saturation, hide the effect on the selected area as shown below to maintain the colors there. Not only there, you can mask the effect wherever you want to keep the light. By using Hue/Saturation we’ve also decreased color on the far most (from the lamp’s light) area of the street road. In order to mask the effect, use the soft round black brush with opacity and flow about 30%.
Results:

Here you can see the results on layer mask:
Step 6
Create a new layer and set the foreground color to #704e1e. Now use the soft round brush to paint lights on the lamps. Just paint the dot of lights as shown below and remember to vary the brush size to fit it with the different lamp size. You can see that we have a lot of different lamp with different size so varying brush size is must in order to paint the light over them properly. I also painted light on the far window of the street.
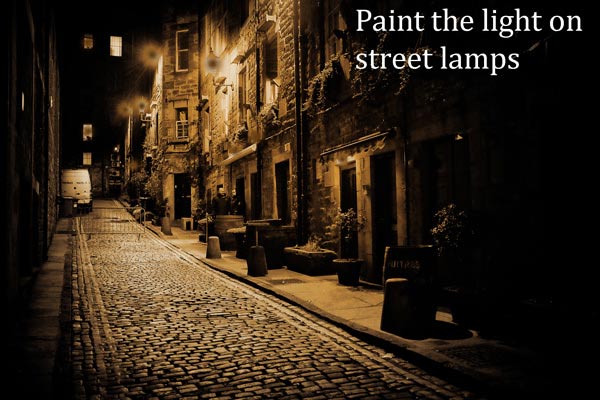
Set the blend mode to Color Dodge.
Step 7
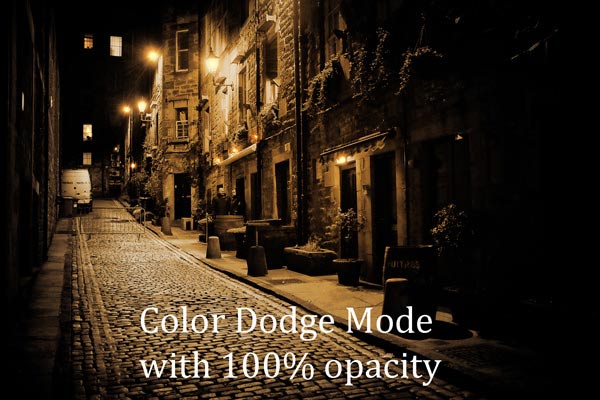
Create a new layer again, using the same color and paint the light on the wall, road, doors and on the barrels as shown below. Paint it wherever you want to enhance the lights.

Set the blend mode to Color Dodge.

Step 8
Create a new layer and set the foreground color to #07242e. Now paint the blue light using the soft round brush and paint them on the left and right side of the street.
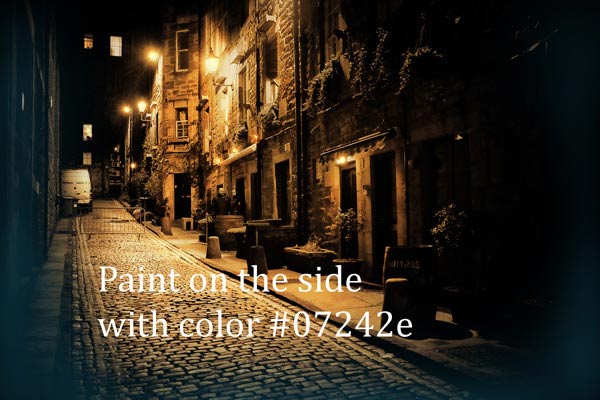
Set the blend mode to Color Dodge.
Final Adjustment
Step 9
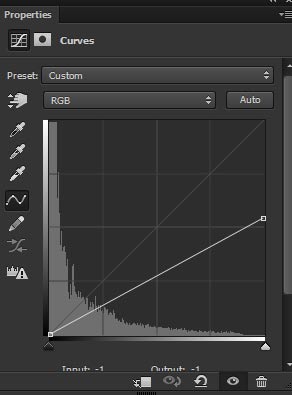
In this step, we’ll darken those parts which will be less illuminated by the light source (lamps are the light source here) like the corners of the street and similar other parts. First, use the Curves adjustment layer to reduce the brightness. Read our basic tutorials for detail explanation on Curves adjustment layer.
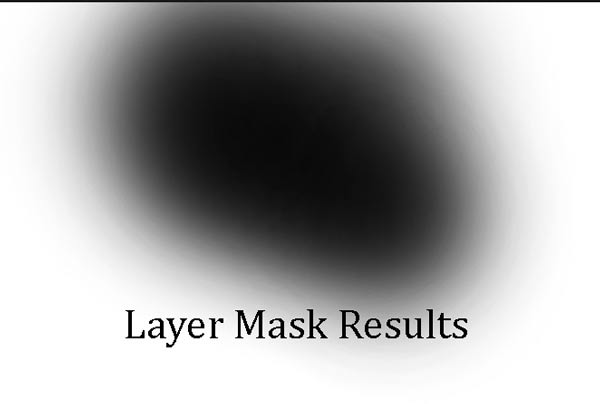
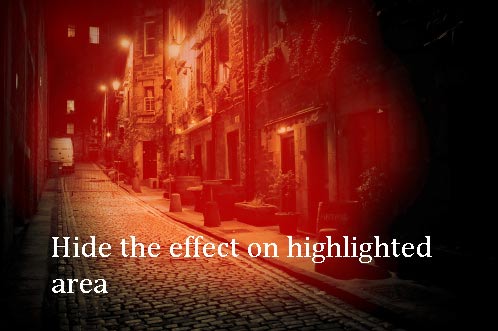
On the layer mask of Curves, mask the effect on the highlighted area to maintain the light effect there and leave the dark effect at the corners of the street.
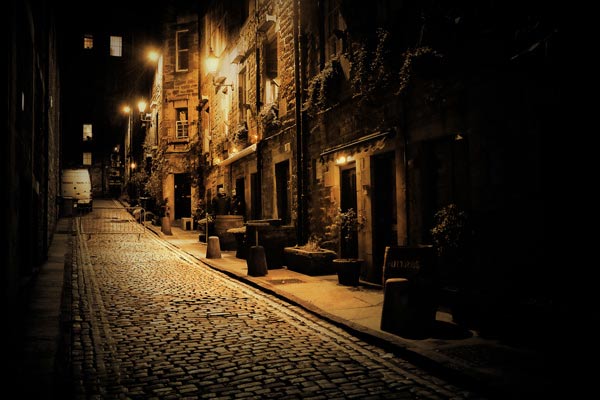
Results:
Layer mask results:
Step 10
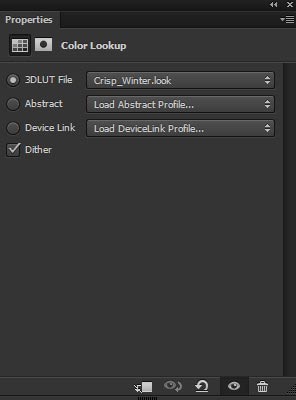
Finally, use the Color Lookup adjustment layer to boost the contrast of the street. This will also add a bit of cyan tones and will desaturate the image a bit as well. Use the Crisp Winter filter and reduce the opacity to 60%.
Final Results:
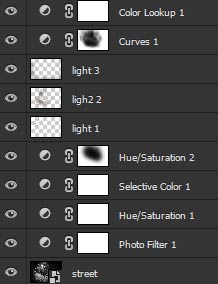
Here you can see how the layer panel is arranged:
Conclusion
These are some lighting techniques which I use often whenever I want to create a light source in my compositions. Hope these will help you too and feel free to let me know if you need any help. Have a great day!
Need Help With Photoshop or Looking for Professional Support?
Whether you're just getting started with Photoshop or need expert-level assistance, we're here to help! Contact us for personalized Photoshop tutorials, project support, or creative services.
Get in touch today to take your skills or projects to the next level.
CONTACT US NOW📘 Want to Master Photoshop Faster?
🎁 Get Your FREE PDF E-Book "Top 10 Photoshop Tricks Every Designer Must Know" Now – Packed with expert tips, shortcuts, and techniques to boost your creativity & workflow.
👉 Download Your FREE PDF E-Book NOW!
