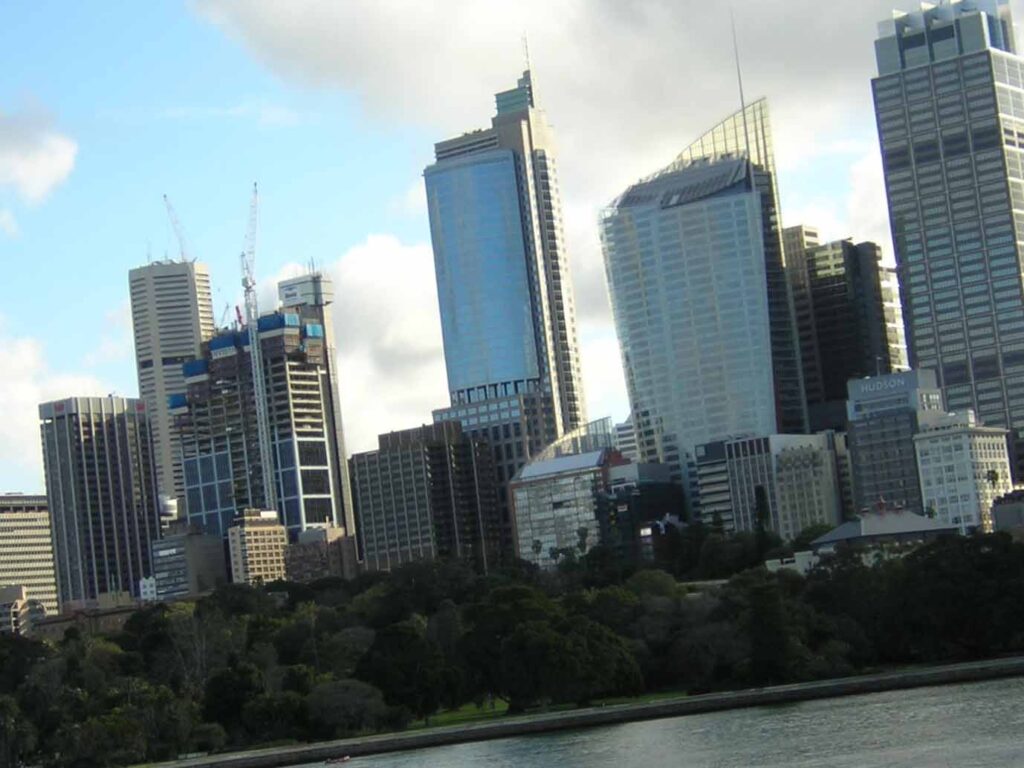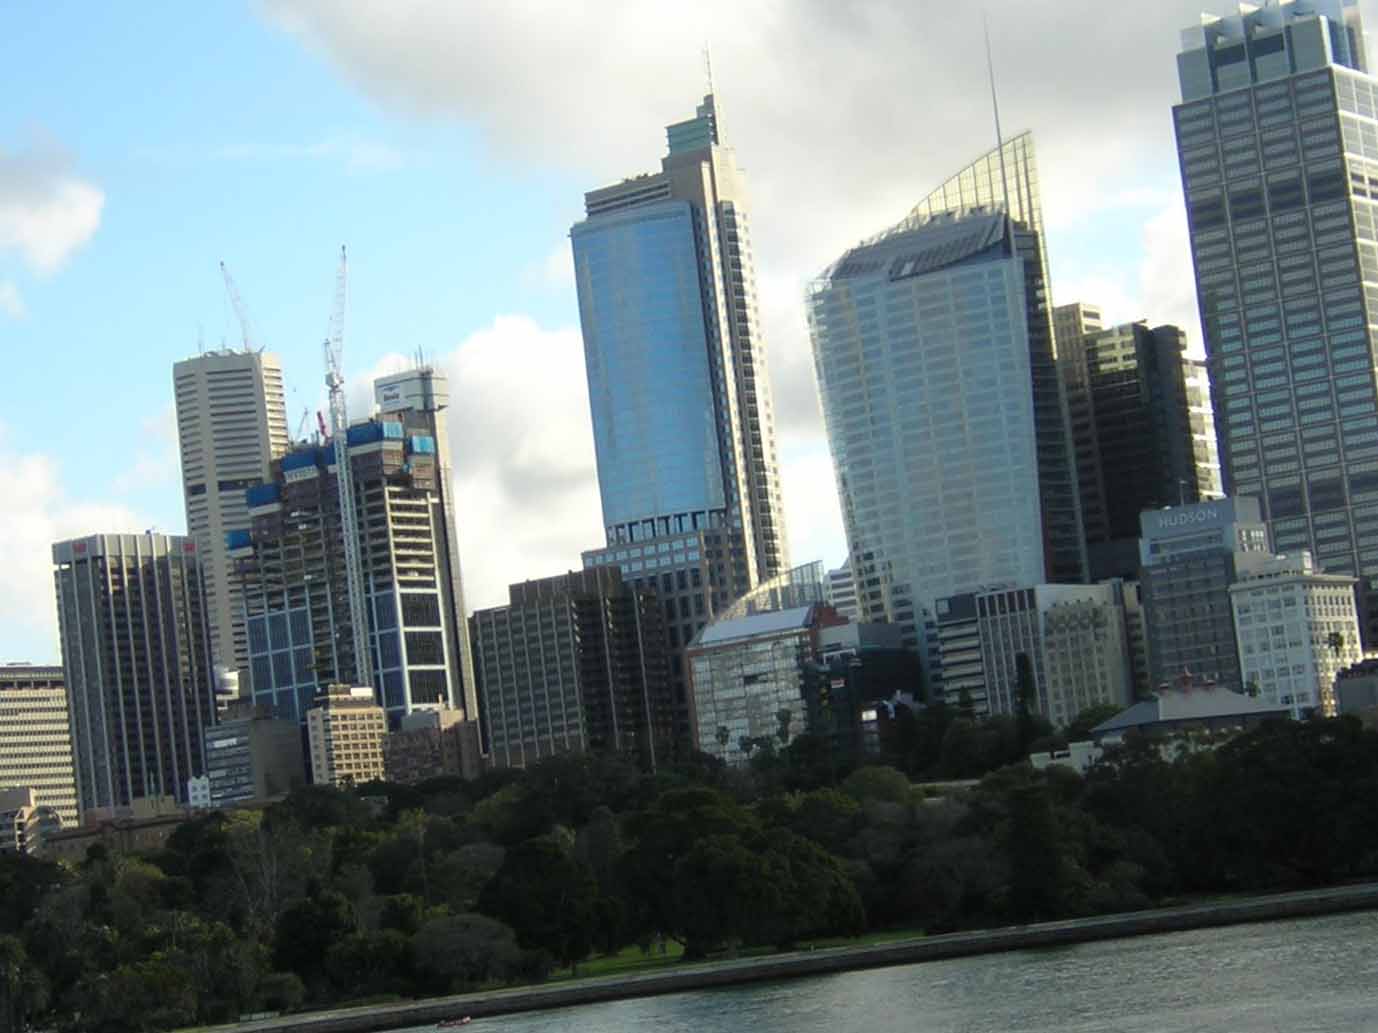
No one takes perfect photos (well not without a tripod anyway), and we all sometimes have photos that are crooked but yet capturing that once-in-a-lifetime moment shot. So what do you do? No worries, fortunately it only takes a few minutes to straighten them up in Photoshop.
Preparation:
The first step is to get your photograph ready in Photoshop. You can drag it into Photoshop or just go to File > Open > your photo.
Depending on what version your Photoshop is, there will be varying tutorials:
- Click here if you’re using Photoshop CS5 and above.
- Click here if you’re using Photoshop CS4 and below.
If you’re using Photoshop CS5 and above:
Step 1:
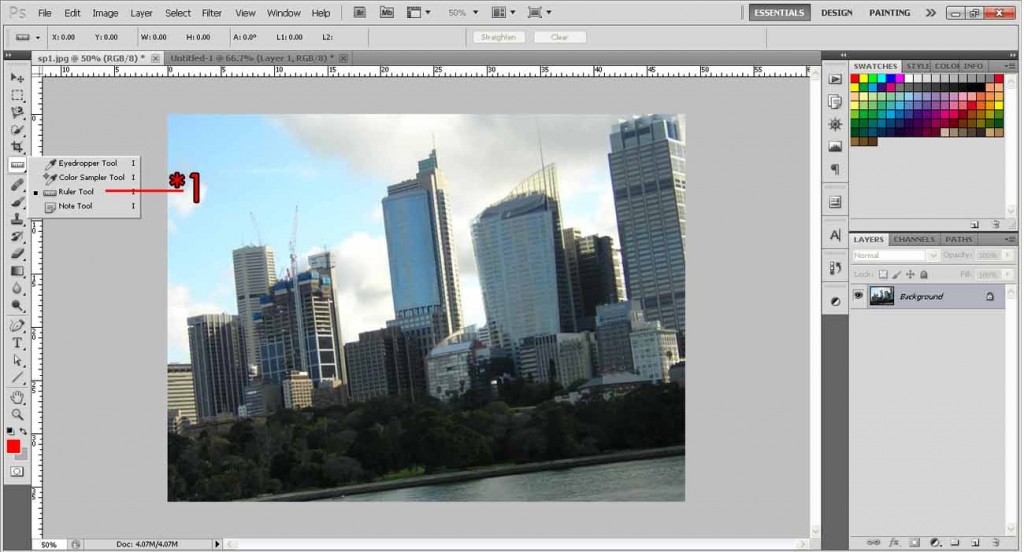
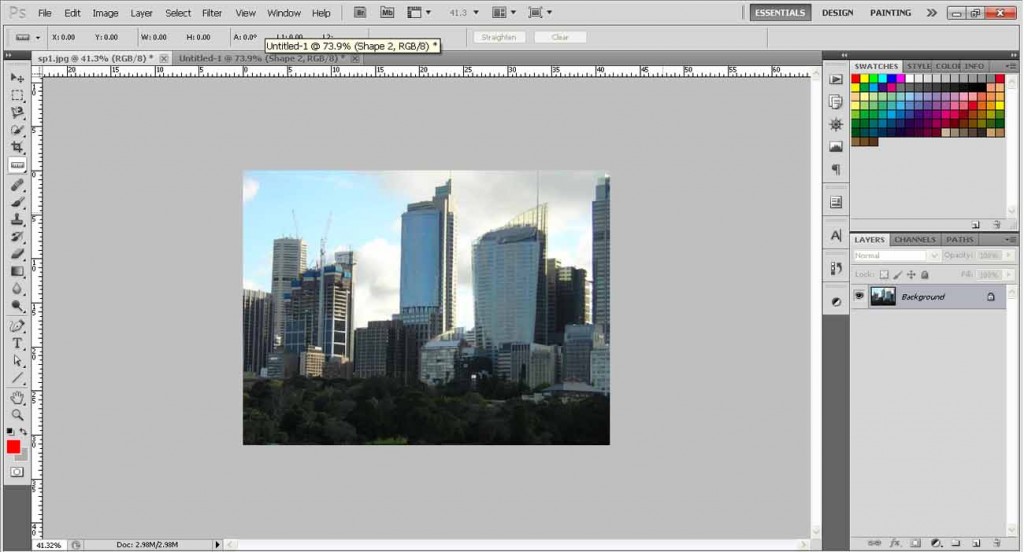
Click the Ruler tool, as shown in the example below.
Step 2:
Using the Ruler tool, draw a line across the photograph which represents the original horizontal line. I’ll be using the river shore as the reference.
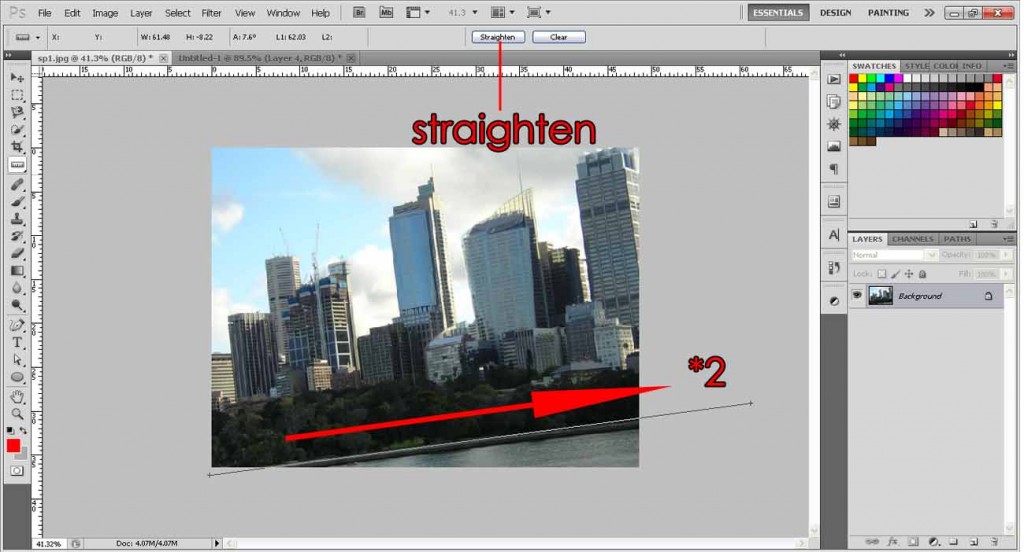
Once you have drawn the line, simply click Straighten at the Options bar and Photoshop automatically straightens the photo for you!
If you’re using Photoshop CS4 and below:
Step 1:
Click the Ruler tool, as shown in the example below.

Step 2:
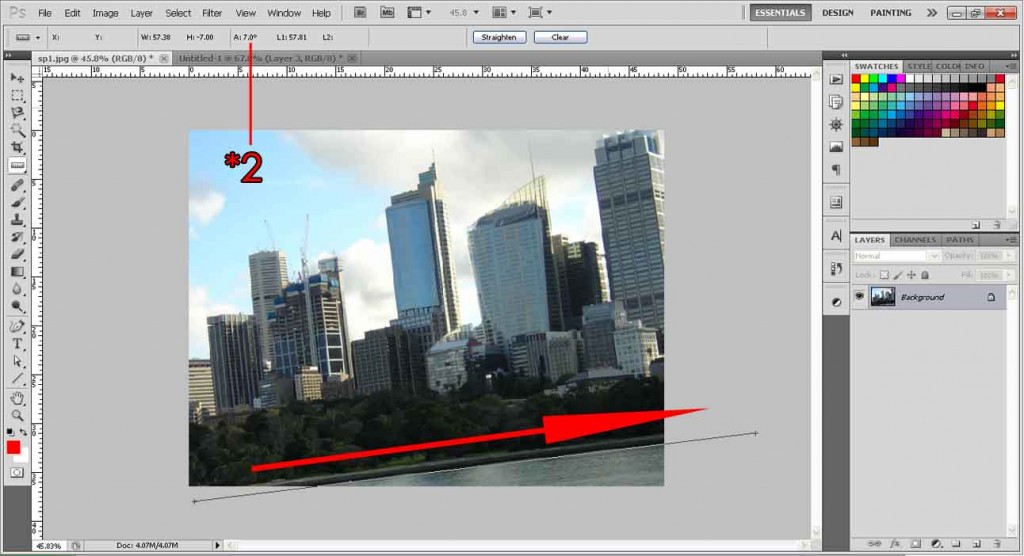
Using the Ruler tool, draw a line across the photograph which represents the original horizontal line. I’ll be using the river shore as the reference. Once you have drawn the line, take note of the angle of the line at the Options bar. Remember this number, you will need to input it later.
Step 3:
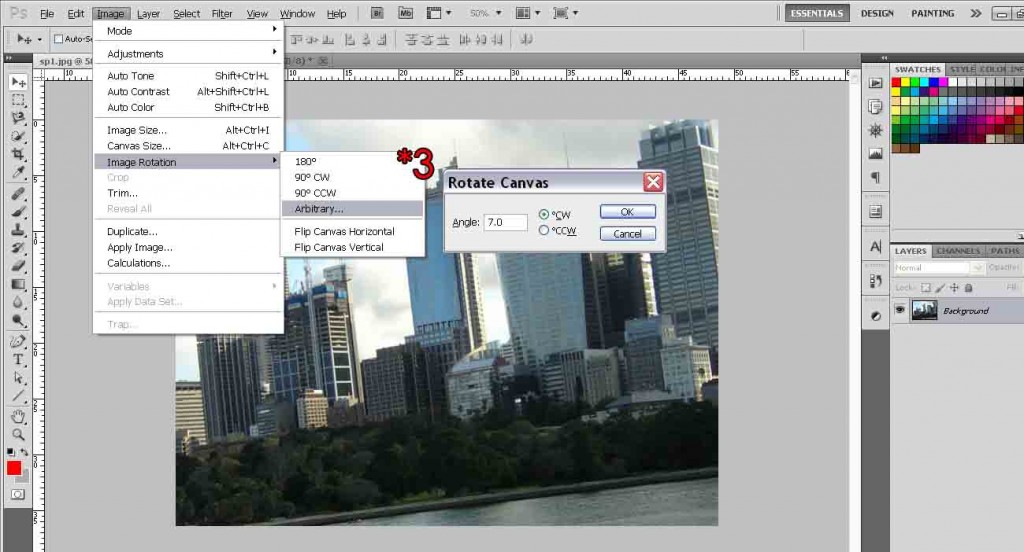
Next, go to Menu bar: Image > Image Rotation > Arbitrary and input the angle degree, and select CW (clockwise).
Step 4:
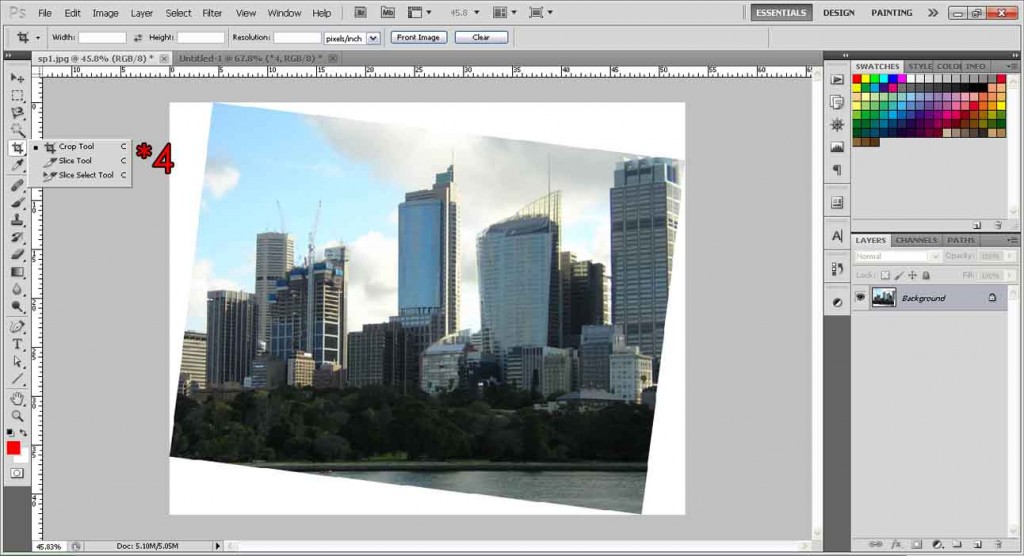
The photograph would have been straightened, but you would see some patches of white (or any other color, depending on your background color palette, but it doesn’t matter really). Select the Crop tool.
Step 5:
Using the Crop tool, drag a box over the photograph. You will have to lose some ‘data’ at the sides, it is unavoidable. Of course we want to preserve as much of the photo if possible, so we will draw the box until all four sides touch the edges of the photograph, as shown in the example below.
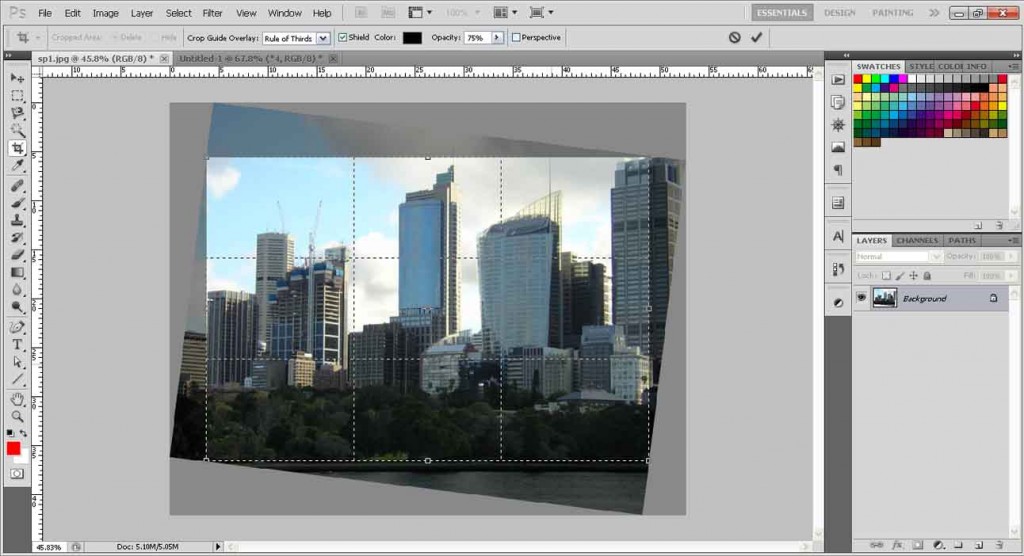
Once you have drawn the box as shown above, simply hit Enter and your photograph will be cropped out and straightened!

Need Help With Photoshop or Looking for Professional Support?
Whether you're just getting started with Photoshop or need expert-level assistance, we're here to help! Contact us for personalized Photoshop tutorials, project support, or creative services.
Get in touch today to take your skills or projects to the next level.
CONTACT US NOW📘 Want to Master Photoshop Faster?
🎁 Get Your FREE PDF E-Book "Top 10 Photoshop Tricks Every Designer Must Know" Now – Packed with expert tips, shortcuts, and techniques to boost your creativity & workflow.
👉 Download Your FREE PDF E-Book NOW!
