Today, I’ll be showing you how easy it is to make your photographs round cornered.
Preparation:
The first step is to get your photograph ready in Photoshop. You can drag it into Photoshop or just go to File > Open > your photo.
This tutorial was done on Adobe Photoshop CS5. Other versions may vary slightly.
Step 1:
Click the Rounded Rectangle Tool. At the options bar, you can adjust the Radius to change the ‘roundness’ of your curved corners. The higher the radius, the more round the corners get. I usually just use ‘1’, you don’t want to make it too round. The color does not matter, you won’t see it in the end.
Step 2:
Drag a round rectangle over the picture, starting from the top left corner all the way to the bottom right corner. You should get something like that as shown in the example. If the corners are not to your preference, just edit the radius at the Options Bar and start again.
Step 3:
Hide the round rectangle so the photo now appears again.
Step 4:
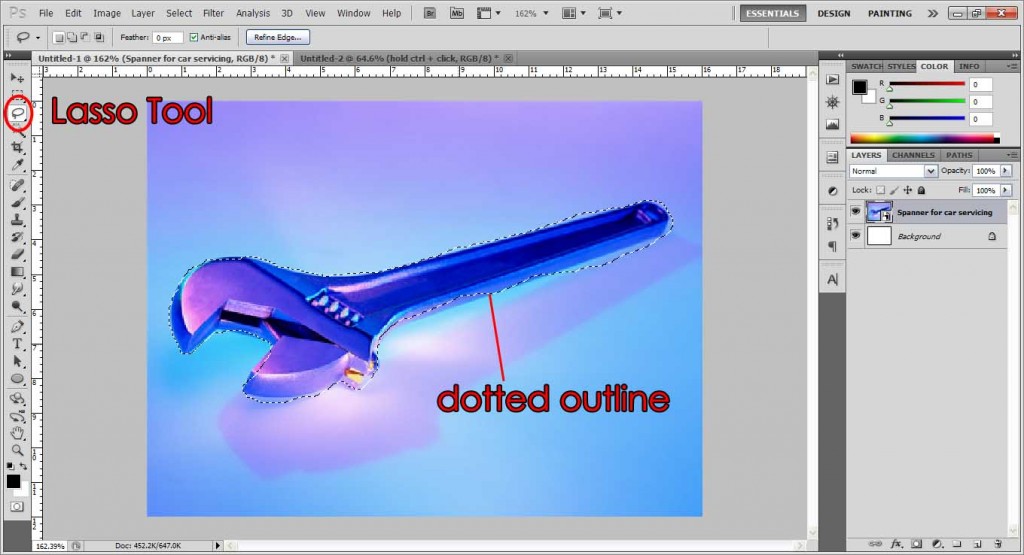
Hold ctrl and click on the shape vector. If you have done it correctly you should see a dotted outline around the photo.
Step 5:
With the rectangle still outlined, click on the photo’s layer, which in my case, is called Layer 1.
Step 6:
Click the vector mask button, and viola! Rounded corners in 2 minutes!
Our end result:

Need Help With Photoshop or Looking for Professional Support?
Whether you're just getting started with Photoshop or need expert-level assistance, we're here to help! Contact us for personalized Photoshop tutorials, project support, or creative services.
Get in touch today to take your skills or projects to the next level.
CONTACT US NOW📘 Want to Master Photoshop Faster?
🎁 Get Your FREE PDF E-Book "Top 10 Photoshop Tricks Every Designer Must Know" Now – Packed with expert tips, shortcuts, and techniques to boost your creativity & workflow.
👉 Download Your FREE PDF E-Book NOW!


