

In this tutorial, we’ll sharpen an image that is already on the side of sharpening. I’ll show you how you can enhance it further and sharpen it without making the skin fake and blurry. You’ll learn how to soften the skin, color correction and sharpen the image by preserving the skin details in the best possible way. Let’s get into it!
Step 1
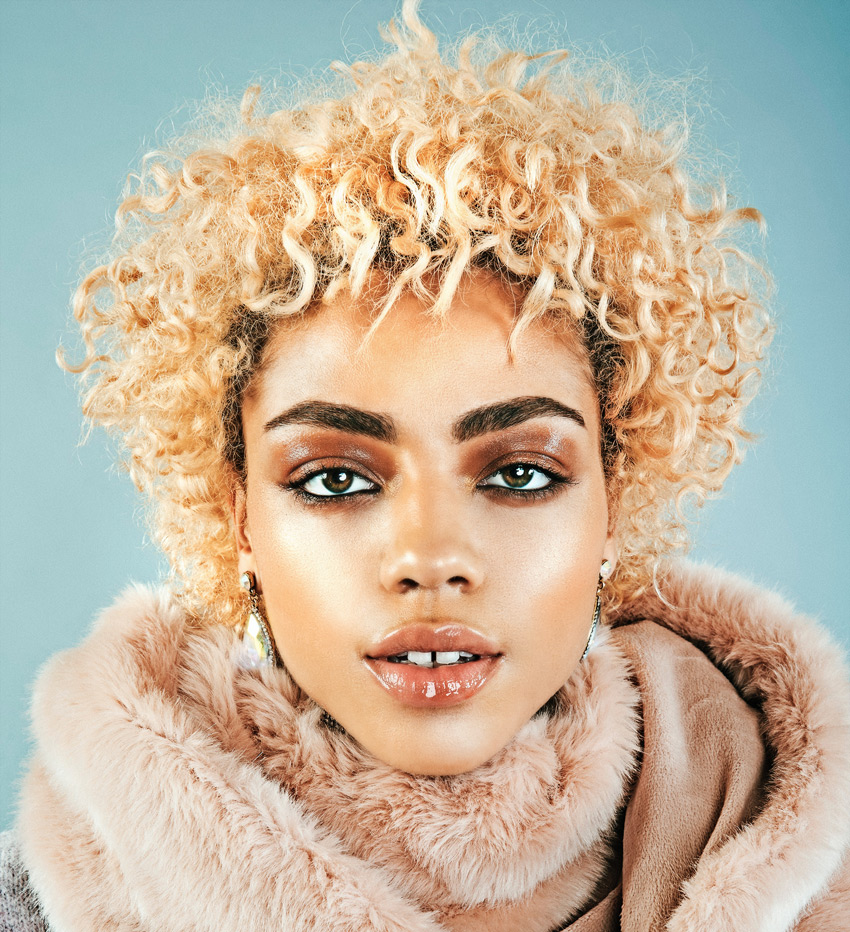
I am using this image in Photoshop but any image would work here as long as it not blurry. Even if it is blurry it may work as we’ll sharpen the image layer. Unfortunately, this image is no longer available on Unsplash I don’t know why but the link is throwing 404 error.
Here is the image opened in Photoshop:
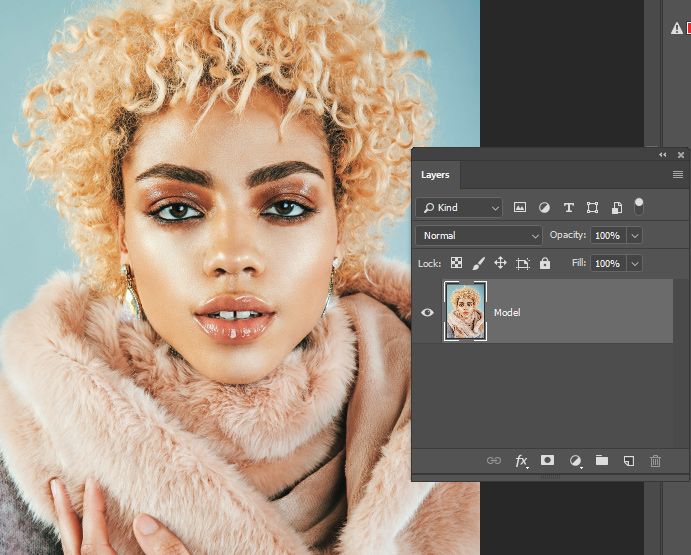
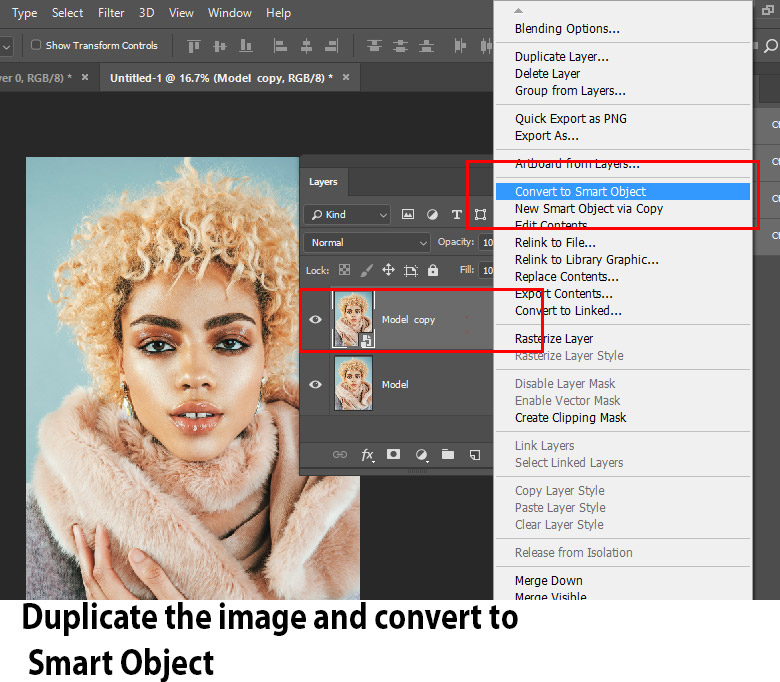
Duplicate the image by pressing CTRL + J and right click on it and choose “Convert to Smart Object”. With Smart Objects you can always go back and changed the settings of a filter at any time.
Step 2
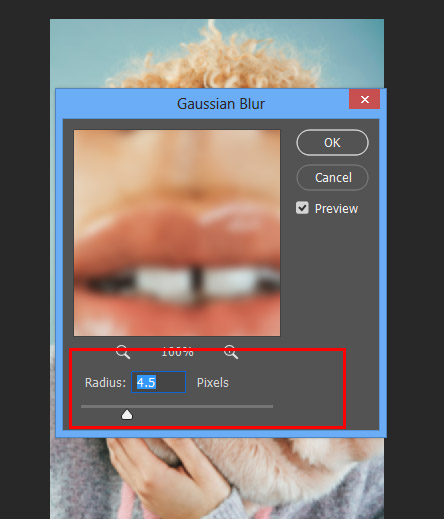
Now we’ll soften the skin using a blur filter. You can also choose the Smart Blur or perhaps Surface blur if you want but I am going with Blur filter.
Go to Filter > Blur > Gaussian Blur.

Set the Radius until you start seeing the skin details are becoming blurred. I set it to 4.5px.
Results after blurring:

Step 3
Add a Hide All mask by selecting Layer > Layer Mask > Hide All to Model Copy Layer. You can see I added a layer mask that is filled with black and that is a Hides All layer masks meaning everything on this layer is invisible.

Now activate The Brush Tool by pressing (B) on the keyboard, set the Opacity and flow to 85% & 20%, pick the white color and paint on the layer mask to reveal the blur effect on certain parts.
Remember the model face has a lot of details, you just need to paint it patiently and reveal the soft blur effect on the skin subtly. Do not overdo as we don’t want to lose skin textures and details.
Here you can see how I did it:

Step 4
Create a new layer by pressing CTRL + SHIFT + N and name it “Skin Coloring”. Now we’ll paint on the skin to colorize and make it even soften.
Sample a color from the skin, activate the Brush Tool, HOLD Down ALT Key and sample the color from the skin of the model. Now use the same flow and opacity settings as we used in the previous step and start painting on the skin.
You can see how I painted it on the skin and also, you have noticed the I reduced the opacity of the layer to 52% and you can play around with the opacity settings as well in case you have over-painted on the skin.

You can compare the results below:
Step 5
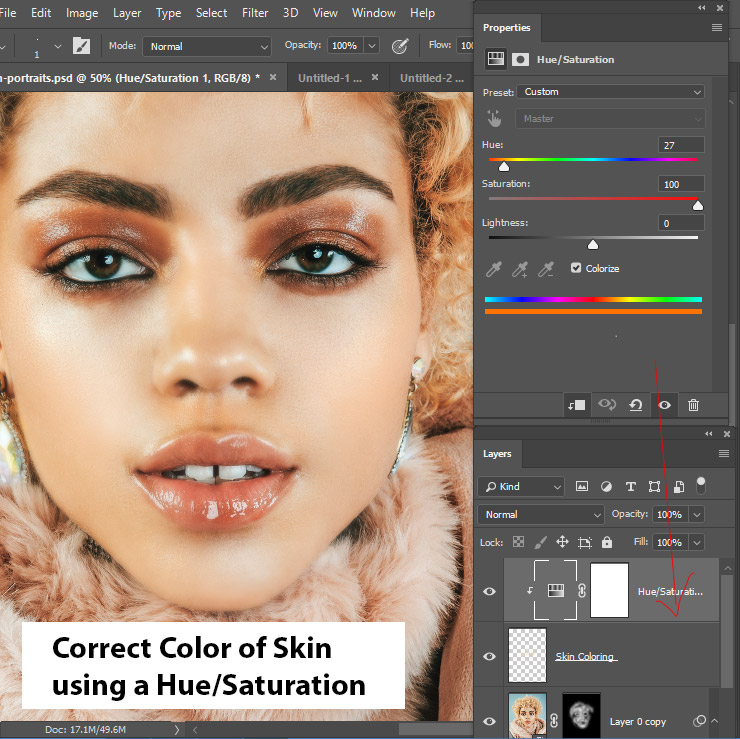
If you think that the color that you sampled in the last step to paint over the skin is not matching with the skin and want to change the color a bit. For that, you can use a Hue/Saturation adjustment layer to correct the color of the skin.
Go to Layer > Adjustment Layers > Hue/Saturation and check the Colorize Options and play around with the Hue & Saturation Sliders to correct color.
Results so far:

Step 6
We have given a lot of treatment to the layer and by doing so we have lost details of the skin to some extent. To get back the details, we can run a High Pass filter.
But before we do that, duplicate the model layer one more time by pressing CTRL + J.

Put the duplicated layer on top of the layer stack and then desaturate the layer by selecting Image > Adjustments > Desaturate.

Go to Filter > Other > High Pass and set the radius value to 7.0px. You can even set to 2.0px or maybe 4.0px if you want.

Now change the blending mode to Soft Light and here you can see the image is now sharpened:

Here are the results so far:

Step 7
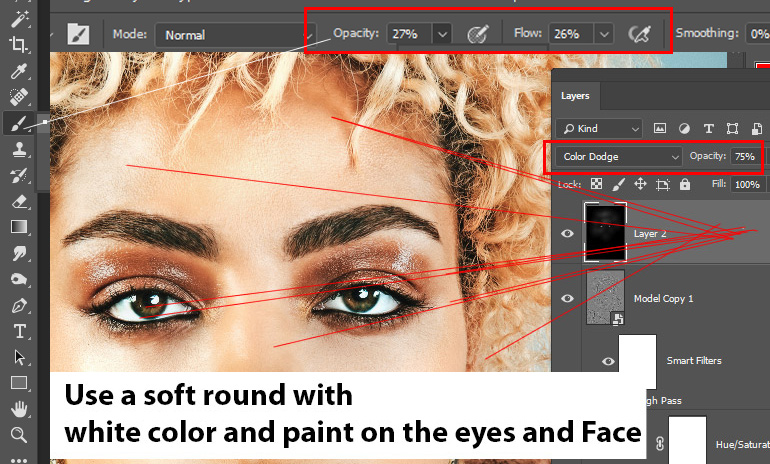
Finally, I lighten up her eyes and they seems kinda dim to me as compared to the entire image. To do this, I created a new layer by pressing CTRL + SHIFT + N and go to Edit > Fill and choose Content: Black and Blending Mode: Color Dodge.
Make sure to change the blending mode of the layer to Color Dodge otherwise this won’t work.

Use a soft round brush with the white color and set the opacity & flow settings under 30%. Now paint on the eyes to pop the up and add more focus to them.
Here are the final results:

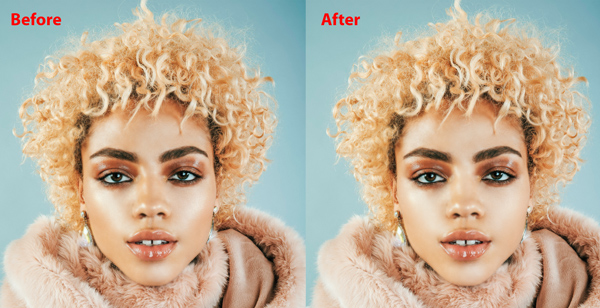
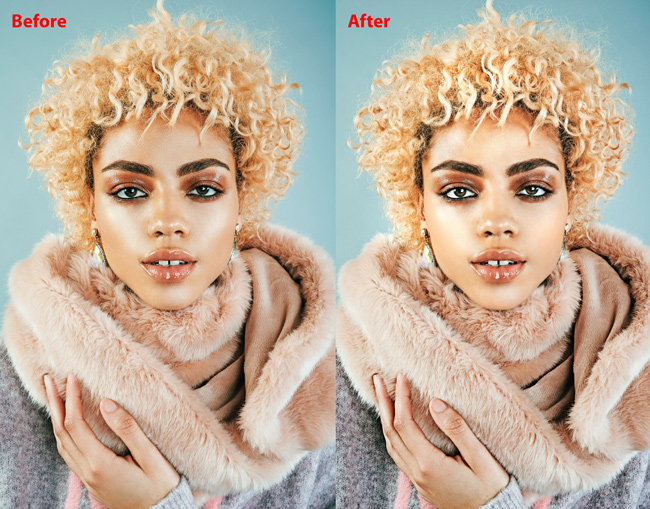
Here you can compare before and after results from step 1 to step 7:
I hope you enjoyed the tutorial and I hope you learned how to sharpen an image especially portrait image. Don’t forget the leave the feedback in the comment section below.
Need Help With Photoshop or Looking for Professional Support?
Whether you're just getting started with Photoshop or need expert-level assistance, we're here to help! Contact us for personalized Photoshop tutorials, project support, or creative services.
Get in touch today to take your skills or projects to the next level.
CONTACT US NOW📘 Want to Master Photoshop Faster?
🎁 Get Your FREE PDF E-Book "Top 10 Photoshop Tricks Every Designer Must Know" Now – Packed with expert tips, shortcuts, and techniques to boost your creativity & workflow.
👉 Download Your FREE PDF E-Book NOW!
