

In this Photoshop tutorial, I’ll show you how to create snow effect with Adobe Photoshop. You’ll learn how to create snow in Photoshop using filters and creating a beautiful snowy scene. You’ll also learn how to use filters, brushes, adjustment layers, layer mask, and brush tool. Follow the tutorial and find out more.
Tutorial Resources
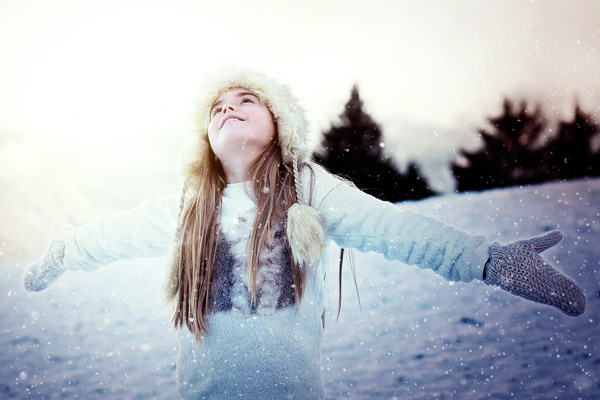
Step 1
Open the girl image in Photoshop. To open an image go to File > Open and open it up. Here we’ve the girl image opened in Photoshop.
Step 2
Add a Photo Filter (Layer > New Adjustment Layer > Photo Filter) adjustment layer to girl and apply the Cyan Filter with Density of 29%.
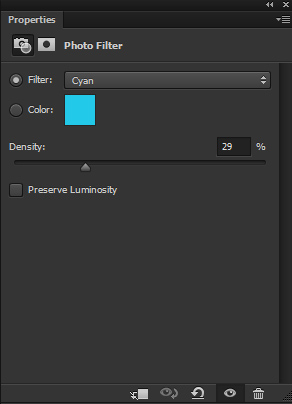
Change the blend mode of Photo Filter to Soft Light.
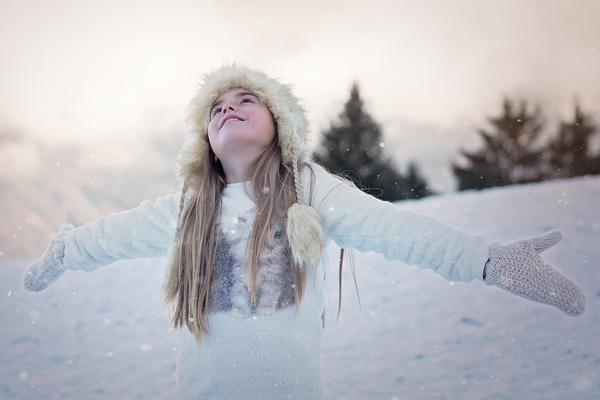
Step 3
Add a Curves adjustment layer and add cyan tone little bit.
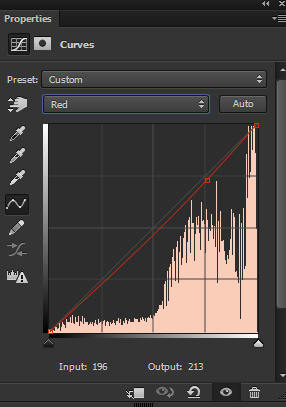
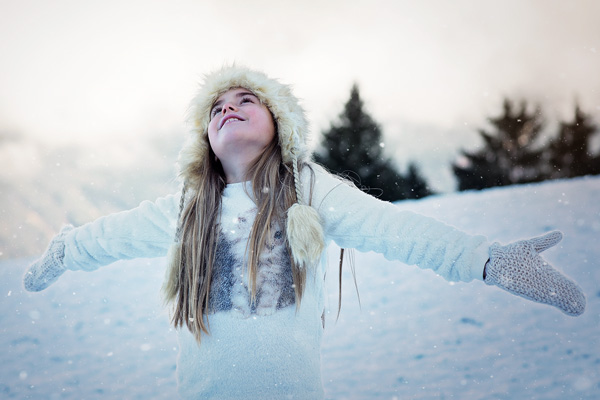
Results:
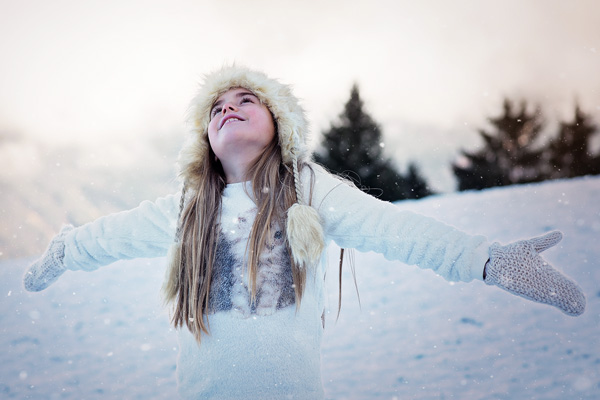
Step 4
Add a Color Balance adjustment layer and add more Red color tones.
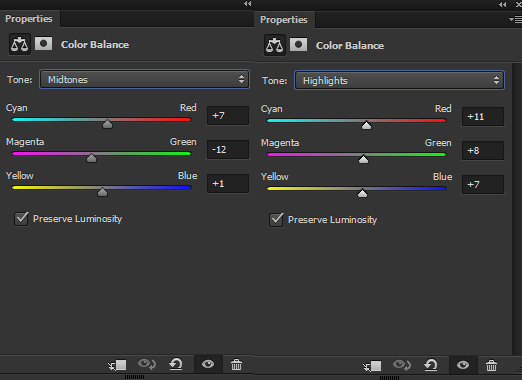
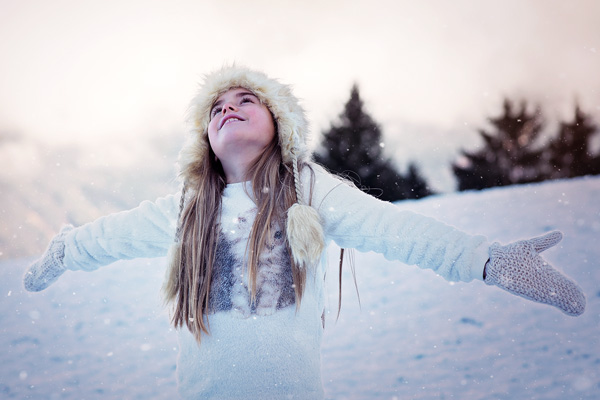
Results:
Step 5
Create a new layer and name it ‘light’. Set the foreground color to #97702c. Now paint the light using soft round brush as shown below.
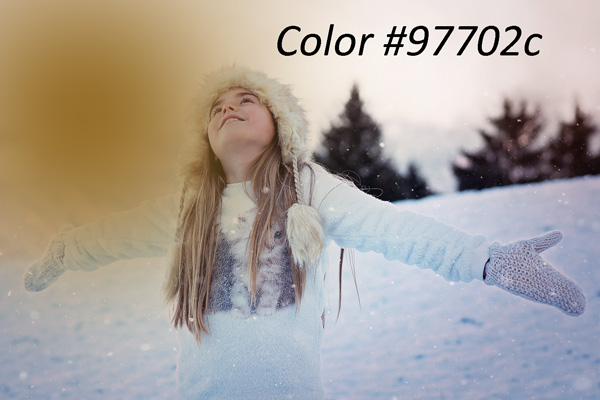
Set the blending mode to Screen.

Step 6
Create a new layer and name it ‘snow’. Fill this layer with black color.

Go to Filter > Noise > Add Noise and give the following values.
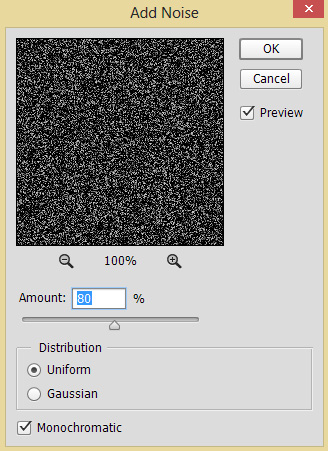
Results after adding noise:

Step 7
Now apply one more filter to snow layer. Go to Filter > Filter Gallery > Plaster and give the following to create snow.
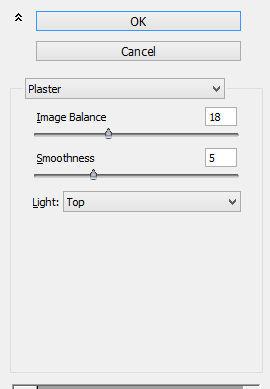
Results:

Set the blending mode to Screen and get rid from the black background.
You can read our Fantasy, Moonlight tutorial for detail explanation on this technique.
Step 8
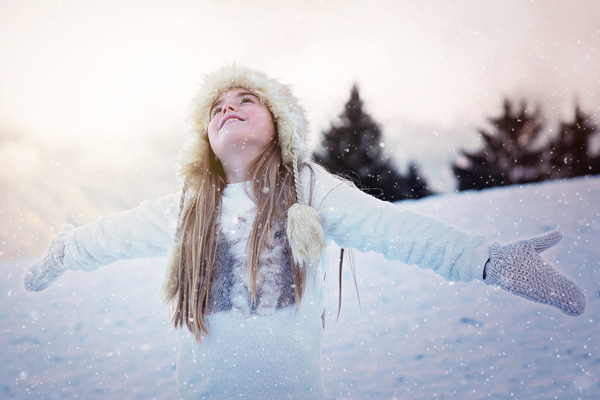
Add a Layer Mask to snow layer. Using the soft black brush erase the snow on the face (to create randomness for falling snow).
Final Adjustments
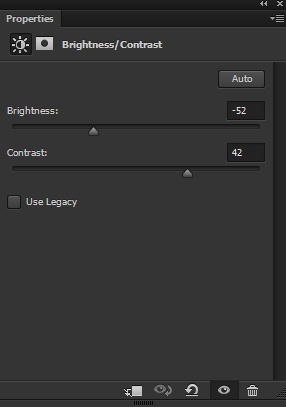
Step 9
Use the Brightness/Contrast adjustment layer to increase the contrast and reduce the brightness.
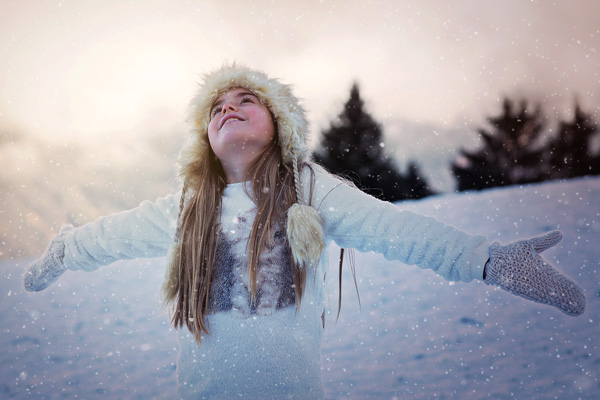
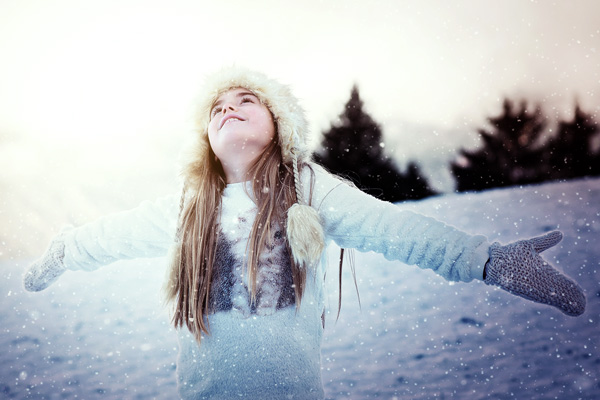
Results:
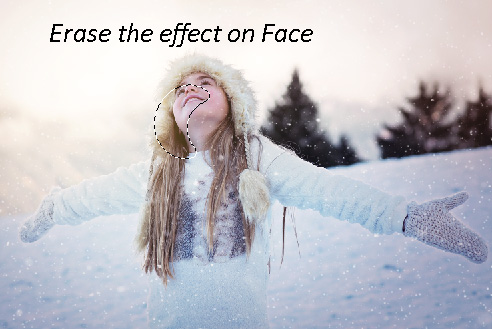
Step 10
On the layer mask of Brightness/Contrast adjustment layer, erase the effect on the selected parts using soft round black brush.

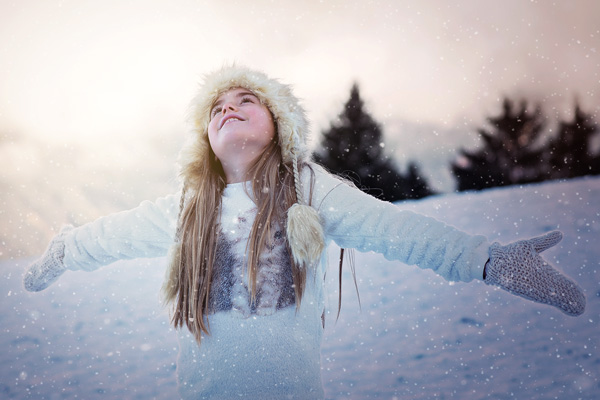
Results:
Step 11
Use the Color Balance adjustment layer to further enhance the colors.
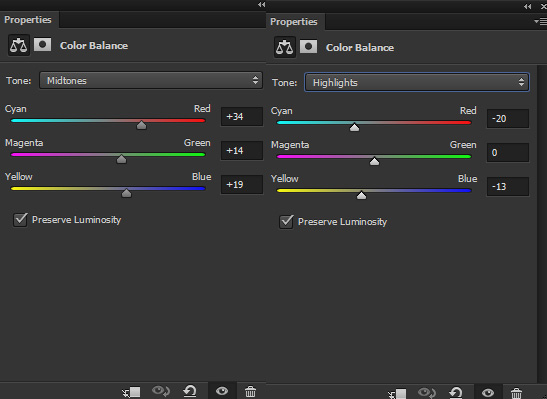
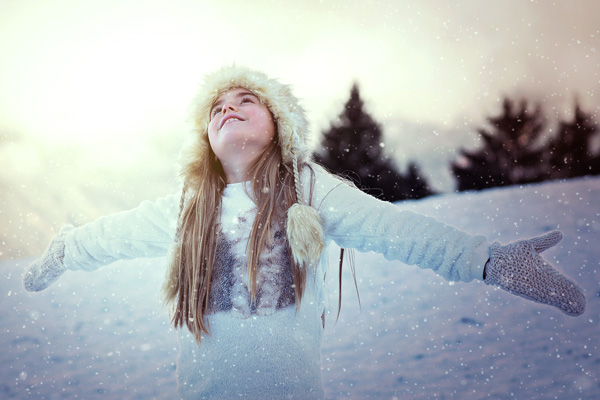
Results:
Step 12
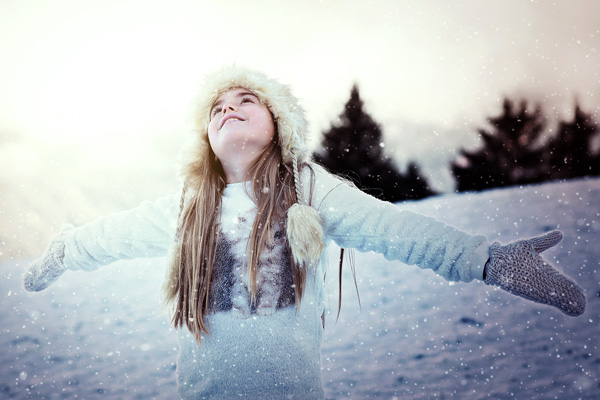
Use the Black/White adjustment layer to boost the contrast. Use the high contrast red filter preset.
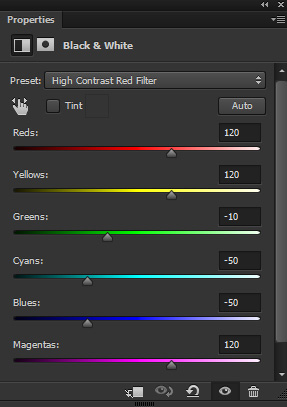
Set the blending mode to Soft Light.
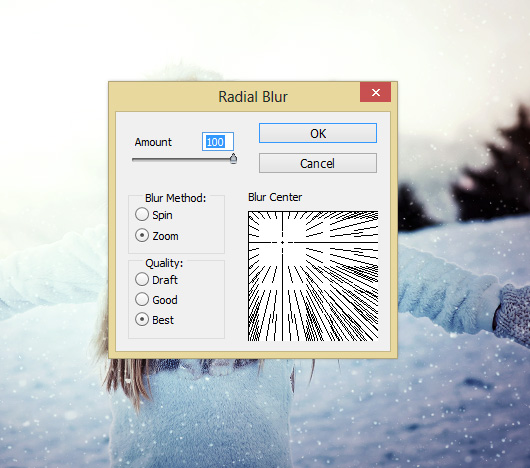
Step 13
Press CTRL + ALT + SHIFT + E to create a single layer from all layers. Go to Filter > Blur > Radial Blur and enter the following settings. This will give dreamy effect to photo. If you like it then proceed otherwise you can skip this step.
Set the blending mode to Soft Light and reduce the opacity to 66%.
Conclusion
Thanks for following the tutorial. Hope you enjoyed and do let me know if you have any question. If you like the tutorial then do share it with the world by pressing social media icon on your screen. Happy Photoshopping and keep inspiring the world!
Need Help With Photoshop or Looking for Professional Support?
Whether you're just getting started with Photoshop or need expert-level assistance, we're here to help! Contact us for personalized Photoshop tutorials, project support, or creative services.
Get in touch today to take your skills or projects to the next level.
CONTACT US NOW📘 Want to Master Photoshop Faster?
🎁 Get Your FREE PDF E-Book "Top 10 Photoshop Tricks Every Designer Must Know" Now – Packed with expert tips, shortcuts, and techniques to boost your creativity & workflow.
👉 Download Your FREE PDF E-Book NOW!
