

In this tutorial, I’ll show you how to give your photos a hand drawn pencil sketch effect using Photoshop. We’ll use a color photo and then we’ll turn it into a realistic pencil effect. We’ll use adjustment layers, filters, and blend modes to achieve this effect.
Tutorial Resources
Opening a Photo
Step 1
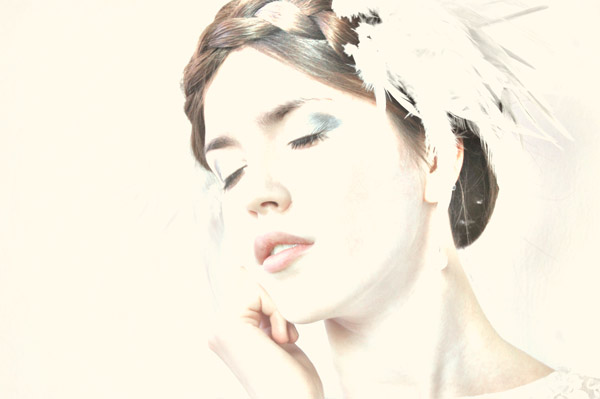
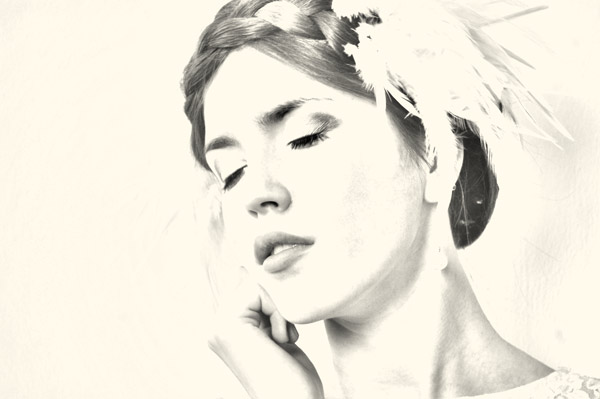
Open up the girl portrait image in Photoshop by selecting File > Open. I’m using this image for this tutorial but you can use your own photo as well. But remember you need an image that has the pure white background and pick the image which has the white or clean background to mimic this effect. Without the white background, it would be difficult to achieve this pencil effect.
Here is the image which I’m using:
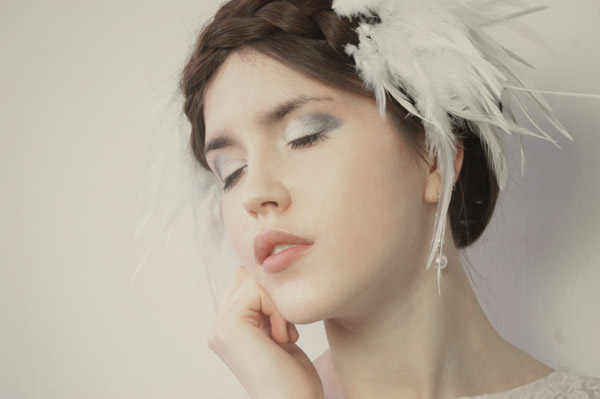
I’m using this photo with yellow colors added to it to make sure that the image doesn’t blend with the white background of the website. That’s why you gonna see the next steps images in yellow color which actually not the original color of the photo. So don’t be surprise!!
Step 2
Duplicate the girl layer which you just opened in Photoshop. I named this layer background and after duplicating the layer I’ve another layer background copy. If your photo is in Smart Objects then I recommend you to rasterize because we gonna invert the layer and you cannot do this if your layer is Smart Object.

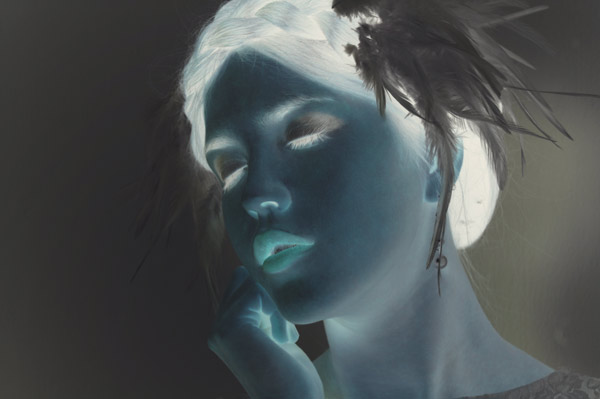
Now, select the background copy layer and press CTRL/CMD + I to invert this layer. You’ll have the following effect:
Step 3
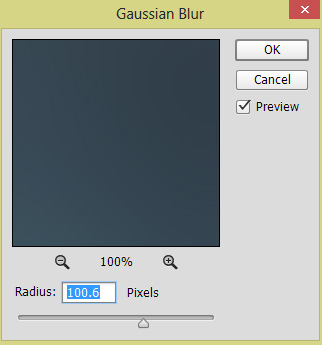
After inverting the layer change the blending mode to Color Dodge and now you’ll not see anything until you apply the Gaussian Blur filter. Now convert the layer into Smart Objects and go to Filter > Blur > Gaussian Bur and set the Radius to 100.6.
Here are the results after applying blur:
Step 4
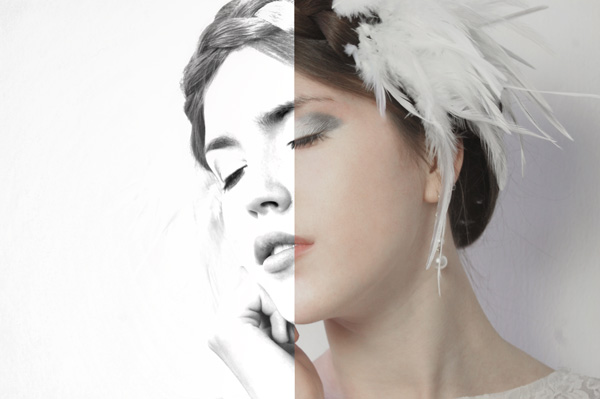
Go to Layer > New Adjustment Layer > Hue/Saturation and reduce the saturation of photo by bringing down the Saturation slider to -100 or you can use Black/White adjustment layer as well. Here you can see the settings:
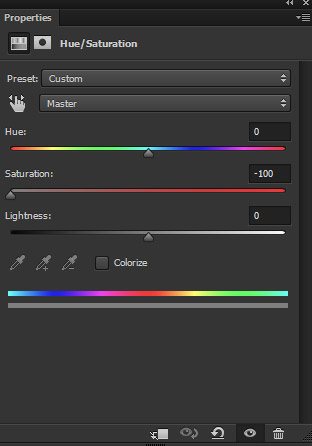
Here you can see our pencil effect with shade and lines:

Step 5
We’ll continue enhancing the effect by adding more contrast to image. Make a Levels adjustment layer and drag the Black slider to right until you see more darkness or dark shade started to appear on the image. Here is my settings:
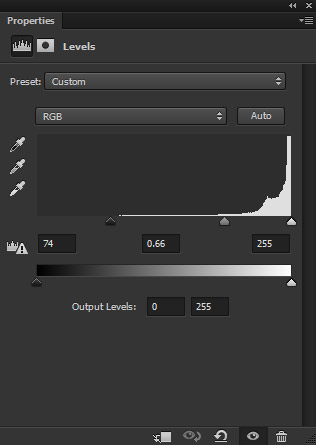
Results:

Step 6
Although, I like the dark shade on the face its too much on the hair and I don’t want that. To get rid of that, I use the layer mask of the Levels. Select the mask and erase the effect mostly on hair using a soft round black brush. Remember to mask the effect only on hair, not on the rest of the parts.
Here you can see in the reference image where I masked the effect.
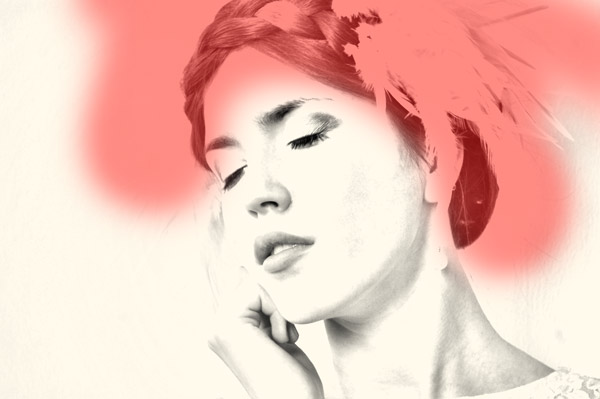
Results after masking the effect:
Step 7
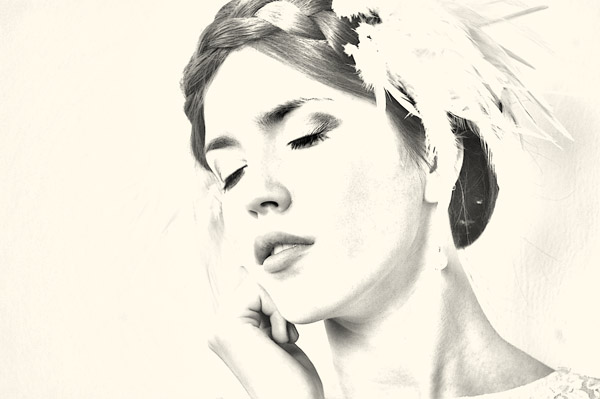
Finally, I given a realistic pencil line effect to it using Poster Edges filter. So first merge all layers into single layer by pressing ALT + SHIFT + CRTL + E. Go to Filter > Filter Gallery > Poster Edges and input the following values:
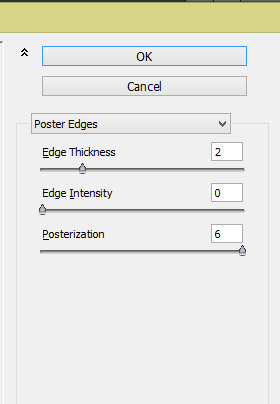
Here is the realistic pencil sketch effect:
Conclusion
Thanks for following the tutorial. I hope you like the tutorial and if you do then spread the tutorial into the world. Just press the social media on your screen. Have a great photoshopping day!!
Need Help With Photoshop or Looking for Professional Support?
Whether you're just getting started with Photoshop or need expert-level assistance, we're here to help! Contact us for personalized Photoshop tutorials, project support, or creative services.
Get in touch today to take your skills or projects to the next level.
CONTACT US NOW📘 Want to Master Photoshop Faster?
🎁 Get Your FREE PDF E-Book "Top 10 Photoshop Tricks Every Designer Must Know" Now – Packed with expert tips, shortcuts, and techniques to boost your creativity & workflow.
👉 Download Your FREE PDF E-Book NOW!
