
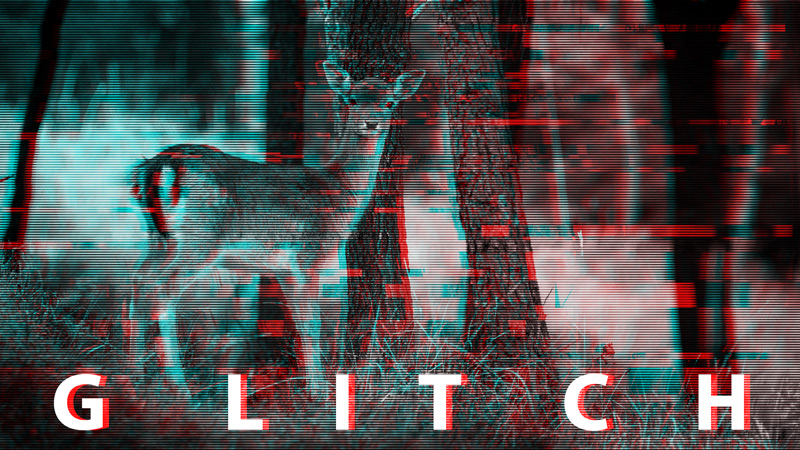

In this tutorial, I’ll show you how to create a trendy glitch effect in Photoshop. You’ll learn how to use blending options to create a sci-fi glitchy look, add distorted lines, and then add a halftone pattern easily using filter gallery to finish the effect.
And to make it easier for you, I have a free glitch effect Photoshop action that you can use to create your glitch effect in no time.
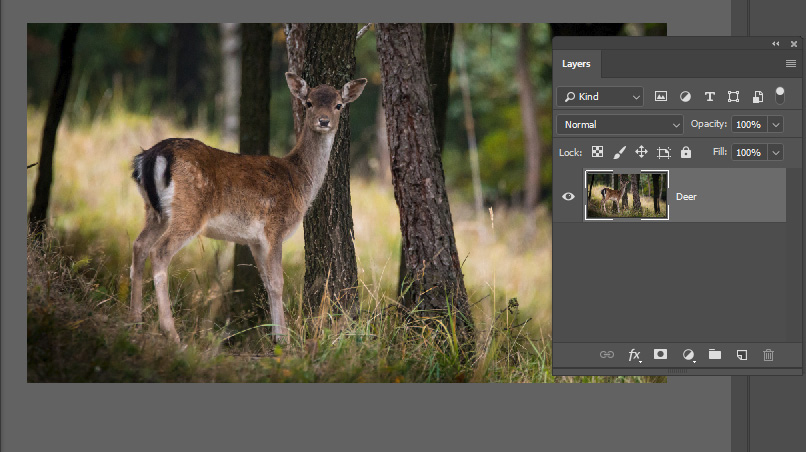
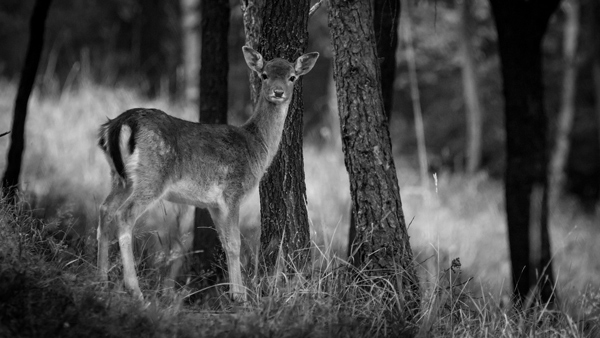
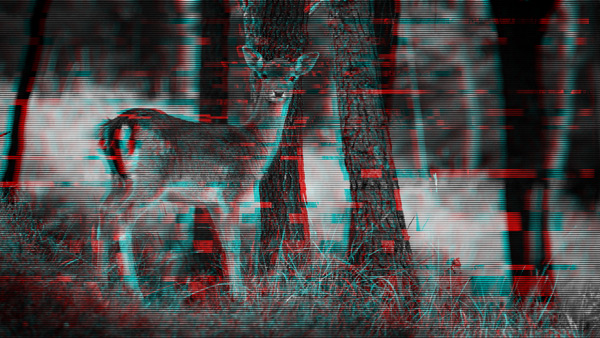
The first thing first open the image in Photoshop and I am using this deer image which you can download here.
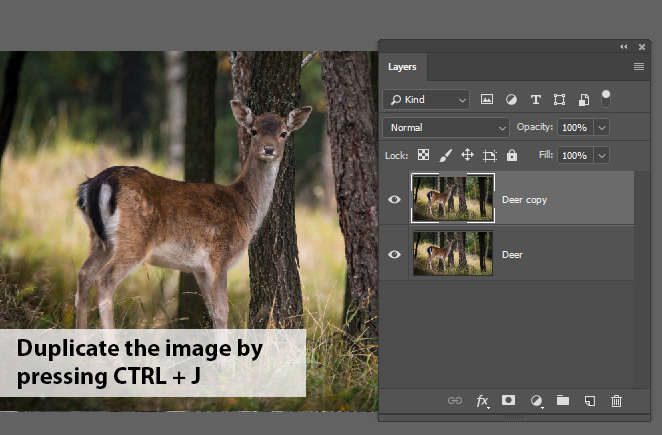
Now press CTRL + J to duplicate the image and this will keep your original layer intact in case anything goes wrong.
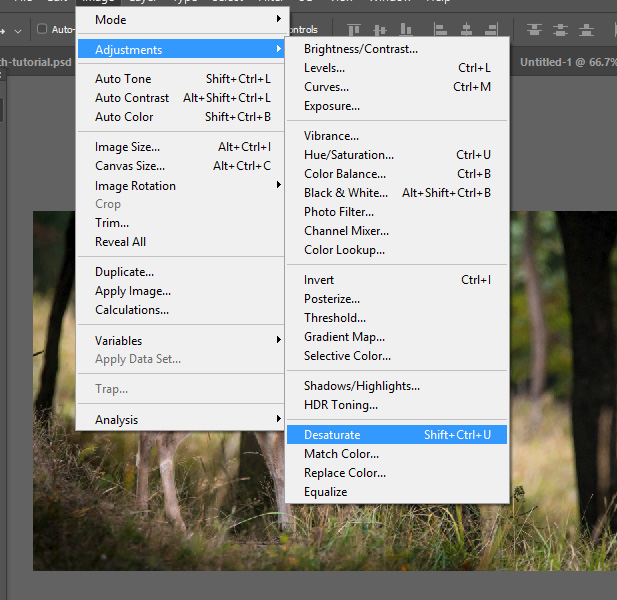
Step 1 – Convert the Image into Black/White
I am converting the image into black/white and this effect really look good on desaturated images. To do this, go to Image > Adjustments > Desaturate.
Here you can see the image is now desaturated:
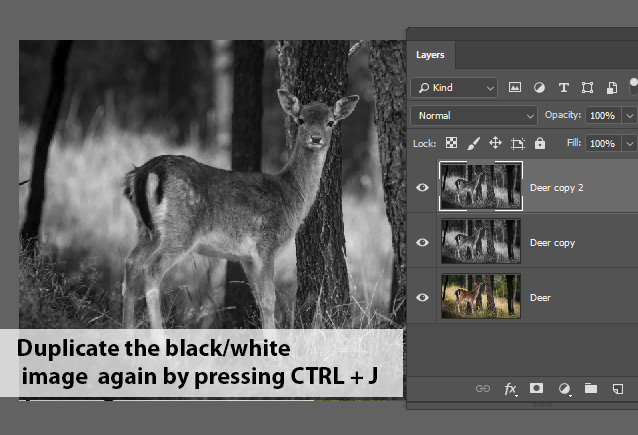
Step 2 – Duplicate the Image
Now we need to duplicate the black/white image so we can use channels of the image and then we can shift the image left or right to create a glitch effect.
To do this, duplicate the image by CTRL + J.
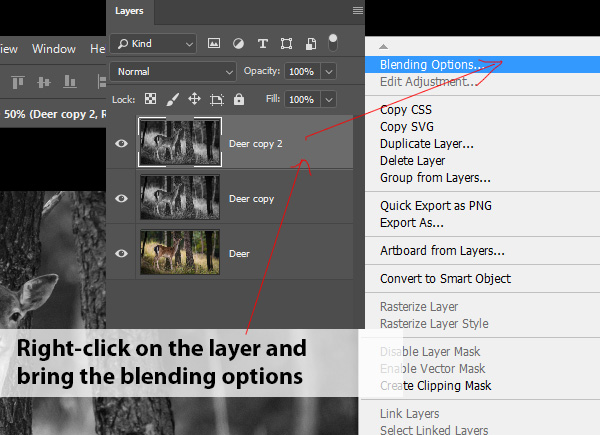
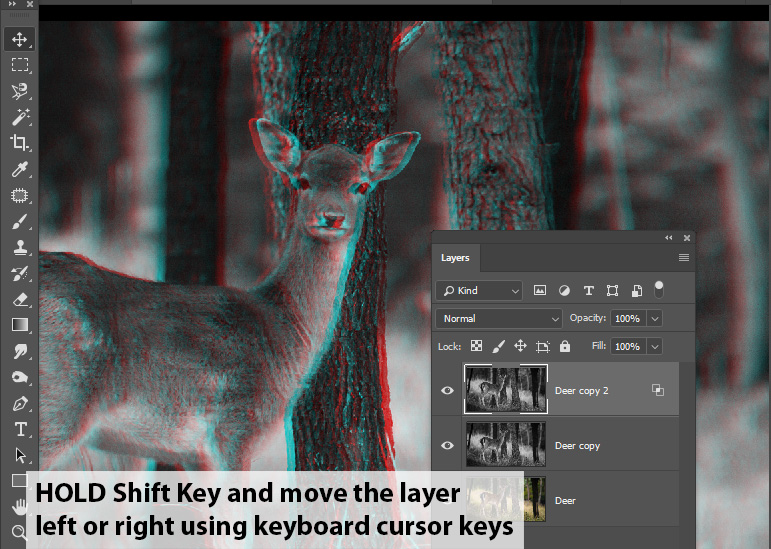
Step 3 – Create Glitch Effect Using Blending Options
It’s time to create a glitch effect using blending options, and we’ll make one of the channels visible and nudge it to left or right to create a distorted effect.
Right click on the image and choose Blending Options.
Now in the Advanced Blending Section uncheck the Red Channel box.
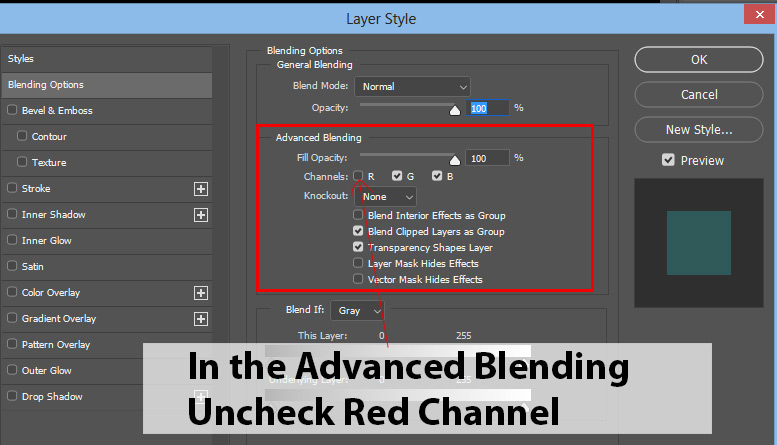
Now select the Move Tool (V) to move the layer and create a glitch effect.
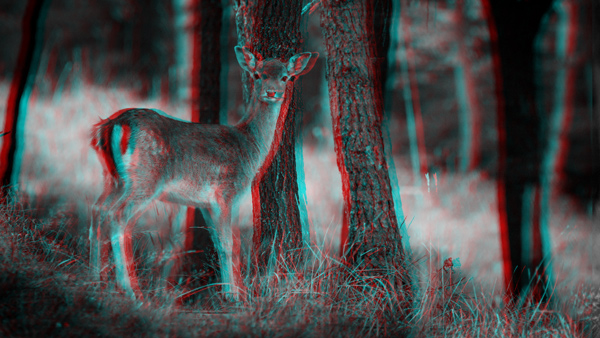
Here you can see the results:
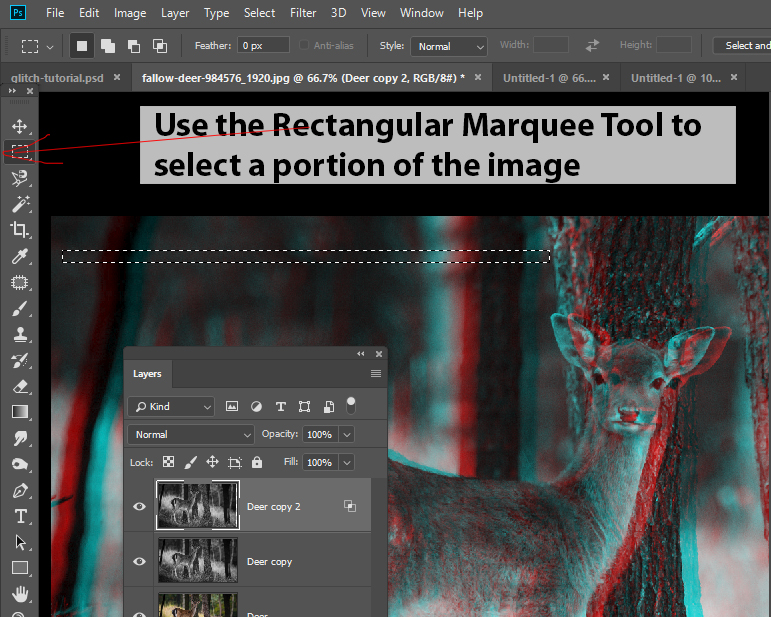
Step 4 – Create Linear Glitch Distortion
Now we’ll make the Pixelated effect using Rectangular Marquee Tool. To do this, select Rectangular Marquee Tools (M) and make a selection across the image portion.
Now switch back to Move Tool (V) to nudge the selection left or right to make the image distorted and pixelated.
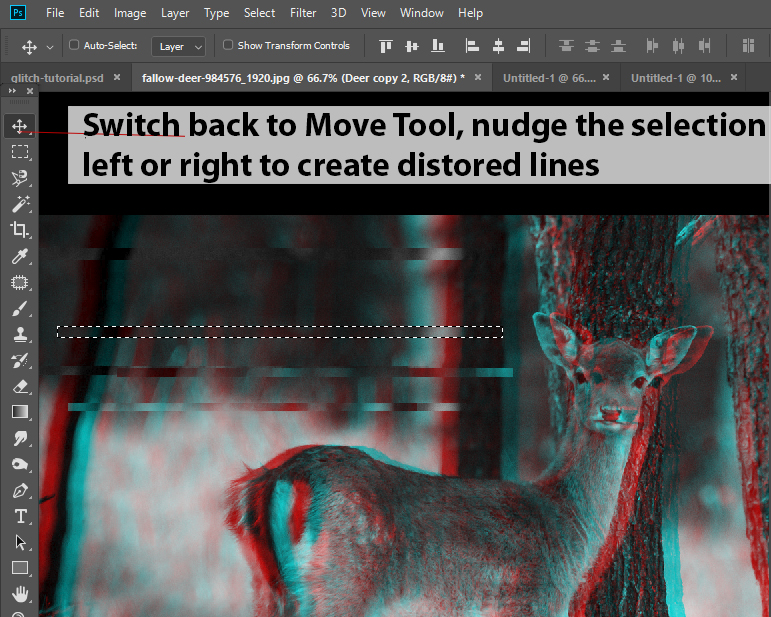
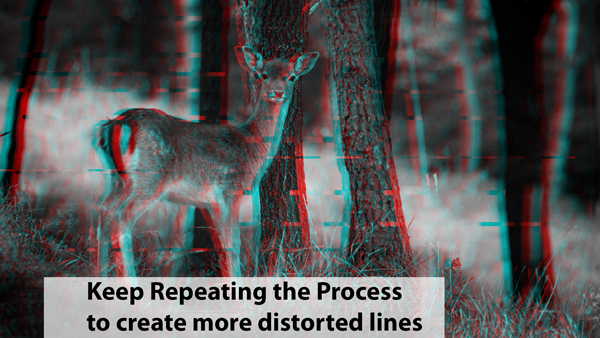
Keep repeating the process until you make the image more like glitched or distorted. Use keyboard shortcuts to quickly move between Rectangular Marquee Tools (M) and Move Tool (V) by pressing (M) and (V) key.
This is how I ended up:
Step 5 – Finally Add a Line Pattern
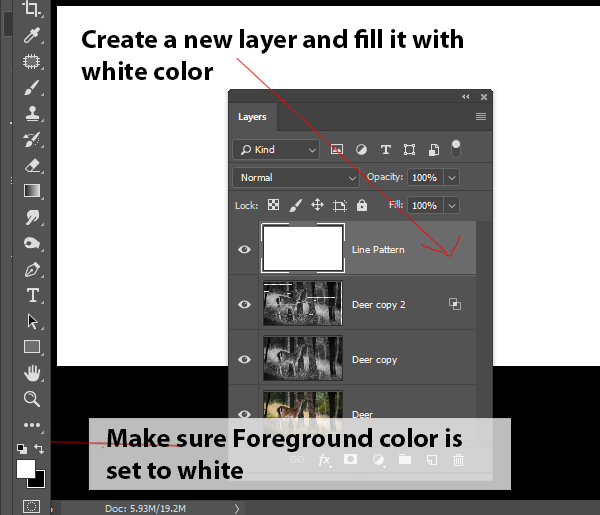
Now we’ll add a line pattern across the image using Photoshop Filter Gallery. Create a new layer by pressing CTRL + SHIFT + N and fill this layer with white color. Name it “Line Pattern”.
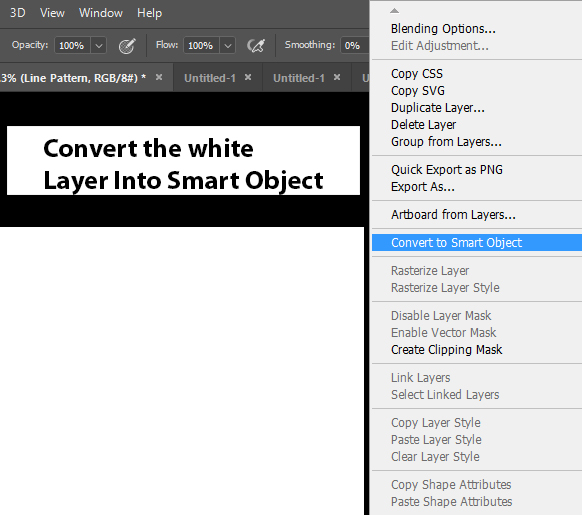
Now right-click on this layer and choose “Convert to Smart Object.” By converting the layer into Smart Object you can always go back to change the settings of a filter later.
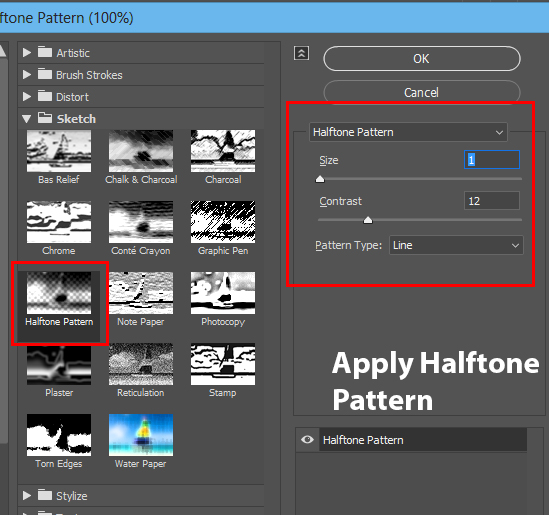
Go to Filter > Filter Gallery > Sketch and enter the settings below and make sure to change the Pattern Type to Lines. Make sure that Foreground/Background color is set to white/black otherwise you might end up with a color version of line pattern.
Now once you have the line pattern change the blending mode to Overlay. You can adjust the opacity of the layer if you want.
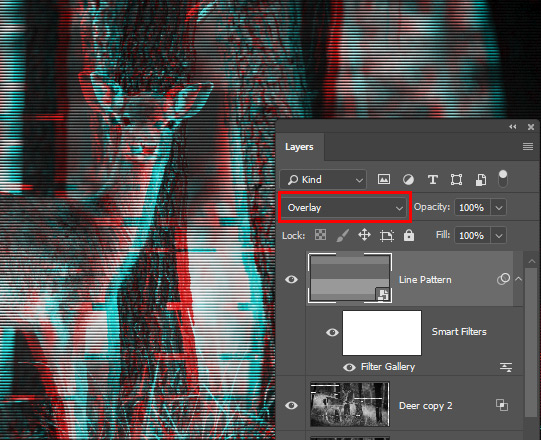
Here you can see line pattern applied across the image and final results:
I hope you like the tutorial and share your thoughts in the comment section below.
Examples with the Glitch Effect Action
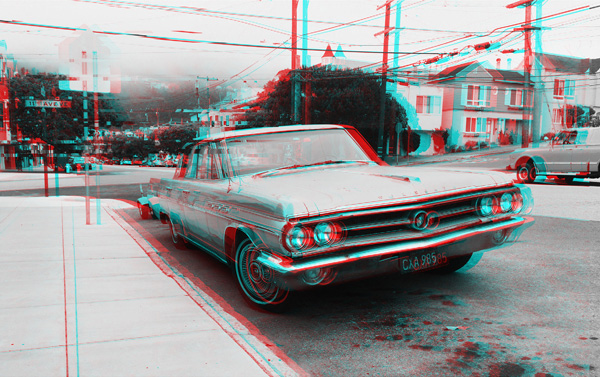
Here are some examples that you can create with this glitch effect action:
Example 1:

Example 2:

Example 3:
Need Help With Photoshop or Looking for Professional Support?
Whether you're just getting started with Photoshop or need expert-level assistance, we're here to help! Contact us for personalized Photoshop tutorials, project support, or creative services.
Get in touch today to take your skills or projects to the next level.
CONTACT US NOW📘 Want to Master Photoshop Faster?
🎁 Get Your FREE PDF E-Book "Top 10 Photoshop Tricks Every Designer Must Know" Now – Packed with expert tips, shortcuts, and techniques to boost your creativity & workflow.
👉 Download Your FREE PDF E-Book NOW!
