

In this tutorial, I’ll show you how to create a digital painting effect in Photoshop. We’ll use the city image to turn it into a digital painting using Cutout filter and then use the adjustment layer to make some color adjustments. Finally, we’ll paint the highlights to make the effect realistic and digital. So follow the tutorial and find out how you can easily replicate the digital painting effect.
Tutorial Resources
Step 1
Before we start let me tell you about digital painting and it’s not easy to paint a digital art in Photoshop. The process of a digital painting start from the sketches, thumbnails then the real painting start from scratch. Artist also uses brushes, reference images and many techniques to complete the illustrations. It does require skills, some preparations like gathering references, and much more. Below you can see my first digital painting and you can easily notice lot of mistakes in it. Even the results are not compelling but I like the results and it took me 8 hours to complete. But in Photoshop anything can be replicated and even within a minute.

Step 2
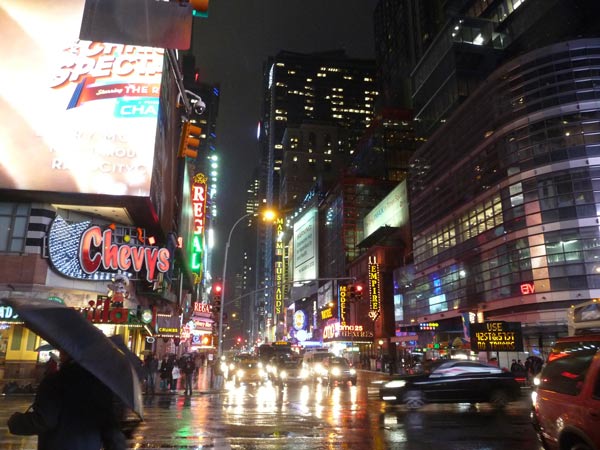
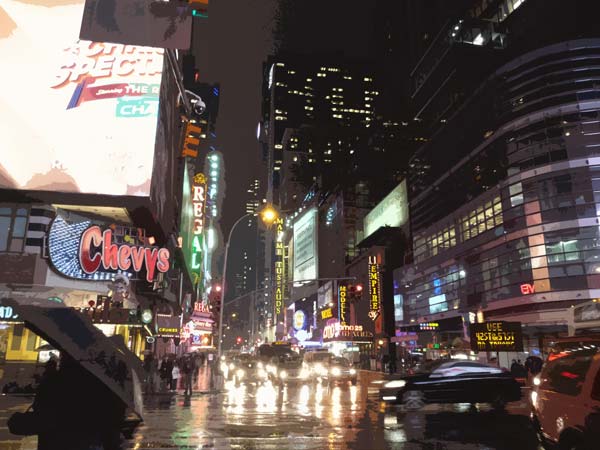
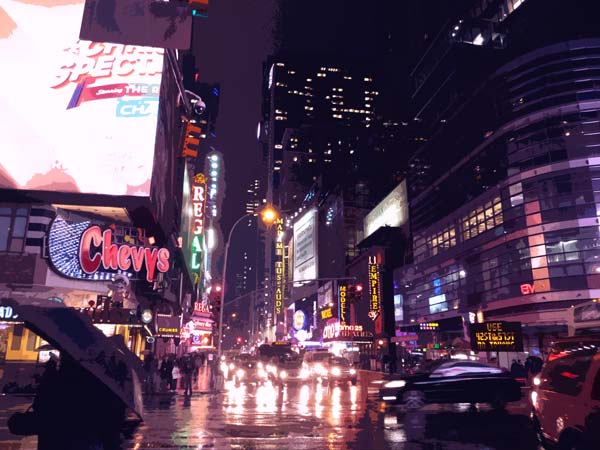
I am using the city image for this tutorial which you can find in the tutorial resources. So open the city image in Photoshop by File > Open and open it up. Here is the city image opened in Photoshop :
Create the Digital Painting Effect
Step 3
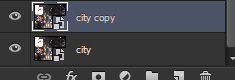
Before we apply Cutout filter we need to duplicate the city layer as later we need the original parts of the city. To duplicate it hit CTRL + J and duplicate it.
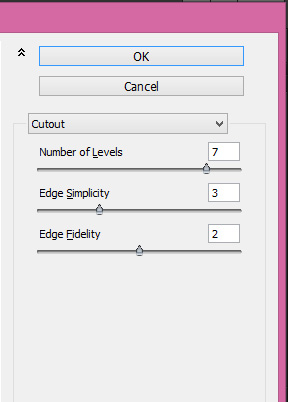
Now go to Filter > Filters Gallery > Cutout and give the following values. Remember to apply the filter on the duplicated city layer not on city layer. Here you can see the values :
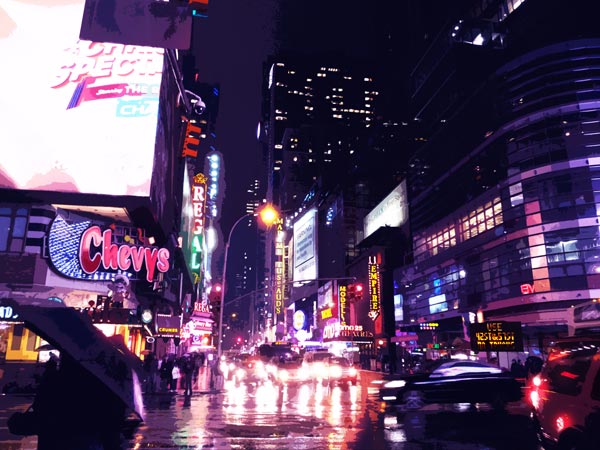
After applying the filter, lower the opacity of duplicated city layer to 80%. This will get some parts of the city back again which is underneath it that’s why we copied it. In the below image you can notice that we got the digital painting effect and if you zoom into the image you’ll notice that all elements like vehicles, peoples, building and light looks like someone painted over them using brushes. I really like the effect but we can improve it a lot.
Step 4
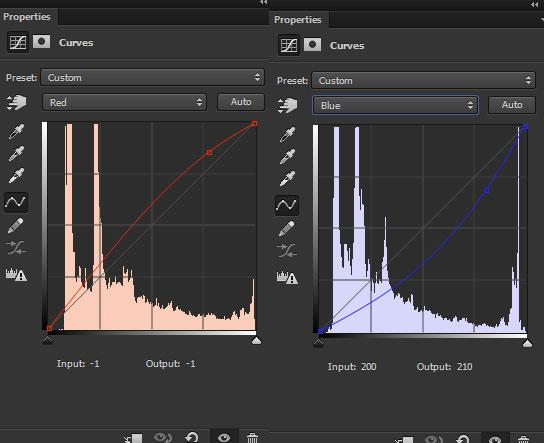
Click the third icon at the bottom of layer panel to create a Curves adjustment layer. I used the Red and Blue to add yellow tones to image. Here you can see the settings of both channels:
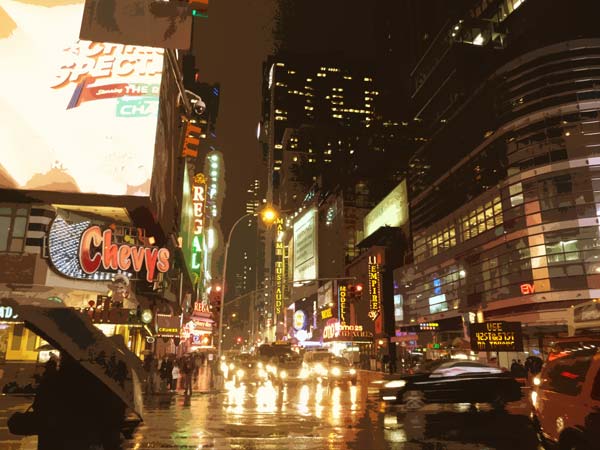
Results:
Step 5
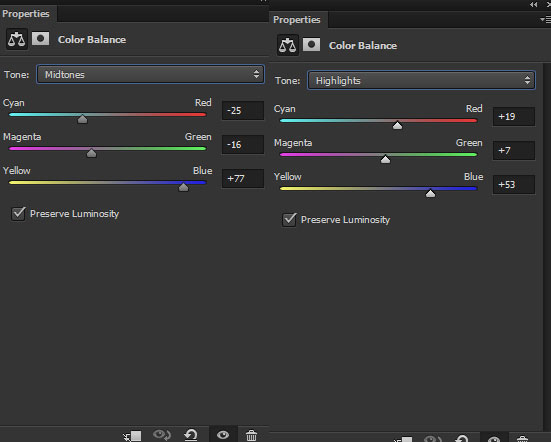
Continue coloring it using Color Balance adjustment layer. Here you can also change the colors according your way like I want blue and magentas in the city so I altered the settings my way.
Results :
Step 6
Due to coloring we have less saturated lights and I don’t want that. Create a new layer and name it ‘light’. Use the below mentioned color in the image and using a soft round brush paint the lights like I did it below. Feel free to paint wherever you want but mostly paint on the vehicles and street lights.
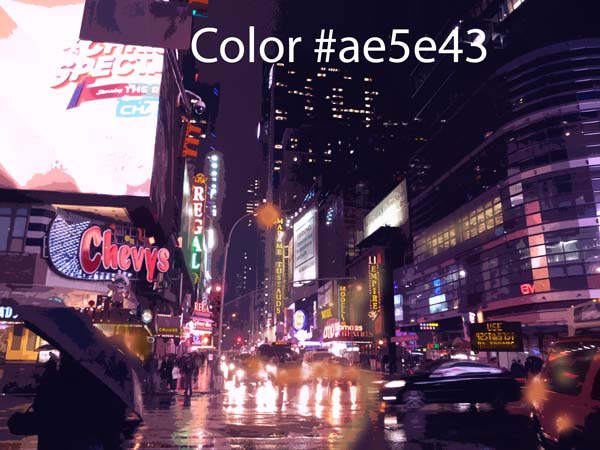
Set the blending mode to Color Dodge. Here are the results:
Step 7
Now we are going to paint the highlights reflected by the lights of buildings, cars and street lights. Create an another layer and name it ‘highlights’. Using a white soft round brush paint the light indicated by the arrows like I painted on the woman, car, the peoples on the street and wherever you think.
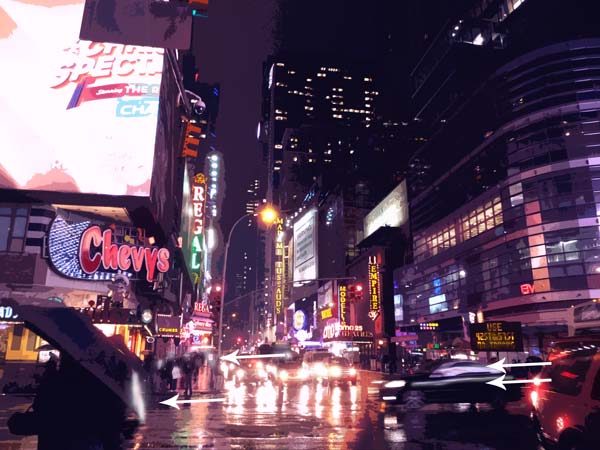
Change the blending mode to Overlay. Here are the results with realistic painted highlights:

Final Adjustments
Step 8
It’s time for final adjustments. Make a Color Lookup adjustment layer (on top of all layer) and choose the Crisp_Winter file.
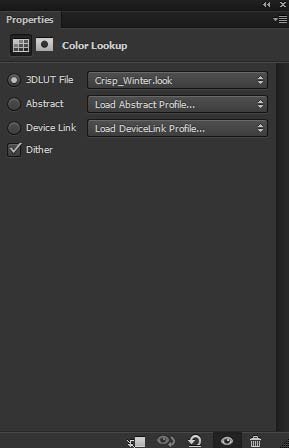
Results:

Step 9
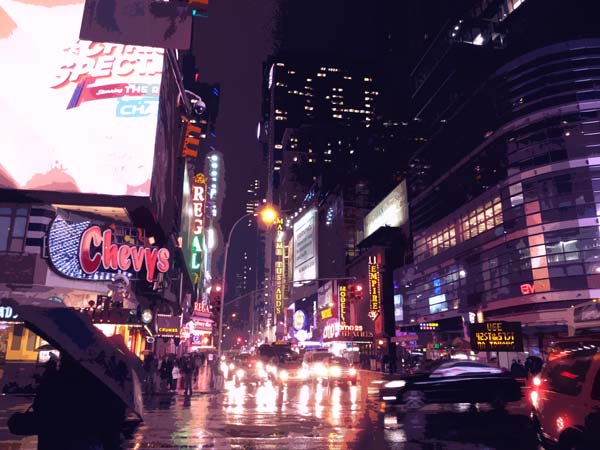
Finally I increased the contrast using the Curves adjustment layer. Just make S-Shape curves which always gonna brighten the image.
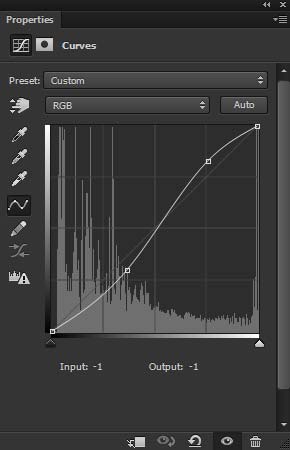
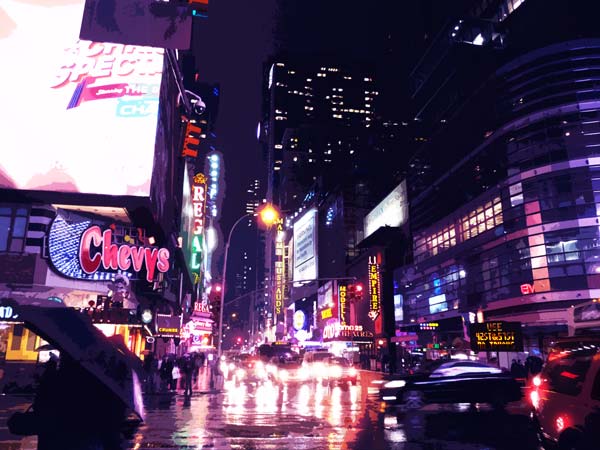
Final Results:
Conclusion
Even though we have achieved a digital painting effect but painting with your own has different feeling and results. But replicating the effect satisfied us with some extent and I hope you like it. Thanks for following the tutorial and I hope you like the tips and tricks. Do let me know if you have any questions and I’ll do my best to answer it.
Need Help With Photoshop or Looking for Professional Support?
Whether you're just getting started with Photoshop or need expert-level assistance, we're here to help! Contact us for personalized Photoshop tutorials, project support, or creative services.
Get in touch today to take your skills or projects to the next level.
CONTACT US NOW📘 Want to Master Photoshop Faster?
🎁 Get Your FREE PDF E-Book "Top 10 Photoshop Tricks Every Designer Must Know" Now – Packed with expert tips, shortcuts, and techniques to boost your creativity & workflow.
👉 Download Your FREE PDF E-Book NOW!
