
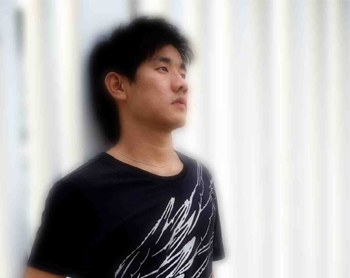

This will be a very simple and straight forward tutorial, to add a dreamy, fantasy-like effect to your photos. Your background in the photo will be blurred, while the main object stays clear and sharp, shifting the focus to it.
Preparation:
The first step is to get your photograph ready in Photoshop. You can drag it into Photoshop or just go to File > Open > your photo.
This tutorial was done on Adobe Photoshop CS5. Other versions may vary slightly.
Step 1
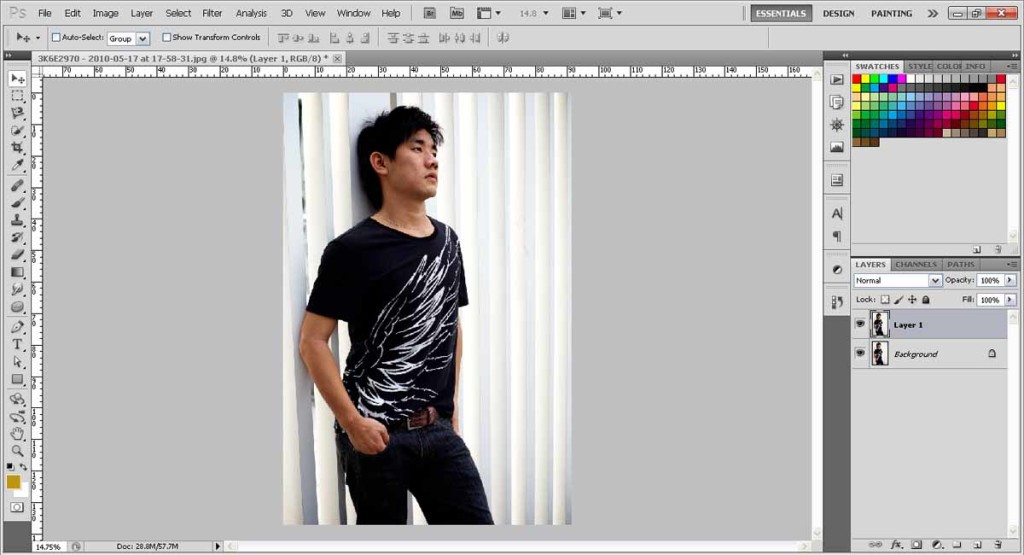
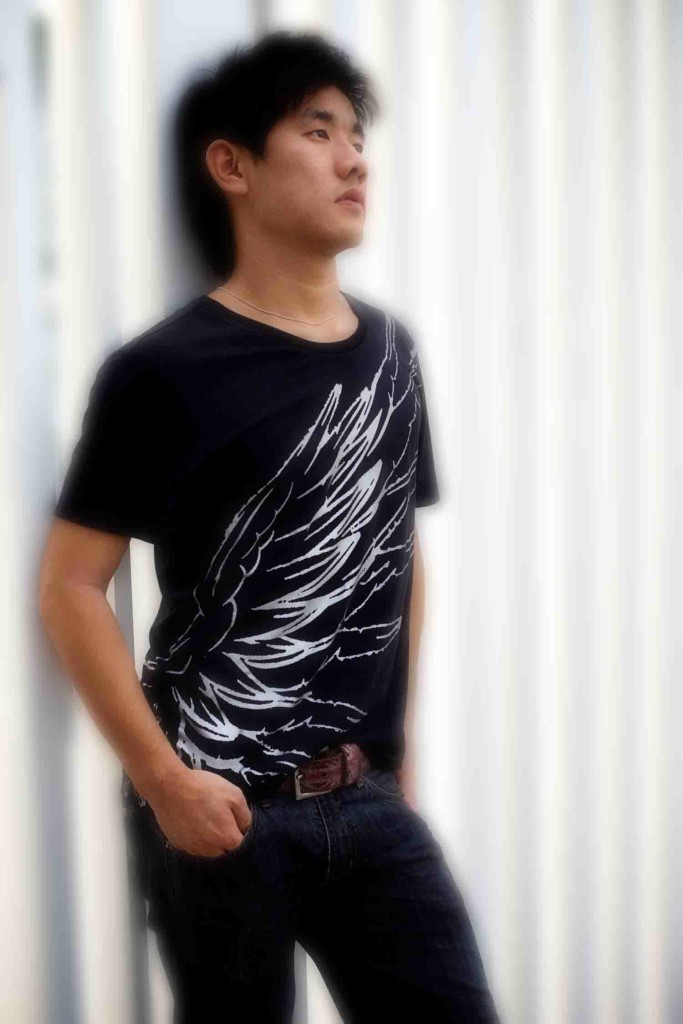
Say hi to Nick in the picture! Ok, let’s start. Duplicate your photo by pressing Ctr+J (Cmd+J) or right-click > Duplicate Layer.
Step 2
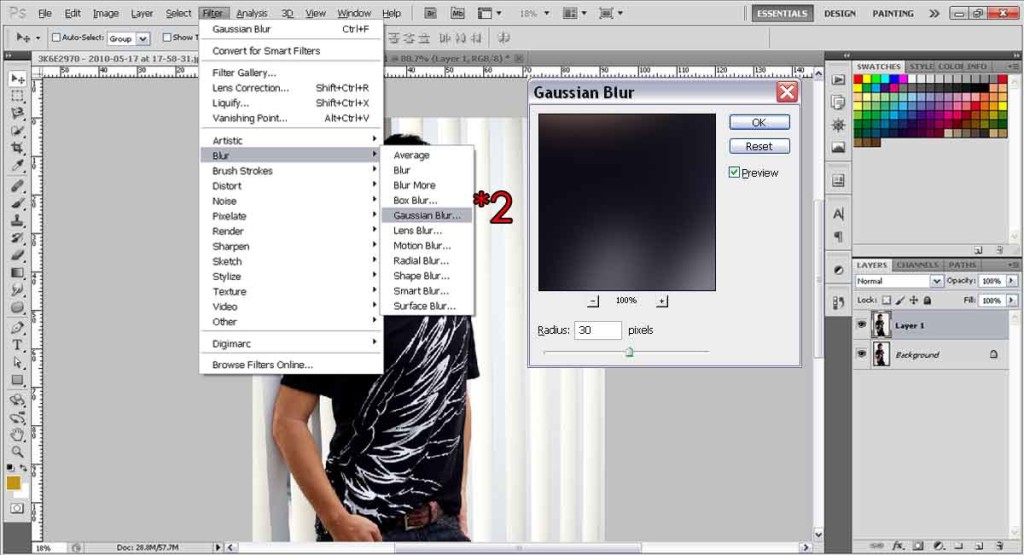
With the duplicated layer selected, apply a Gaussian Blur filter to it. Go to Menu Bar: Filter > Blur > Gaussian Blur. For the radius I used 30 pixels, but it’s totally up to you how blurred you want your photo to be.
Step 3
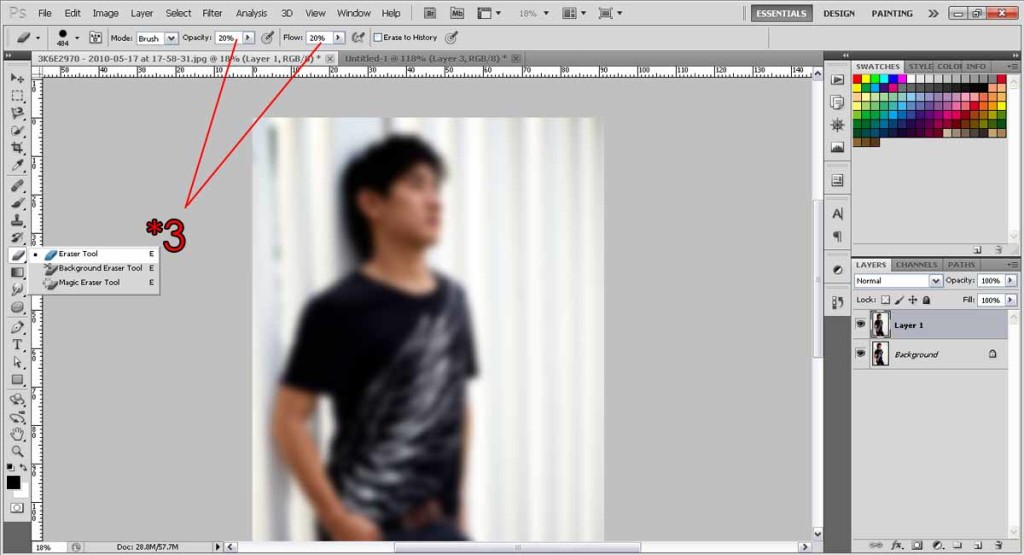
Select the Eraser Tool, and set the opacity and flow to both 20%.
Step 4
Simply erase over the parts you want to reveal, which in this case, is the guy. Adjust your brush size accordingly to your preference.
You should get something like this!
Need Help With Photoshop or Looking for Professional Support?
Whether you're just getting started with Photoshop or need expert-level assistance, we're here to help! Contact us for personalized Photoshop tutorials, project support, or creative services.
Get in touch today to take your skills or projects to the next level.
CONTACT US NOW📘 Want to Master Photoshop Faster?
🎁 Get Your FREE PDF E-Book "Top 10 Photoshop Tricks Every Designer Must Know" Now – Packed with expert tips, shortcuts, and techniques to boost your creativity & workflow.
👉 Download Your FREE PDF E-Book NOW!

