


In this tutorial, you will learn how to convert a color photo into grayscale in a few simple steps! We want to preserve as much of the image data as possible to be able to vary the range of tones, and by using the Gradient Map adjustment layer, we effectively do that.
Preparation: Have your image ready in Photoshop by going to Menu Bar: File > Open > Select image. After that, press ‘D’ to reset the Foreground/Background colors.
This tutorial was done on Adobe Photoshop CS5. Other versions may vary slightly.
Step 1
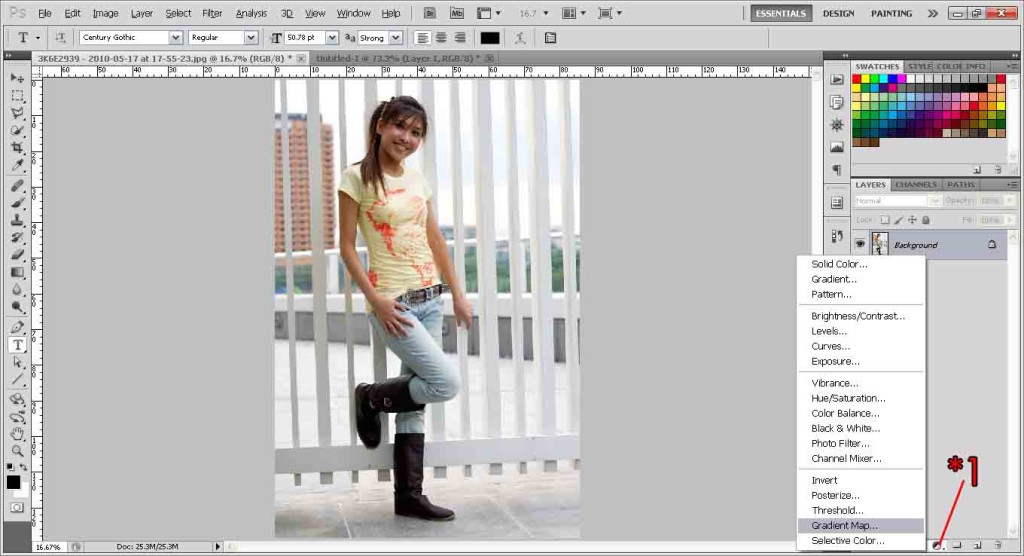
In my Photoshop workspace, I have a picture of my pretty friend Louisa Althea. Alright stop looking already let’s get started. Click the new adjustment layer button and select gradient map.
Step 2
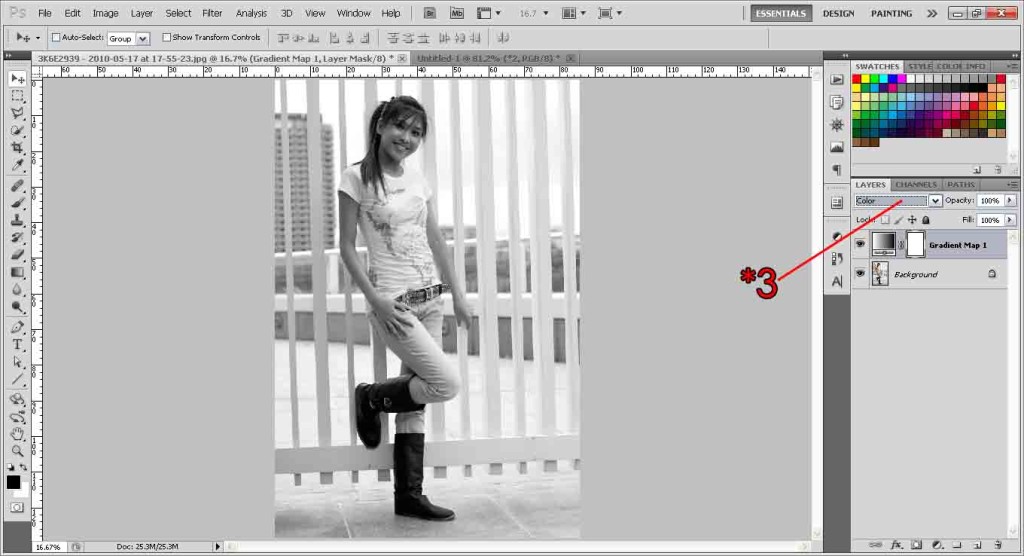
Your picture should immediately turn to grayscale. By default the gradient map should be the black to white gradient, as shown in the example. If not, click on it and change the theme.

Step 3
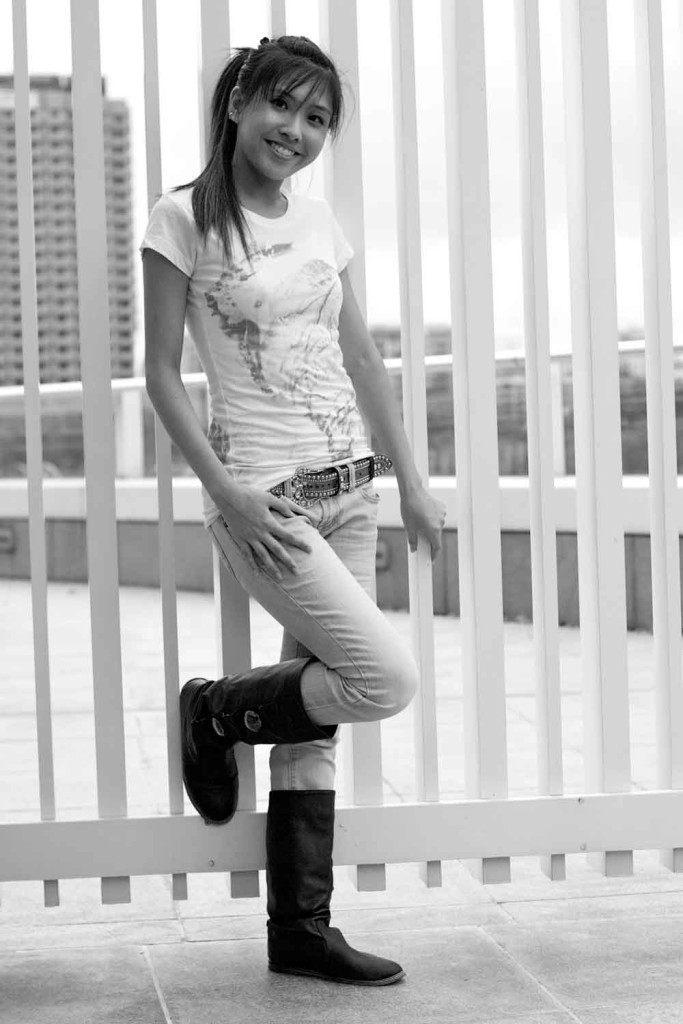
Okay one final step to correct the gray tones. Change the gradient map’s blending mode to ‘Color’.
And there we go, all done!
Need Help With Photoshop or Looking for Professional Support?
Whether you're just getting started with Photoshop or need expert-level assistance, we're here to help! Contact us for personalized Photoshop tutorials, project support, or creative services.
Get in touch today to take your skills or projects to the next level.
CONTACT US NOW📘 Want to Master Photoshop Faster?
🎁 Get Your FREE PDF E-Book "Top 10 Photoshop Tricks Every Designer Must Know" Now – Packed with expert tips, shortcuts, and techniques to boost your creativity & workflow.
👉 Download Your FREE PDF E-Book NOW!

