

Hey everyone, in this lesson I am going to show you how you can add a cinematic look to your images in Photoshop. I’ll show you how to add fade effect, color tint and how to deal with the color cast. After going through this tutorial, you’ll be able create the cinematic effect inspired from Hollywood and Bollywood. Let’s get started right away!
Tutorial Resources
Step 1 – Open the Image
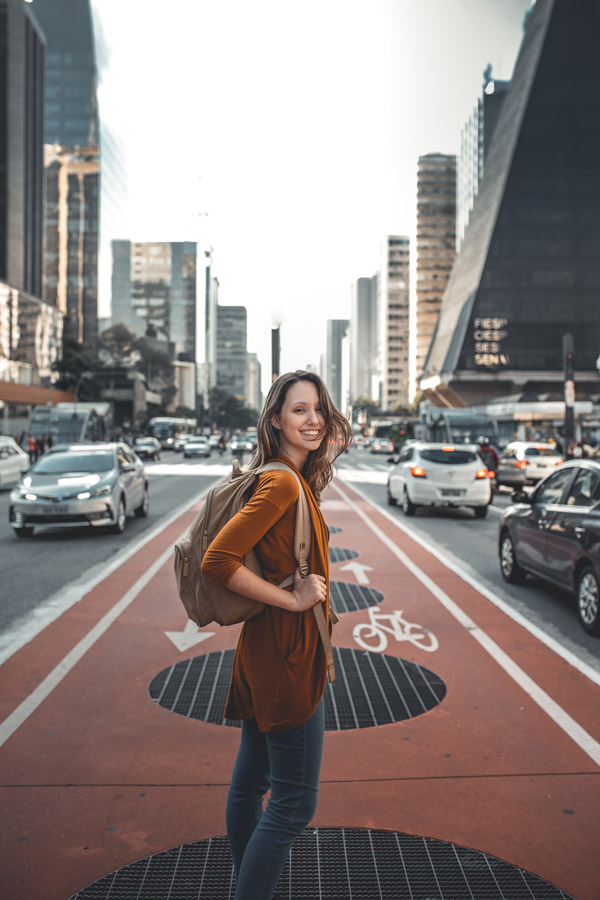
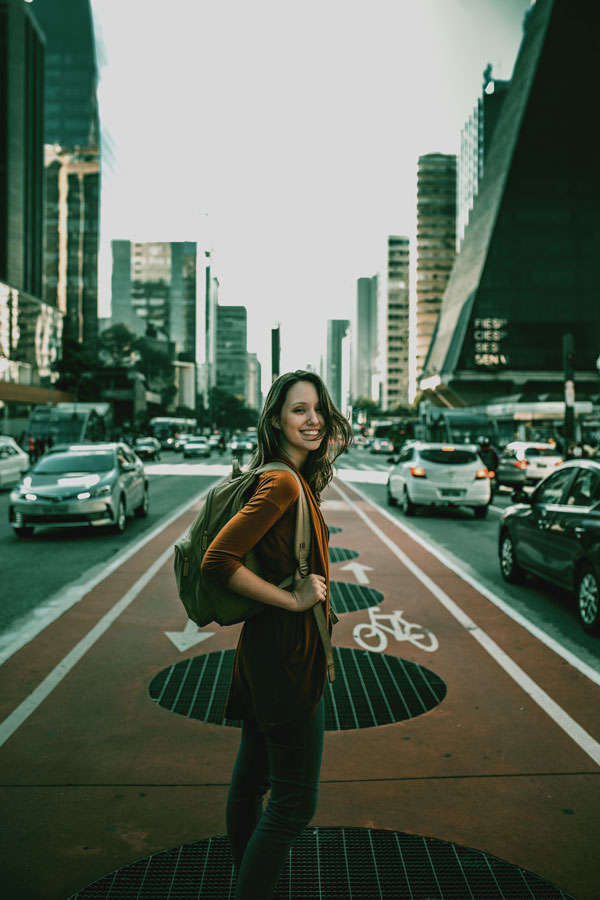
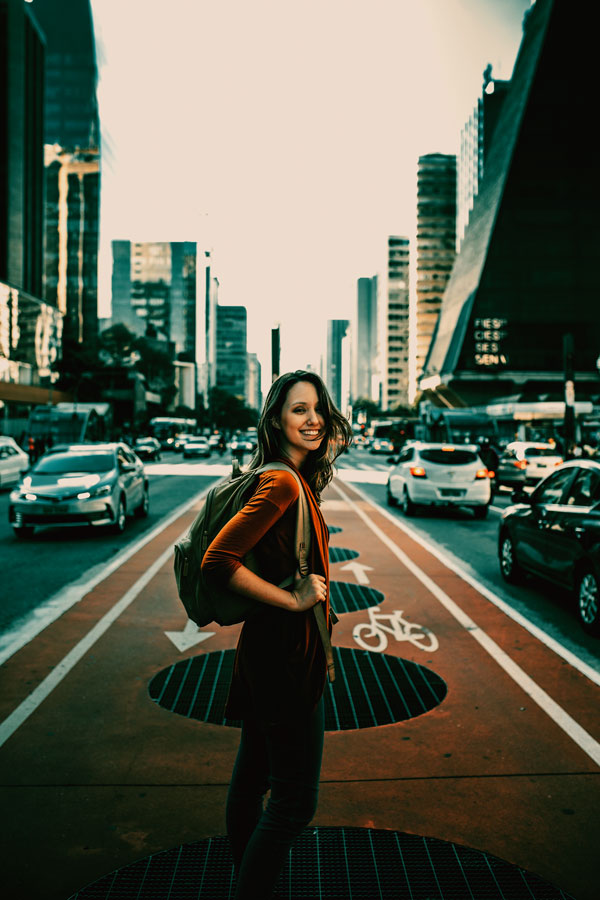
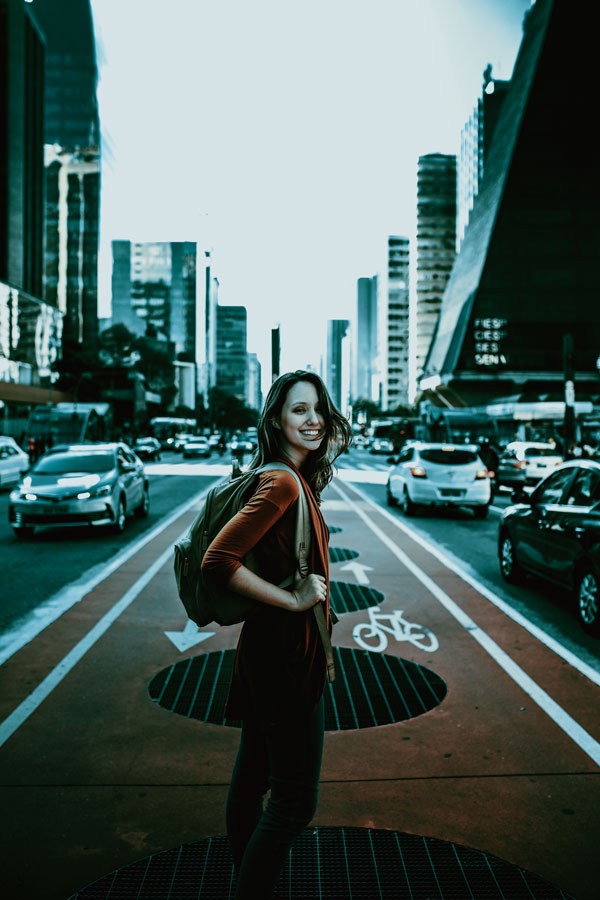
Open your image in Photoshop. This is the image that I am using for this tutorial, you can find it in the tutorial resource section.
Please use the image that has no effect like the one I used. Creating an effect on the image that has already doesn’t make sense.
Step 2 – Add Color
In this step, we’ll do some color grading using Color Balance. Bring up the Color Balance adjustment by selecting Layer > New Adjustment Layer > Color Balance.
I am aiming for kinda cyan and orangy look for the image. So I added the color using the Midtones and Highlights.
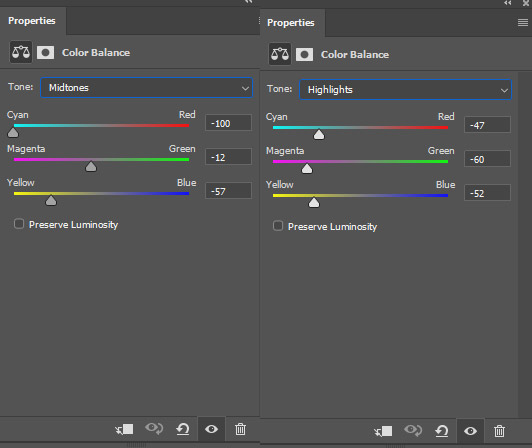
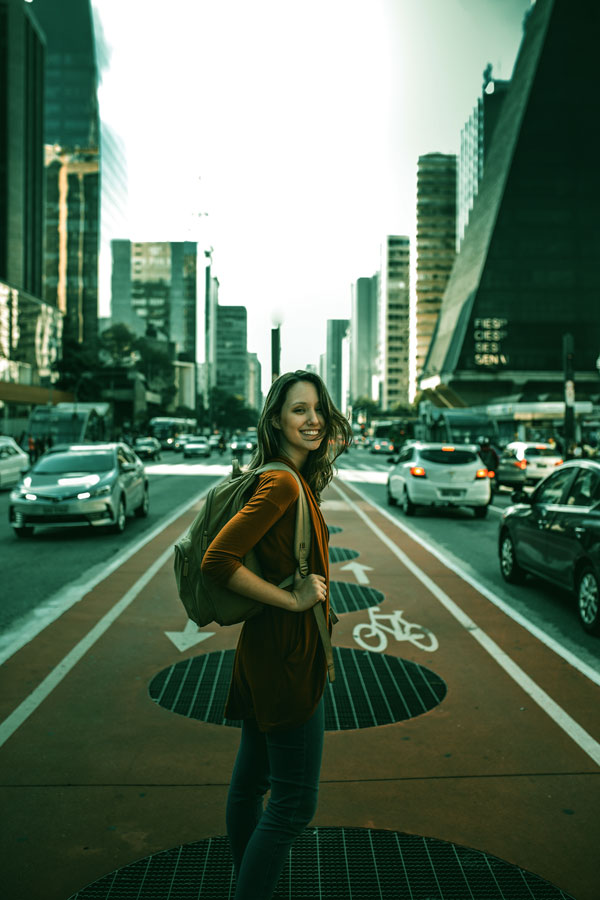
Here are the results:
Step 3
If you notice the image, you can see that Color Balance is affecting the face and the red tones of the skin. I don’t want that because I don’t want to harm the skin tones.
You can see the image below for reference that where it is affecting!
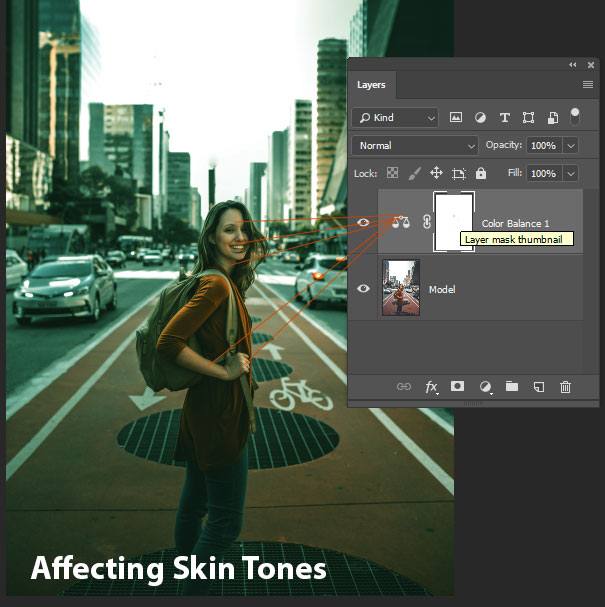
You can do two things here, either you can remove the effect using a mask or you can use Channels to target red tones selection and removing the effect of Color Balance.
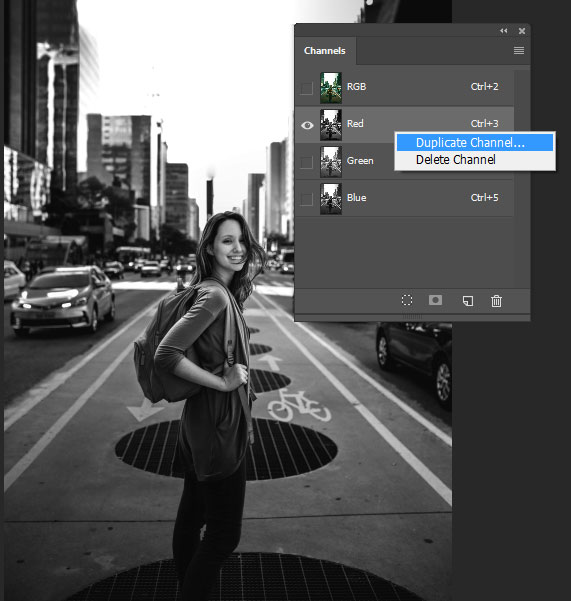
I am going with Channels. Go to Channels TAB (Window > Channels) and then right-click on the Red Channel, now choose duplicate channel to duplicate it.
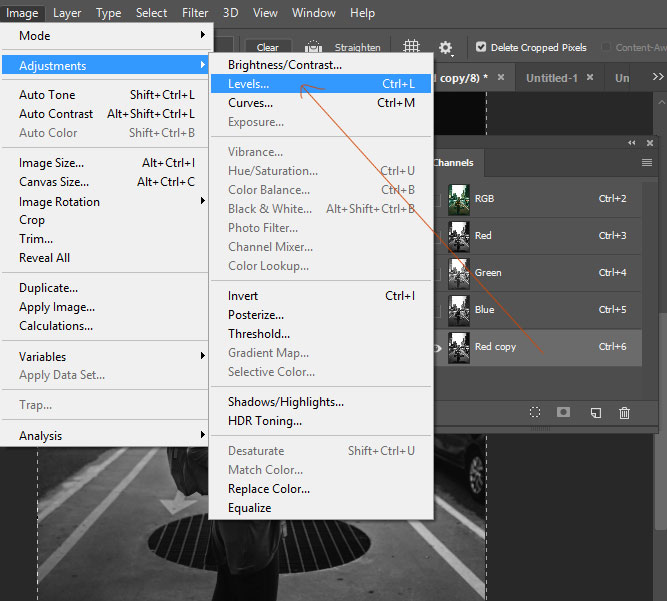
Now go to Image > Adjustments > Levels.
Step 4
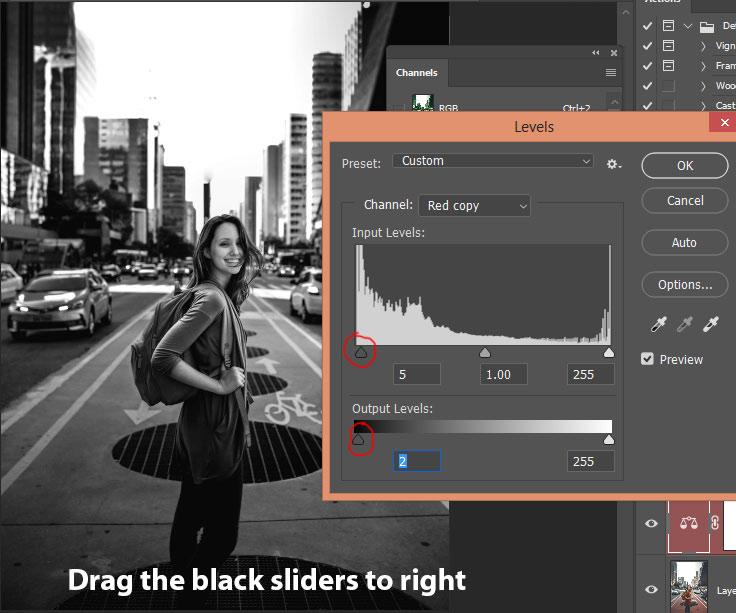
Now just bring up the black by dragging the black slider to right so we can focus on the red tones. Just a bit, don’t overdo it.
Here you can see my settings:
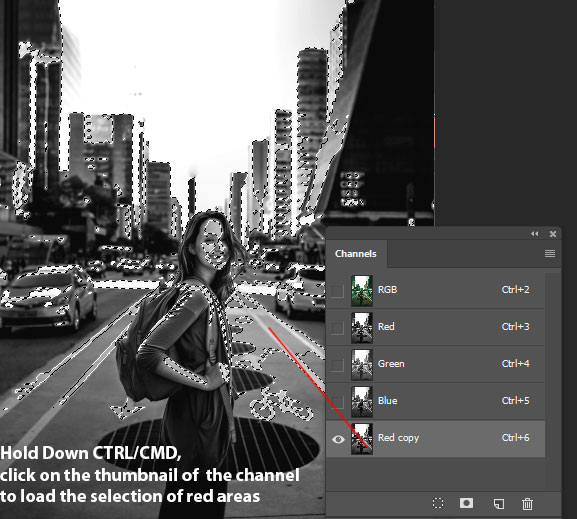
Now hold down the CTRL/CMD KEY and click on the Red Channel Copy thumbnail to activate the selection.
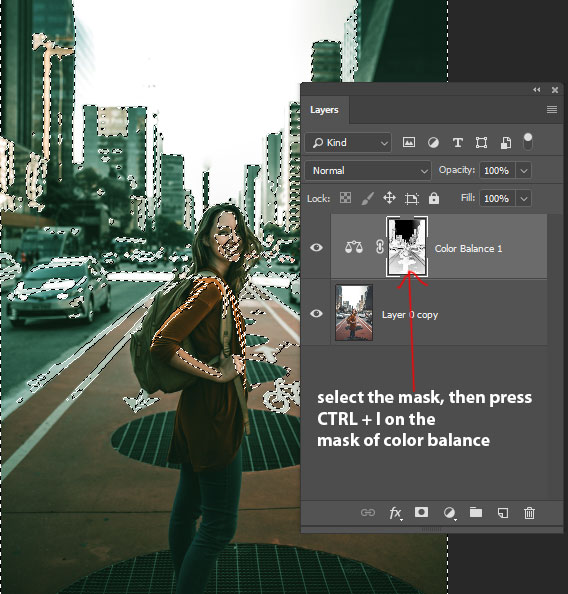
Switch back to Layers Tab, and on the mask of Color Balance, while the selection is active press CTRL + I. This will remove the effect of Color Balance on the red tones and you’ll notice a gradual blend of color between cyan and red. Also, it will bring up some red tones.
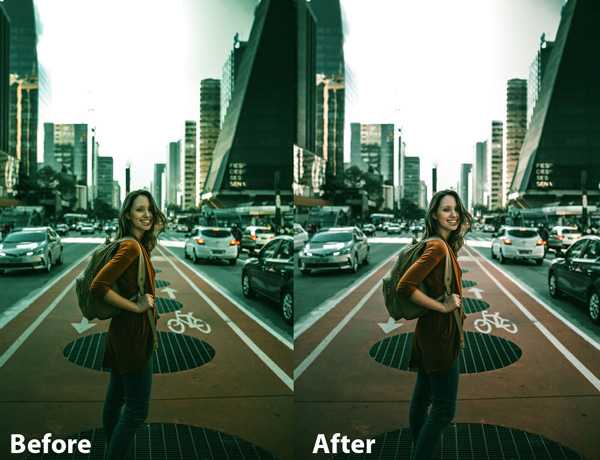
Here you can compare before and after results:
Step 5 – Adding Faded Look and Color Tint
You may have seen that in the movie the video look a bit faded, it has contrast but it has a fade effect as well.
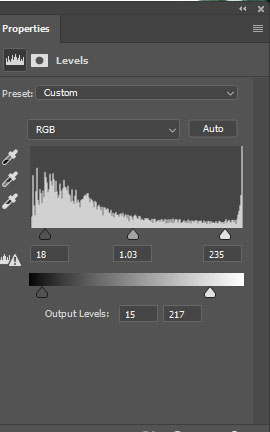
We can achieve the fade effect using a Levels layer. I added some contrast by dragging the midtones and highlight slider.
Also, in the Output slider, I dragged the dark slider to the right to create a fade effect (or to make dark area brighter) and I used the white slider as well to make the brighter area darker.
Results:
Step 6
Now we’ll add different effects to our images and will see which one works best for our image. I am using Color Lookup and it has tons of effect by default. You gotta give it a try. You can also use Gradient Map here and try experimenting with blend modes.
Here are my settings for Color Lookup:
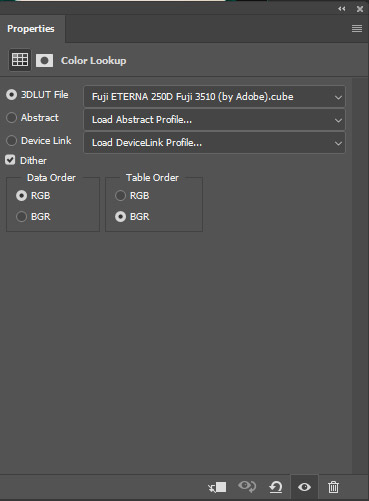
It’s kinda added contrast on the image. Also, some color tints as well. See the image below!
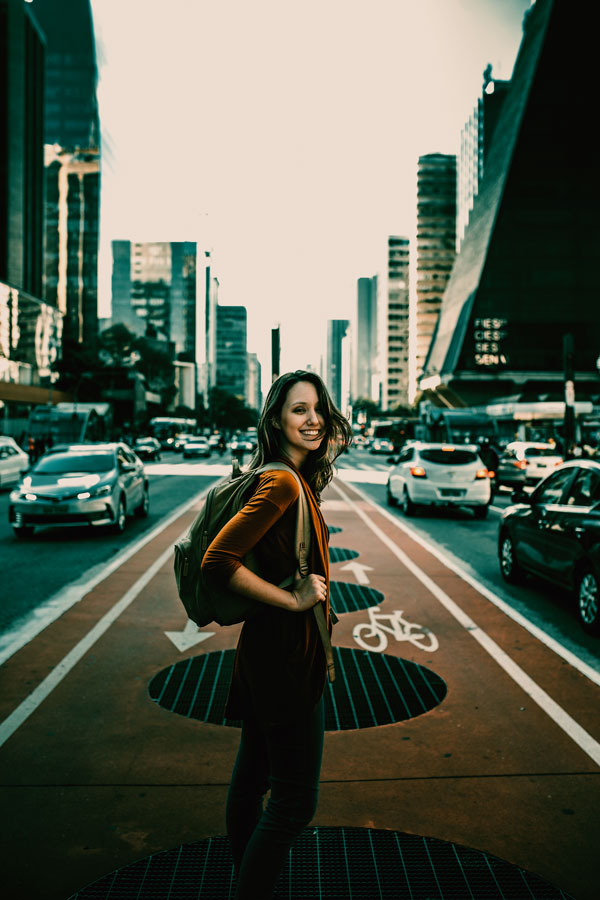
Step 7
Now I am using Selective Color layer to add more redness into her shirt and face as well. Because it is fading away and I don’t want that.
In this settings, I am targeting the reds, you can see that I just played around with the settings and you can do too. Then find out what settings work for you.
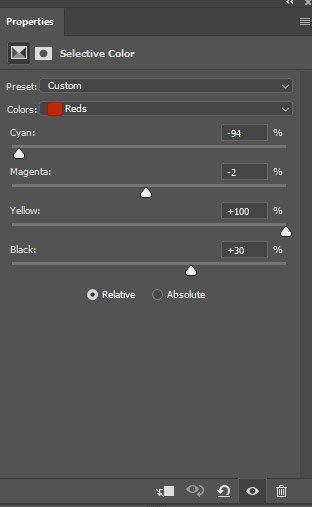
Here are the results:
Step 8 – Removing Color Cast
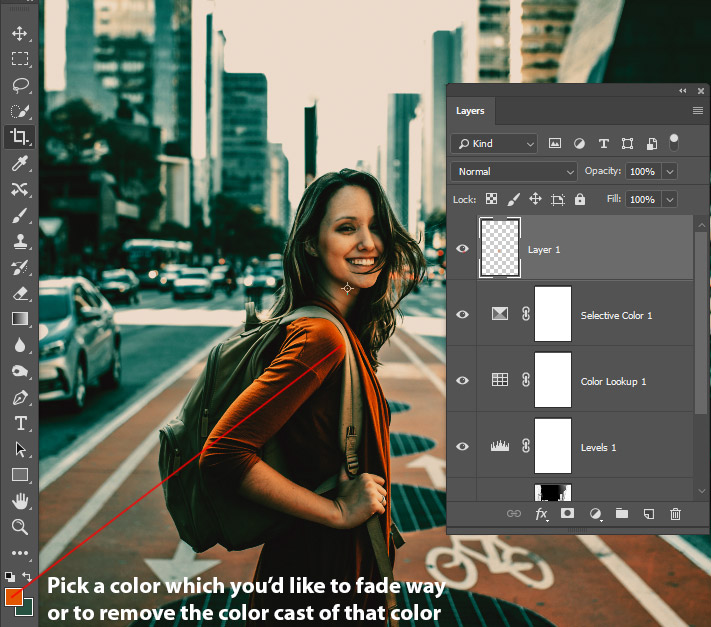
How you can remove the color cast? If you are seeing some color casting on your image, first thing you need to do select the color which you want to eliminate. Let’s say that I want to sack the orange color.
Hold down the ALT/OPTION key and select the color. You can see in the below image, I selected the color from the girl’s dress.
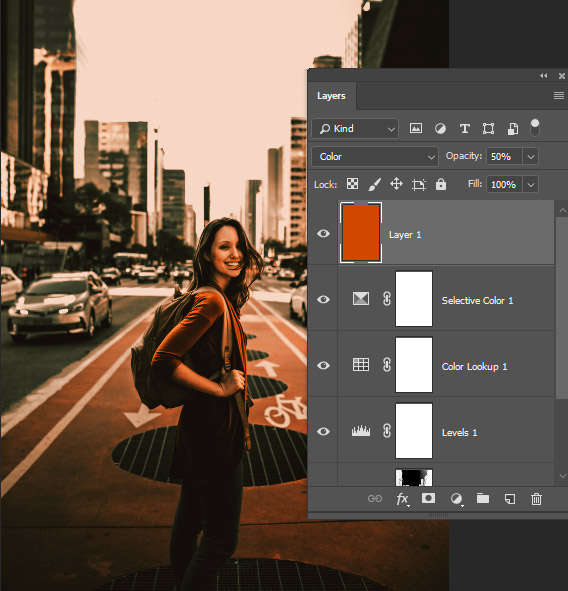
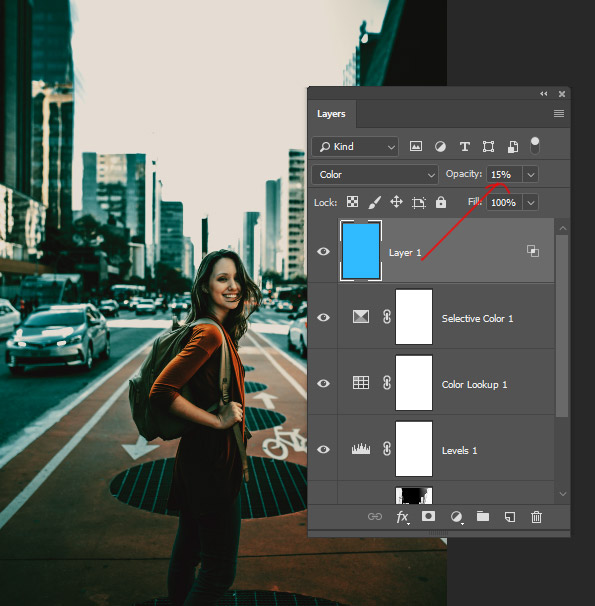
On a new layer, fill this layer with the color that you want to remove, in my case that is orange. So I filled the layer by pressing ALT/Option + BACKSPACE. Now change the Blending Mode to Color and reduce the opacity to 50%.
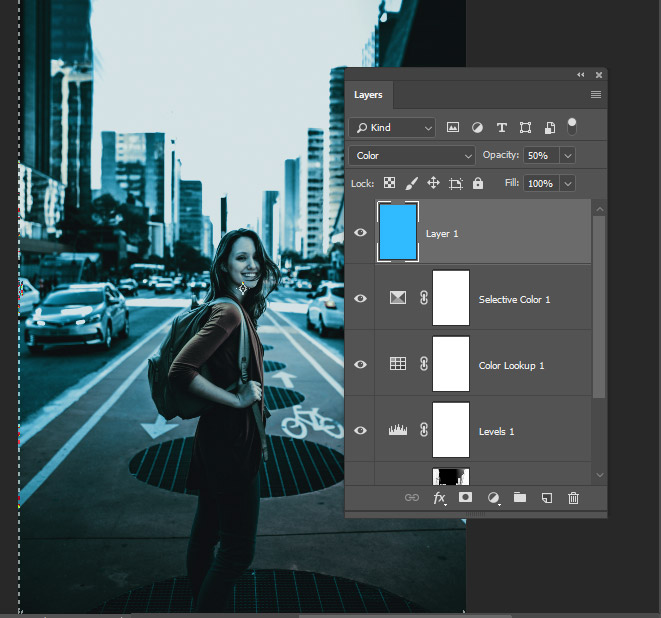
Now we need the opposite color of orange, to get that press CTRL/CMD + I to inverse the color. That color is cyan color that you can see it is applied to the image.
Step 9
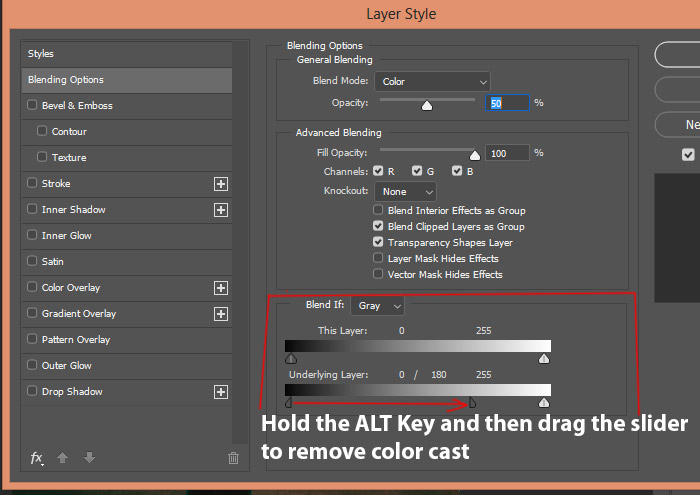
Now right click on the color layer and choose Blending Options. In the Blending Options, go down to the Blend IF section, hold down the ALT/OPTION KEY and drag the Underlying Layer black slider to right to remove the color cast of orange color.
You can also play around with the white slider if you want. That’s how you can remove the color cast from any image. Just pick the color, find its opposite color and then use Blend IF to remove it.
Here you can see that we have eliminated the orange color:
I further reduced the opacity of the layer from 50% to 15%.
Here are my final results:

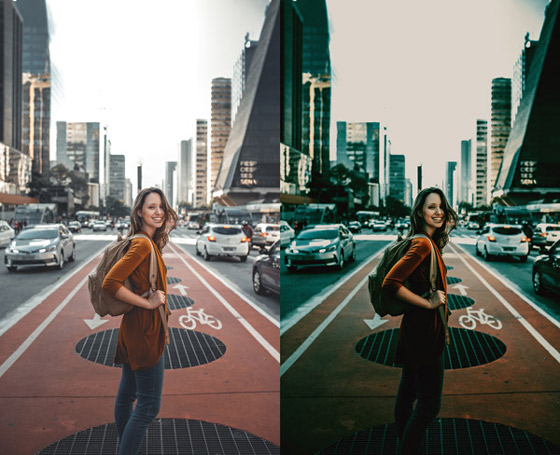
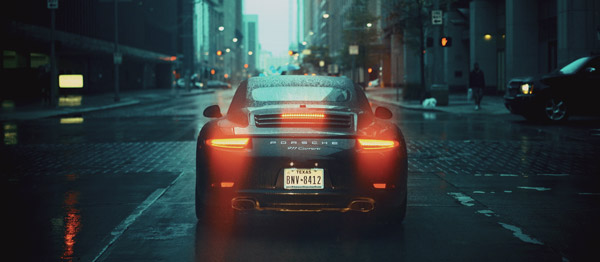
Another Example
Before:
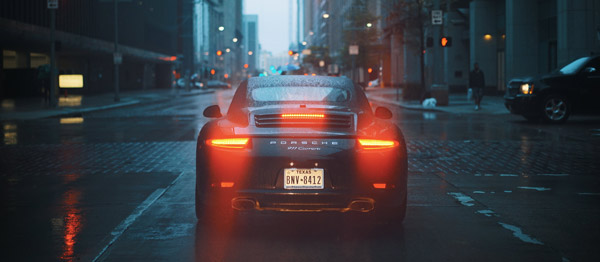
After:
Need Help With Photoshop or Looking for Professional Support?
Whether you're just getting started with Photoshop or need expert-level assistance, we're here to help! Contact us for personalized Photoshop tutorials, project support, or creative services.
Get in touch today to take your skills or projects to the next level.
CONTACT US NOW📘 Want to Master Photoshop Faster?
🎁 Get Your FREE PDF E-Book "Top 10 Photoshop Tricks Every Designer Must Know" Now – Packed with expert tips, shortcuts, and techniques to boost your creativity & workflow.
👉 Download Your FREE PDF E-Book NOW!
