


In today’s Photoshop tutorial, I’ll show you how to add beautiful bokeh photo effects to your photos in just 9 steps. Creating bokeh photo effects in Photoshop is easy and you can create this effect in just 5 minutes. We’ll first begin by adding colorful lighting to an image. After that, we’ll add bokeh texture to the image and finally, we’ll brighten up the image using the adjustment layers.
Tutorial Resources
Step 1
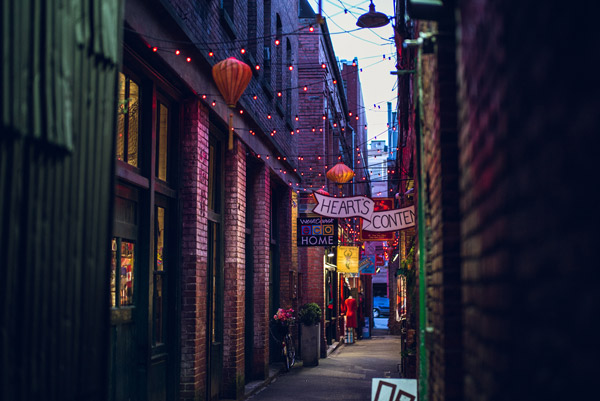
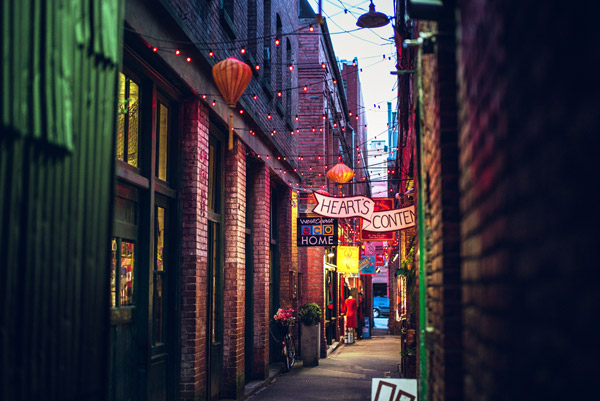
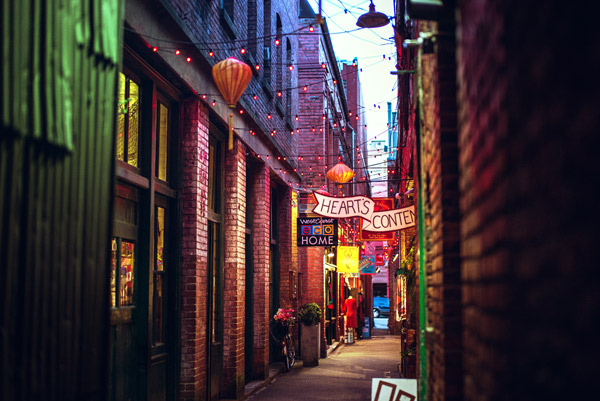
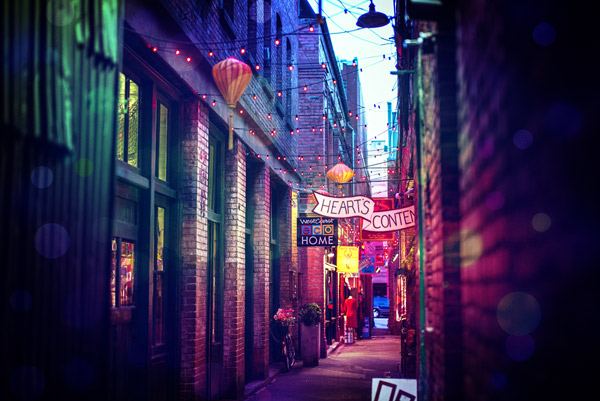
Open up the street image in Photoshop. You can open an image in Photoshop by selecting File > Open. Here is the image opened in Photoshop.
Step 2
Create a new layer and name it ‘light 1’. Set the foreground color to #775e23. Paint the light using a soft round brush as shown in image below.
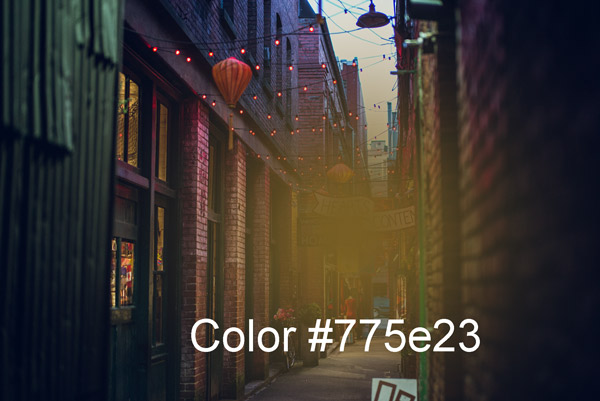
Set the blending mode of the light 1 layer to Color Dodge.
Step 3
Create a new layer again and name it ‘light 2’. Set the foreground color to medium green (I chose #366212) and paint the light at the top left corner. Don’t forget to use soft round brush with 100% opacity and flow for painting the lights.
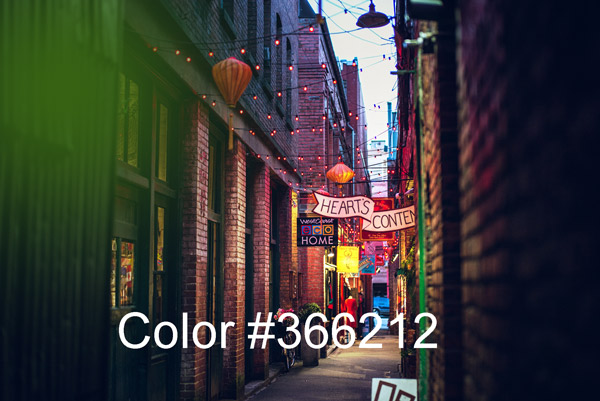
I changed the blending mode to Color Dodge.
Step 4
Similarly, I painted some more light at the top but with a different color (with color #114c55). Don’t forget to create a new layer for painting the light at the top. You can see the below image for reference.
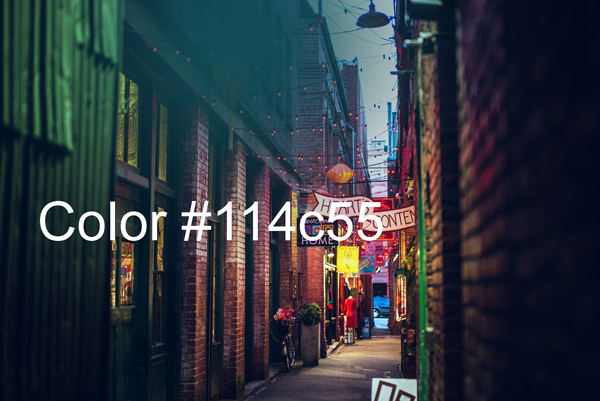
Simply I changed the blend mode to Color Dodge.
Step 5
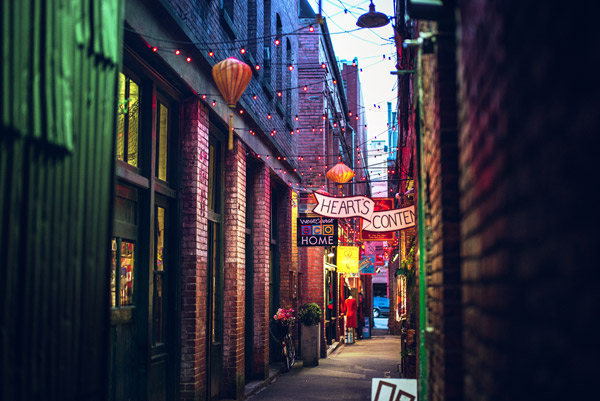
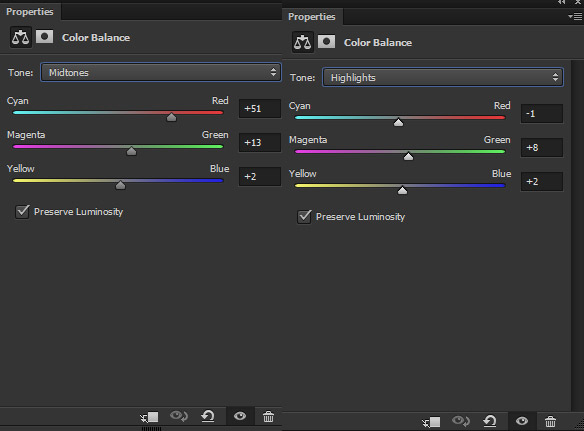
Make a Color Balance adjustment layer by clicking on third icon at the bottom of layer panel or go to Layer > New Adjustment Layer > Color Balance. Alter the Midtones and Highlights value to add more Red (you can also aim for different color) colors tones to image. Here are the values for Color Balance.
Results:
Add the Bokeh Texture
Step 6
Now we’ll add bokeh texture to finally add bokeh photo effect to image. Place the bokeh texture to our main document by selecting File > Place Embedded and place the texture.
You can notice that I rotated the texture using Transform Tool (CTRL + T) to make it nicely fit the document.
You can see how I did it:

Set the blending mode to Soft Light. Here are the result with bokeh effect:
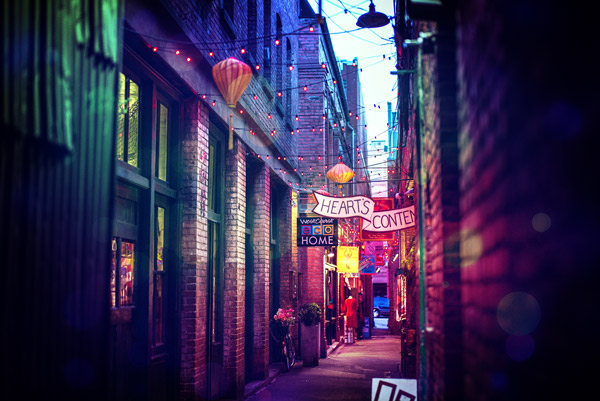
If you want you can also duplicate the bokeh texture to add more bokeh to the image.
Step 7
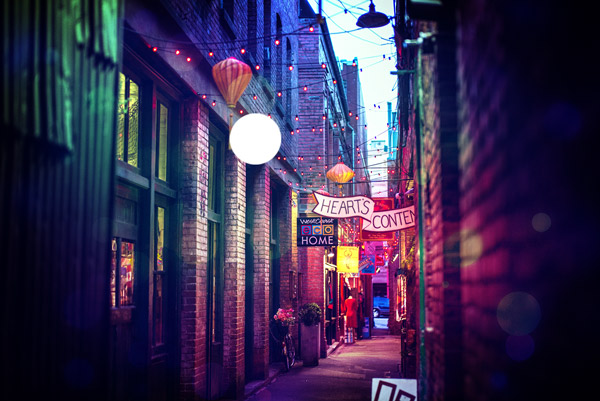
Create a new layer, activate Elliptical Marquee Tool (M) and create a cirle. Then fill this circle with white color. Make a small white circle as shown below :
Step 8
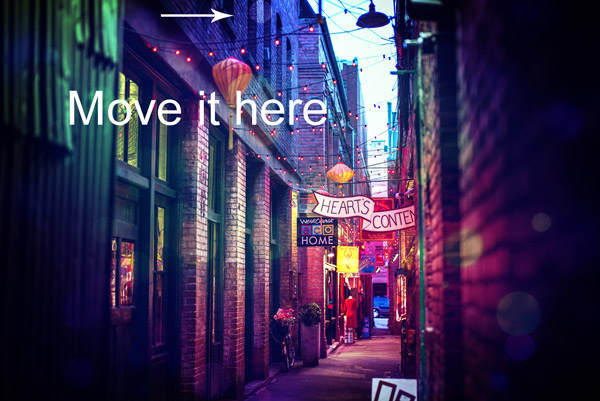
Move it to different position to add more bokeh to image like I moved it at the top. After moving change its blending mode to Soft Light and lower the opacity to 52%.
Similarly, I duplicated the circle layer many times and moved it to different places wherever I want to add bokeh. Here you can see how I did it.
Step 9
Create a Curves adjustment layer on top of all layers. Make a S Curve to brighten up the image.
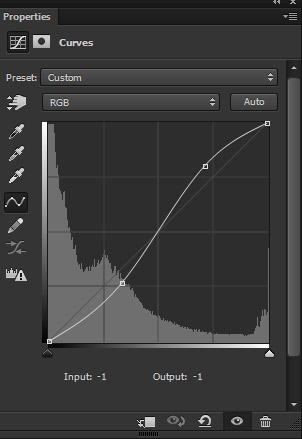
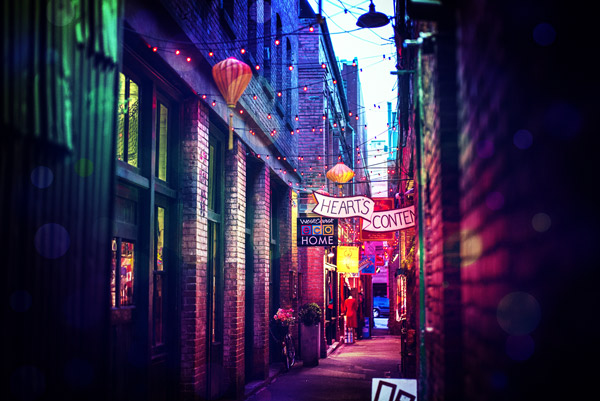
Lower the opacity to 70% and here are the final results:
Conclusion
Thanks for following the tutorial and hope you’ve learned how to add bokeh photo effects to your photos using bokeh texture. If you’ve any feedback on tutorial then do let me know. Have a great Photoshopping day!!
Need Help With Photoshop or Looking for Professional Support?
Whether you're just getting started with Photoshop or need expert-level assistance, we're here to help! Contact us for personalized Photoshop tutorials, project support, or creative services.
Get in touch today to take your skills or projects to the next level.
CONTACT US NOW📘 Want to Master Photoshop Faster?
🎁 Get Your FREE PDF E-Book "Top 10 Photoshop Tricks Every Designer Must Know" Now – Packed with expert tips, shortcuts, and techniques to boost your creativity & workflow.
👉 Download Your FREE PDF E-Book NOW!

