


Learn how to easily add soft colorful effect to images by applying a bunch of adjustment layers and using the blending modes. We’ll first brighten up the image using blending modes and then we’ll play around with adjustment layers to add effects to the image. At the end, I’ll show the result of the same effect when applied to other images.
Tutorial Resources
Step 1 – Open the Image
First, let me tell the effect we are going to achieve may not work with any image and so I am not saying that it totally won’t work. It will but to some extent because every image is different and needed to be treated differently.
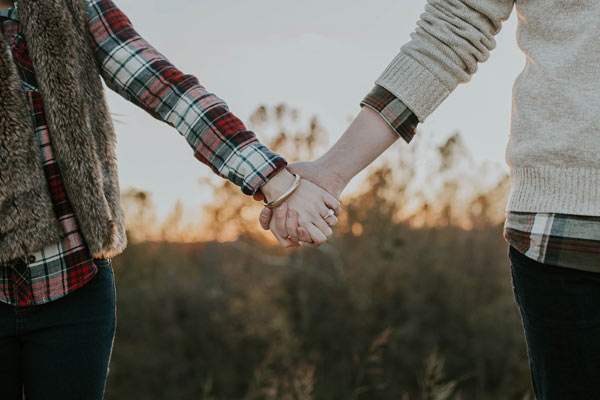
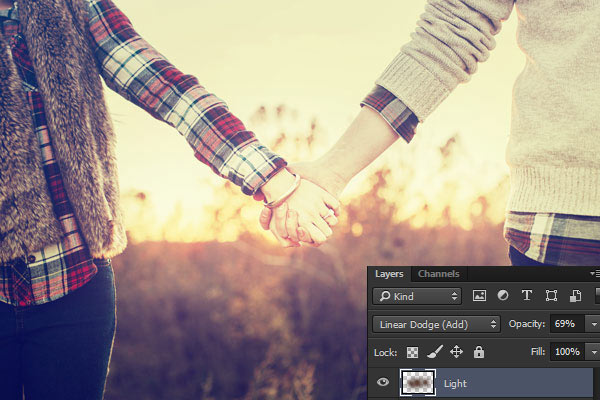
I opened the image in Photoshop by selecting File > Open. You can see the image is a bit of dark, having good contrast, and beautiful light in the middle. It also got the combination of yellow, blue, green and red tones.
Step 2 – Brightening the Image
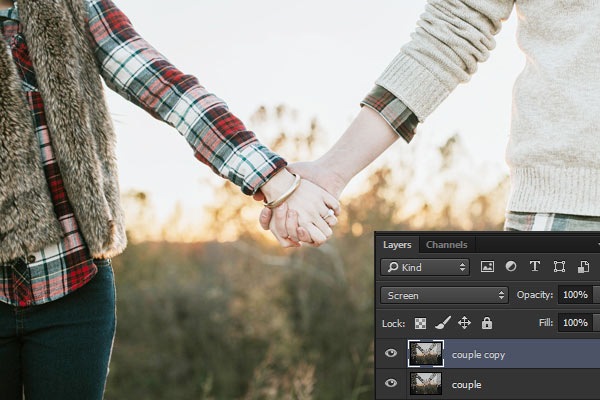
As you can notice the image is taken in the sunset mood and so it is a bit dark. So let’s lighten it up. Duplicate the couple layer by pressing CTRL+ J and then change the blending mode to Screen. You can use Levels and Curves to the boost the brightness if you want.
Due to Screen blending mode, you can see the image got the brightness.
Step 3 – Applying Adjustments
Now we’ll play around with adjustment layers to achieve the desired effect. First, I used a Gradient Map adjustment to add mostly the orange color to the entire image.
To make an adjustment layer you can go to Layer > New Adjustment Layer.
Here you can see the color settings of the gradient:
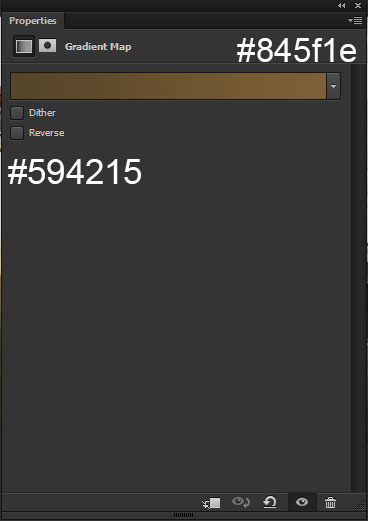
To blend the colors of the Gradient Map with the image, I set the blending mode to Soft Light.

Step 4
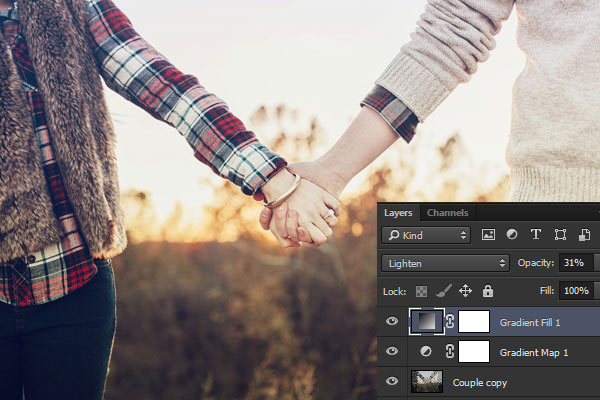
I added the orange tones and now I’ll add the blue color to the image. So make a Gradient Fill adjustment layer and see the Style, Angle and Scale settings and I didn’t change anything here except the colors.
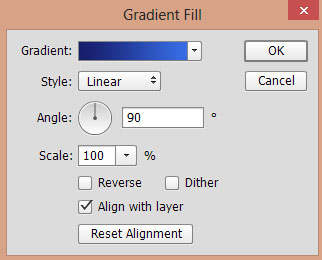
Here is the image showing the colors which I used for the Gradient Fill:
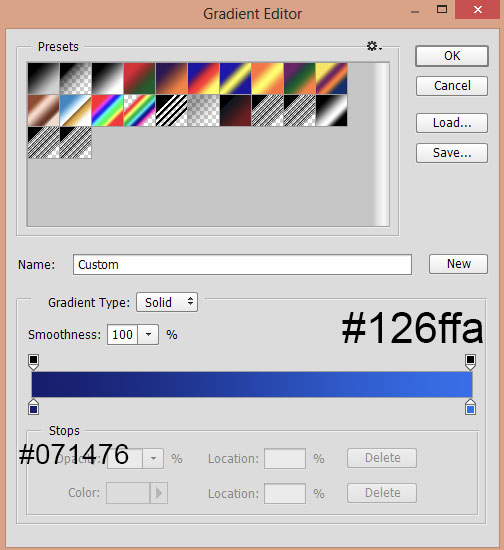
Now change the blending mode to Lighten and decrease the opacity to 31%. You can see the blue color has blended in the image and it kind of giving a soft touch of color to the image. Not only the blue color, the orange color has a soft effect on the image as well.
Step 5
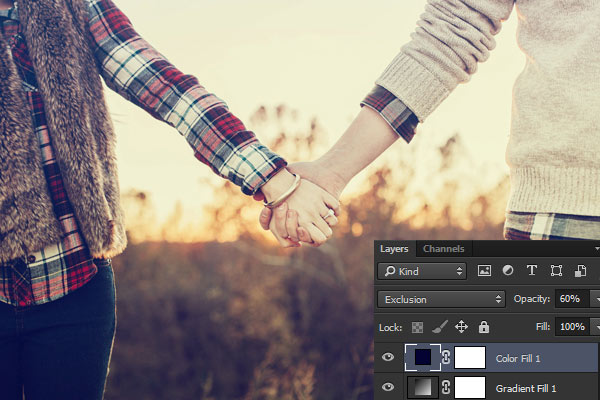
Make a Solid Color adjustment layer and choose the dark blue color (see the image for color code).

Change the blending mode to Exclusion and set the opacity to 60%.
Step 6 – Adding the Light
You can already notice the sunset light in the image. To add more light to the image, we’ll paint the light using a dark orange color. Create a new layer by pressing CTRL + SHIFT + N and name it ‘light’.
Activate the Brush Tool (B) and then pick a saturated orange color and then using a soft round brush paint on the image exactly where you see the sunset light.
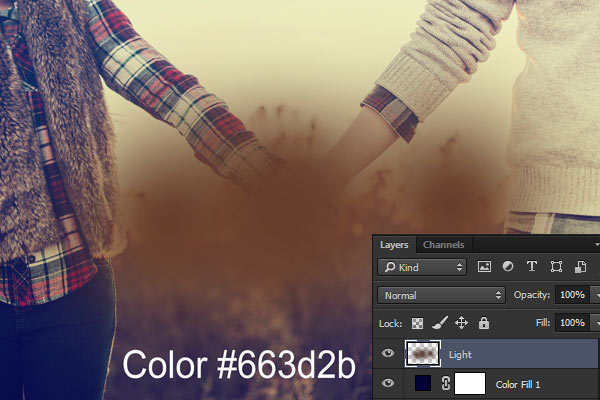
Change the blending mode to Linear Dodge 69%.
Here you can see the lights added to the image. You can also increase or decrease the opacity of the light layer if you want stronger or subtle effect of the light.
Step 7 – Applying the Effect on Different Image
As I said that the effect won’t work on every image. To give you an example, I added only the same adjustment layers to the different images to see the results but I didn’t brighten the images which I did in step 2 and neither I added the light effect which I did in step 6 for the below image results.
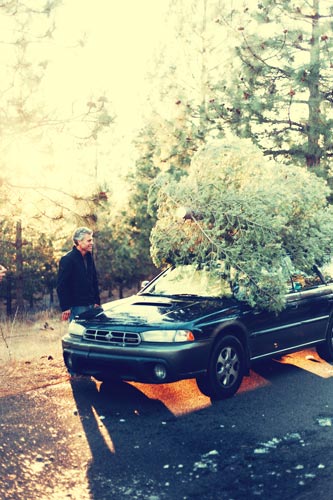
Here is the original man image in which I’ve experimented the same effect which I just have shown you:
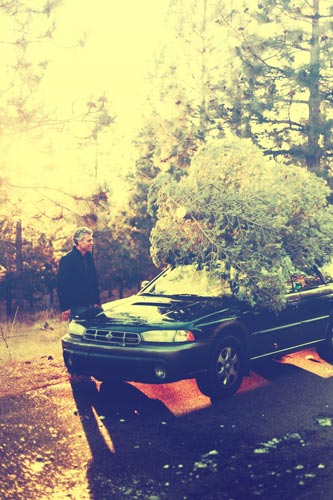
Here is the effect which I got and I think it is very close to the effect that I achieved but it not exactly the same. This is what I am talking about but with these steps, you can at least add the different colors to your image.
Here is the effect applied to the girl image:
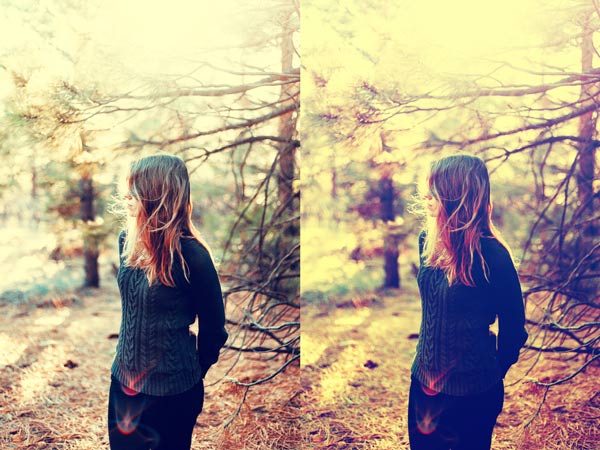
Basically, the images play an important role in order to add effect to them. So that is why every image needs different treatment and so choose the color and settings for adjustment layers according to that.
Need Help With Photoshop or Looking for Professional Support?
Whether you're just getting started with Photoshop or need expert-level assistance, we're here to help! Contact us for personalized Photoshop tutorials, project support, or creative services.
Get in touch today to take your skills or projects to the next level.
CONTACT US NOW📘 Want to Master Photoshop Faster?
🎁 Get Your FREE PDF E-Book "Top 10 Photoshop Tricks Every Designer Must Know" Now – Packed with expert tips, shortcuts, and techniques to boost your creativity & workflow.
👉 Download Your FREE PDF E-Book NOW!

